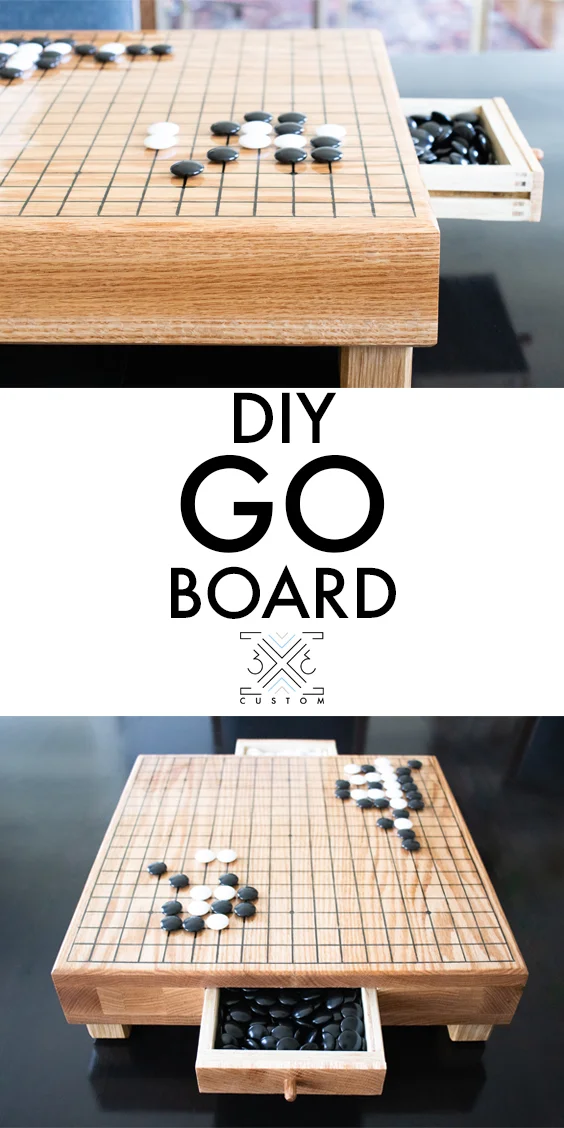
How to Make a Go Board
My son recently got into playing the game “Go”, so I decided to make him a Go Board or “Goban” for his birthday.
This build ended up being a bit more difficult than I planned but I think the end result is pretty cool.
Check out the full build video below!
Traditional dimensions of a Go Board are:
Board - 17”x17”
Line Spacing - 7/8”
Line Thickness 1/32”
Star Points - 5/32” (I did 3/16”)
Stones I purchased - Go Stones
Scroll all the way down to the bottom for the updated dimensions for the drawers.
Links below are affiliate links, clicking on them helps me keep this site going at no extra cost to you ;)
I started by gluing up 2 panels that would make up the top and bottom of the board.

There are 19 lines on the board that are spaced 7/8” apart, so I marked them with a ruler in both directions.

Then I brought all those marks up on the board using a square on both sides to create the boxes.

The lines on a Goban are typically painted, but I decided to use a v-groove bit in my router instead.
Using this router edge guide made the task really quick and simple.
I made the grooves going in both directions on the boards to create the boxes.

Next I turned my attention to the blocks that will add support and hold the drawer slides.
I made these blocks out of 2x2’s (see below for updated dimensions)
I wanted to save on material so I didn’t make these blocks the full length of the board.

After cutting them, I glued and clamped them together to make the support blocks.

I wanted the drawer fronts to match the grain of the support blocks so I glued up some more material and cut a 1/4” thick piece off the end to create the end grain drawer front.

Since the support blocks don’t run the whole width of the board I wanted to add a backing so the nothing gets lost in the middle void. this backing will also be the stop for the drawer front.
I cut a dado in the back of the block using my kerfmaker to get the perfect thickness for the 1/8” plywood I was using for the backer piece.

Then I ripped the 1/8” inch plywood to the height of the support blocks and cut them to length at the miter saw.

Next I added some grooves in the support blocks so I could glue in the drawer runners.
I didn’t want the grooves to show through the front of the board so I had to do a plunge cut at the router table.
To do this, I marked a start and stop line on the fence of the router table and plunged the support block in at the start line, then moved the piece along the bit until I got to the stop line. Then I could stop the router and remove the block.

I took the router bit I used to make the groove as a spacer at the table saw to get the perfect thickness of the drawer runners, and ripped them to width.
Then I cut them to length at the miter saw.

And glued them into the grooves I made earlier at the router table.

Moving on to the drawers…
I ripped some 1/2 plywood for the drawers and cut them to length at the miter saw.
My drawers were actually too small to hold all the pieces so I will put the correct dimensions below.
To join them I decided to use finger joints.
I made a super quick and simple jig to create these joints, if you’re interested you can check out that post here —> Finger Joint Jig

Gluing the finger joints can be a bit finicky, you just have to make sure it is completely square.

In order for the drawers to run along the drawer slides, I made a grooves in the sides of the drawers, this time a stop cut was not necessary…

The drawer bottom will sit in the rabbet. To make this rabbet, I set a rabbeting bit to the height of the 1/8” plywood and rotated the drawer around it.
When routing the inside of an object, like this drawer, just make sure to go the opposite direction than you normally would at the router table.
Normally at the router table you move your workpiece from right to left along the fence, so with the inside here, you move the piece from left to right.

I cut the 1/8” plywood to size and rounded off the corners at the benchtop sander. I find this easier to do than squaring up the rabbet…

I glued the plywood in place and and secured it with brad nails.

Since there are so many different parts to the middle section, I decided to glue everything up in stages.
I started by glueing the drawer fronts I cut earlier from the end grain blocks to the drawer boxes.

After that glue set up a bit, I glued the two support blocks to eachother by gluing in the plywood backer piece into the dados at the back.
Just make sure you can easily slide the drawers in and out when doing this.
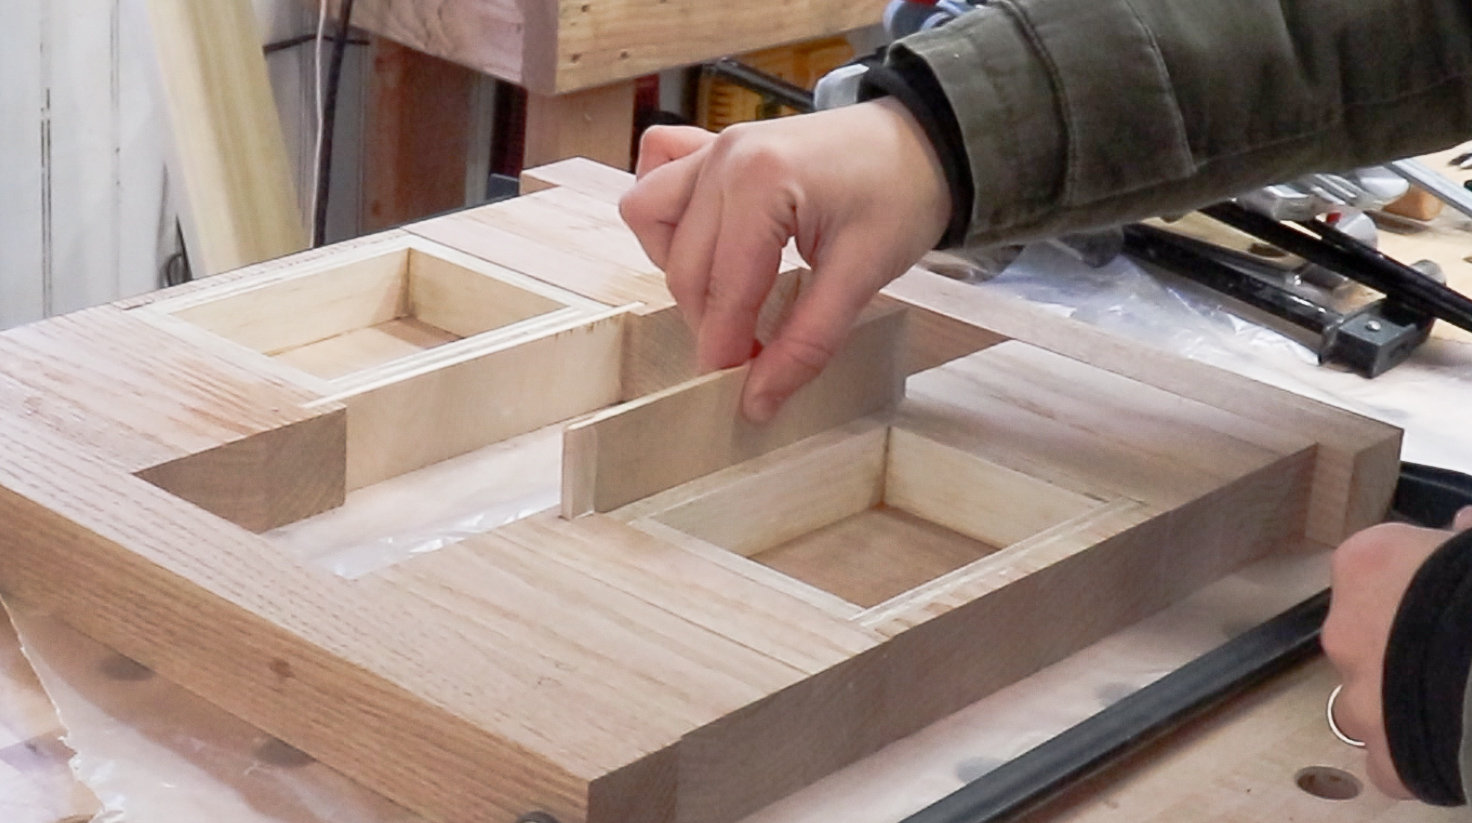
Next I glued the outer support pieces to the inner support blocks.
To make sure they were spaced perfectly for the drawers, I cut some spacers that were slightly larger than the drawers and kept them in between the support blocks when I clamped it up.

The whole inner section is now one solid piece, so I glued it to the top and bottom boards.
I made sure to keep the drawer spacer in place during this glue up as well.
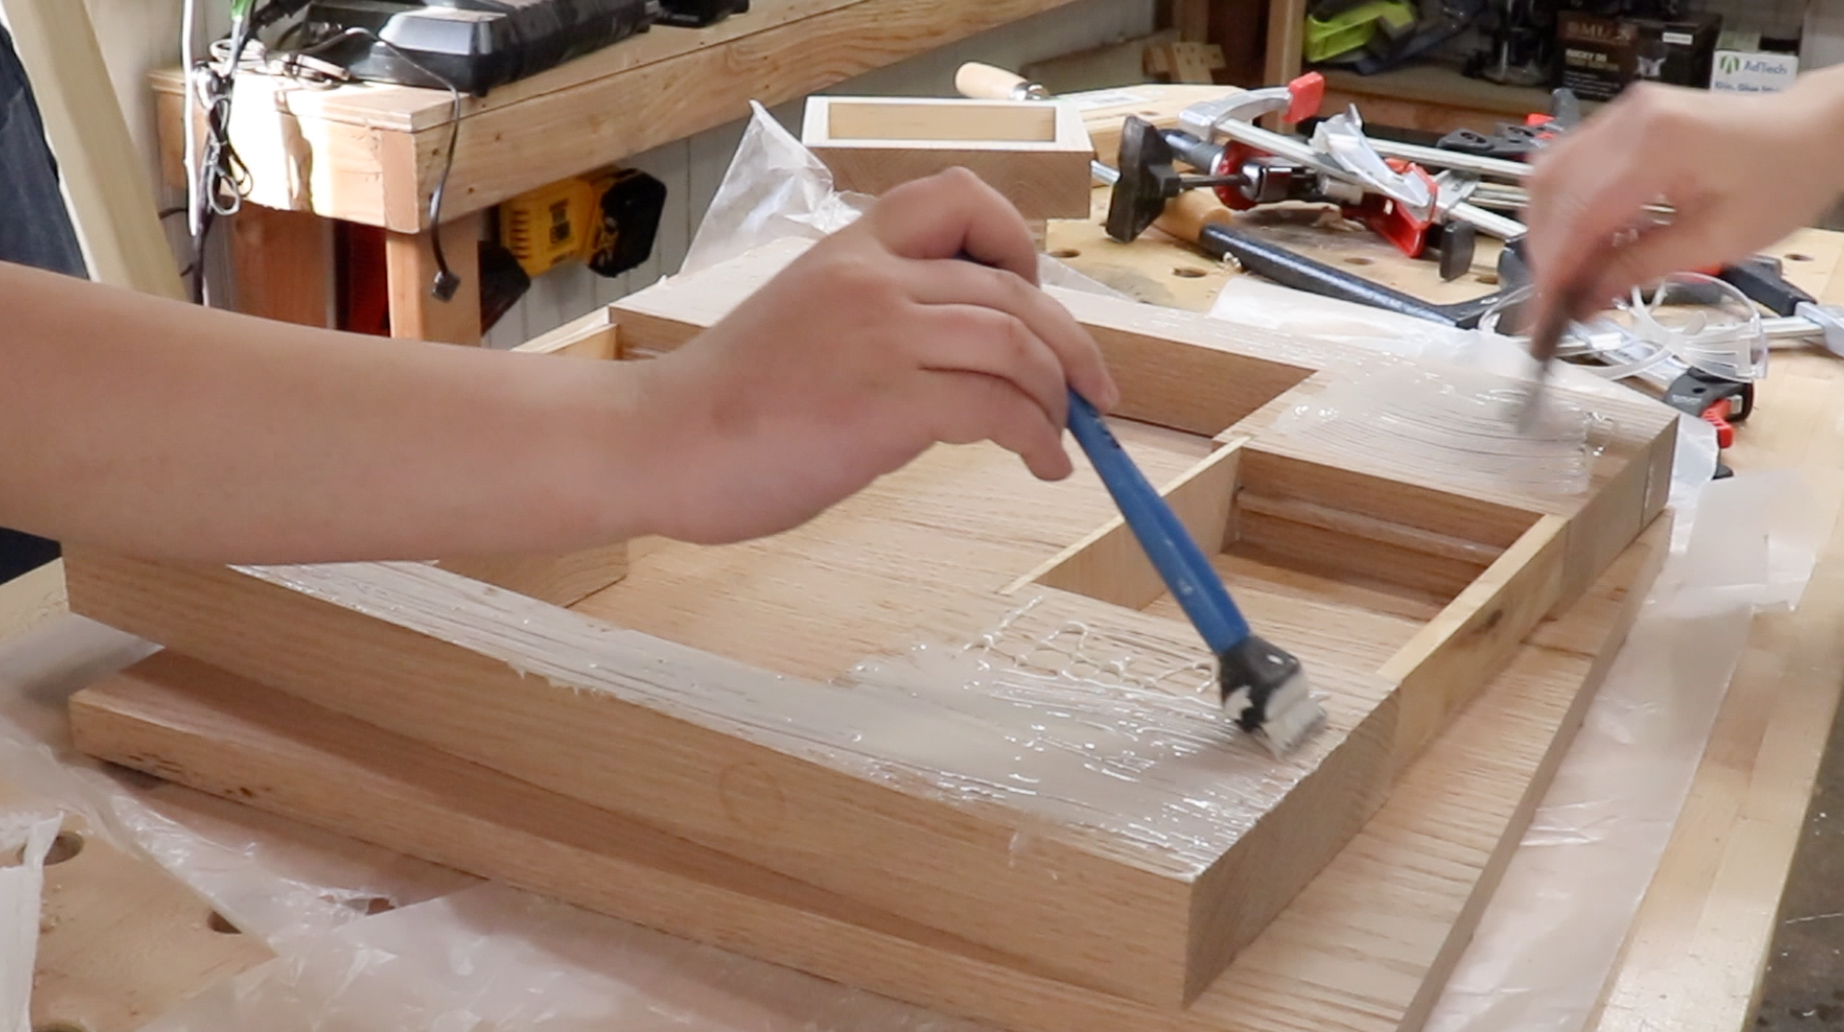
I used every clamp I had to hold the top board, middle section and bottom board together!

While that dried, I worked on the drawer pulls.
I used a 1/4” forstner bit at the drill press to drill a hole in the center of the drawer fronts.
I made sure to drill this hole through the plywood as well, not all the way through, but almost all the way. This way the pulling force will be on the plywood, not the end grain drawer front…

I placed a dowel in the hole and marked where it would be comfortable for my fingers to pull it and cut it to length at the miter saw.

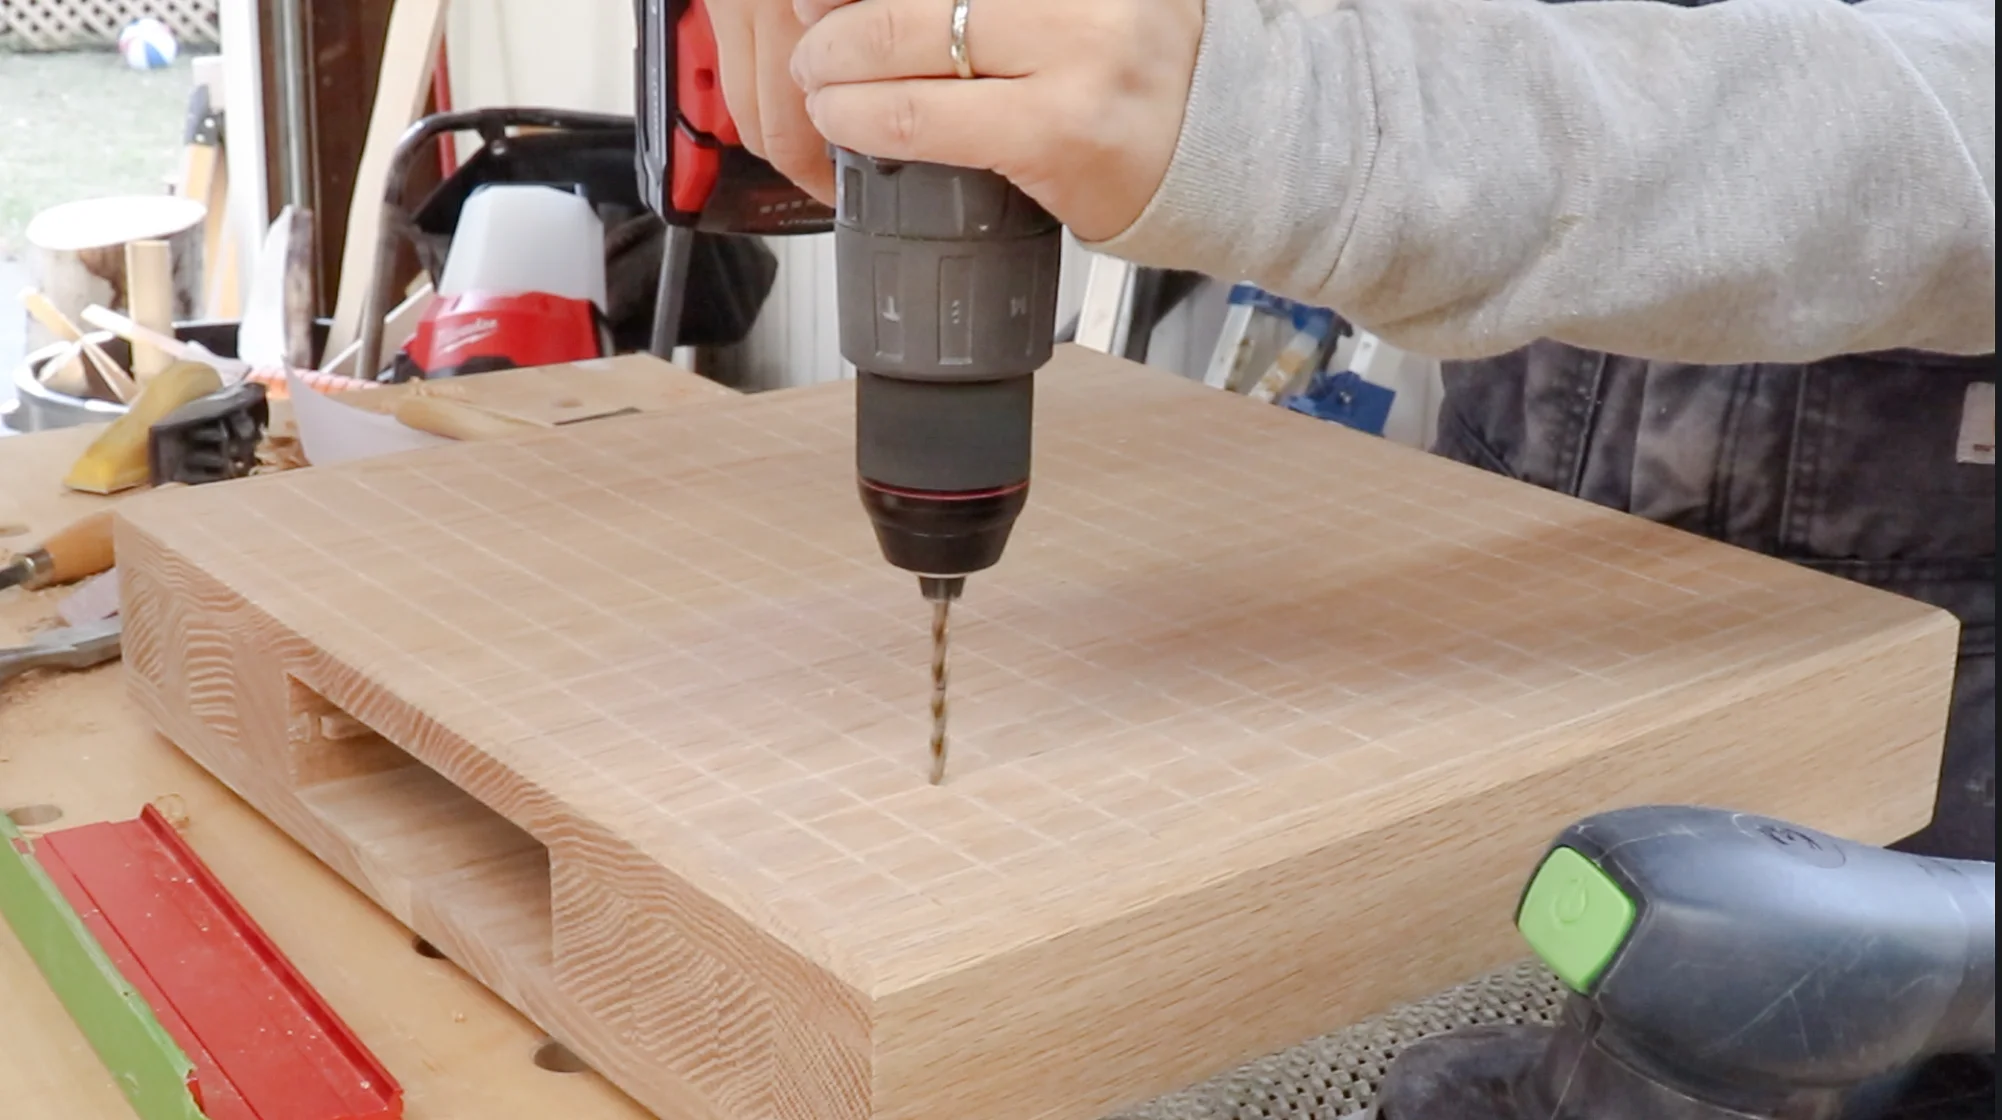
Then I sanded everything to 220 and drilled some shallow holes that will act as the star point markers on the board.
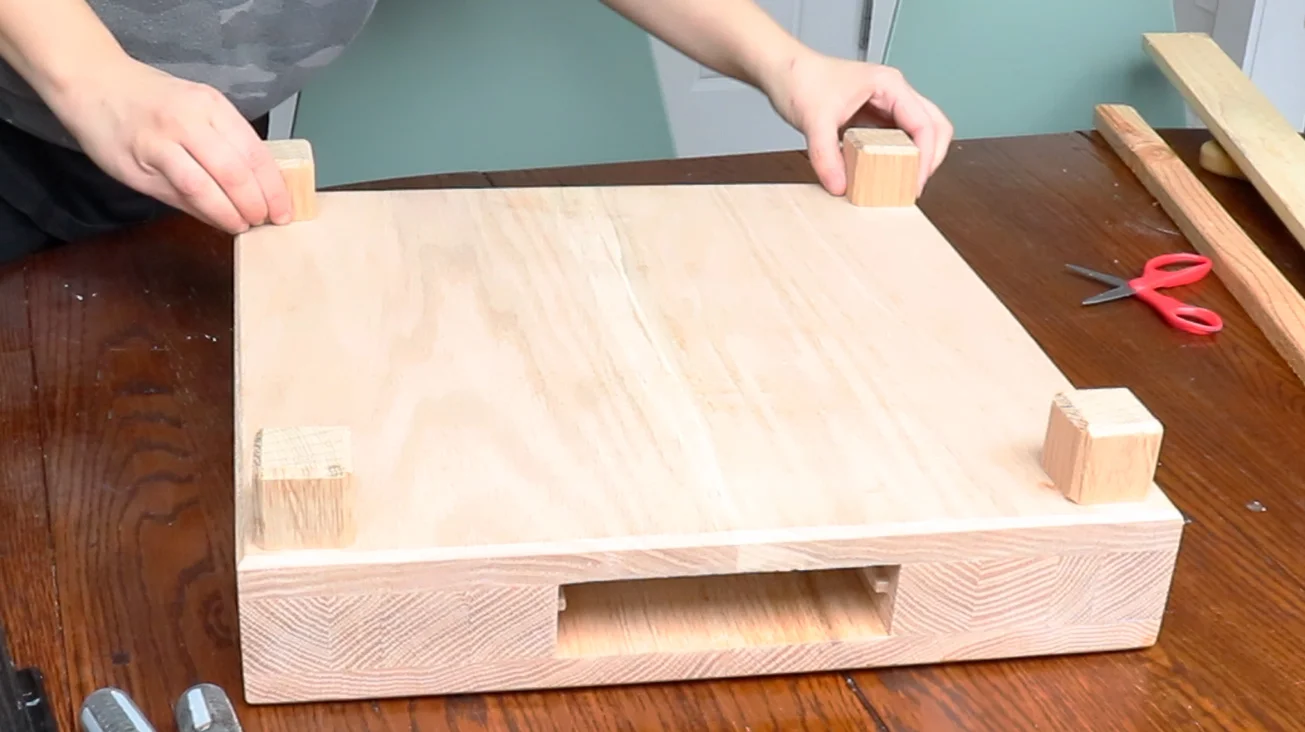
I cut some blocks to use as the feet and glued them to the bottom.
Before painting the black into the grooves, I sealed the whole board with shellac.
This prevents the paint from bleeding into the end grain of wood, it also makes it so that you don’t have to be so precise with the painting. You can just sand off the excess after the painting is done.

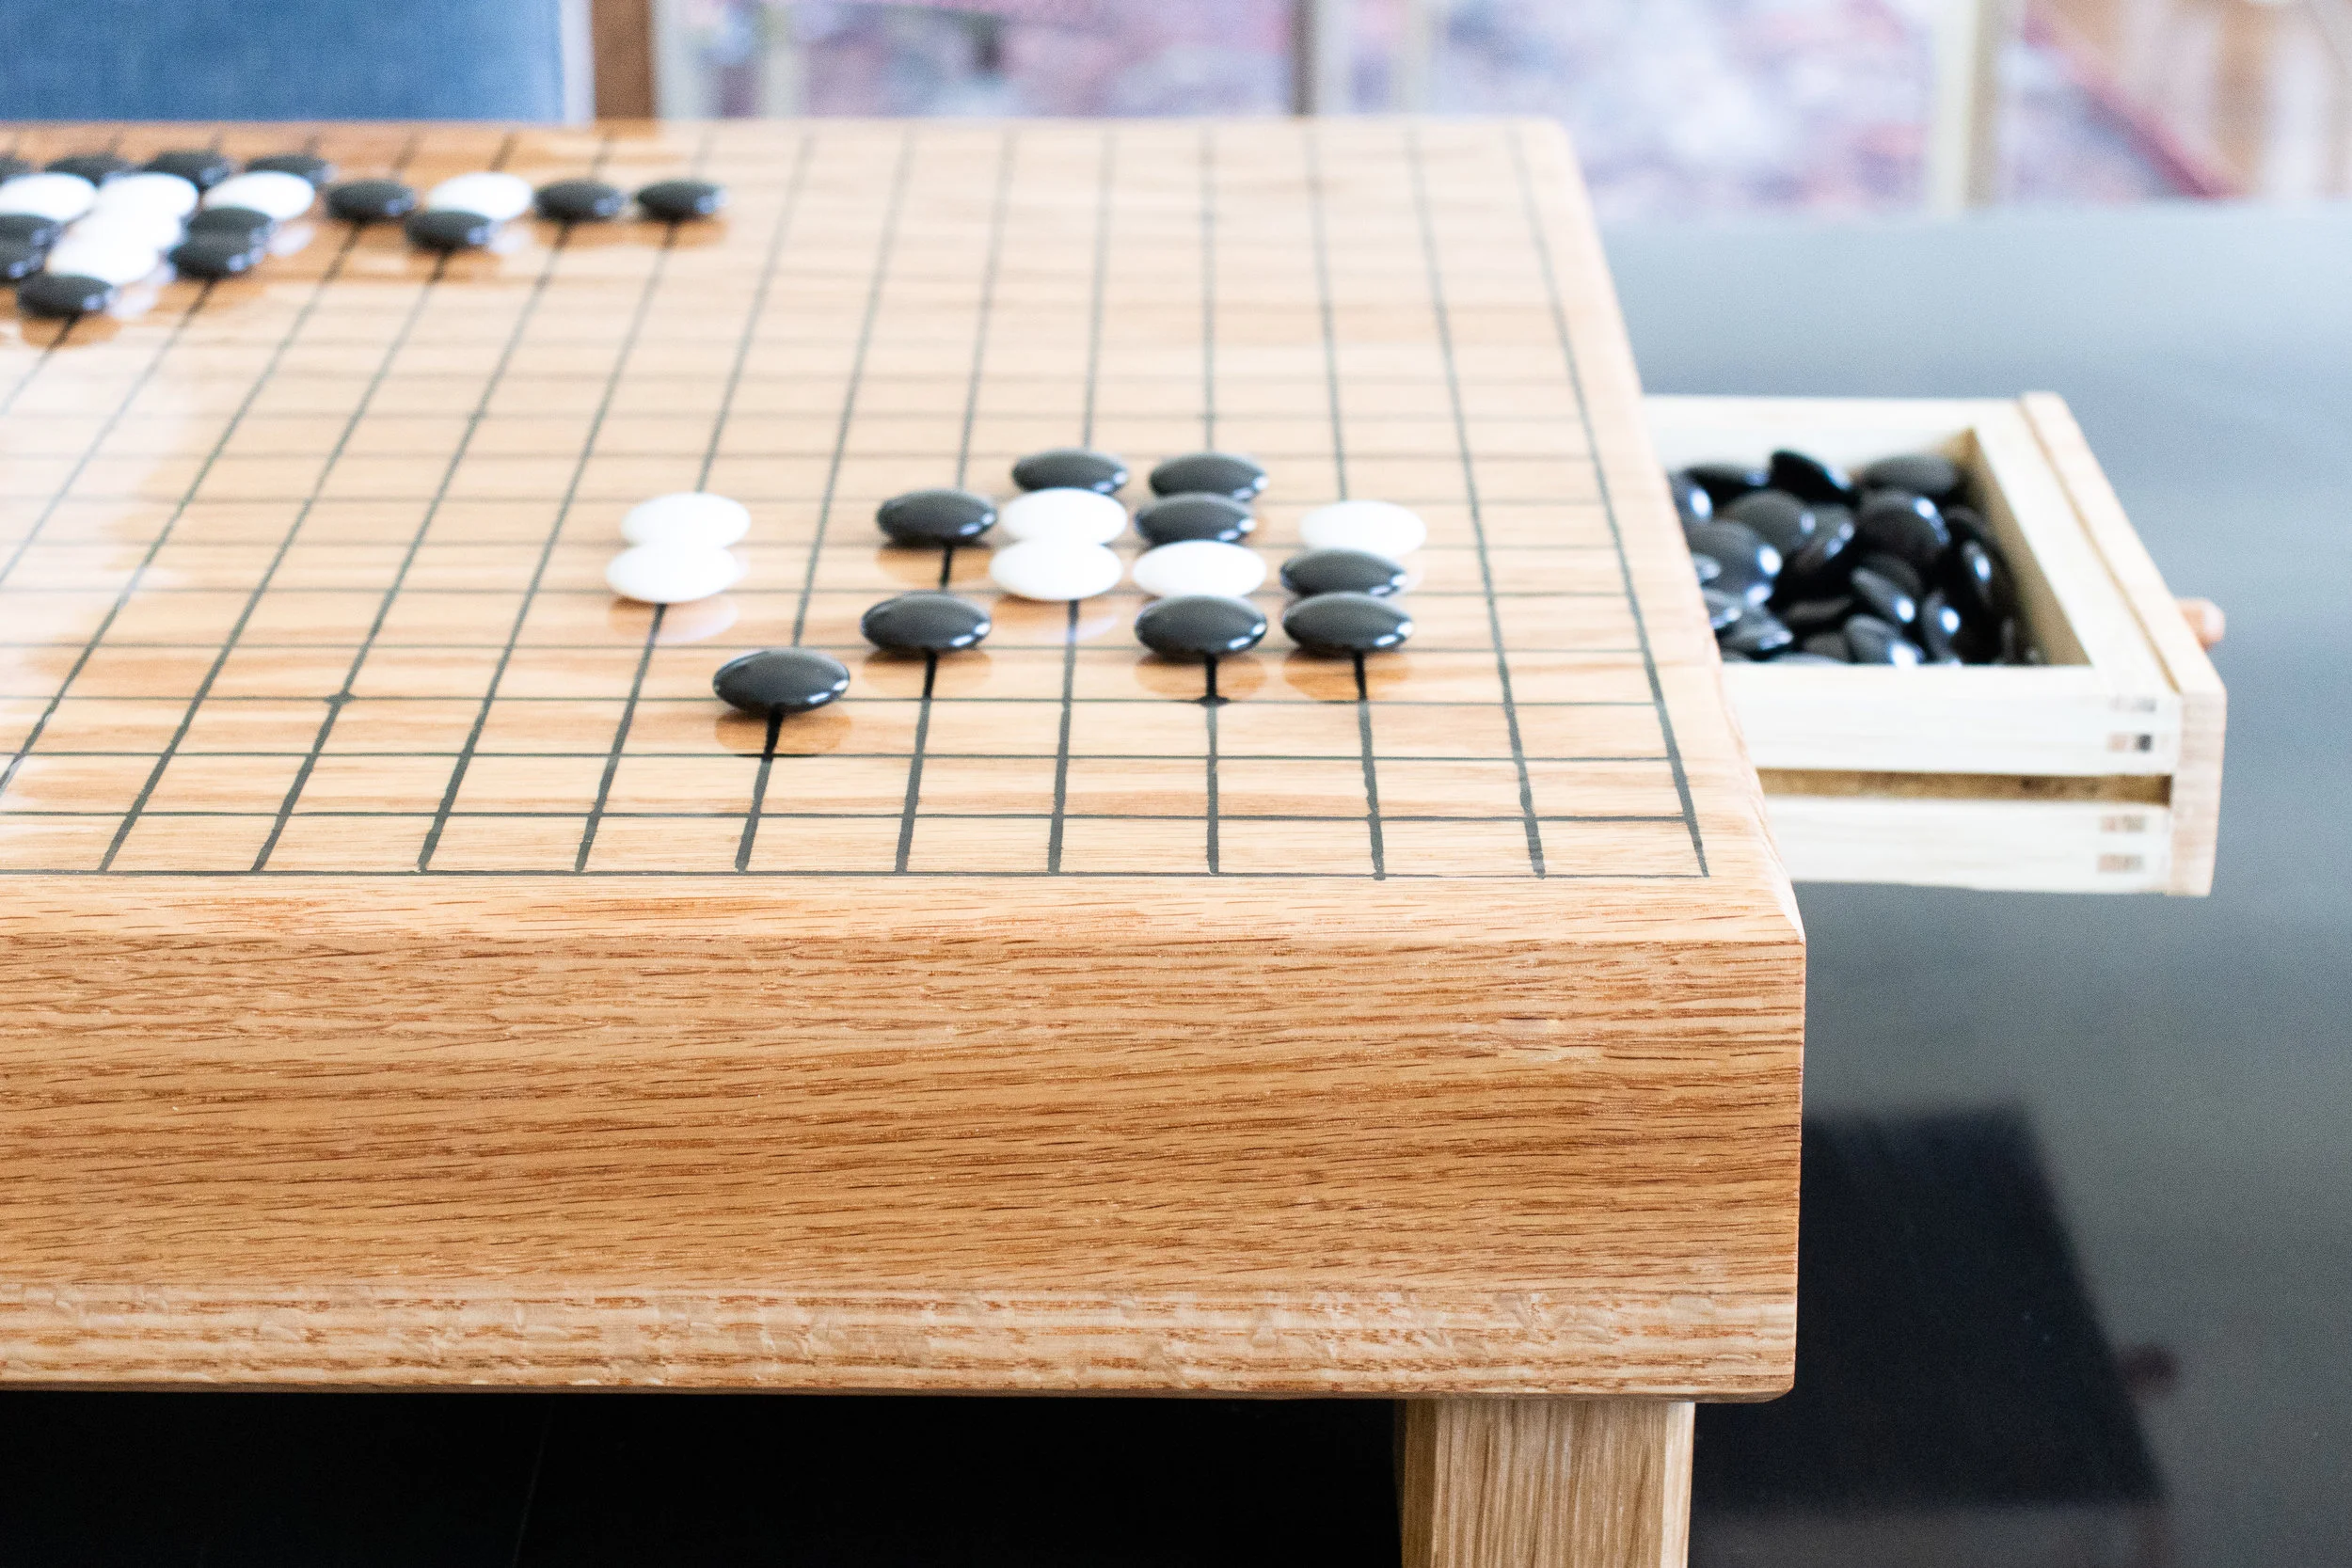
I decided to seal the whole game board with Table Top epoxy from Total Boat. It is a really hard wearing surface and it also fills in the grooves which adds a bit of dimension to the top.
Before pouring the epoxy, I put packing tape on the bottom and inside the drawer openings to catch any drips. That worked out really well.

And it’s done!

Like I mentioned earlier, the drawers I made were too small… so the picture below shows updated dimensions for what I think would fit all the pieces. (My drawer boxes were 6x5)

My son was so happy when I surprised him with this Go Board, he’s been asking me to play all day!
Besides for the drawer size, I’m really happy with how this turned out!