
How to Make Perfect Dados, Grooves and Half Laps
There are a lot of ways to make Dados, Grooves and Half Laps. Most common tools to make these joints are the Router, Router Table or Table Saw. I am going to focus on making these joints using a single blade on a table saw. Ideally, when making these joints on a table saw, you would use a Dado Stack, but my saw cannot hold a Dado Stack….. so single blade it is! This jig can also be used with a Dado Stack though if you have one!
When I first started woodworking, I thought I could just use a stop block with a scrap piece of the material I wanted to put in the groove to make these cuts. After my first attempt, I realized the joint was very loose because that method does not take into account the thickness of the blade. I did a little research and came across a jig called a “Kerfmaker” that does exactly that! It measures your stock and the thickness of your blade (Kerf) so create a perfect tight fitting joint.
Check out the full build video below!
MATERIALS
Scrap Wood
Bolt
Washer
Wing Nut
There are definitely simpler versions of this jig, but I really enjoyed making this “fancy” version.
I started by raiding my scrap bin to determine how big it will be.
The final dimensions are about 4-1/2” long, 1-1/8” wide by 1-3/4” tall.
With this set up I can make a dado, groove or half lap up to about 1-1/2” wide. If you need wider than that, just make it longer!
***UPDATE!*** An awesome viewer of mine helped me out by drawing up some plans for this jig.
Click here to download a printable plan ———> Kerf Maker Jig Plan . Just a note about this plan - The hole for the bolt is marked on the wrong side. It should be on the opposite side, towards the bigger piece of wood.
Another viewer drew up different corrected plans ———> Corrected Kerf Maker Jig Plan

I broke down the pieces to rough dimensions at the table saw.
The top piece is 3/8” thick and the bottom is 3/4” thick. (If you saw the YouTube video, you’ll know I messed up on the bottom piece and had to remake it to this thickness.)
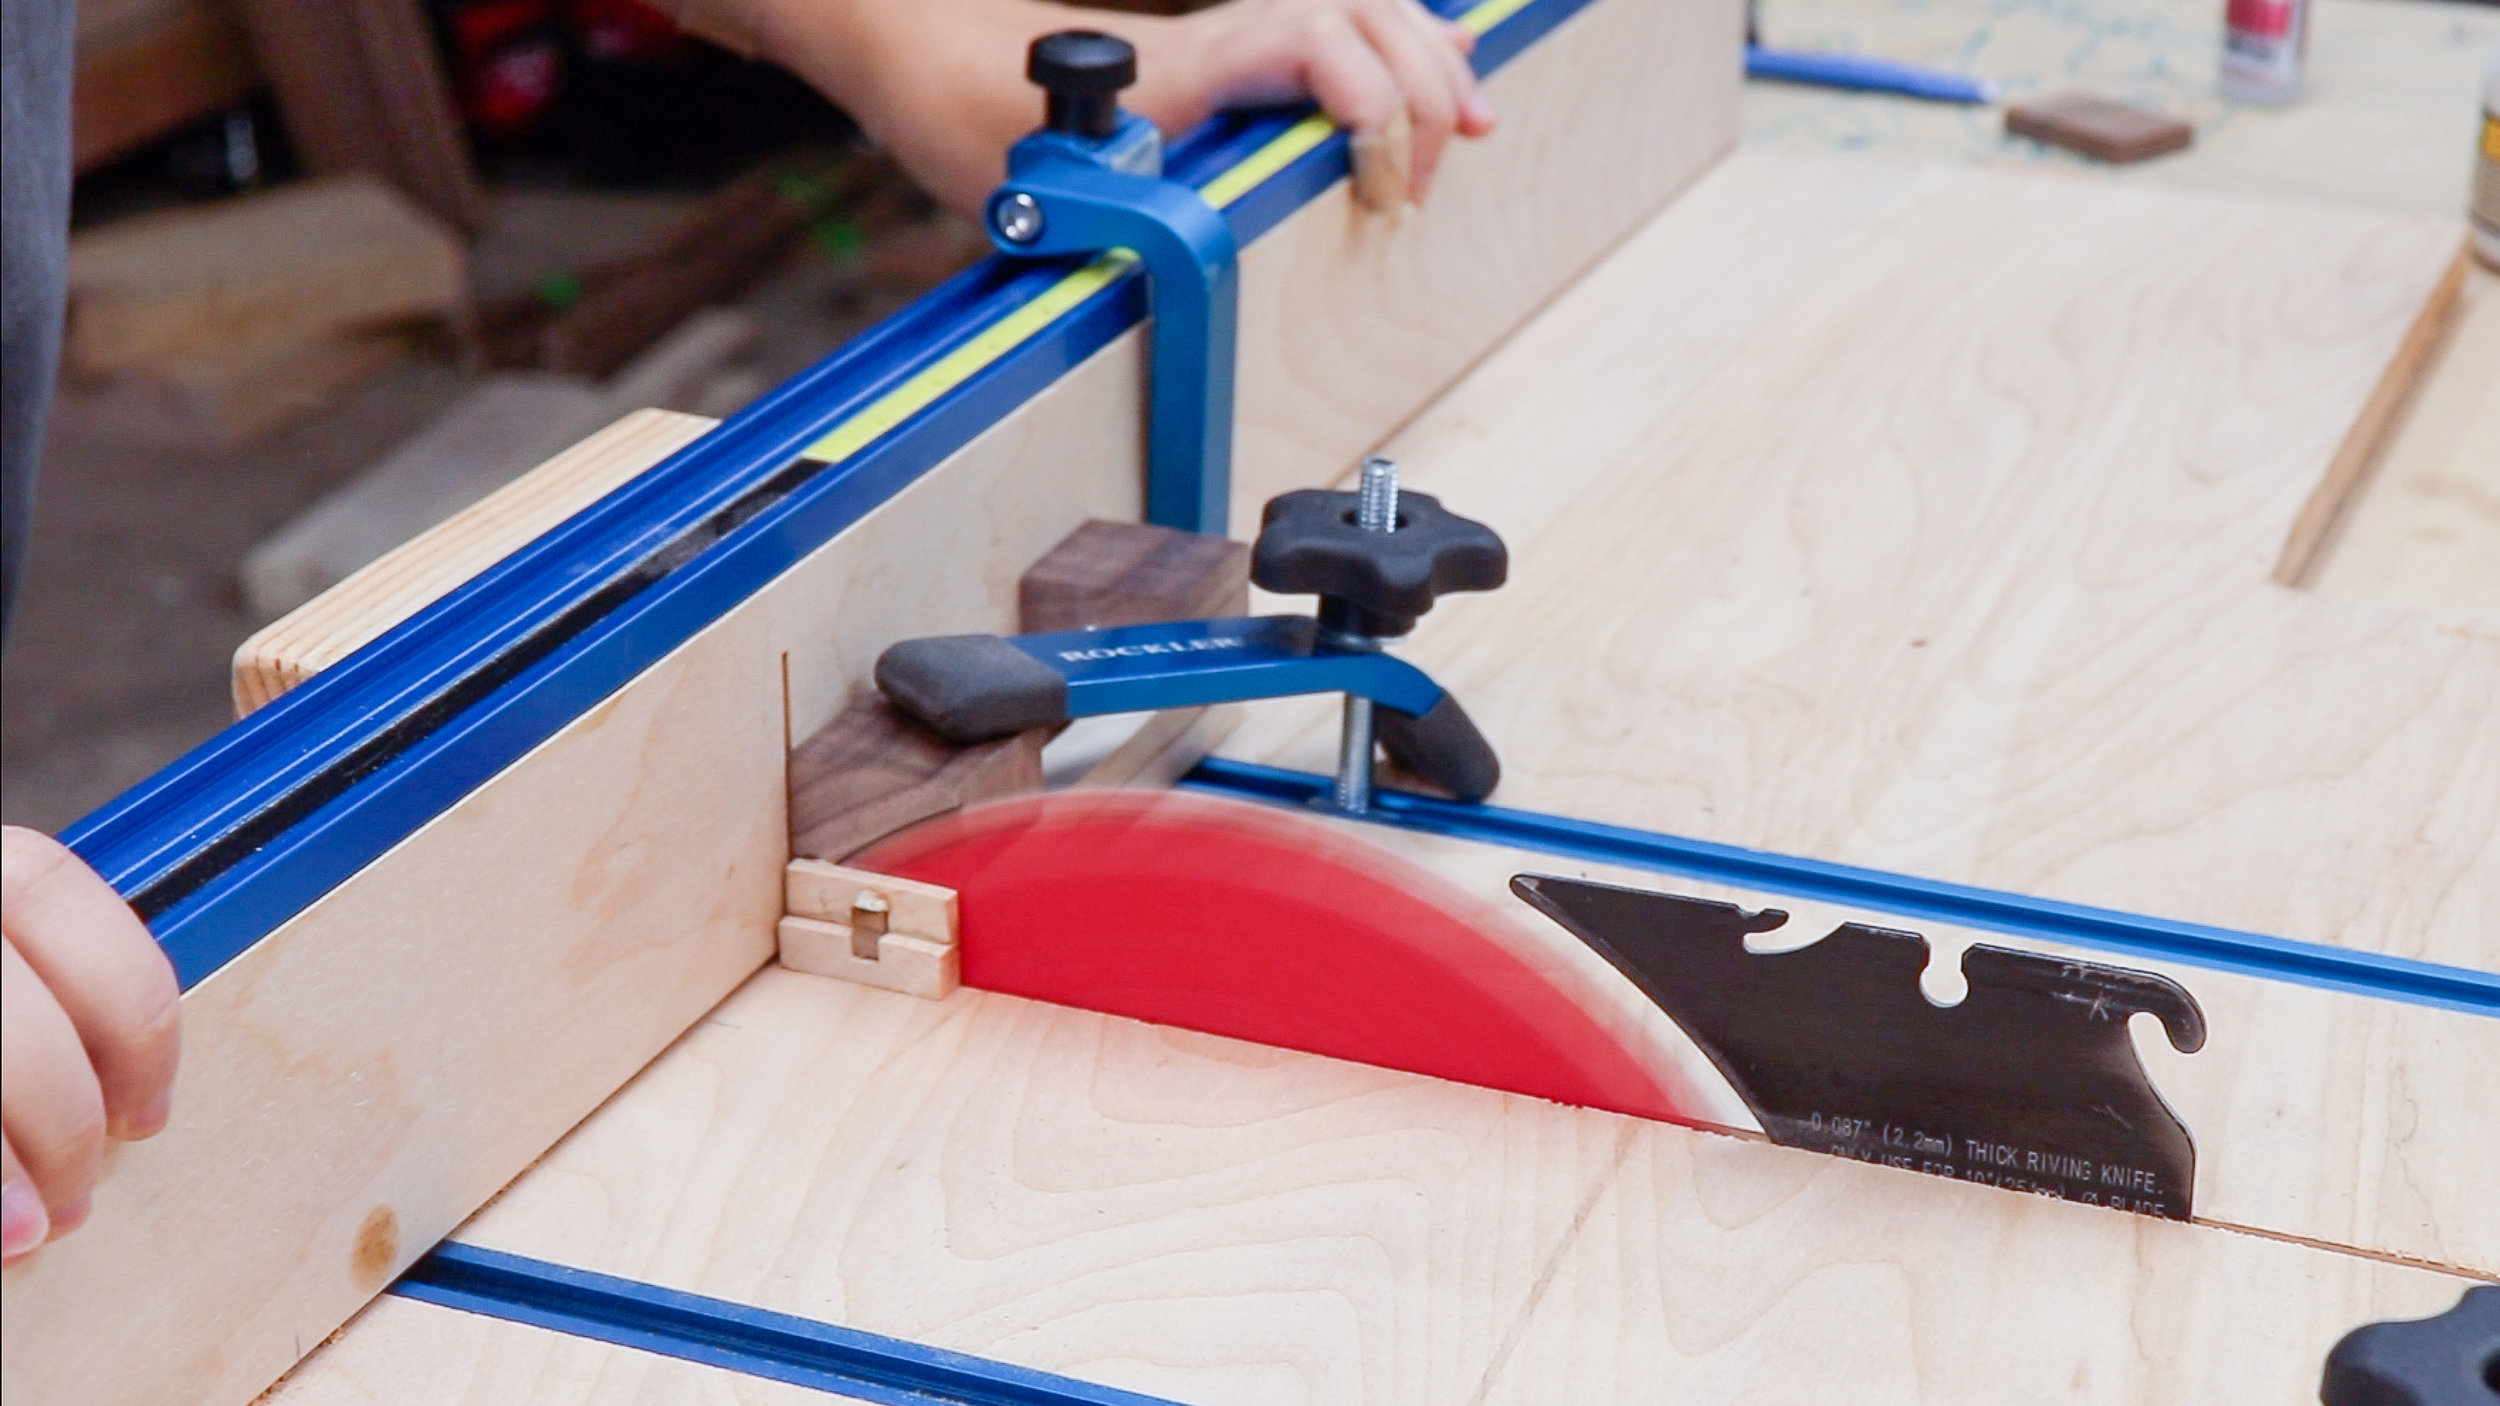
The top piece needs a groove in its center that goes all the way through the piece, it’s about 2-1/2” long. I did this on the router table, but the drill press is definitely a safer option for such a small piece of wood.
To do this on a drill press you can just drill a bunch of consecutive holes until they are connected.

I made one pass with router bit set to half the height of the stock.

Then flipped the piece over to complete the cut on the other side. Doing it this way (by flipping it) is safer because the router bit doesn’t go above your workpiece.

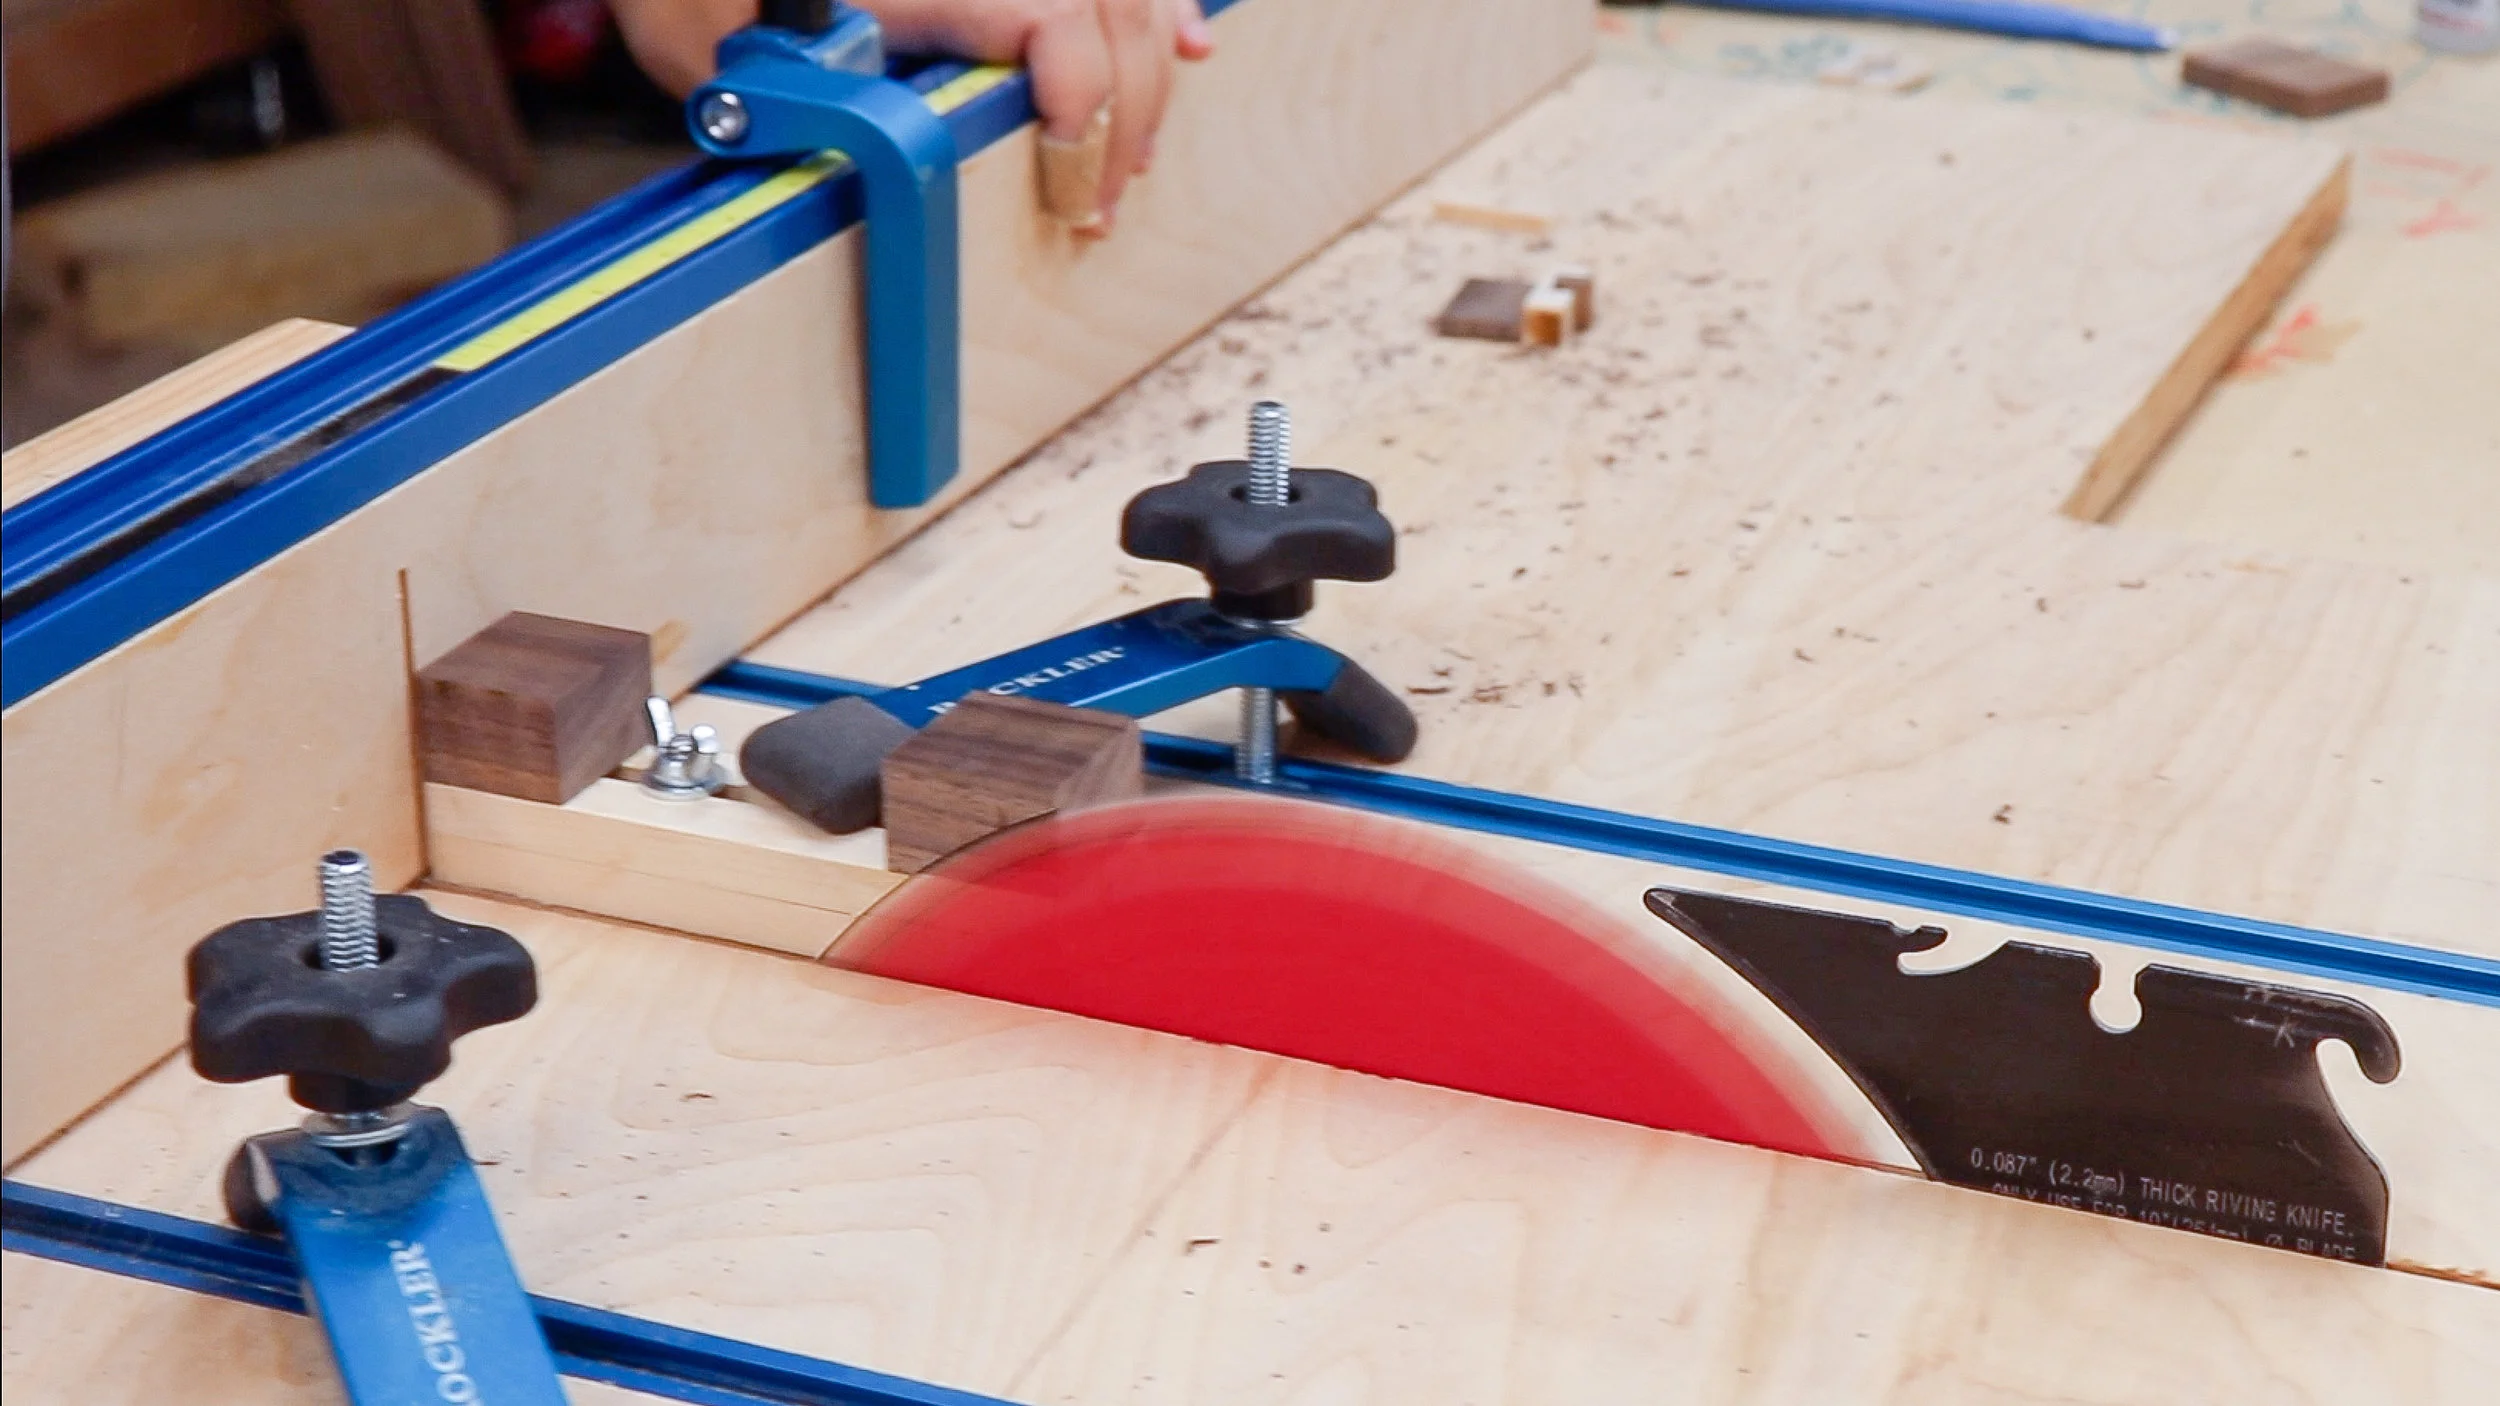
Next I needed to make a 1/4” groove in both of the pieces that will hold the runner. I found a small piece of scrap walnut to use for the runner and made a halfway mark on it. Then I set the router bit height to that line.

I then made that groove on both the top and bottom pieces of the jig.

Both pieces have a groove for the runner, but the top piece has the groove that goes all the way through for the 1/4” x 1” bolt to run in.

The walnut was the correct height for the groove since I set the router bit to its halfway point but it was still too wide. I used a drill bit that was the same size as the router bit (1/4”) I used to make the groove to set my fence to the correct thickness. Then cut away!

The walnut runner now fits perfectly between the top and bottom of the jig.

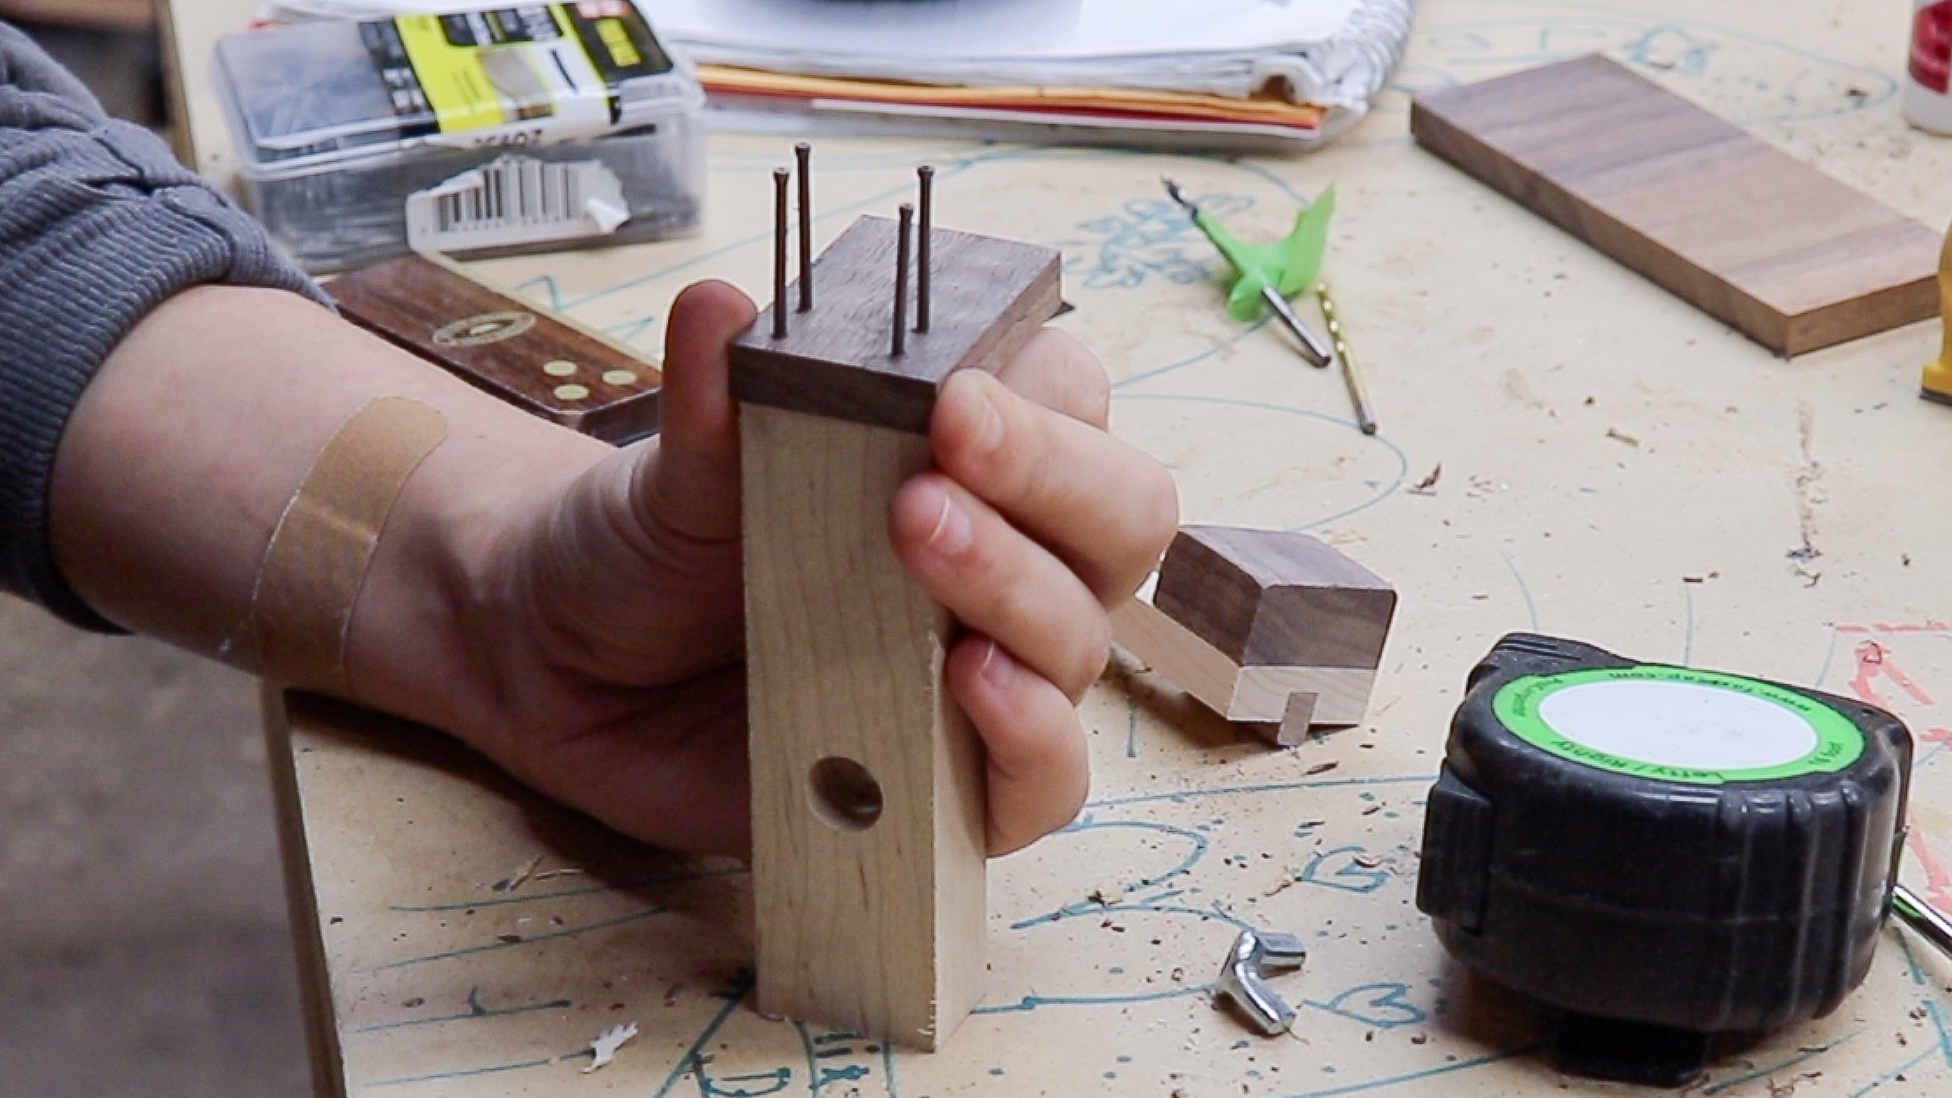
I temporarily placed the two halves of the jig together so I could mark where to drill for the bolt.

Then I drilled all the way through the bottom piece of the jig and used a forstner bit to counter sink so the bolt will sit flush with the bottom.

Then I cut three pieces of walnut. Two of these pieces will be attached to the top of the jig and one of then will be attached to the front of the bottom.
1-1/8” x 1/2” tall x 1/2” wide (front of top)
1-1/8” x 1/2” tall x 1” wide (back of top)
1-1/18” x 1-3/4” tall x 3/8” wide (front of bottom)
(These are final dimensions, cut them larger so that they can all be trimmed to final size after assembly)

Now that all the pieces were cut, It was time to assemble it all!
I glued the runners into the groove on the top piece using a mix of wood glue and C.A. glue. wood glue for a long lasting joint, C.A. glue to temporarily act as a clamp.
I placed the runners so there was a 2-1/2” gap between the two.

And did the same gluing method with the blocks for the top piece.
It’s not important to keep these square since the whole jig will be trimmed up on the table saw after it’s assembled.

After the glue dried, I placed the jig together and trimmed off the ends so they were square.
And I also trimmed up the sides so it was nice and flush.
After I was certain the jig was square, I attached the front walnut piece.
I did this by predrilling holes and securing it with glue and trim nails.

It’s important that this front piece is installed in the right location. It should be on the opposite side as the hole for the bolt. (see picture below)
If it is installed on the side closer to the bolt, it will not work correctly.
I predrilled a hole at the back of the bottom piece to accommodate a screw.

Then installed the screw! This screw is what is going to act as the thickness of the blade when making grooves, half laps or dados.
Using a screw makes this jig adjustable. If you swap out to a thicker blade you can loosen the screw to the thickness of that new blade and your cuts will be perfect every time!

Using the jig is simple to do!
Take your material you want to put into a groove, dado or half lap and insert it into the front opening of the jig and lock it down using the screw, washer and wing nut.

Then place a stop block on your table saw and put this Kerfmaker jig against it. Then take your stock and run it through the saw.
Flip the kerfmaker around so the back screw is now against the stop block, adjust your material so it’s next to the kerfmaker and make a second cut!
You now have a perfect thickness for the groove marked on your stock, if you are using a single blade, you just have to clean up the cut by taking multiple passes between those first two cuts!
It’s a bit hard to explain with words, but I show how to do it on the full video above.

I hope that was helpful, now I have to go make some grooves!

