
How to Build Drawers
There are a lot of different ways to make drawers. I have had a lot of success doing it this particular way, so I will share how I do it!
The joinery is very simple and easy to do, with a few little tricks these drawers can be cranked out in no time.
Check out the full video below for more details!
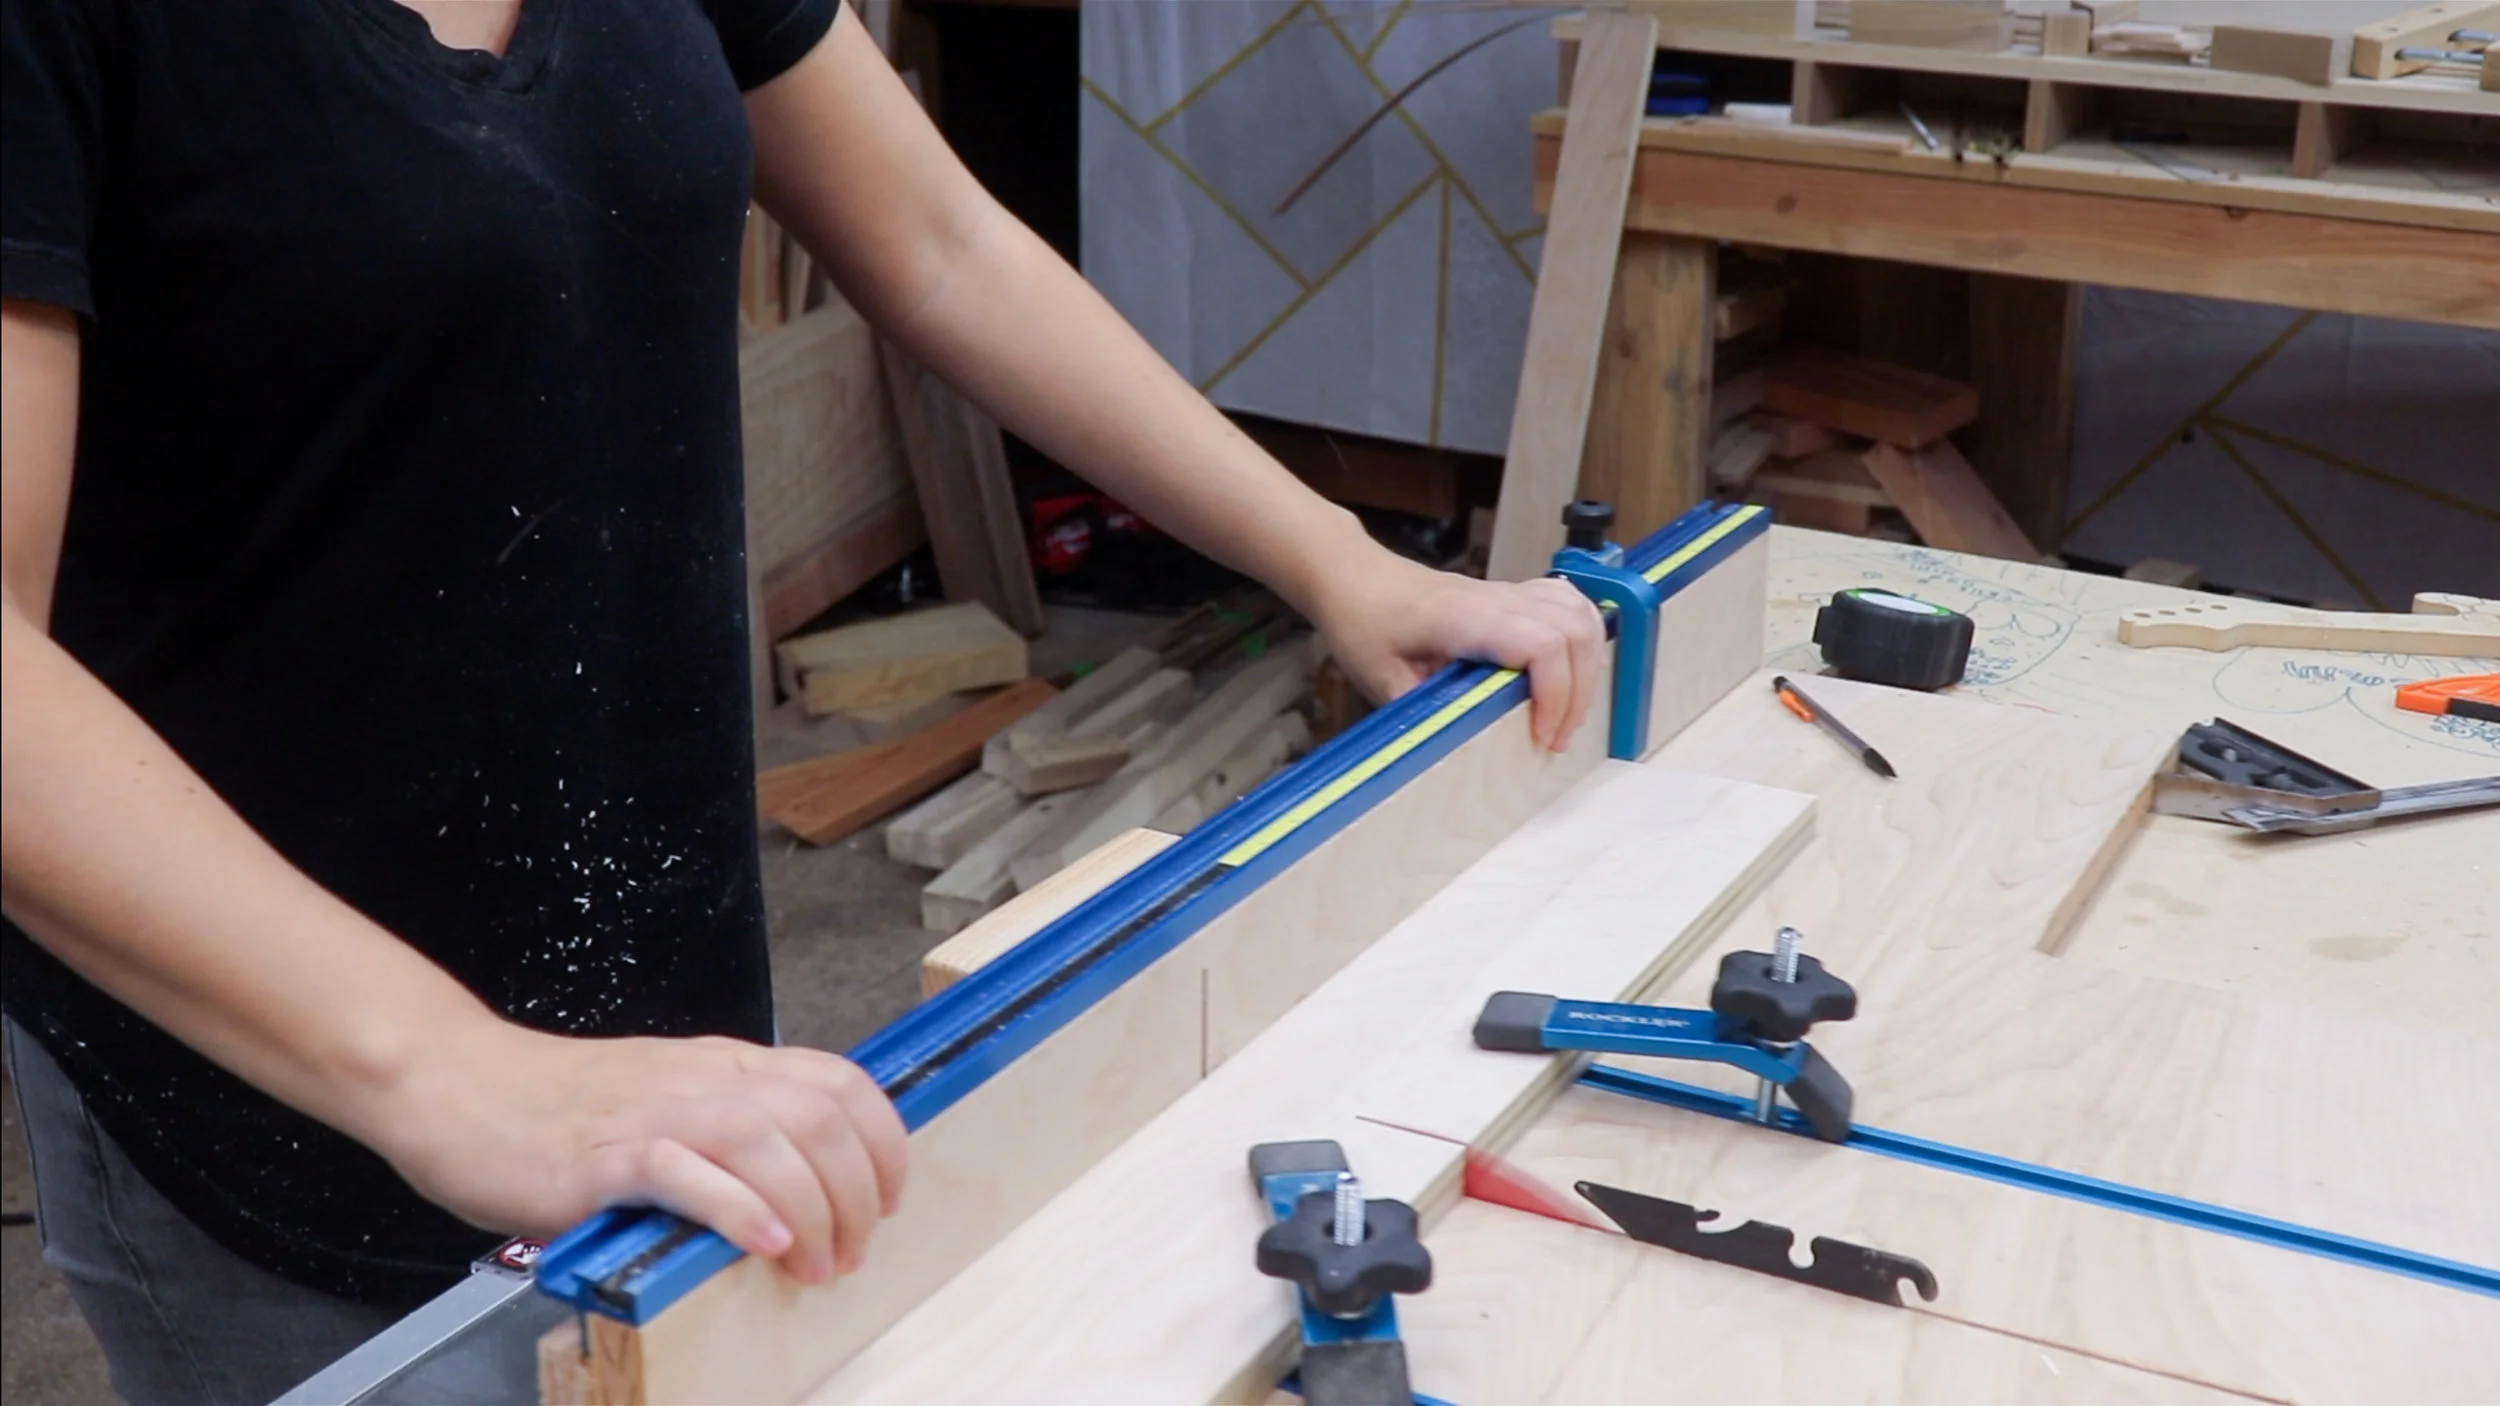
The first step is to determine how tall your drawers need to be, then rip them to width according to that measurement.
This will vary depending on your specific project and frame opening.

The next step is to cut all the draw parts to final length.
If using drawer slides, cut the drawer front to be 1” less than your drawer opening. Drawer slides are typically 1/2” thick, so subtracting 1” from your total will create a perfect fit.
(Measure your drawer slides to be sure they are actually 1/2”)
Figure out how deep you want your drawer to be and cut two pieces at that length for the drawer sides.
You should have 3 pieces at this point. 1 front and 2 sides. We’ll get to the back and bottom later.
Now it’s time to cut some joinery.
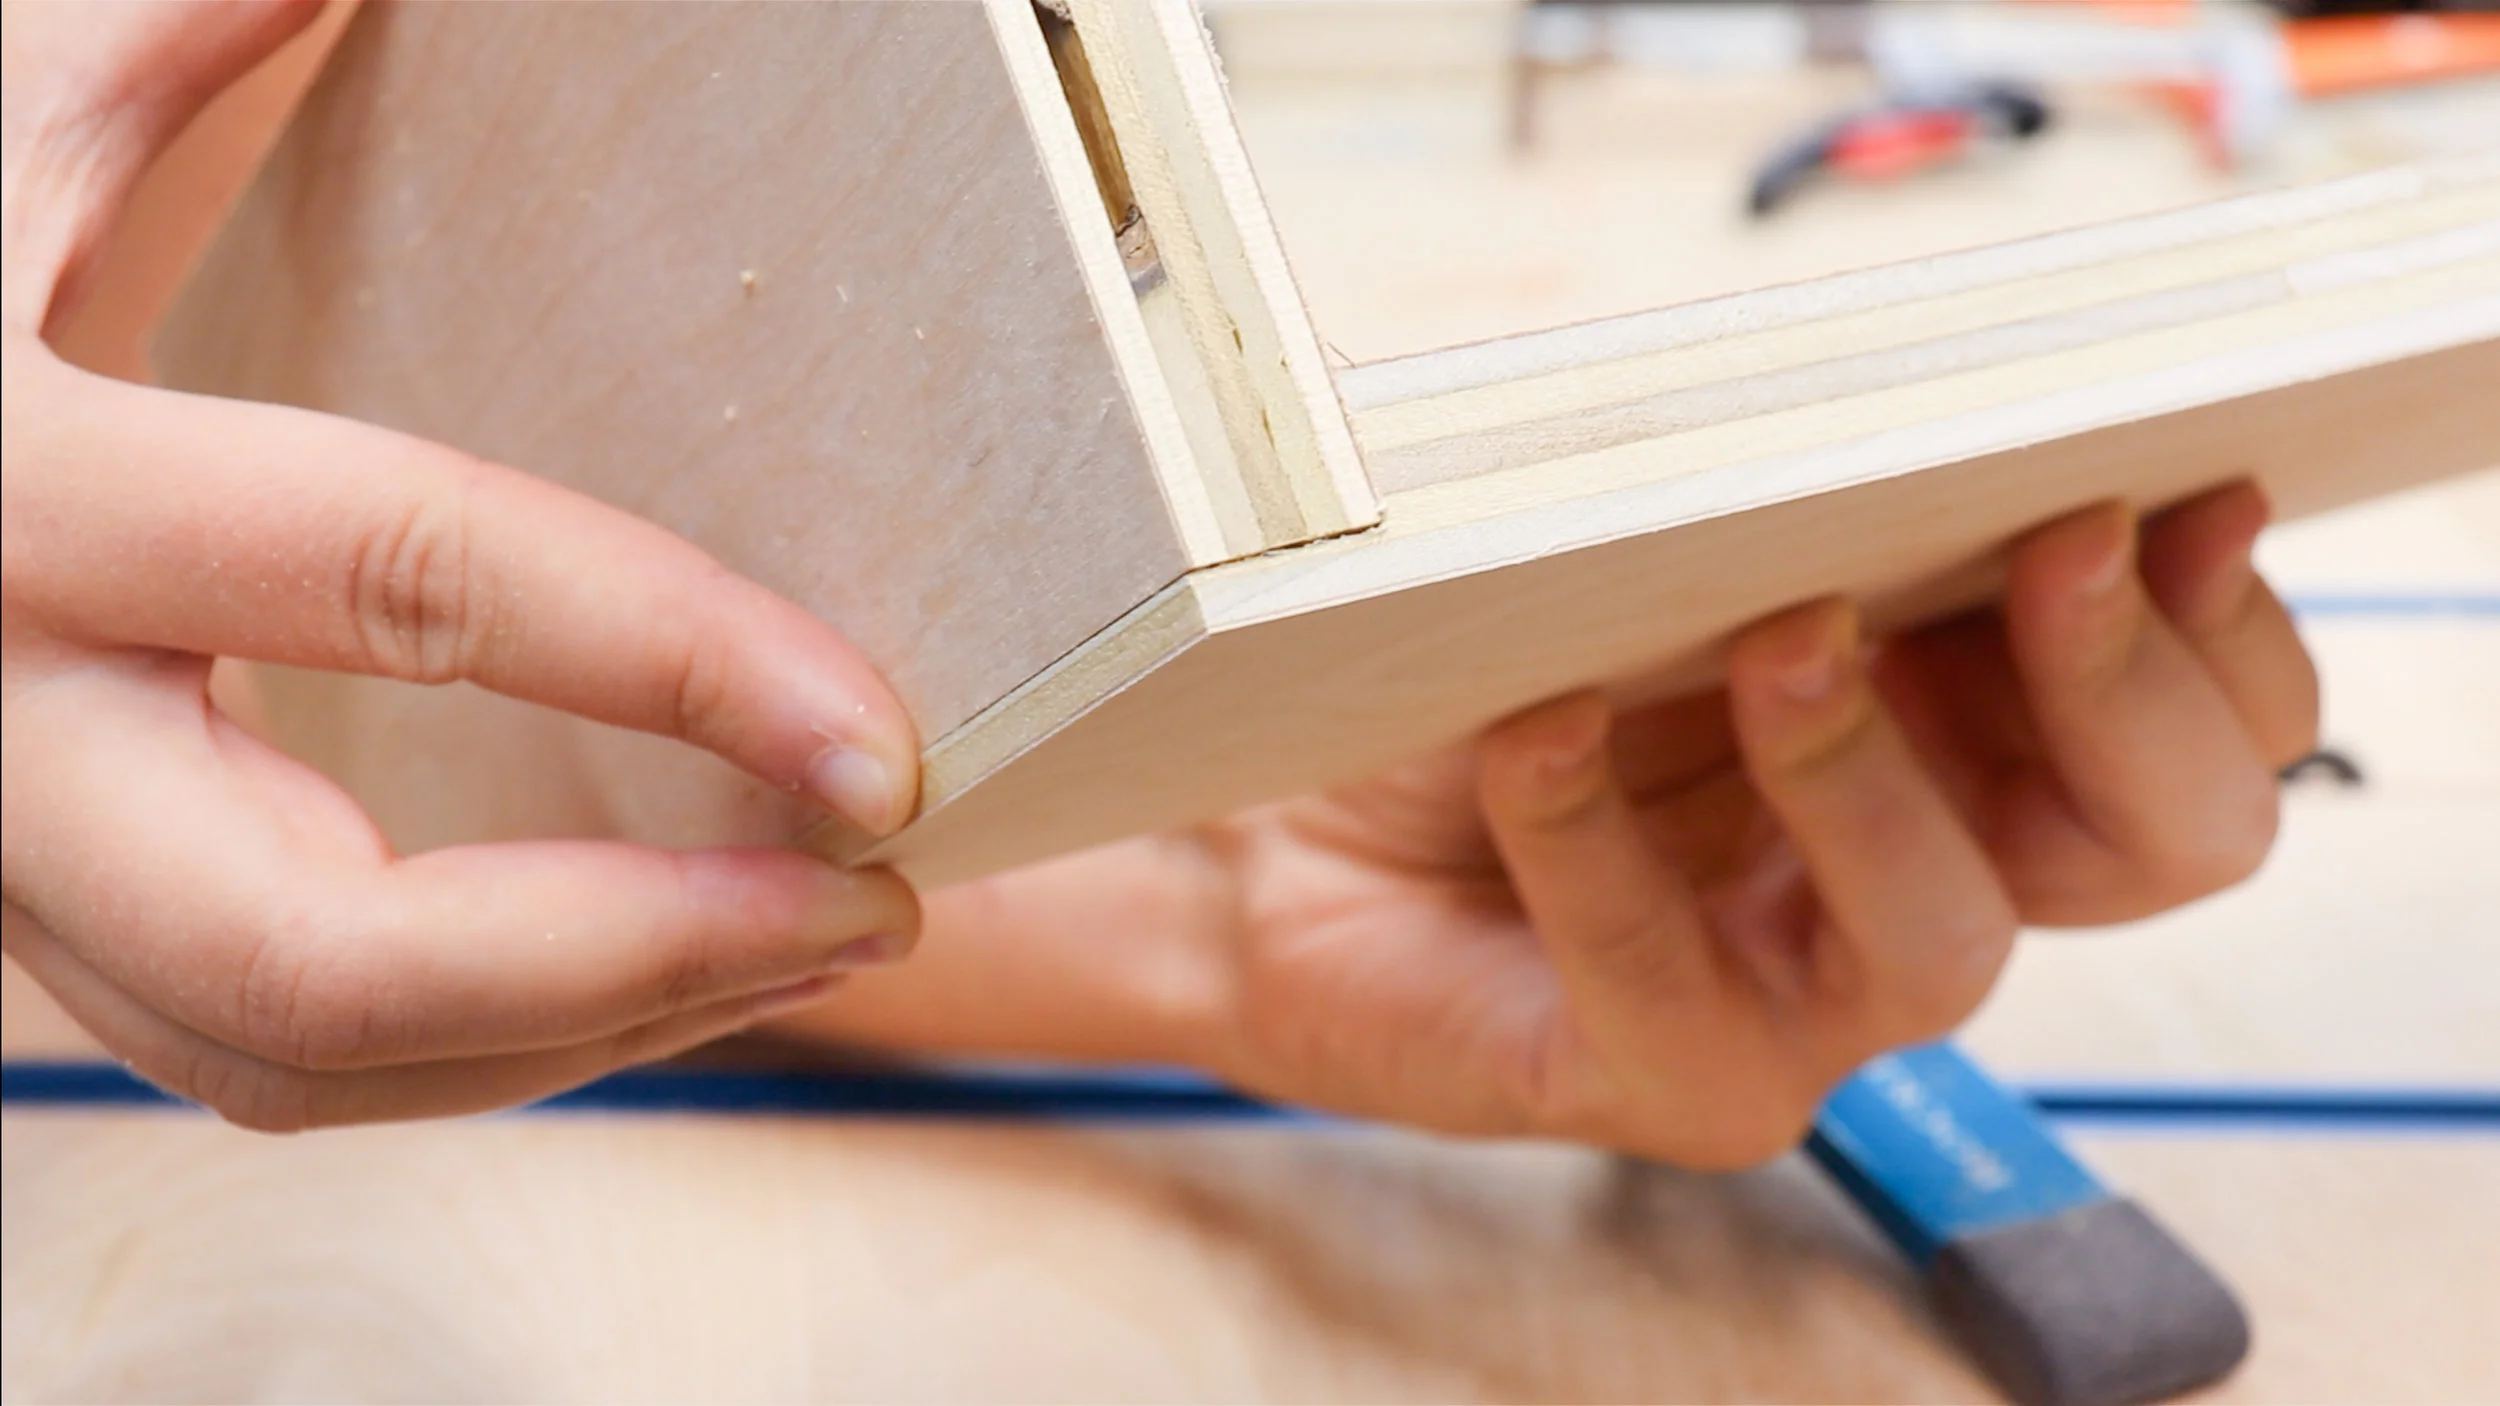
The front will be connected to the sides using a rabbet joint.
A rabbet is a joint that is on the edge of a workpiece. It is exactly like a groove or a dado, except for the fact that it is on the edge of a piece so it is open ended.
This rabbet can be created on the table saw, miter saw, router, router table, hand saws, chisels…. you name it… I chose to make them using my cross cut sled on the table saw.
The rabbet should be as wide as the material you are using for the drawer sides.
I accomplished this by making multiple passes on the table saw to clear out all the waste.

After a few cuts, the drawer side now sits flush with the edge of the drawer front when it is in the rabbet.
I made this rabbet on both sides of the drawer front.
The next step is to to make the dados in the drawer sides that will house the drawer back.
(A dado is the same thing as a groove, it is only called a dado when the cut is going across the grain. A groove runs with the grain.)
I used the same method of doing multiple passes on my table saw cross cut sled.
I cut one dado on both drawer side pieces.

The last joinery to cut is the groove to hold the drawer bottom. (It’s a groove because it’s going with the grain.)
I did this on the table saw again.
All of the drawer parts get this groove cut in the bottom of them.

Below are what the 3 drawer parts should look like.
1 - Drawer front with 2 rabbets and 1 groove on the bottom
2 - Drawer sides with 1 dado at the back and 1 groove on the bottom.

When cutting the grooves on the drawer sides I made sure to orient them in the right direction so the pieces look like they do below.
When running them through the table saw, I made sure to pass one through with the dado at the front and the other with the dado at the back. This will create a right and left side.

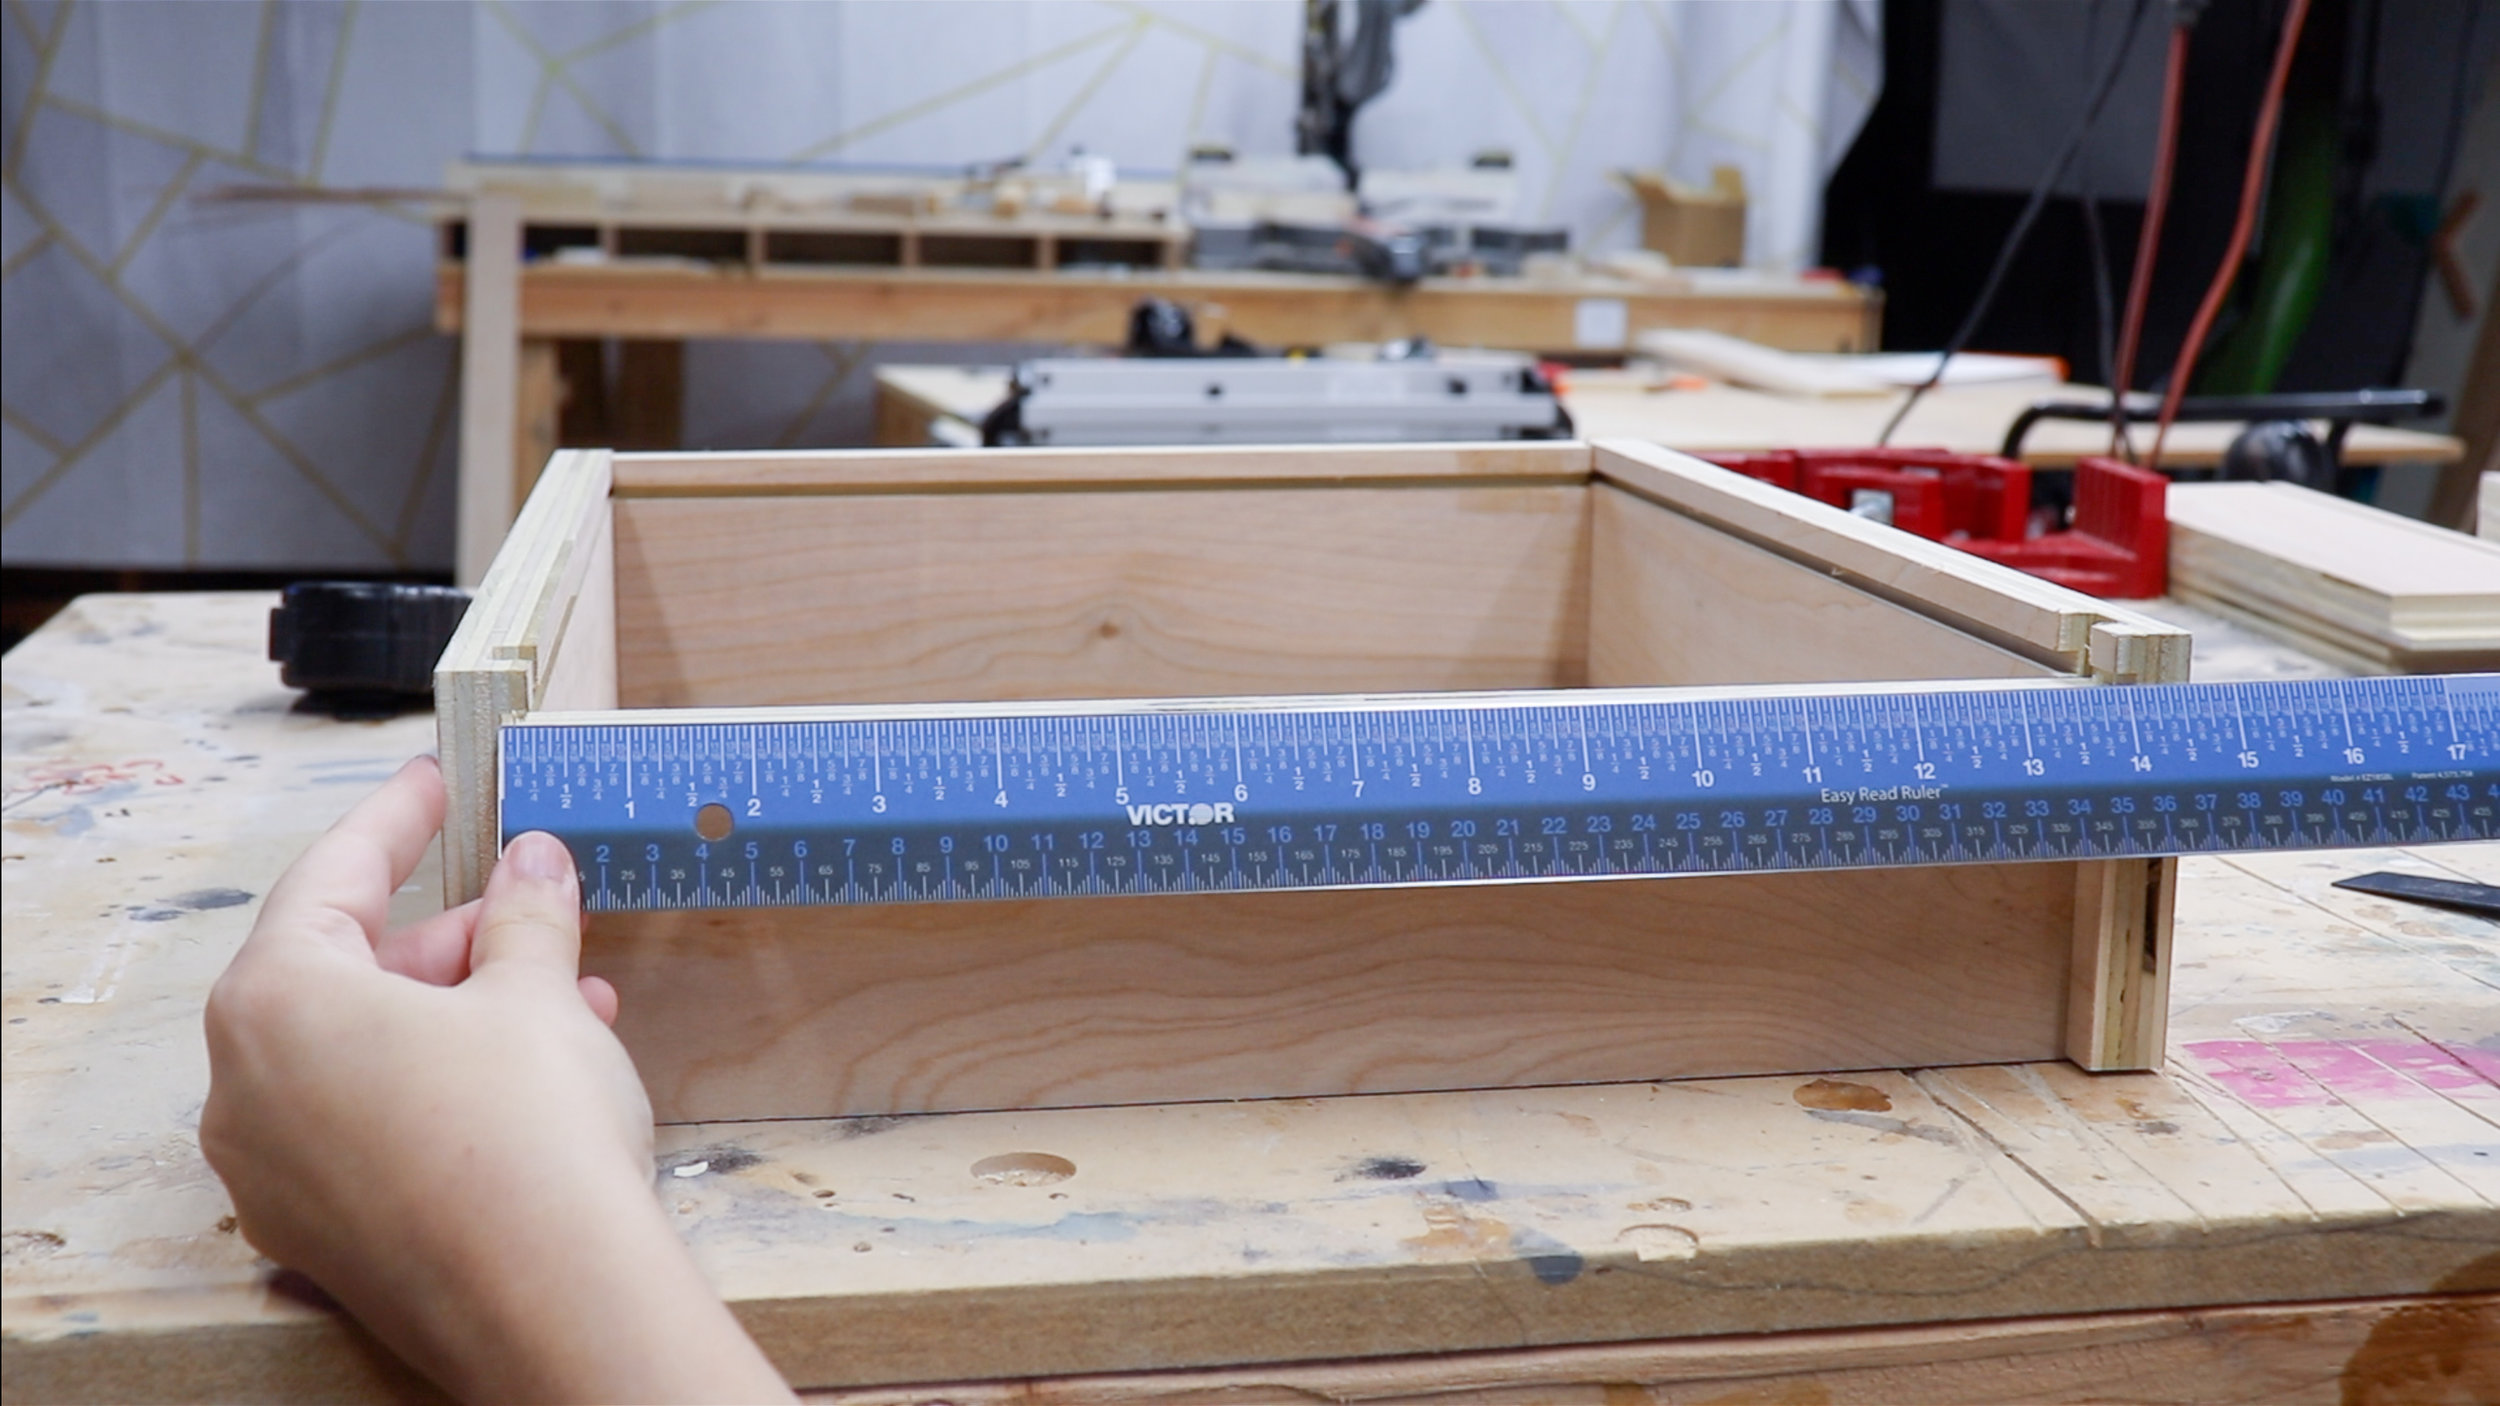
After the groove is cut you can measure for the back piece. It will be as tall as the top of the groove to the top of the drawer.
This will allow for you to slide the drawer bottom in after assembly.

Then rip to that width at the table saw.

You can do math to determine how wide to cut the back piece by adding and subtracting a bunch of numbers. OR you can be like me and avoid math!
I flipped the sides temporarily so the dados were against the drawer front and made sure everything was square. Then just measured from dado to dado to get the perfect width!

I cut the drawer back to length then did a dry fit of the drawer to determine how wide to cut the drawer bottom.
Again, you can do math…. or just measure from groove to groove from the back of the drawer.
I like to subtract about an 1/8 or 1/16 from this measurement just so everything glides into place smoothly.
I ripped the plywood bottom to size at the table saw.

Then put it in the dry fit drawer to mark a line for its length. Then cut that on the table saw as well.

After all the pieces are cut, it’s time for assembly!
I used some corner clamps to help me keep the pieces square while reinforcing them with glue and screws.
The front rabbets are not strong enough to act as a joint by itself. It needs reinforcement since it will constantly be pulled on. I used screws here, but in the past I have used, brass rods, dowels and brad nails.
You can reinforce the back piece that goes in the dado, but I think the dado is plenty strong to hold the back piece in place.

After the glue sets up a bit you can slide the drawer bottom into place and glue it at the front.

The last step is to tack down the back of the drawer bottom to the drawer back, and your drawer is complete!

