
Three String Explorer Guitar with Patchwork Veneer

Have you ever heard of a Cigar Box Guitar? It is a really simple instrument where a neck is simply attached to a cigar box! I think the idea of making the “box” or body for these kinds of guitars is really cool, so I experimented with an “Explorer” shape and jazzed it up with some wood veneers from my scrap pile!
So fun to make these!
Check out the full build video below!
*Links below are affiliate links, I get a small commission if you click on them at no extra cost to you ;)
This is my second attempt at making a Cigar Box Style Guitar, you can find my first one here - Making a 3 String Guitar
While I think this second method was better than the first there is some room for improvement!
Let’s get started!
I found an explorer shape online and shrunk it down a bit to get the size I wanted.
If you are interested, here is the printable template for a shrunken down Explorer shape - Mini Explorer Printable Template
Guitar Parts

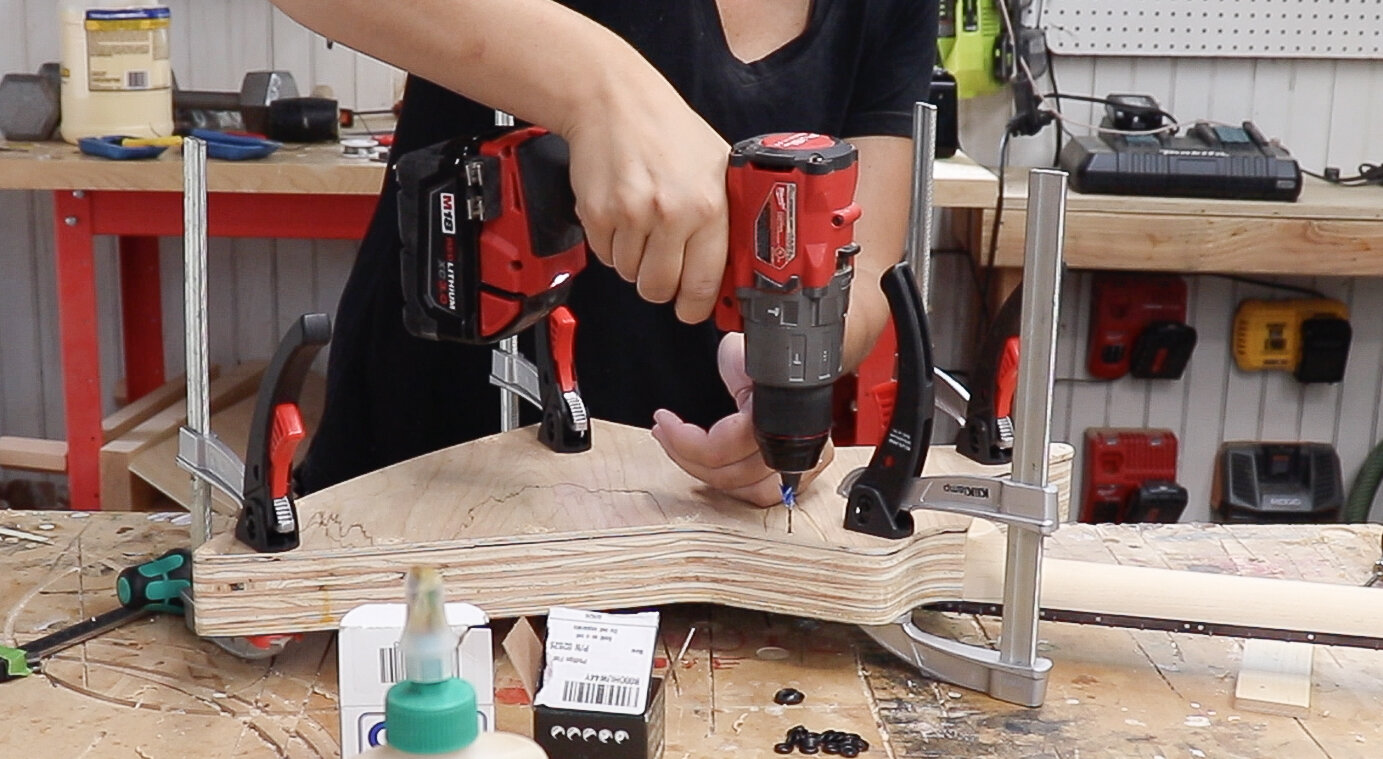
Make an MDF template from that printable template.
First rough cut at the bandsaw, then clean up with a sander.

Now it’s time to make the main part of the body!
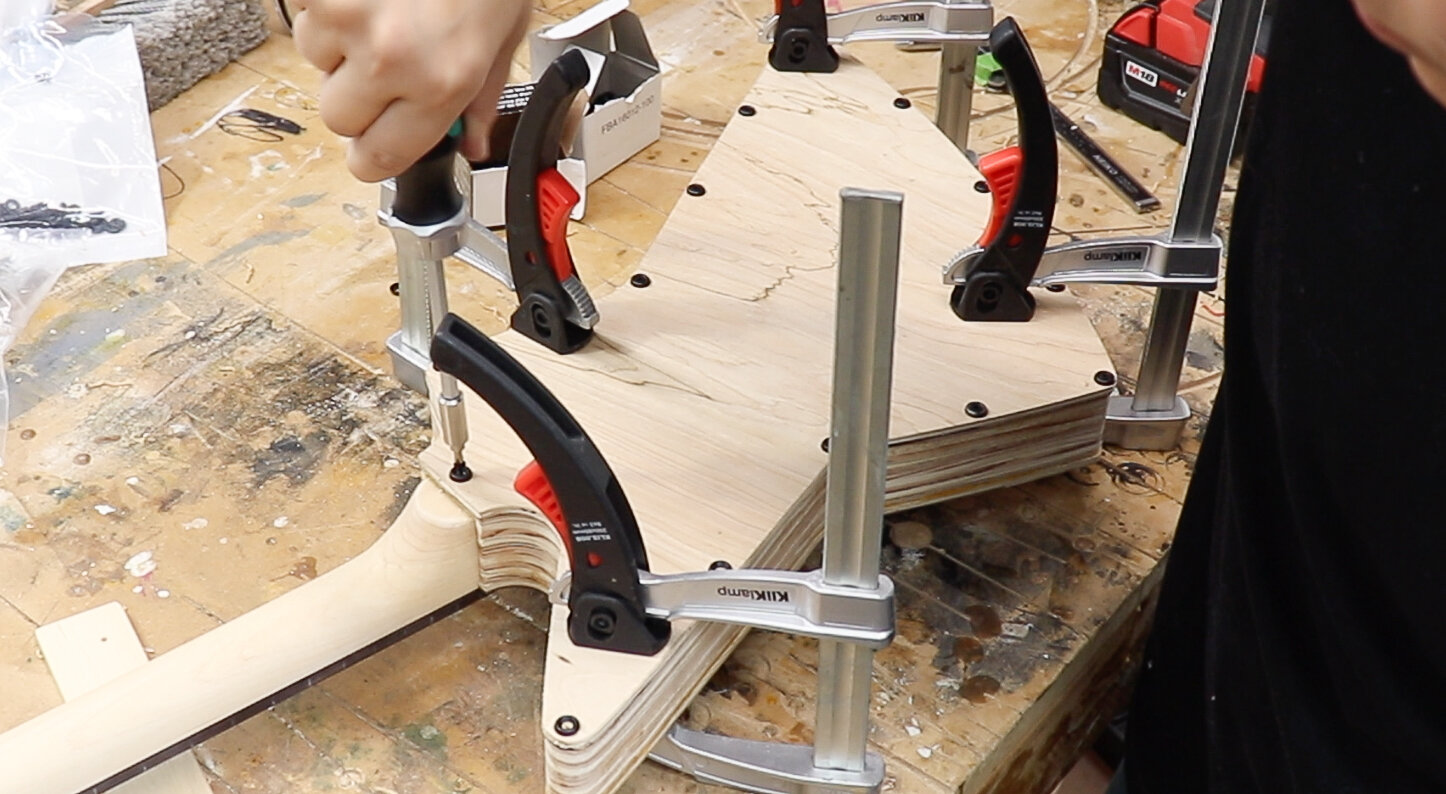
The body is made up of 2 pieces of 3/4” MDF that will be hollowed out and glued together.
Use the template to create the outer shape of the body on both pieces using a flush trim bit.

Then hollow out the inside leaving about a 1/4” or material left over.

Here’s where that “room for improvement” comes into play…
I only hollowed out one piece of plywood that makes up the body. I left the second piece whole and cut it out with a jigsaw after glue-up because I didn’t know how deep the neck pocket would be at this point.
It worked out, but I think this could be done more efficiently.

Drill some starter holes on the inside corners and cut out the second plywood piece that makes up the body with a jigsaw.
You can see in the picture below that I left the neck pocket area intact. That was the goal here, so I can cut it to size after I figure out how thick the neck will be.

The second body piece could be flushed up with a flush trim bit and the main part of the body is done!

The top and bottom are made of 1/8” thick plywood. The thinner the better here!
The thinner the material, the more it will vibrate, the more it vibrates, the more sound it will make!
If you are going to make a veneer top like I did, only rough-cut the top to shape at this point, you can use the MDF template to flush it all up after gluing on a veneer.

I decided to make use of my scrap bin for this veneer process.
I resawed the scrap into pieces that were about 1/16” thick.
Since the veneers are so thin, they can easily be cut with a sharp utility knife.

I went a little extra and used my shooting board with a hand plane to make sure the edges on the veneers would be super straight and seamless.

The glue-up for these veneers was quite the disaster, check out the full build video linked above to see what happened…
I figured out that it was easier to tape all the veneers together and glue them on at one time.

After the glue dries on the veneer, use the MDF template to get as close to the final shape as possible with a bandsaw and then use a flush-trim bit to get it to that perfect final shape.

Look how awesome that looks!
This was my favorite little spot in the whole top. That big blue poplar triangle and that tiny little sliver of cherry between the green poplar and ash.

Moving on to the neck!
I purchased a Cigar Box Guitar neck. I am not going to link to it because it needed a lot of work to make it passable… I am sure you can find another source! Or build one yourself, I built my own on the last Cigar Box Style Guitar that I made.

In order for the top to sit flush with the body in the correct location, the neck needs to be trimmed down by the thickness of the guitar top.
I used calipers to get the thickness of the top.

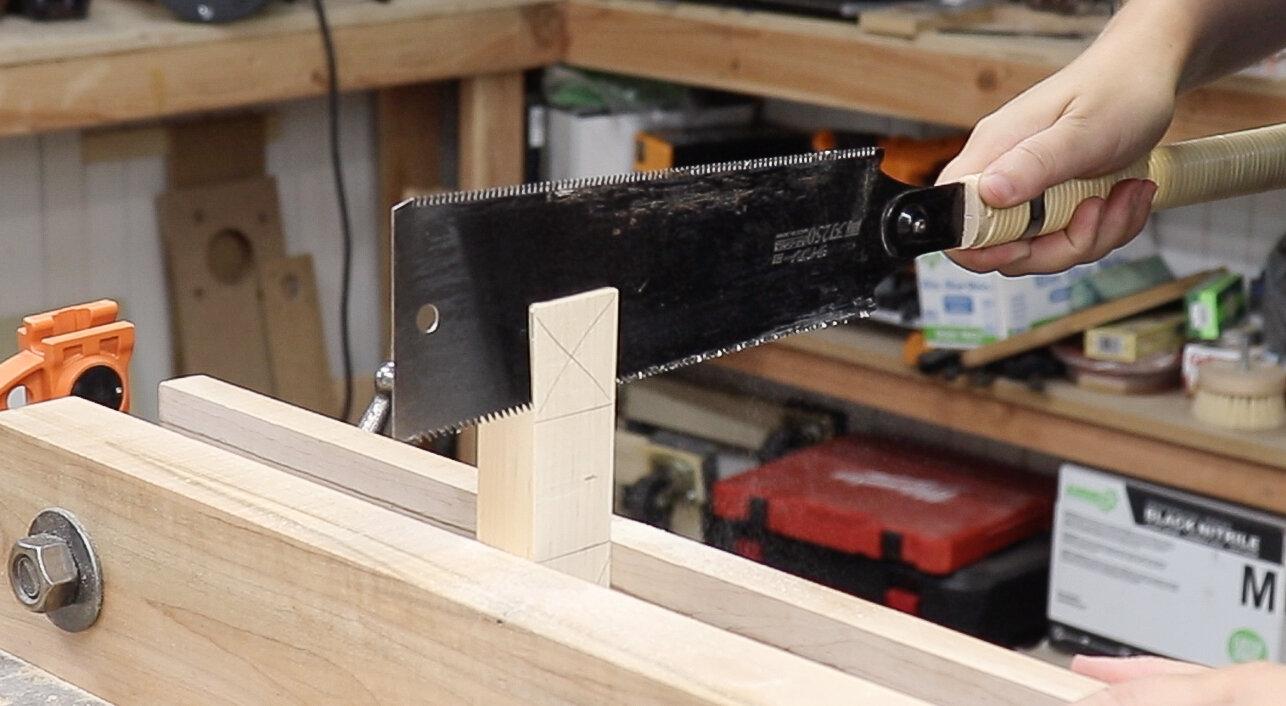
Marked that on the neck, then cut away at that line at the bandsaw.

Just to be careful I cut away at that piece by the fretboard with a handsaw.

In order for the top to vibrate more and make more sound, the neck needs to be notched out a bit.
The only place where the neck will touch the top of the body is by the pickup locations.

These little cut-outs don’t need to be deep at all, maybe like an 1/8”.
There are 101 different ways you can cut out these notches.
Hand tools worked well for me
Also, these notches won’t be seen, so they really don’t need to be perfect looking at all.

To make the notch even more hidden through the soundhole, you can see that I stained it with India ink in the picture below…
The neck came fretted with fret markers, but it didn’t have side dots. So I drilled and installed those and then spent a few hours doing a fret job in it to make sure all the frets were smooth and level.

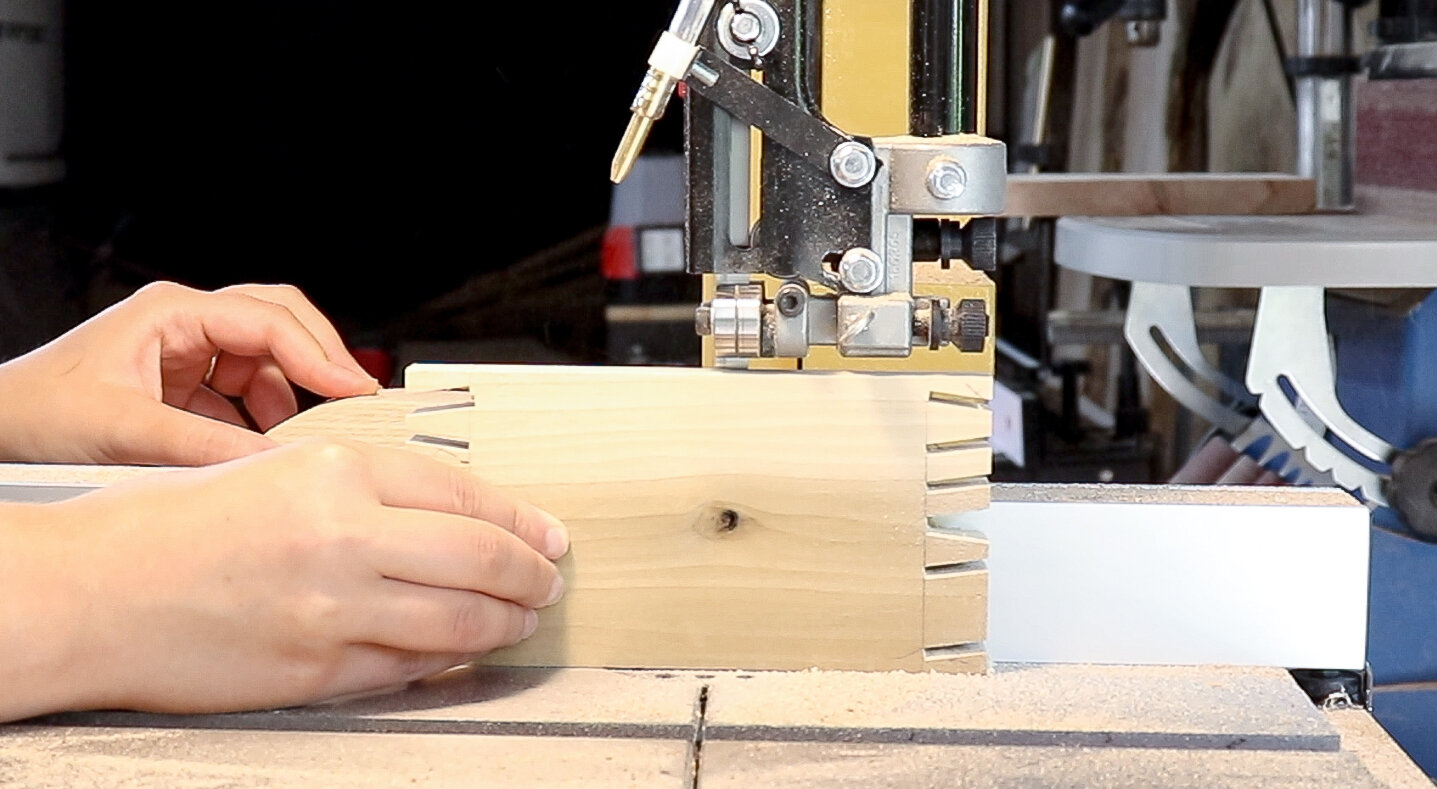
Time to cut out the neck pocket!
Calipers made it easy to transfer the depth and width of the neck onto the body.

Then the neck pocked could be cut away with a handsaw and a coping saw.
This was the reason why I glued the second body piece solid. I didn’t know how deep this neck pocket should be and I wanted it to be a perfect fit.

The top also needs to be notched out so the fretboard will slide into it.

It was easily cut out on the bandsaw and cleaned up with a shinto rasp.

Perfect fit!
(Except not… check out the full YouTube video to see the mistake I made here…)

On to shaping the headstock! I just copied an explorer headstock I saw online and rough cut it at the bandsaw.

After cleaning it up a bit on the sander I then used a Shinto rasp and a spokeshave to get it to its final shape.
Love these tools.

The guitar top needs a soundhole. This would be really easy to use a Forstner bit or a hole saw to get a perfect circle but I wanted it to mimic the shape of the pickup I was using, so I cut it into a rectangle.
Drilled some starter holes, cut it out with a coping saw, and cleaned it up with the Shinto rasp. Cool.

My kids have been known to drop toys into the sound holes of my guitars… so I hot glued a piece of window screen to the back of the soundhole to create a “Lego Stopper” on the top.
This also makes it looks like a speaker, so it’s a win, win there. Ha.

Next drill all the holes for the knobs, switch and jack.

Time for glue-up!
The neck gets glued into the neck pocket of the body and also onto the top at the 2 points where the pickups will be. And the top also gets glued onto the whole sides of the body.
I added a caul at the end of the neck to make sure there was good contact between the neck and the top.

Some shims needed to be glued to the back of the neck so the back of the guitar will sit flush with the neck at points where screws will be installed.
(I used the cut off from the earlier step where I cut a sliver off the top of the neck.)

Then the back gets put into place!
Clamp the back in place and pre-drill through the back into the sides of the plywood body.
Then lock it down with finish washers and screws. (I used #4 washers and screws around the perimeter, #8 to fasten the neck.)
Now all the finish work can be done to make sure everything is flush and rounded over.

Just a few more small details!
Drill out for the tuning pegs.

Glue in the nut.

Open the back of the box back up and do all the wiring.
This particular guitar has 2 pots. 1 volume, 1 tone and a 3-way switch that switches between a humbucker and a piezo pickup.

Get the pickups into place and install the bridge.
This bridge is pretty cool, it has 3 saddles for 3 string guitars and its very adjustable if you want to really dial in that perfect action height.

Install all the little accessories like a strap buttons and knobs.

And it’s done!
How cool?!?!
I am so happy I decided to experiment with this shape and with the veneers. This is such a unique instrument and I can’t stop playing it!

Even the back is cool! I love how those finish washers look.
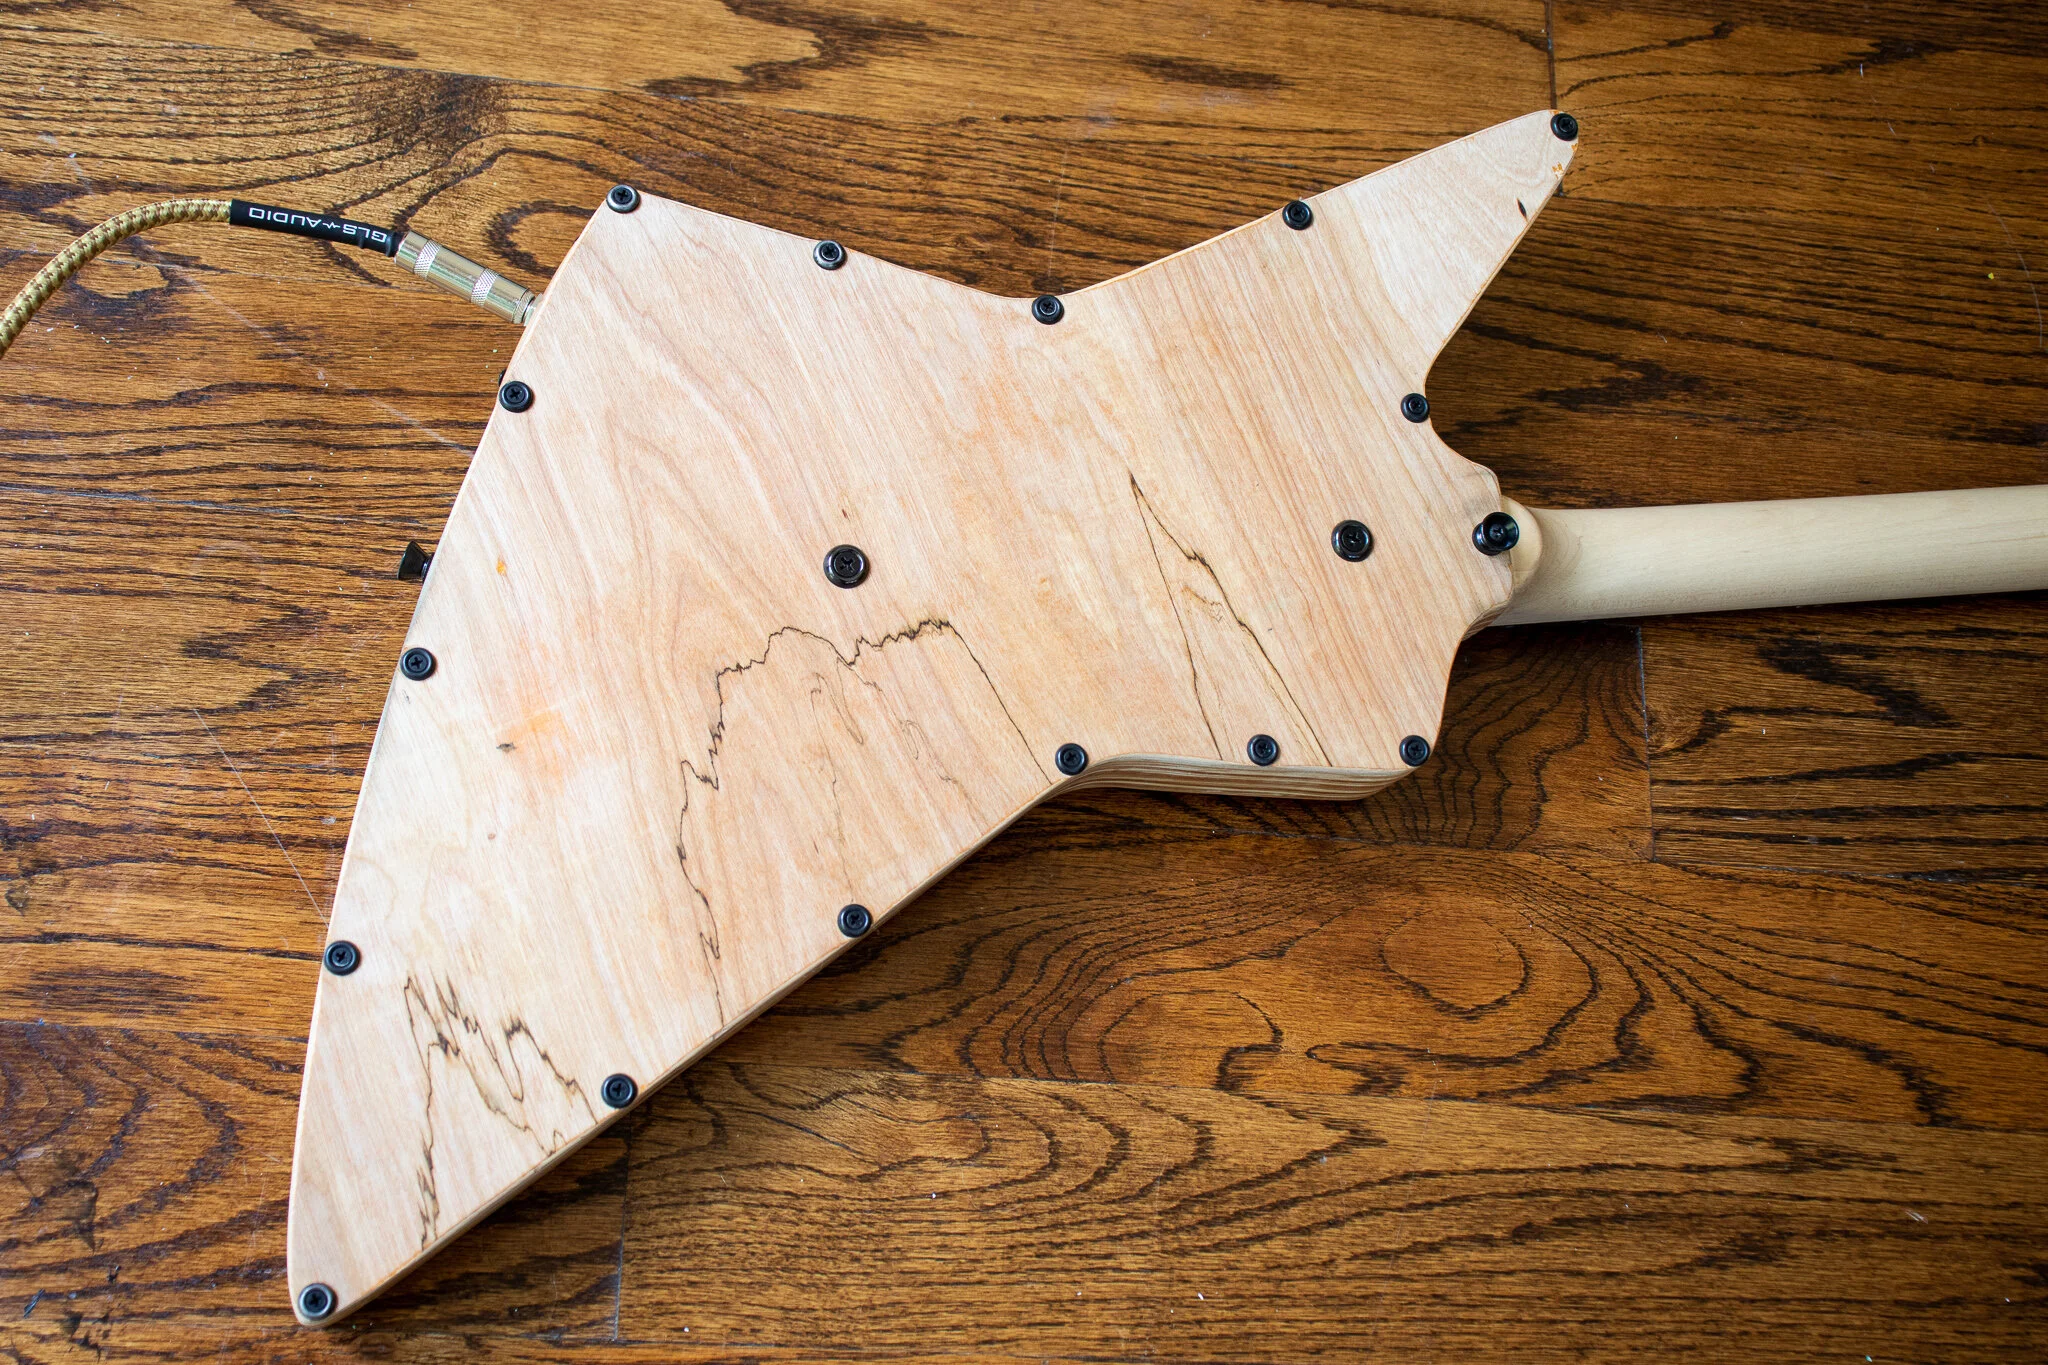
I also think the exposed plywood edges really add to the overall design.

My favorite little detail is the audio jack plate. I made it from the piece I cut out for the sound hole.

If you have never played a 3 string guitar I highly recommend it!
I am not a great guitarist, yet it is so fun and easy for me to play!
While I am super thrilled with the end result, I think there were a few things I would have done differently, so I will definitely be making another one of these to experiment even more!
