Table Saw Extension Table
Recently I have been getting a lot of questions about my Table Saw extension table. I built it quite a while ago, way before I decided to share my builds with the world, so I didn't record myself building it! I did however take a few photos of the process, so I made a quick video describing how I made it. I also took some measurements for you guys, so I hope this will be helpful!
I made this table really early on in my building journey, so there probably could be better ways to construct it, I would love to see the ideas you guys have to improve on it!
Check out the video and pictures down below with some more details.
All links below are affiliate links. Clicking on them helps me keep this site going :)
Tools Used
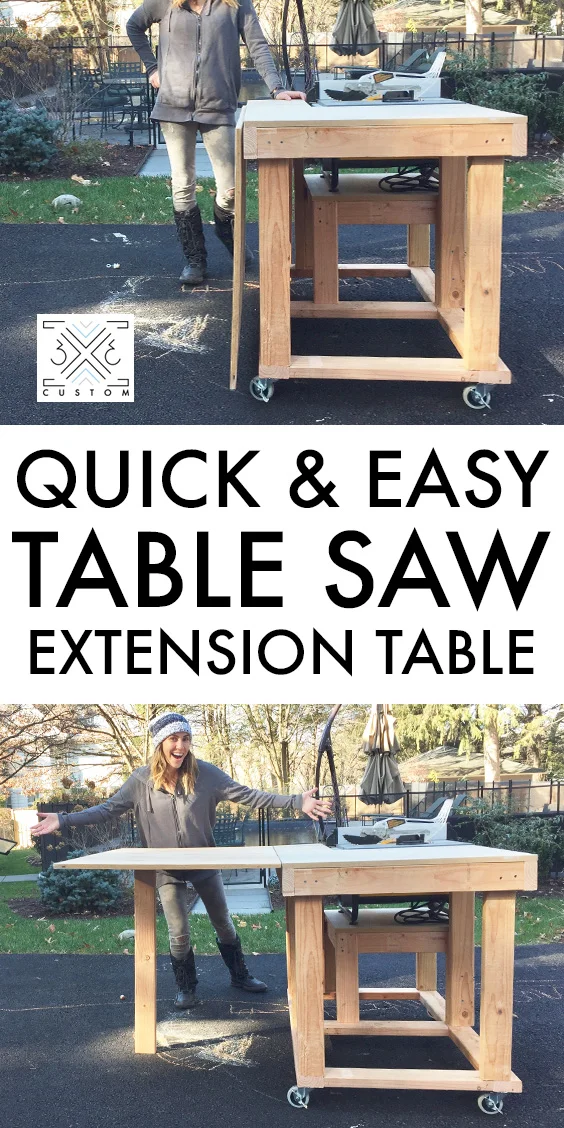
The overall height of the table ended up being 33-3/4" tall. This is a great height for me, but I am only 5'4". So if you are taller, consider making it taller! (For reference, standard cabinet saws range from 32" - 36" tall.)
The width is 48" wide, this is because the scrap piece of MDF I used to start with was 48" wide, no reason beyond that. That being said, it seems like a pretty good width!
It also ended up being 30" long when the outfeed extension is folded down (again, because that's the size scrap I used to start with) and 60" long when the outfeed is folded up.
Lets begin!
I started with a 48" x 30" piece of 3/4" MDF I had. I placed the table saw on the bottom right corner of the MDF and marked off with a pencil where to cut out a square for the little table the Saw will actually sit on.
That square ended up being 22-1/2" wide by 20-3/4" long.
I cut out the square with a circular saw and built a very simple table based off those dimensions. (Make sure to keep the rest of the MDF, that will be used for the extension table)
I used 2x4's for the aprons and legs. I cut the legs to 15" tall, (this will accommodate for the 3" casters and the 2x4 bottom base). I placed the legs at all 4 corners of the MDF then measured how long to cut the aprons. I attached them using pocket holes and pocket screws.

Next I took the rest of that 48" by 30" piece of MDF and made a separate table for it!
I cut 6 pieces of 2x4's @ 27-7/8 tall for the legs. I flipped the MDF over and placed 5 legs at all the corners and 1 in the back center for more support.
Then I was able to individually measure how long to cut each apron piece that went between each leg. I attached these using a combination of pocket screws and just drilling directly through the outside of the aprons.

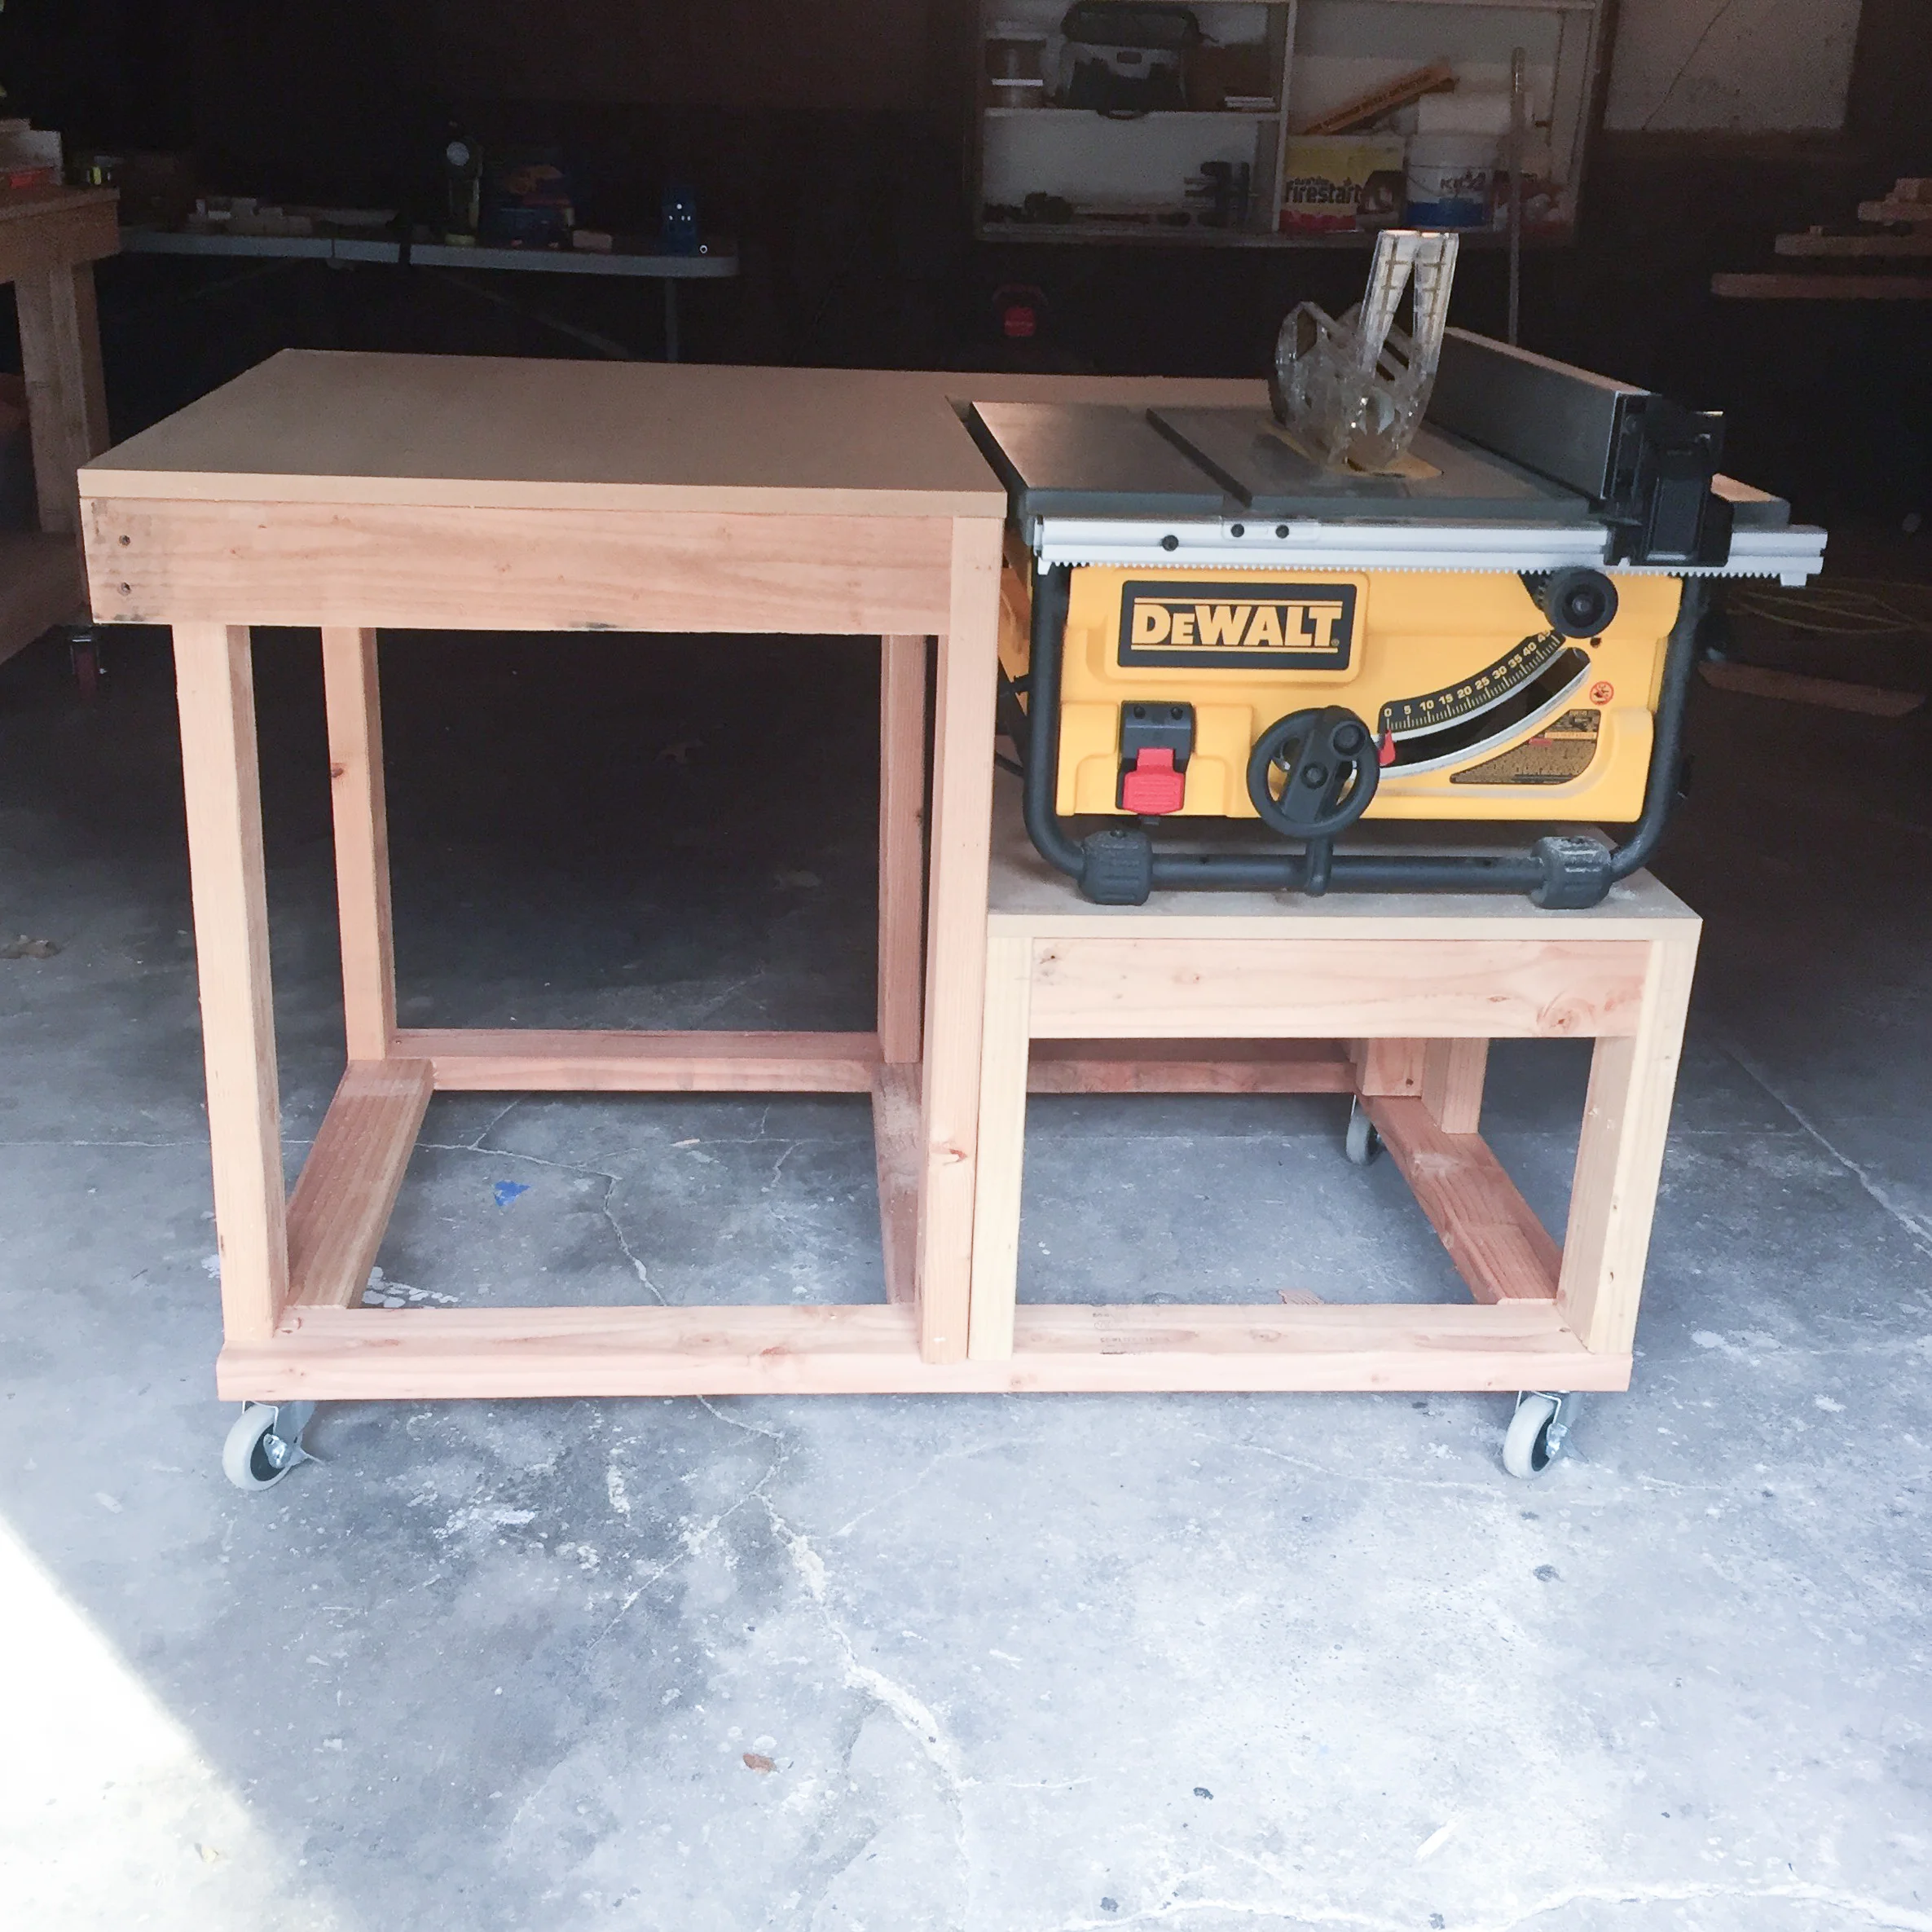
You should now have 2 tables that look like this! (Minus the top, don't attach the top yet)
I then attached these 2 table together using screws through the legs.

Now that the two tables have become one, I could flip with whole thing over and attach a base.
The longer pieces of the base were screwed directly into the legs and the short support pieces were attached to the longer ones using pocket holes and pocket screws.
At this point it was easy to also attach the 3" casters.

And now it should look like this! (Also note, how much better does my garage look painted white?! I'm so happy I painted it!)

Before actually attaching the top (I used brad nails) I needed to make some adjustments to allow for the fence rail to completely pass through.
I used a jig saw to notch out one of the 2x4 supports and a router on the underside of the MDF to make a groove for the fence rail. I explain this in further detail in the YouTube video.
In the picture below, you can see the notch in the 2x4 and the groove in the MDF.
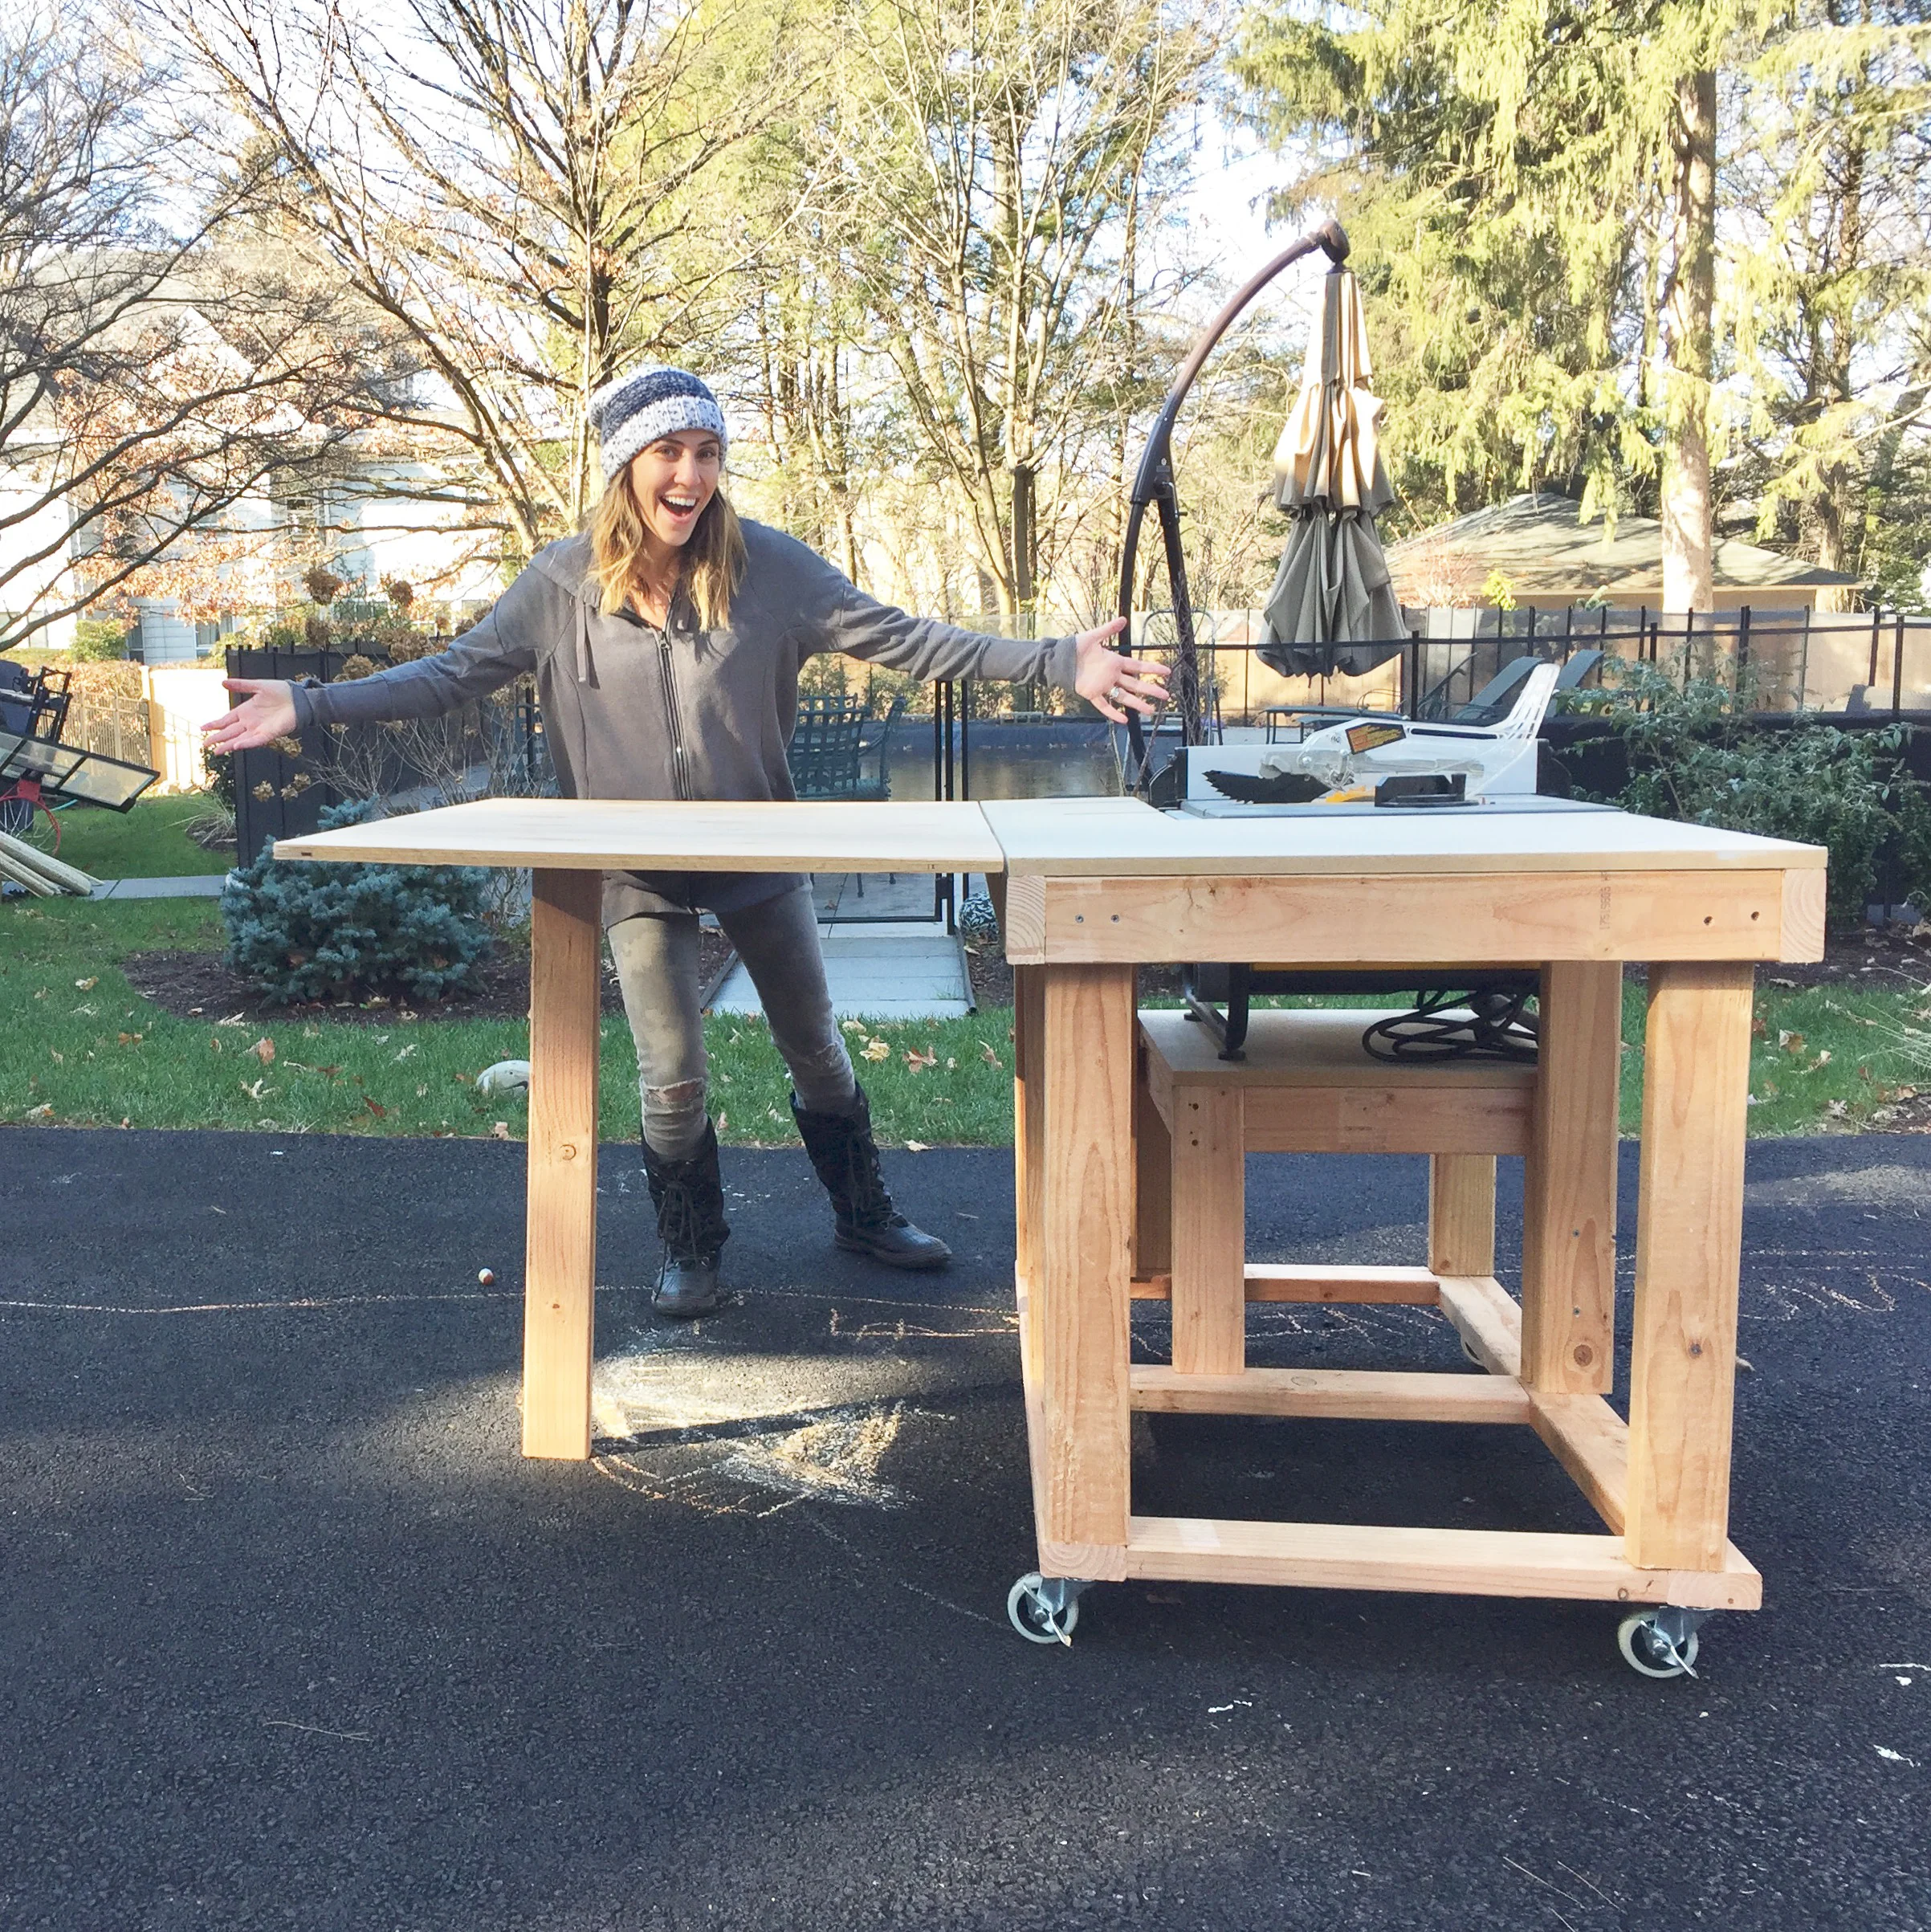
After I attached the MDF top using brad nails, I flipped the whole thing upside down again and attached the foldable extension table using a piano hinge.
The Fold out extension was 48" wide just like the main MDF top and it was also 30" long. I made it 30" because the overall table height is around 33". I wanted to make sure there was enough room to completely fold it down.

I don't have a picture of it, but I also used some more scrap plywood on the bottom to use as storage for jigs and push sticks.

The last step to do was attach the fold down legs!
I cut those legs to 32-1/2" and attached them to the extension table using hinges. (In the picture below the legs for the extension werent actually attached yet...)
And it was done!
I hope this was helpful!