
Portable Workbench
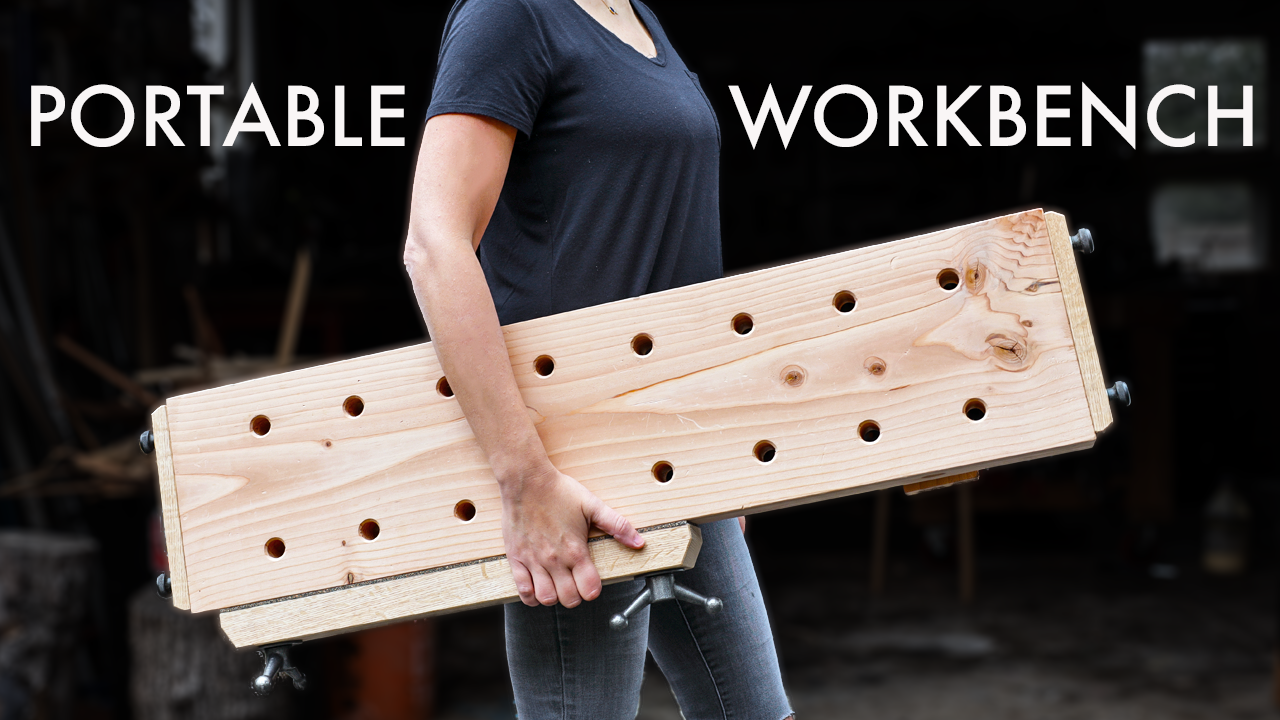
This portable workbench is great for anyone who has a small workshop, or doesn’t have a workshop at all!
It can be clamped to any surface and it’s small enough to be stored away without taking up too much space.
Best part about this build, you only need a 2x10 to build it!
Check out the full build video below to see how I put it all together!
WANT TO BUILD THIS BENCH?
GET THE PLANS HERE! CLICK THE LINK BELOW…
PORTABLE WOODWORKING BENCH PLANS
Links below are affiliate links, I get a small commission if you click on them, at no extra cost to you ;)
WHAT YOU’LL NEED
8’ Long 2x10
Twin Screw Vise Kit
4 - 1/4-20 3” Hanger Bolts
4 - 1/4-20 Knobs
Overdrive Bit
Drill Bit Extender
Red Thread Locker
OPTIONAL ACCESSORIES
Bench Dogs
In-Line Bench Dog Screw Clamp
Vertical Bench Dog Screw Clamp
Hold Fasts
Steel Guide Bushing
Cork Rubber
Let’s begin!
Cut the 2x10 into 2 pieces.
If they are warped in any way, you can flatten them with a planer, hand plane or belt sander to prepare them for glue up.
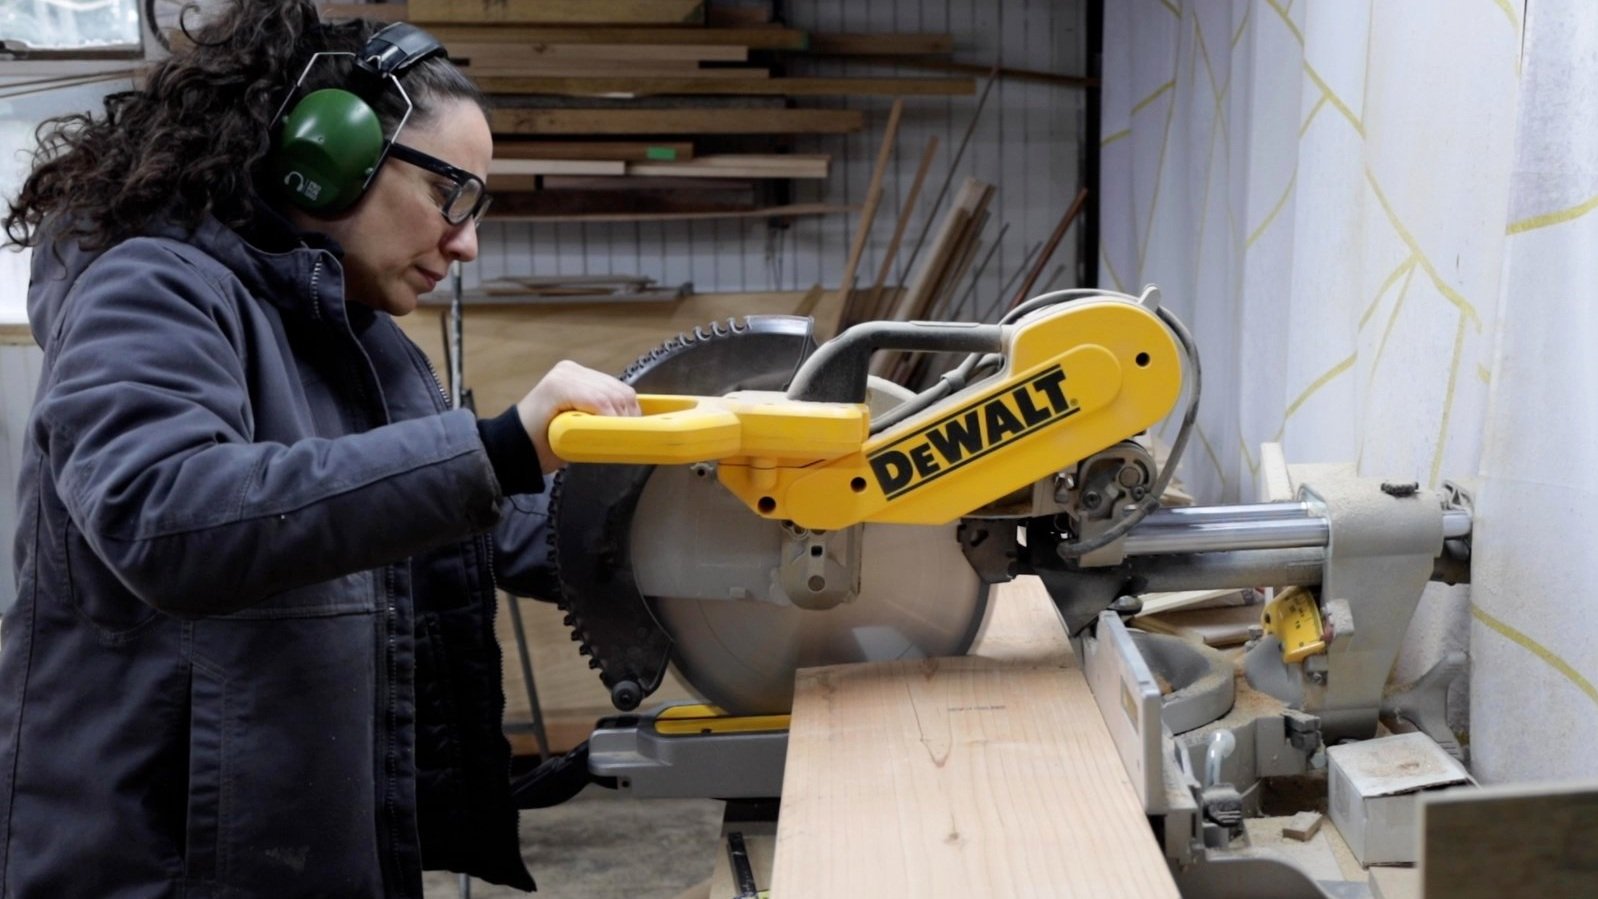
Glue the 2 pieces together so you have one thicker board and trim off the edges to bring the bench to final width.
After the edges are squared up, trim off the ends to bring the bench to final length.

Next up, drill all the dog holes on the top!
If you don’t have a drill press, you can make a drilling guide using a steel bushing in some scrap.
The dog holes in the top go all the way through the bench.

The dog holes drilled on the side however, are only about 2” deep.
You want to make sure not to drill deeper than 3-1/2” or the bench dogs will get stuck in them…

Time for the TWIN SCREW VISE!
10” threaded rods will be embedded in the bench for this vise.
When marking out the location, make sure to avoid any other holes already drilled out.
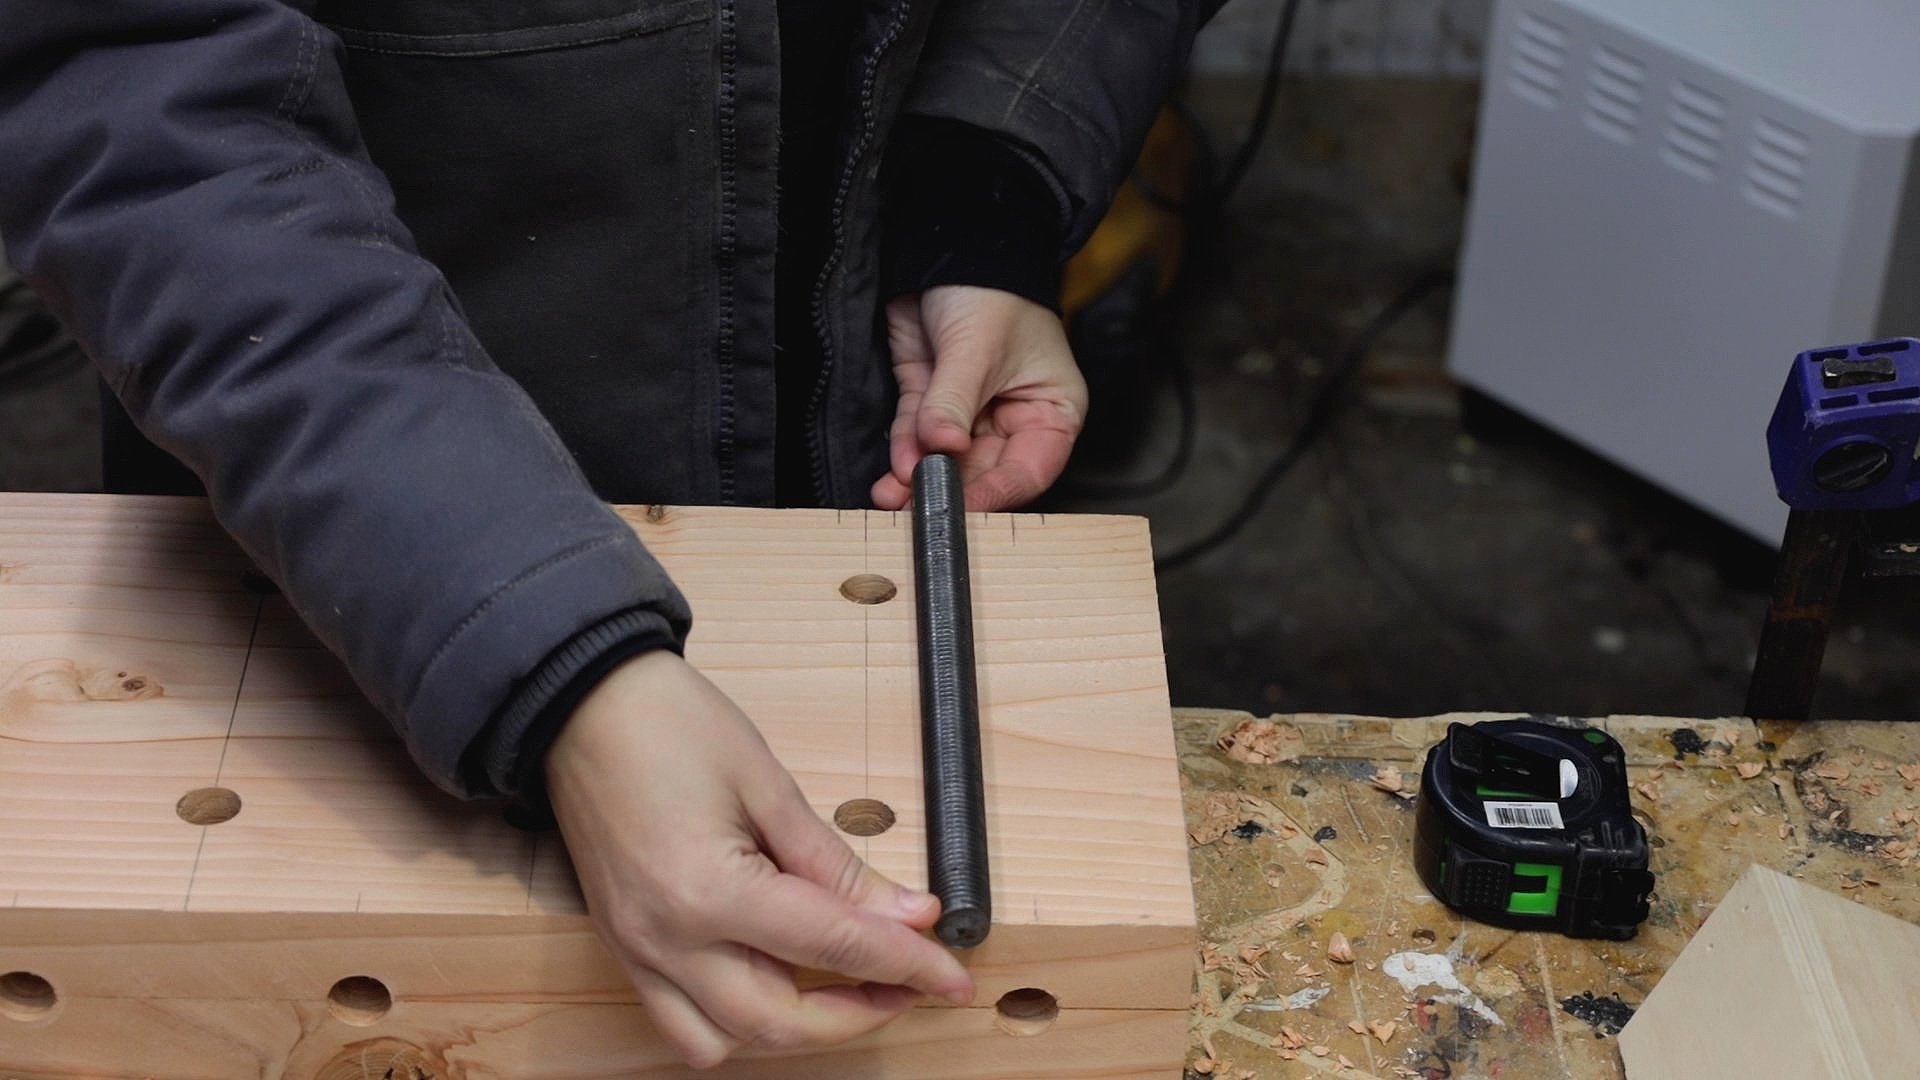
These holes need to be about 8” deep, so a drill bit extender is helpful in getting to that depth.

The threaded rods will lock into place using a square nut.
For the mortise the nut will go into, there should be about a 1/16th of play side to side, but should have no slop front to back.

Making the mortise is easy by drilling out most of the waste and cleaning it up with a chisel.

The jaw for the vise needs holes as well!
Line up the piece you are using for the jaw with the center lines on the holes that were drilled out for the threaded rods to get the correct location.

Then make an oval hole by drilling 2 holes that are spaced 1/4” away from the center line.
This will make the vise more versatile for clamping angled shaped.

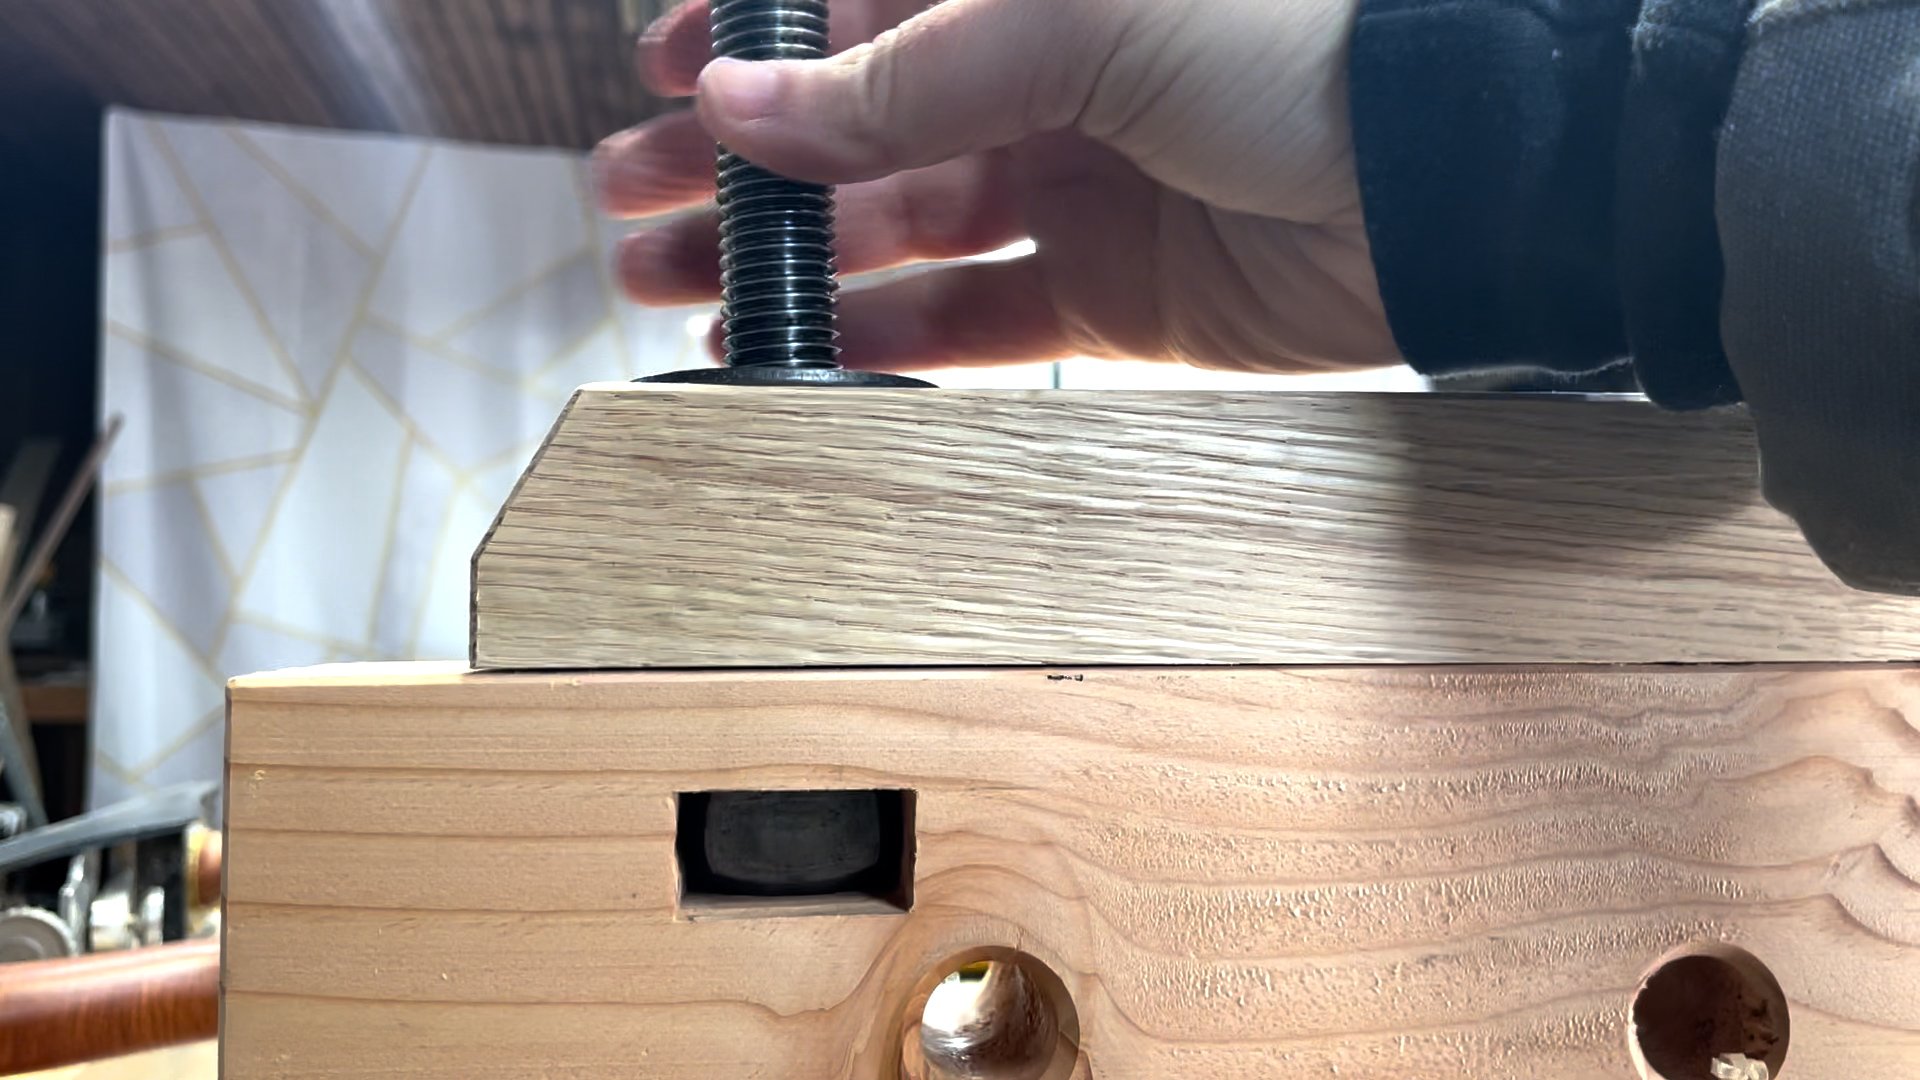
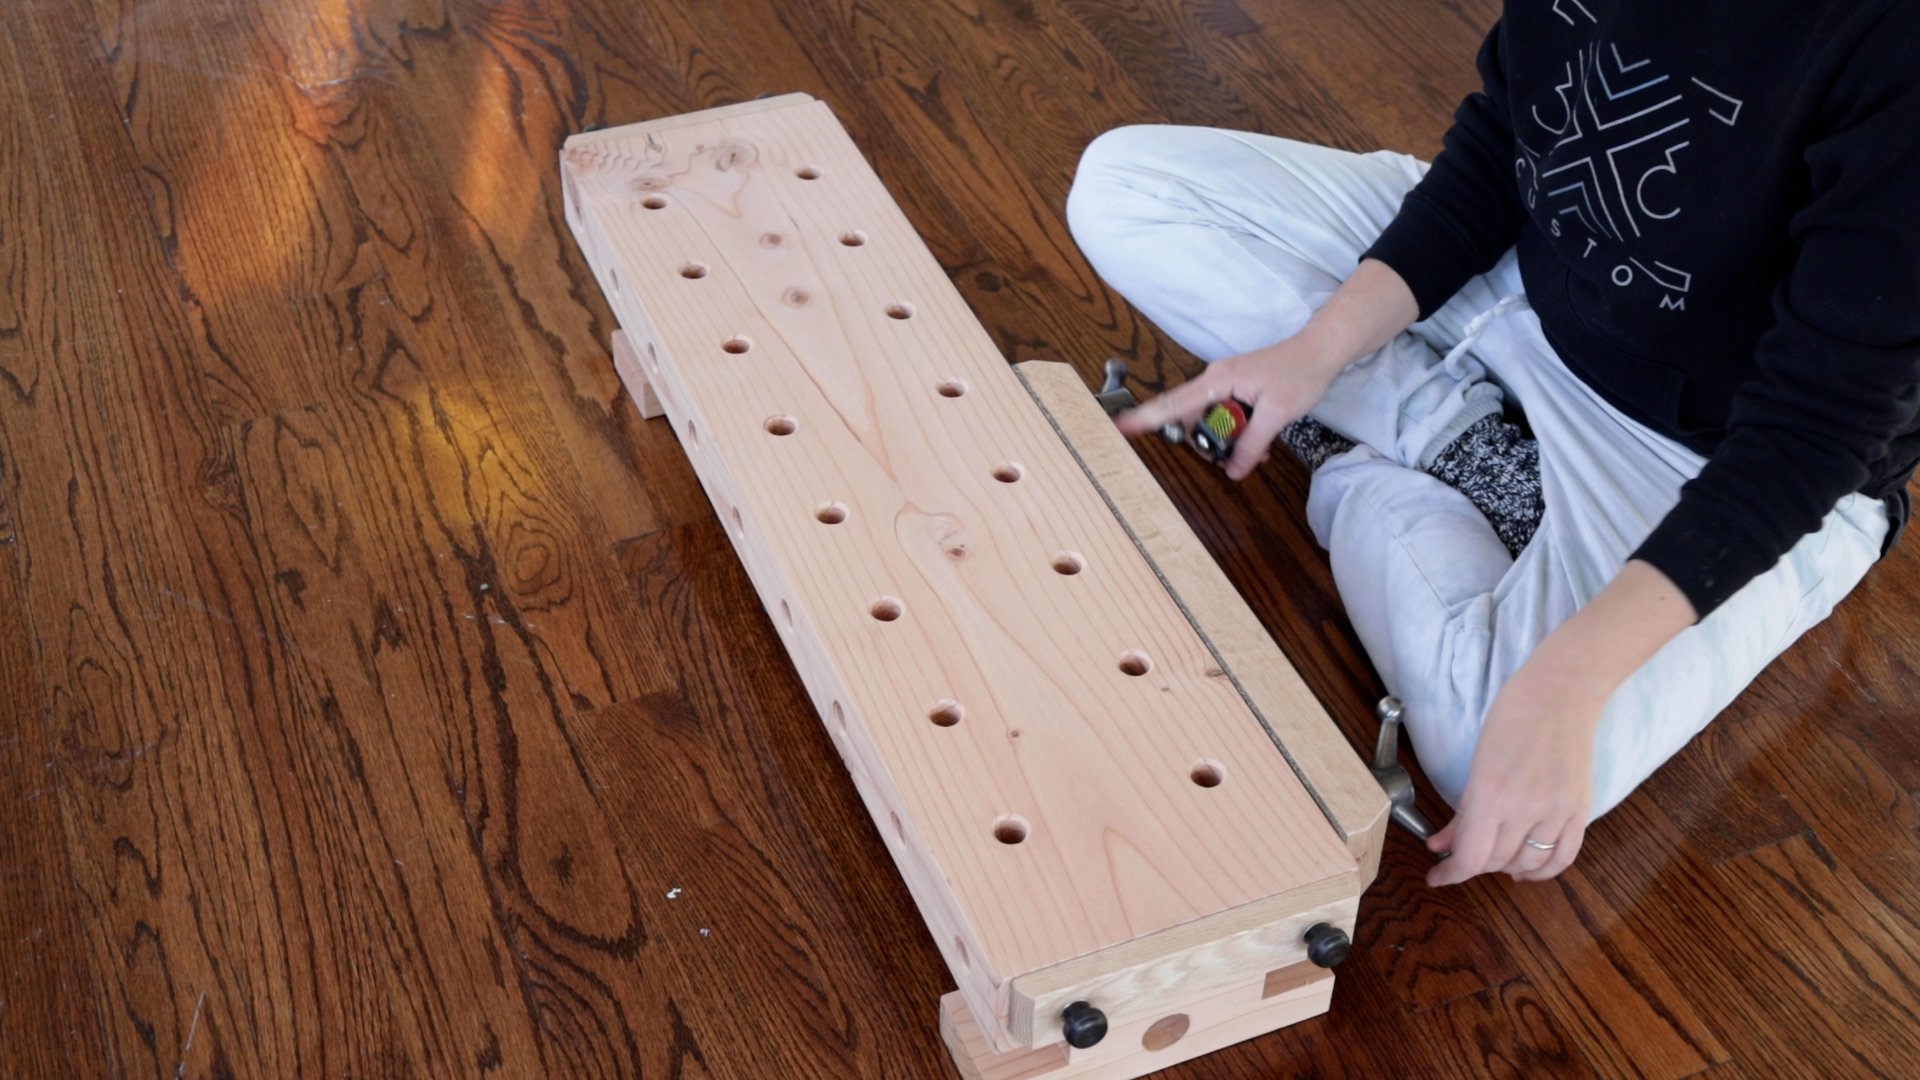
Using Red Thread Locker, permanently attach the knobs to the threaded rods that came in the Twin Screw Vise Kit.
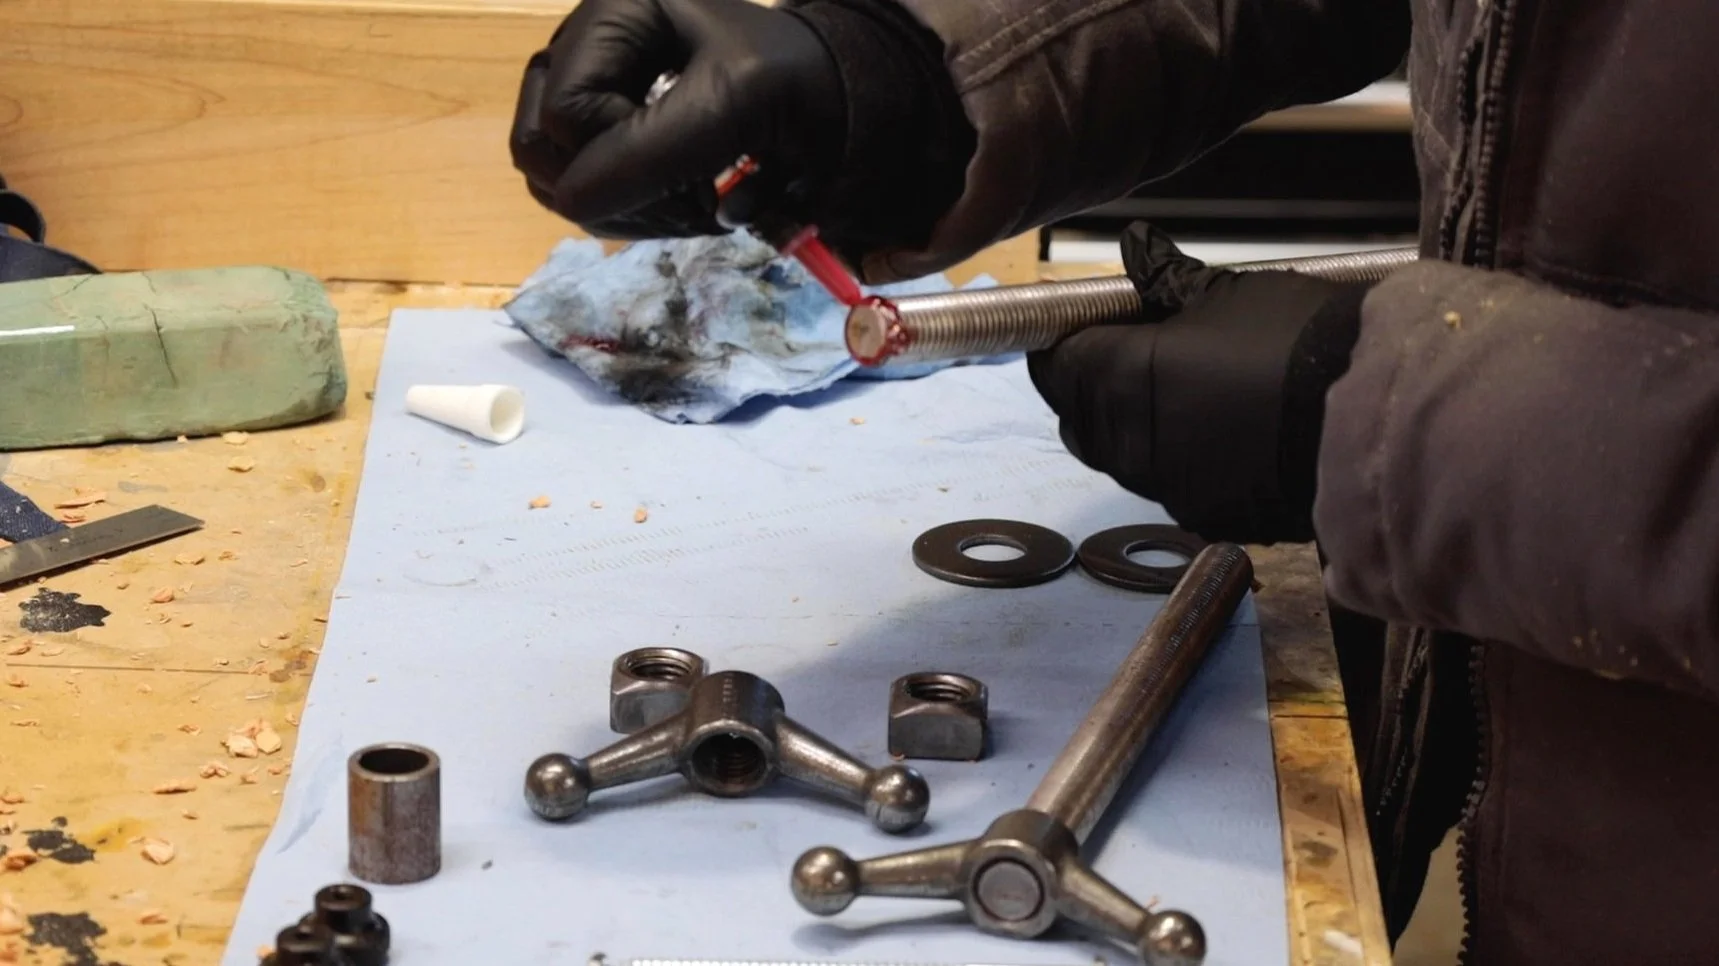
You can see how this works in the picture below.
The threaded rod go into the square nut that’s in the mortise under the bench.
Another feature to add are the PLANE STOPS!
These could not be simpler to install.
Simply make a quick drilling guide to drill 2 holes in the end grain of the bench.

Then use that same drill guide to drill 2 holes in some scrap wood that will make up the stop.

Next, make a slot stemming from that hole that is slightly larger than 1/4” wide.
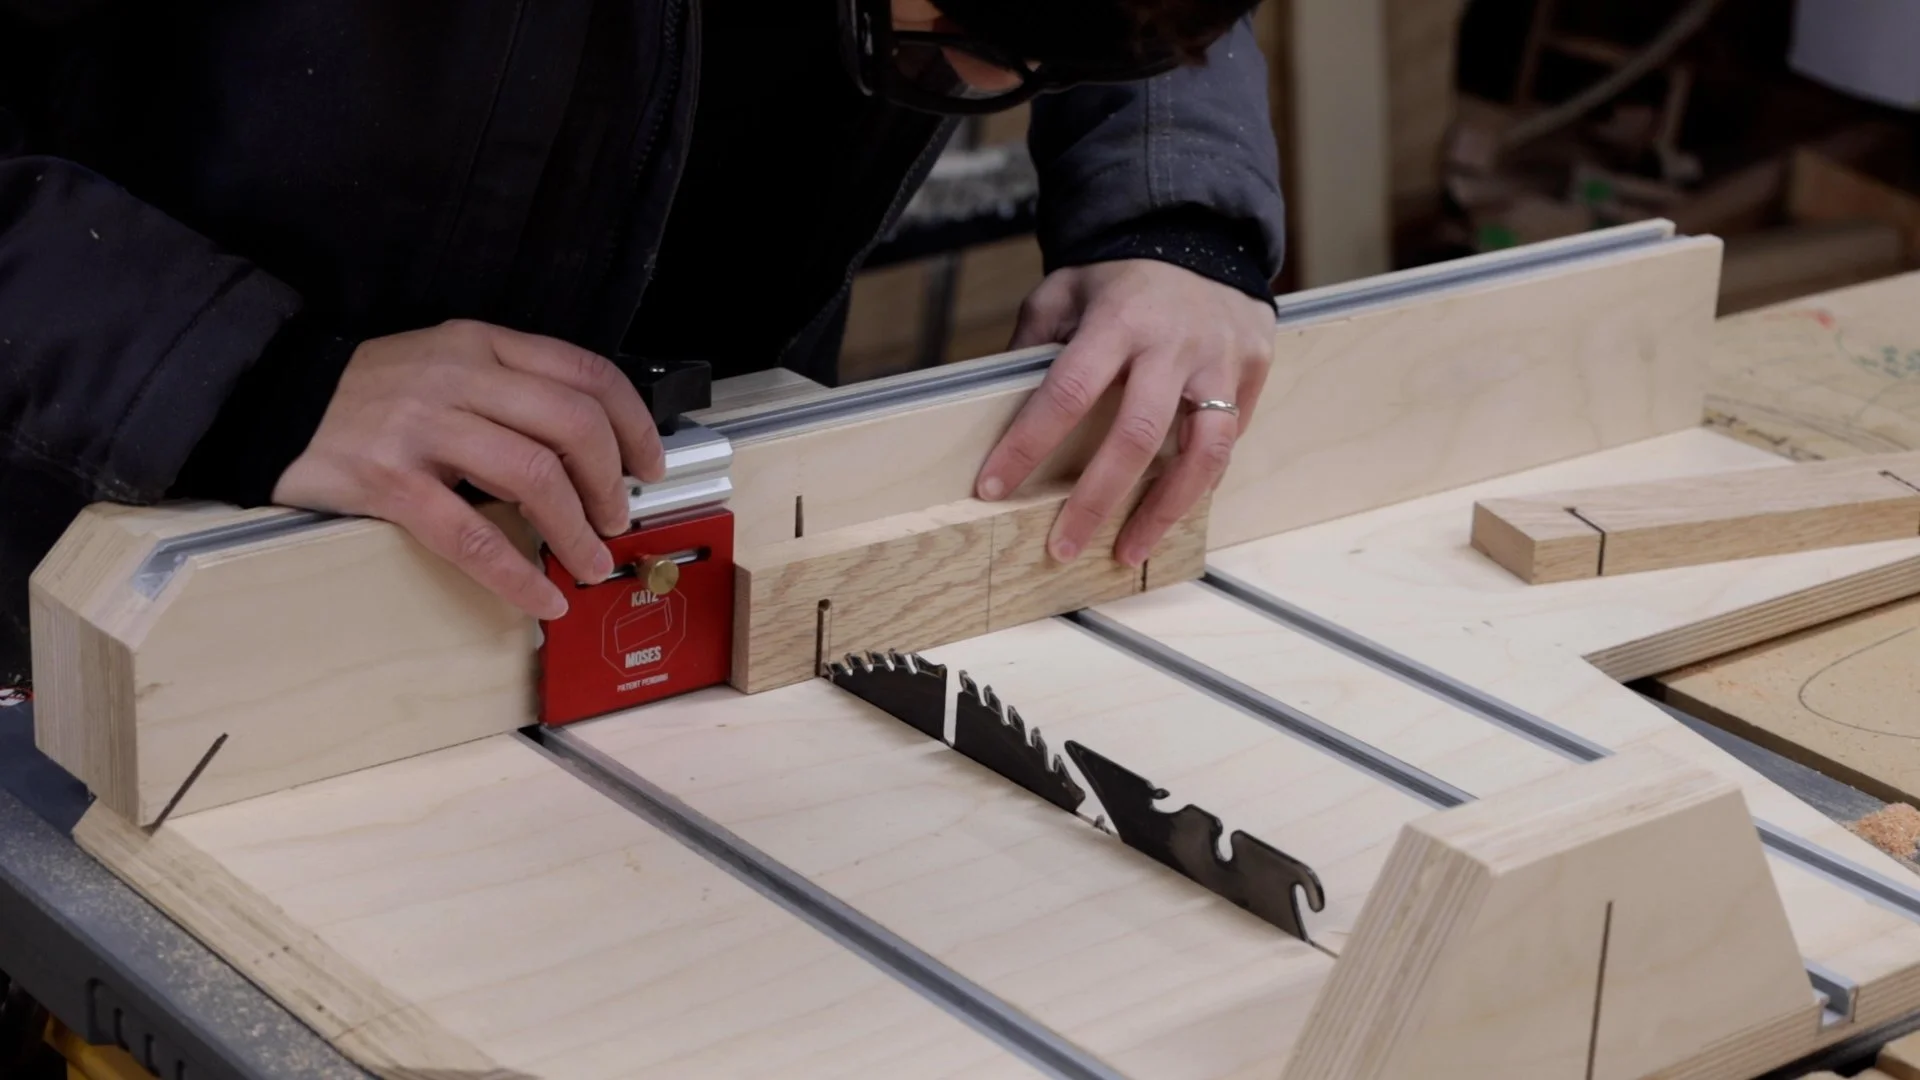
That slot will sit over 1/4” hanger bolts that are embedded into the end of the bench.
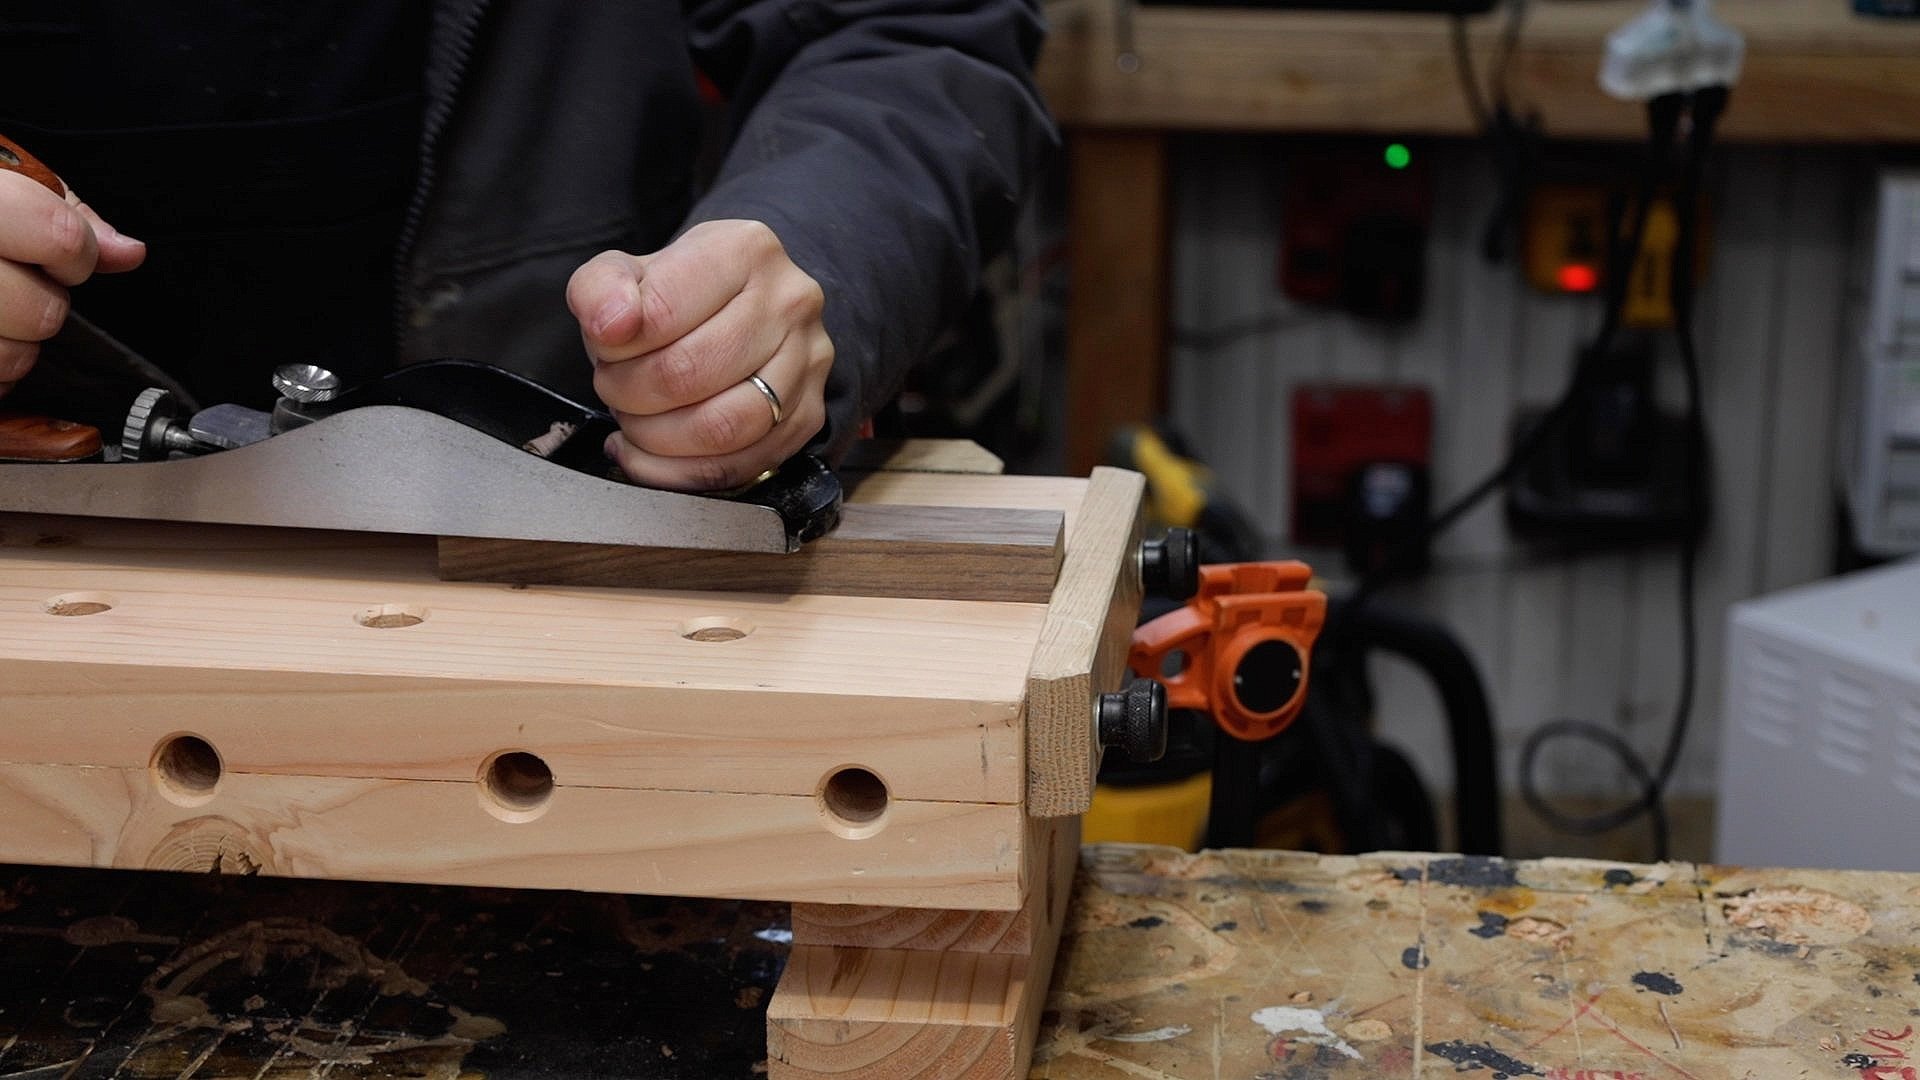
Place the stop over the bolts, lock it in place using knobs and plane it flush with the top.
Also, plane the top of the twin screw vise in the same way.
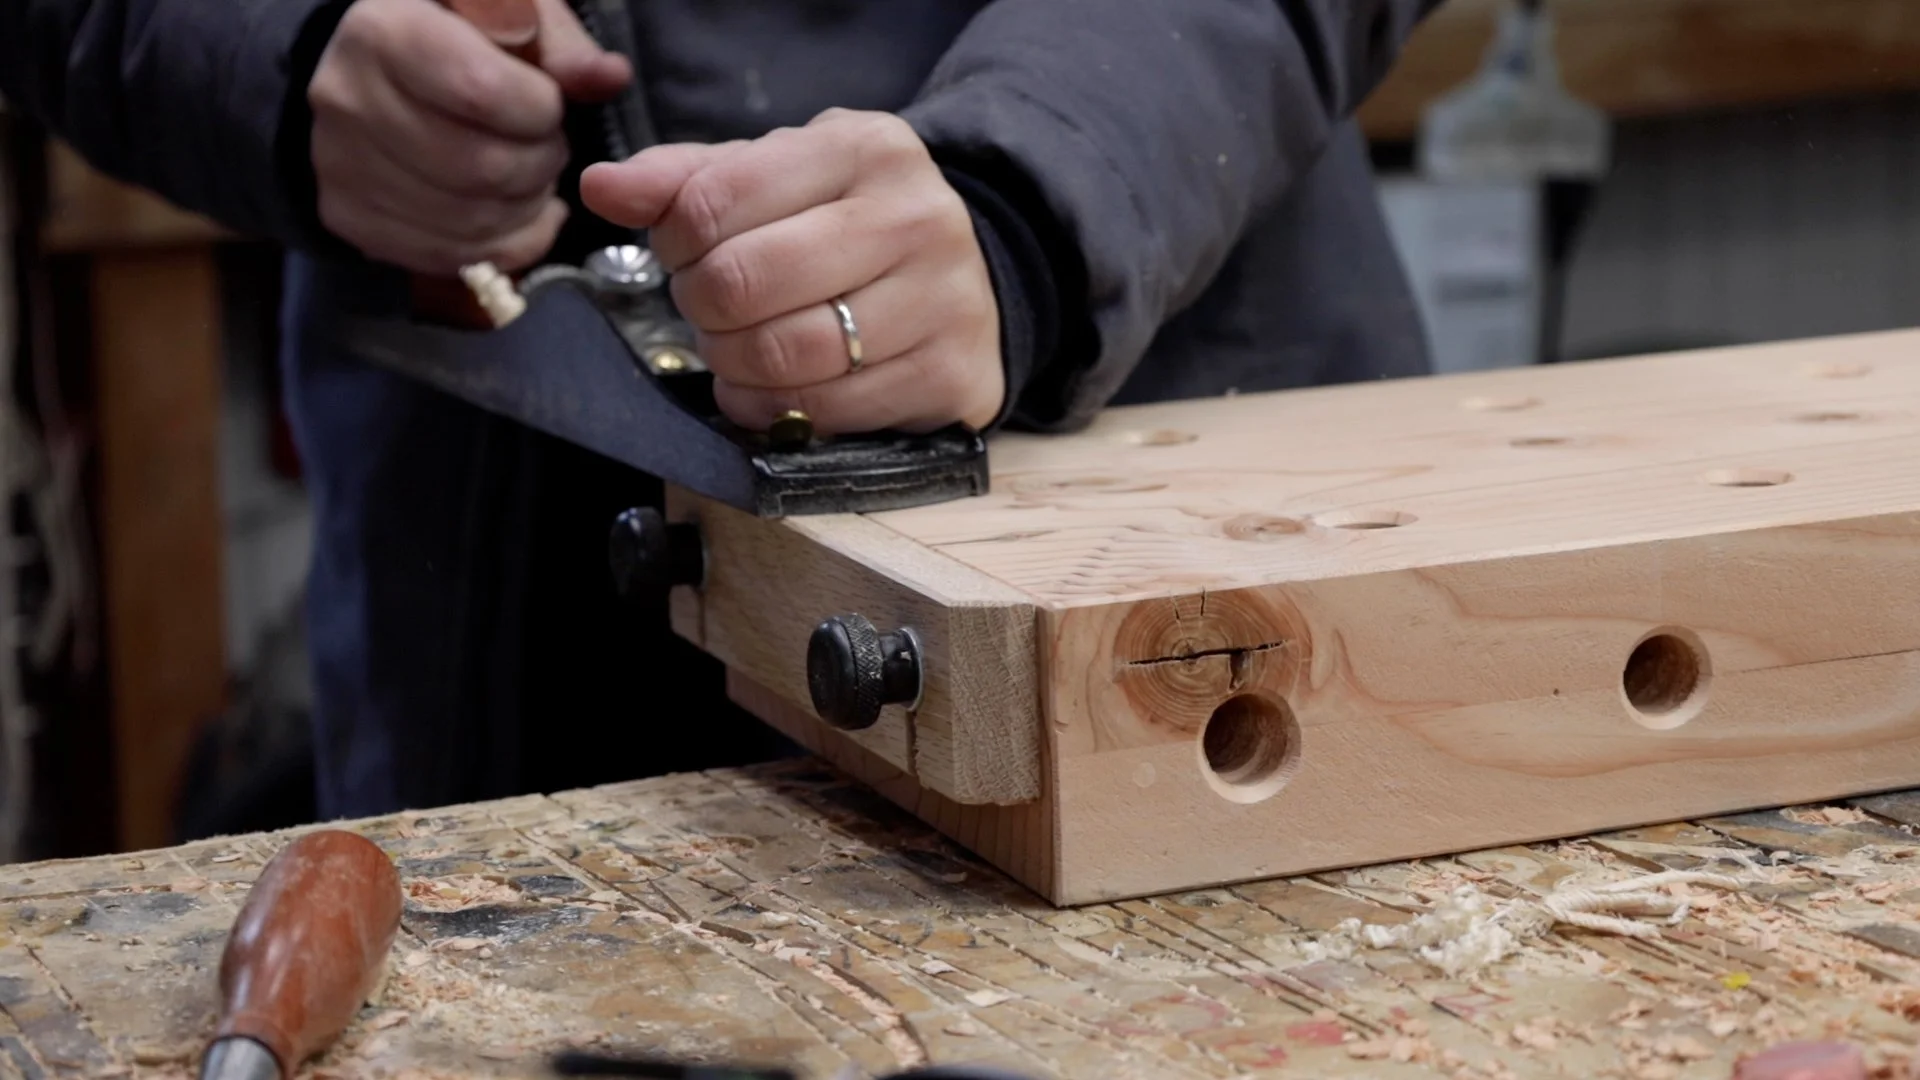
You just want to make sure everything is nice and flush.

Last step is to build the feet!
These are made up of whatever material is left over from the 2x10.
One piece is about 5” long and the other is about 9” long, this will leave room for clamping it to a bench.
You can also drill a hole in the center as seen below for more clamping options.

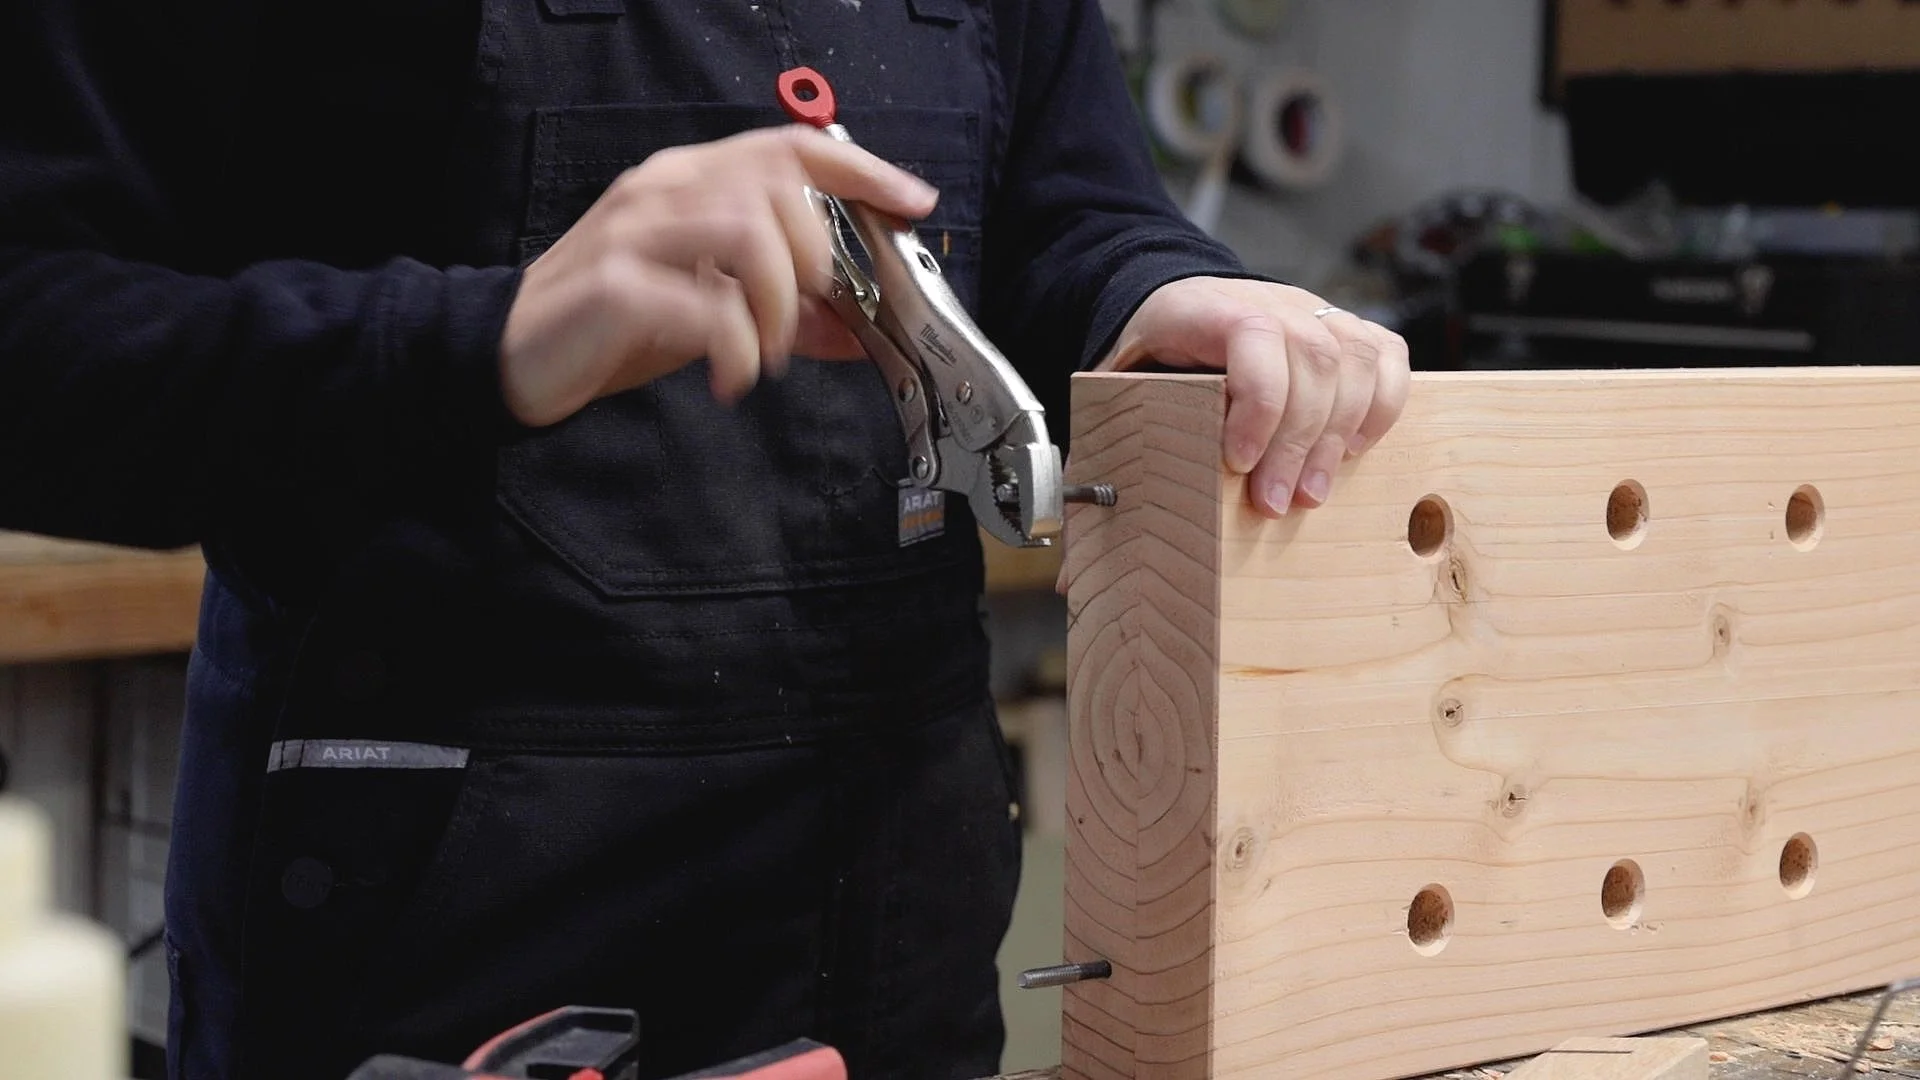
These feet will be attached to the underside of the bench using lag bolts.
Drill a recessed hole using a forstner bit so the head of the bolts wont protrude out the bottom, then drill all the way through, big enough so the bolt can fit.

Lock those feet in place using washers and lag bolts.
And it’s done!

The bench can be taken anywhere! You can use the hole drilled in the feet to clamp it directly to some saw horses.
This is great for working on a jobsite, or for someone who doesn’t have a whole shop set up.

You don’t need a shop to use this bench! Just clamp it directly to any table in your house!
As long as you have permission from your significant other that is… ha

You can also skip clamping it to a surface all together and work on the floor.
This would actually be a great bench for kids!
Here’s how you can use it!
Lift up the plane stops when using a handplane. All you have to do is raise it enough that it stops your material from sliding forward but is low enough to not get in the way of your plane.
Usually you don’t need to clamp when planing like that, but if you want the piece to be more secure, you can use an In-line Dog Clamp to lock the workpiece against the plane stop.
This would be great for fine detail on small pieces.

Oddly shaped items are also super easy to hold down with some Bench Dogs and the In-Line Dog clamps.

So many clamping options here.
These Vertical Bench Dog Screw Clamps work great at holding down any material.

But, I am partial to using holdfasts in dog holes.
Just bang on the top of them to lock your pieces in place, then bang on the back to loosen it up. So quick and easy.

The Twin Screw Vise can hold workpieces up to 16” wide.
This vise is great for working on joinery on the ends of the workpieces.
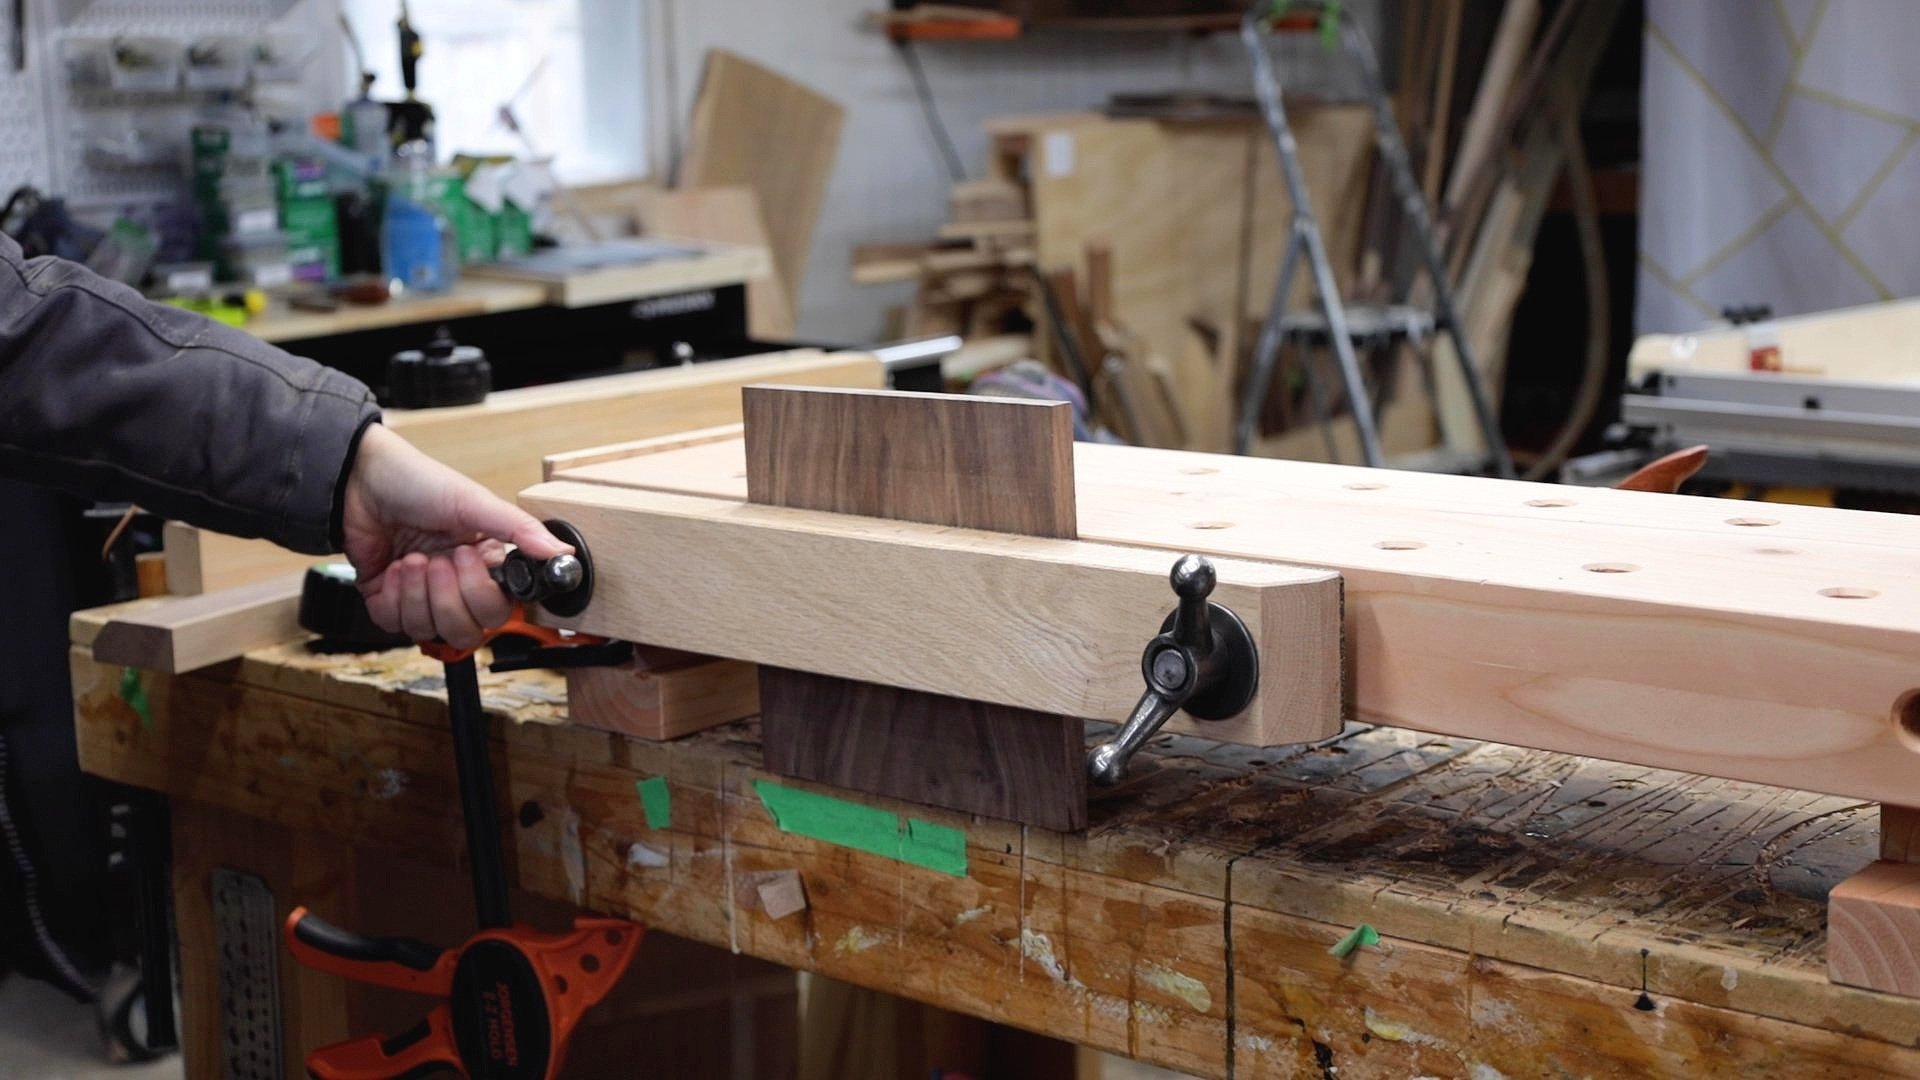
Since the holes I drilled in the jaw were oval, you can also easily clamp angled pieces in there. Love it.

With the 10” long rods you can clamp anything up to 6” thick. That’s pretty awesome.

You can also clamp longer pieces in the vise using the extra hole drilled on the vise side.
Put a bench dog in there and it supports the longer pieces while you clamp.

If your piece is longer than 16” but too wide for the vise, you can flip the bench over and use this dog holes with the vertical Bench Dog clamps.

So many clamping options, I can’t wait to put this to good use!
