
Modern Slat Bed
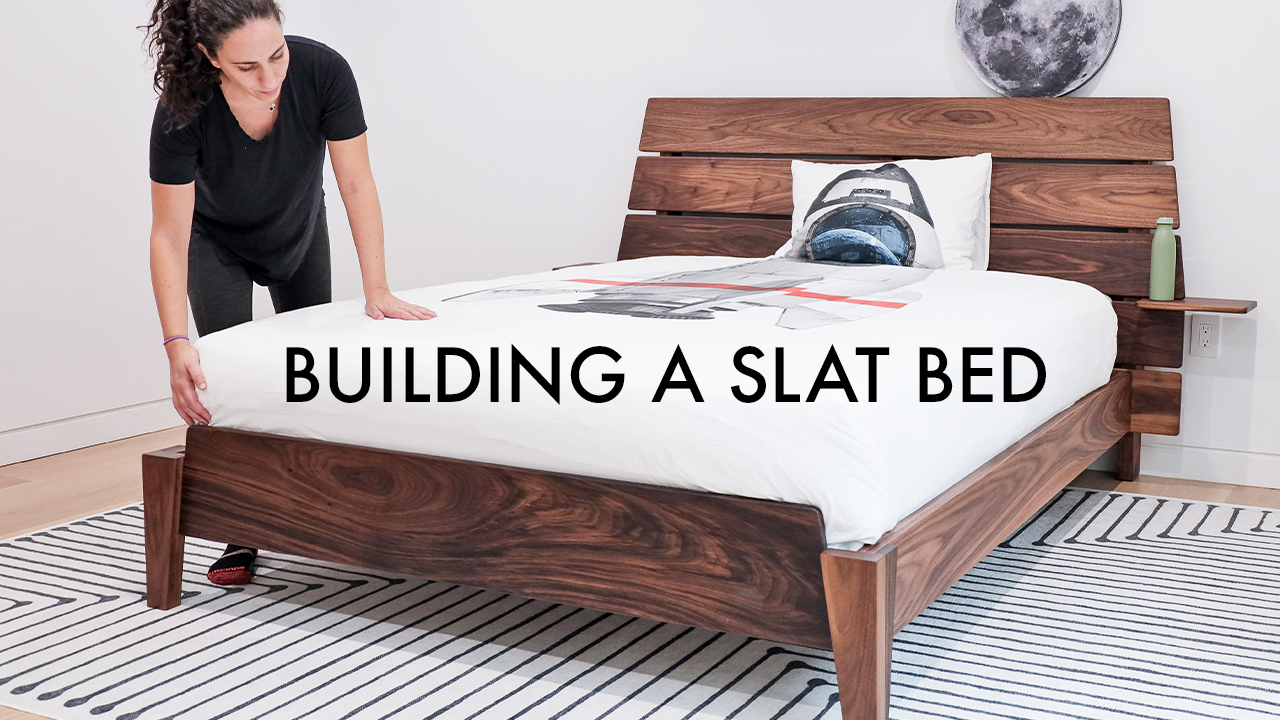
Time to build a modern slat bed! This bed is made of solid walnut, but the plans are written so you can build it using regular 1x and 2x material purchased at the big box stores. No rip cuts are required, so you don’t need a table saw to build this!
The plans listed below will also have measurements for a Twin, Full, Queen, or King size bed, so there is something for everyone!
Check out the full build video below to see how it all comes together… links to everything you need to build this are in the YouTube Video Description.
Want FULL PLANS with detailed cut lists and dimensions? Click Below!
MODERN SLAT BED PLANS
Let’s begin!
Lots of people ask where I get my lumber from… the lumber for this bed came from Woodworkers Source, an online lumber supplier that delivers beautiful hardwoods directly to your home! You can order all the lumber you need without ever going to the lumber yard!

This lumber comes ready to use out of the box. All I needed to do was rip to width and cut to length.
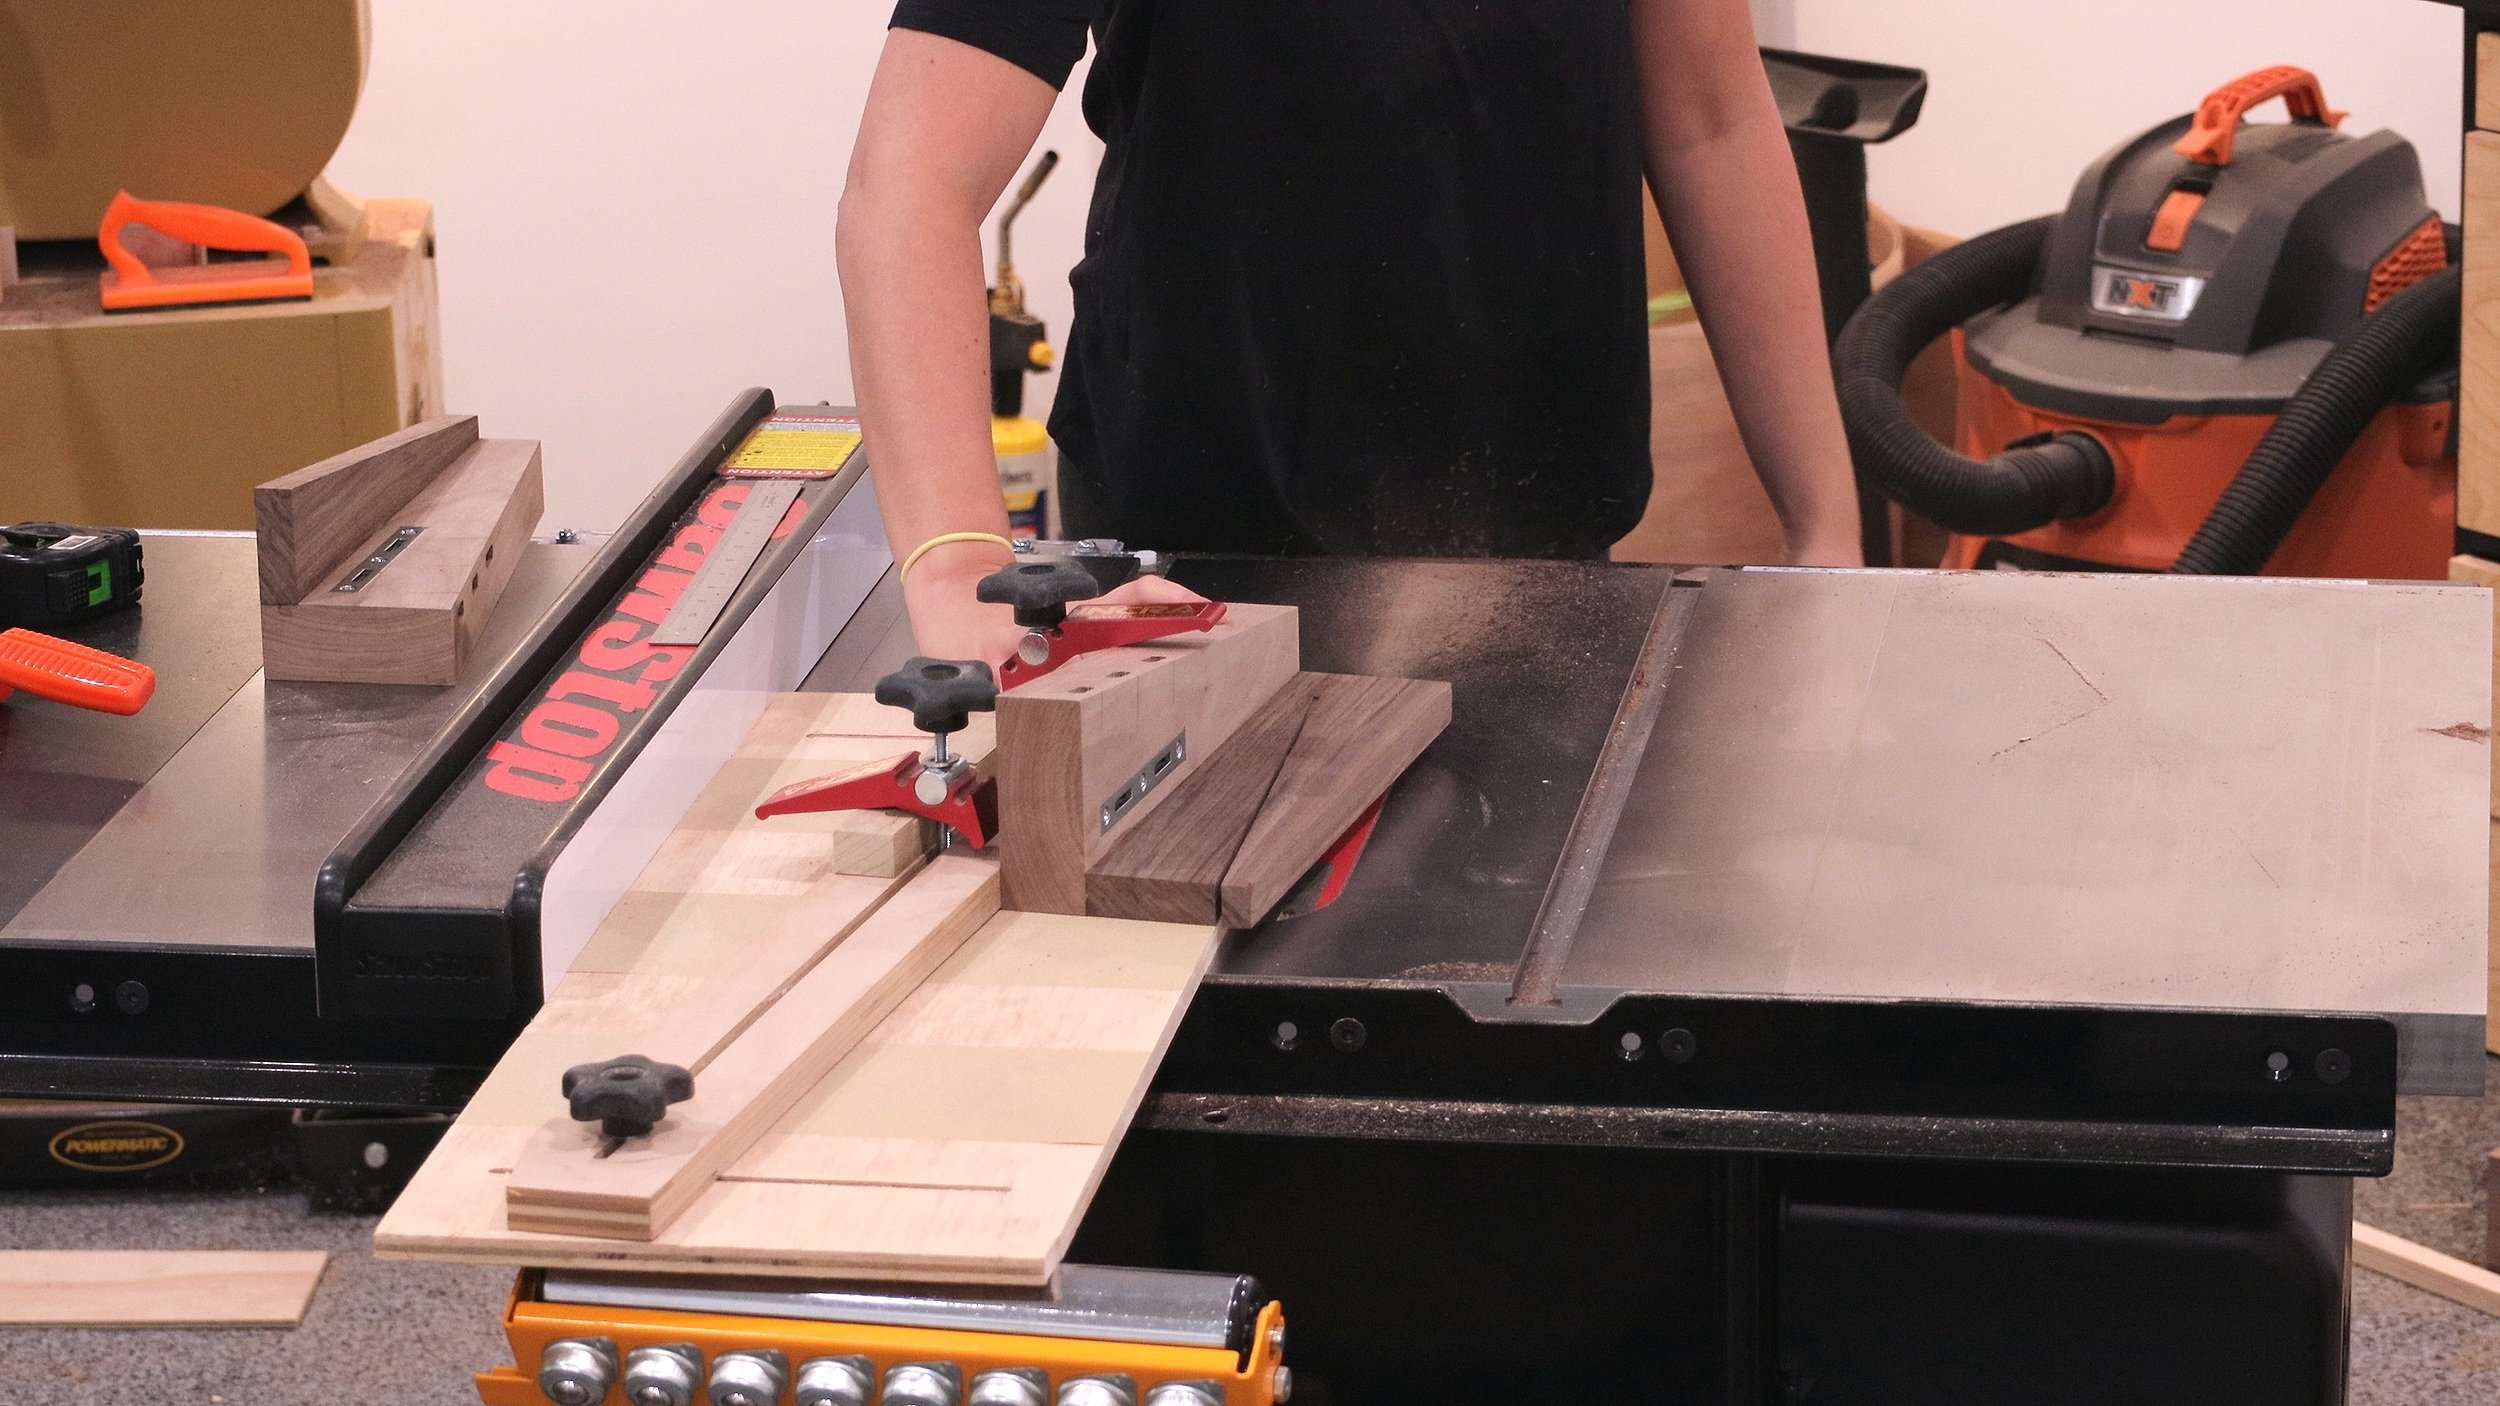
To begin, start with the upright back supports, cut them all to the same length using a miter gauge at the table saw, miter saw, track saw, or circular saw. Use what you got!

There will be a few angles on this build, all of those angles will be 8 degrees. It is easy to find any angle using a bevel gauge and a sliding bevel.

I used my tapering jig to cut the angles on the uprights, but you can use a track saw or circular saw just as well.
The uprights had 2 angles cut on them…
1) A smaller angle cut at the bottom, this is only for aesthetics, totally not necessary.
2) A longer angle at the top which will create a subtle angle up the headboard.
All measurements on where exactly to place these angles are written the full plans linked above!

The upright back supports are going to be connected to each other by slats, so the next step is to cut those to length.

I chose to use dominos to connect the slats to the upright supports, but lots of other methods can be used here like pocket holes or dowels.
If you are interested in learning about alternative methods to a domino joiner, I have a video discussing 7 different methods linked here —> 7 Alternative Domino Methods

Whatever method you choose, make sure to clamp all the back supports together when making your layout lines. This will result in superior accuracy of the joint.

The slats prepared in the previous step do 2 things…
1) Connect the upright back supports to each other (using the domino, dowel, mortise and tenon or pocket hole).
2) Connect the horizontal headboard slats to the back support. This can be done in multiple ways, and I chose to go with an oversized hole to allow for wood movement.

I used this really cool Shaper Origin accessory called “Plate” to do this, but this can just as easily be done with forstner bits…
The reason for drilling an oversized hole, or in this case an oval hole, is to allow for wood movement when the moisture in the air changes seasonally. Basically, this is to prevent the boards from cracking.
If you want to learn more about wood movement and other methods to use to prevent cracking I made a whole video on it here —> How to Prevent Wood from CRACKING

All together there are 20 slats. 10 of them get an oversized hole as shown above and 10 of them will get an exact-sized hole.
Doing this will anchor the boards in position at one edge of the board, in this case, I chose the top of the boards.

When gluing and attaching the slats to the upright supports, I made sure to alternate the hole pattern.
The top one is an exact-sized hole, and the next is an oversized hole, exact, oversized, etc…

Moving on the headboard slats!
Cut them to length, then mark an 8-degree angle on both ends of the top 3 boards.
Again, this angle is just an aesthetic thing, not necessary at all, but it will match the angled feet in the footboard…

It would be hard to put finish on these boards once they are attached to the back support uprights, so I chose to finish them before assembly.
I will be adding glue when assembling, so I made sure to tape off an area where I knew glue would go, both on the headboard slats and the support back.

The placement of the bottom board is the most crucial. Make sure it is the same distance from the bottom of the upright supports and there is an even overhang on both sides.
As seen in the picture below, there is only glue where I taped off the back of the board and that is going to be placed on the slats that have the exact sized hole.

The boards get clamped in place and then locked down with screws through the holes in the slats.
The top holes are the exact-sized holes and that is where the glue gets placed. The bottom holes are the oversized holes where there is no glue. This will lock the board in position at the top of the board and the bottom of the board will be able to expand and contract with the seasons to prevent cracking.
This is only one method to prevent cracking, if you don’t want to drill all those holes you can also use z clips or other sorts of tabletop fasteners as discussed in the 8 ways to prevent cracking video.

The top of the headboard will act as a ledge to rest books and other items on, rip an 8 degree angle on one edge and glue it to the back of the top headboard slat on top of the upright supports.

Moving on to connecting the side rails!
I used this Bed Rail Hardware Kit. It may seem intimidating because you have to route out a few mortises, but it is fairly easy if you make the correct jigs.
There are other non-mortising hardware kits that you can use, I prefer these because they are completely hidden after assembly.

You can create a jig where the opening is the exact size of the hardware and use a template bit to hog out the material.
The headboard and footboard each get 2 mortises.

Each side rail also gets 2 mortises cut on their ends. You can use the same jig for this since both halves of the hardware are the same size.

Here is where they differ… The hardware for the rails has hooks in them, these hooks need to fit into the slots that go in the headboard and footboard.
It is easy to just lay down the actual hardware to lay out where these mortises will go. The only thing to be aware of is the screw placement… You don’t want to mortise out where the screw needs to go.

These mortises can be made easily with an edge guide on a router. My 6-in-1 Jig really came in handy here!
Notice how the mortise gets very close to the screw hole on the right, but it is still in the safe zone.

The hardware for the rails gets screwed in the endgrain of the boards, this is not an ideal situation… Screws have more holding power when they are drilled into face or side grain so I glued a dowel into the bottom of the rails close to the edge.

Now when the hardware gets screwed in place the screw will bite into the edge grain of the dowel making it super strong.

The side rails are almost done! There is one strip of wood that gets glued and screwed to the bottom portion of it. This will act as the support ledge for the mattress slats.

On to the footboard!
After making the mortises for the bedrail hardware on the feet of the footboard, that same 8-degree angle is cut on one edge.

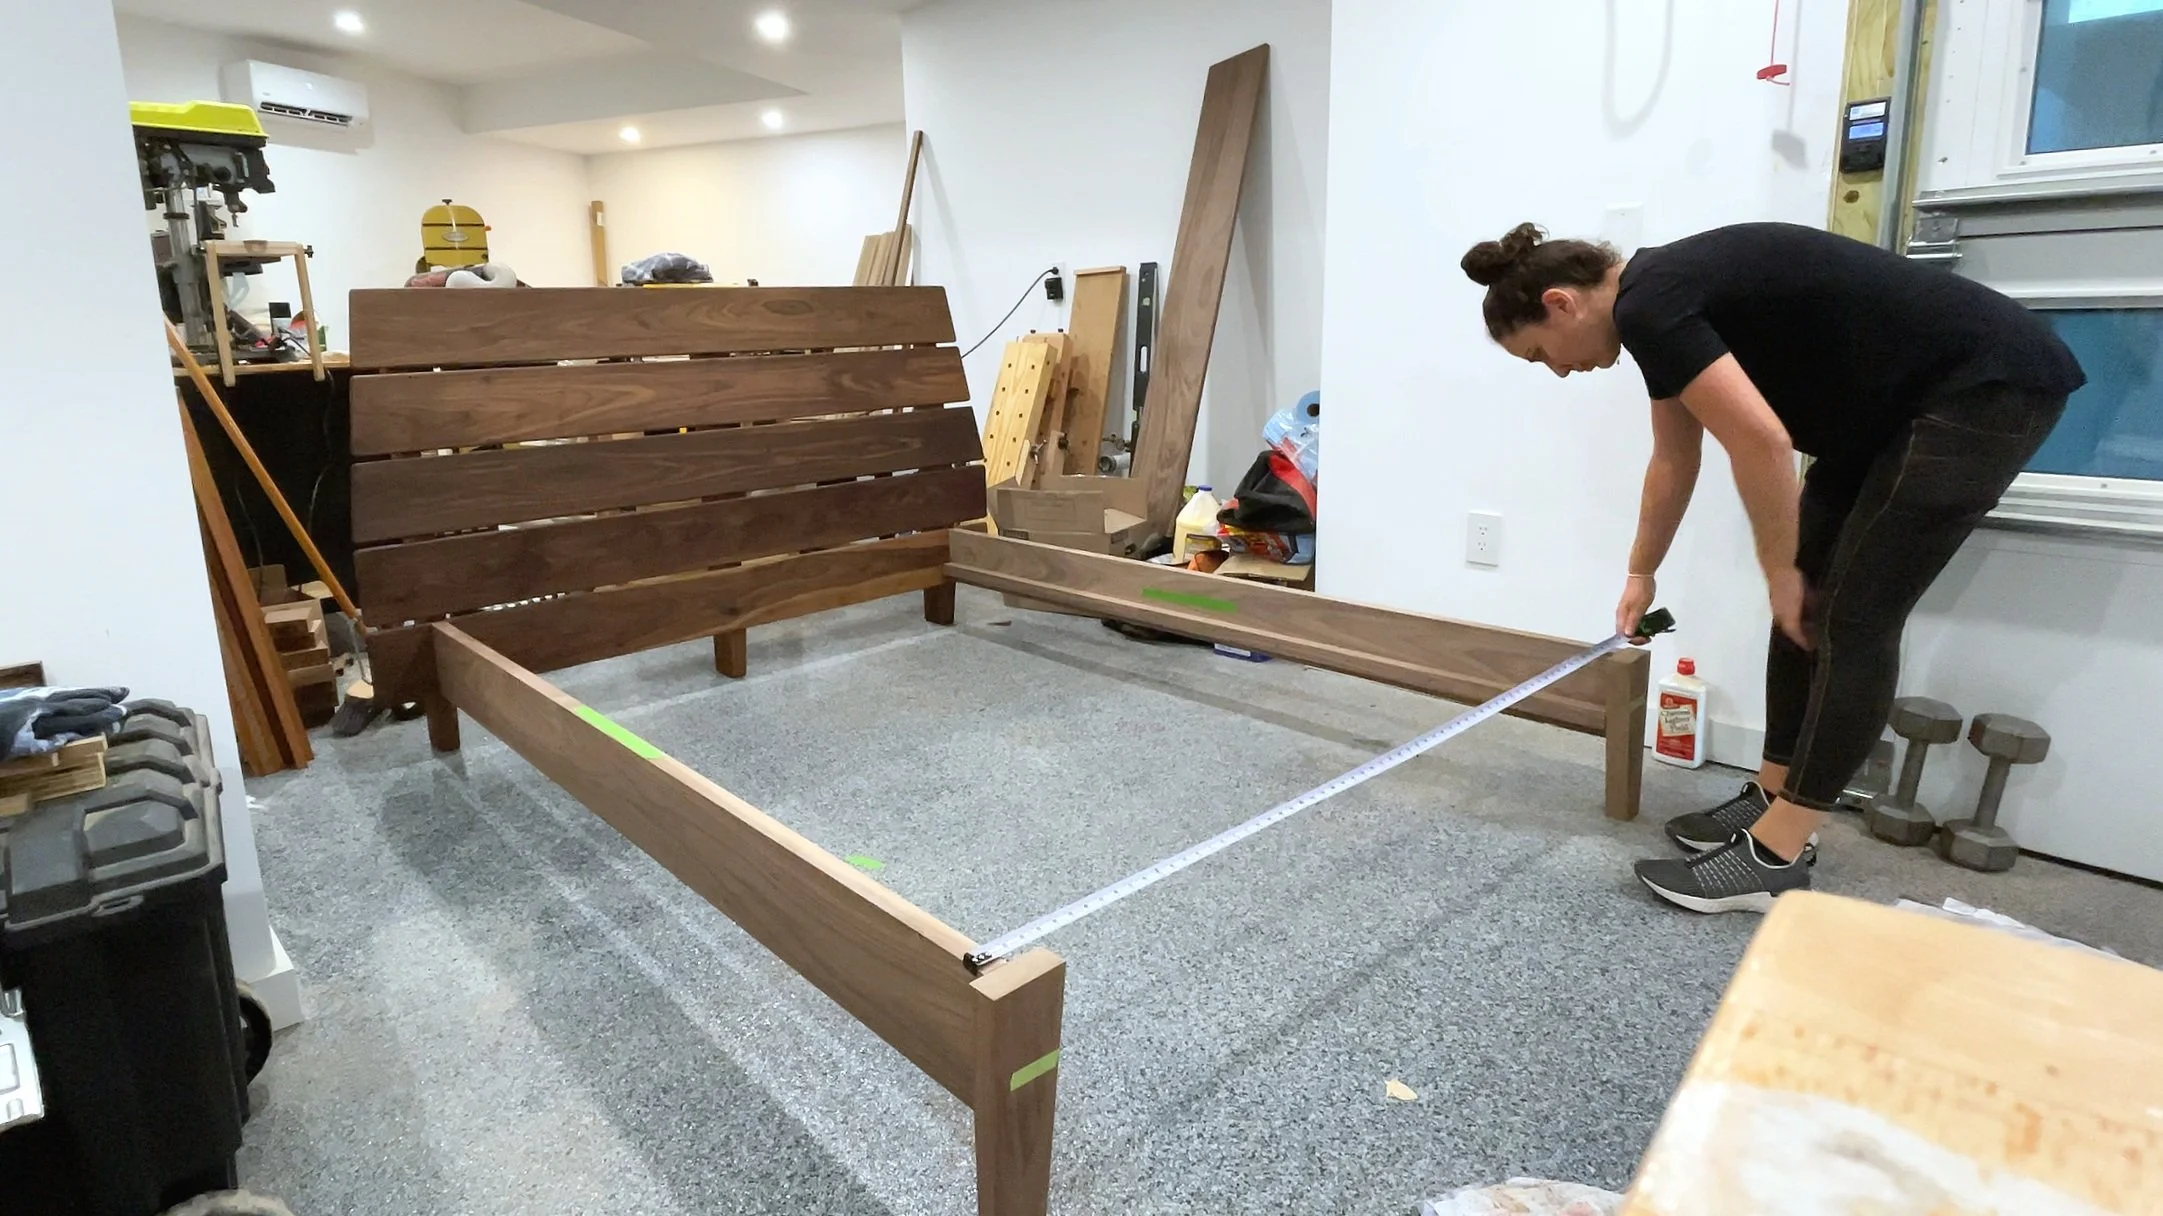
Now the side rails can be attached to the headboard and footboard feet to get the correct length of the footboard panel.
Make sure the side rails are square to the headboard and there there is an equal spacing along the whole length of the bed.
Now using spacers on the floor to hold the footboard panel in position mark off where to cut the angles on its edges.
The exact measurement of this will really be different for everyone because you may have cut the angles slightly bigger or smaller than 8 degrees. Or you may have placed your bedrail hardware slightly off center…
This is really the best way to make sure this cut will be accurate.

I used dominos again to connect the footboard panel to the footboard feet and only placed them in temporarily while I added the side piece of the footboard foot.

It is easier to work on the footboard feet before attaching the footboard panel. So before gluing them together, cut the matching angle on the side piece of the footboard foot.
Now that all the work is done to the feet, you can glue them to the headboard panel.

The center rail gets put into place using this center rail hardware kit. This kit simply uses screws and it is very easy to install.
If using this hardware, subtract the thickness of the hardware to get the final length of the center support rail.

After placing the center rail, screw on the center rail support feet.
Since I don’t like drilling into end grain, I did the same dowel trick I did to the ends of the side rails.

Last step is to make the floating nightstands!
Cut a groove going down the center so that there is only 1/2” of material left over.

Then glue on some blocks on the edge of that groove. Those blocks will act as runners along the headboard slats.

Almost there!
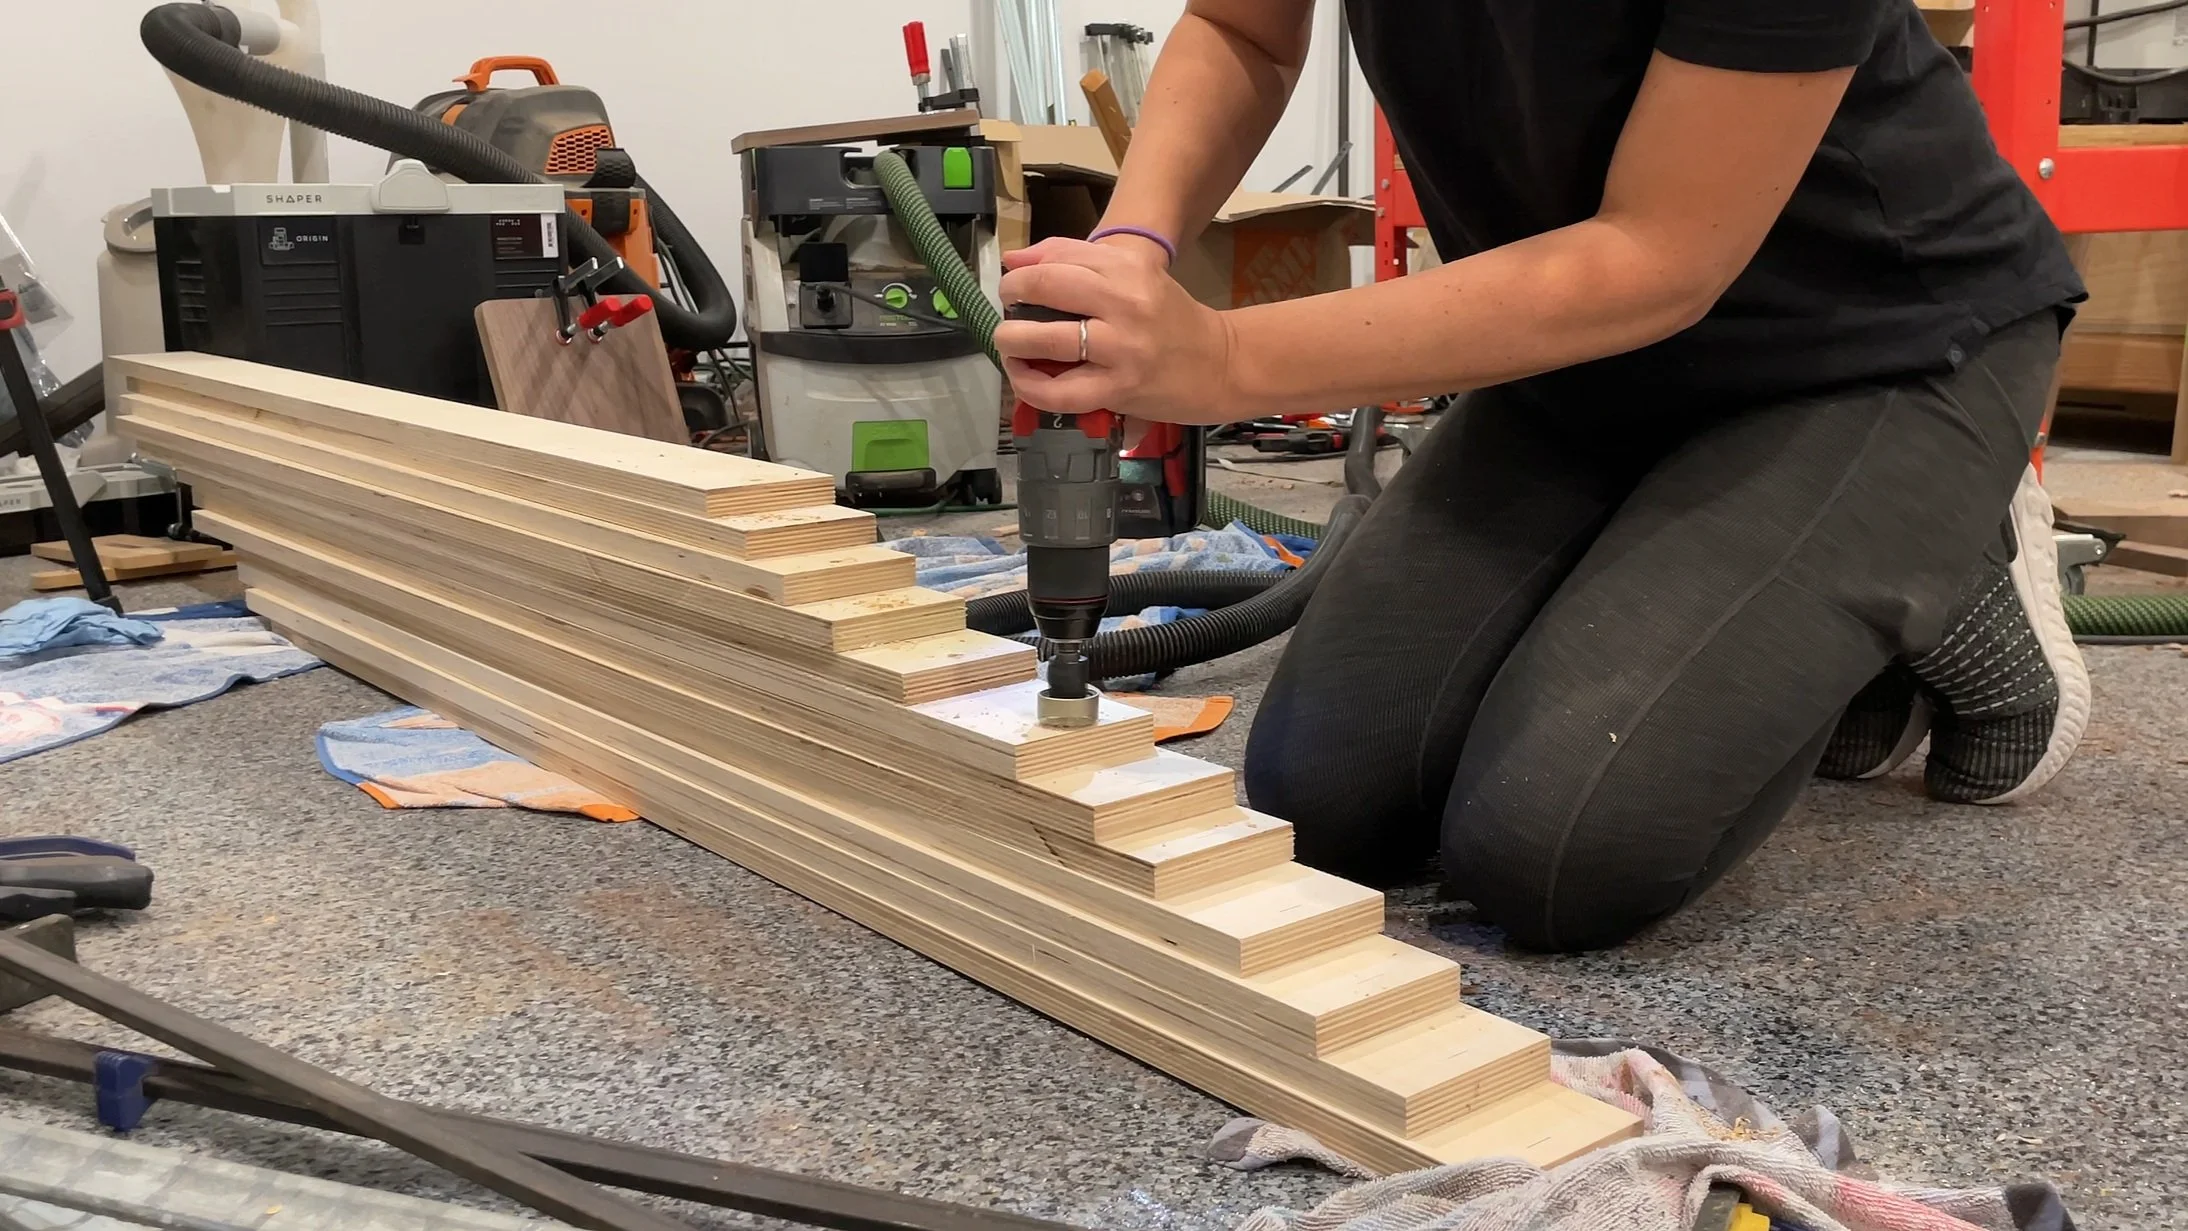
Prep the mattress support slats by countersinking holes on each end.
Finally, assemble!
This bed should snap together if you prepped everything correctly.

Before screwing down the mattress support slats onto the mattress support ledge make sure the side rails are square to the headboard.

Put the floating nightstands in place, and it’s done!

I am so thrilled with the way this bed turned out. I love that is brings nature into my son’s room, but in a modern way.

My favorite feature is the floating nightstands. I love that they can be moved to diffrent slats if you want or that you can pull them out to make more room on the table.

My son’s favorite feature is the book ledge, he loves being able to display his favorite books and have them up there for easy access…

This was my first big project in my new shop, now on to the next one!
