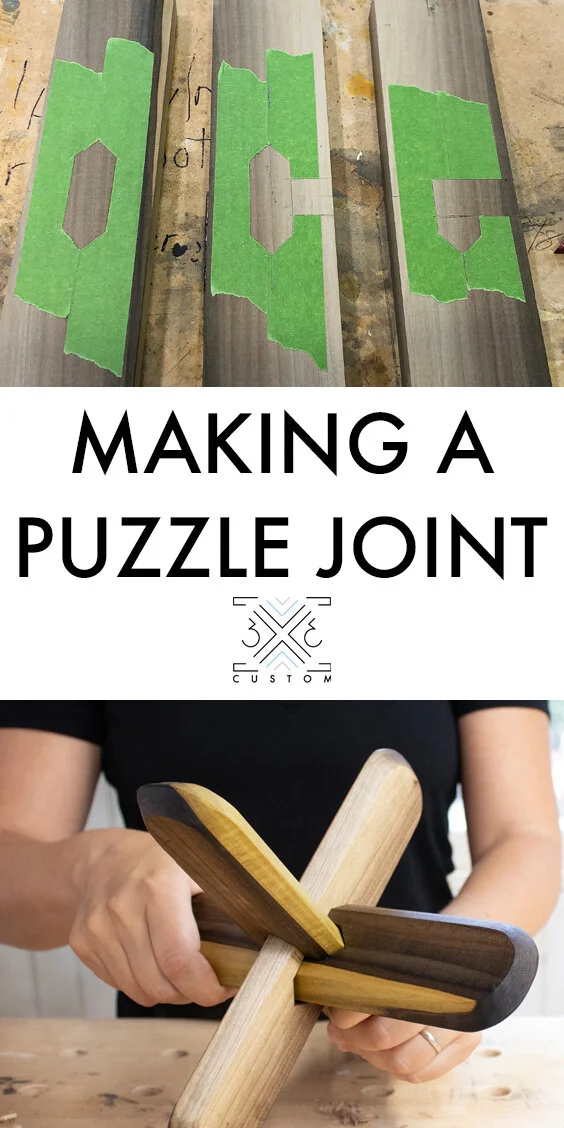
Interlocking Puzzle Joint
I came across a picture of a really cool table base that is made up of three pieces that lock together in the middle like a puzzle. (I don’t know the source of this table, it was a screen shot I took on my phone months ago and I lost the source… sorry…)
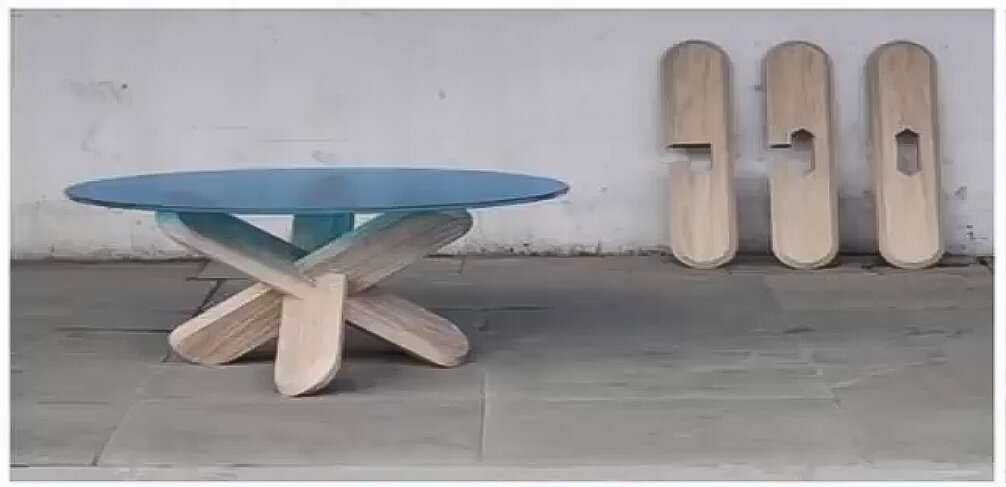
This looked like it would be fun to experiment with, so I gave it a shot! It was really fun to figure out!
Check out the full YouTube video below to see how I did it.
Links below are affiliate links, I get a small commission if you click on them at no extra cost to you ;)
Looking at the picture I figured out that the pieces need to be 3 times as wide as they are thick.
I am working with a 3/4” thick piece of poplar, so I ripped it to 2-1/4” wide.

Length of the pieces do not matter, so I cut the board up into 3 equal pieces at an arbitrary length.
I put tape on the center of the boards to help visualize the joint, this ended up being really helpful during the chiseling portion of this project.
I marked the center of the boards widthwise.

And also marked the center lengthwise.
This is going to help with laying out the joints without doing any math… my kind of joinery…

The table in the picture I am basing this off of has beveled edges on all sides, so I wanted to create the same look.
I still wanted square edges on my workpieces because it would be easier to mark out the joints, so I put a chamfer on all edges of a scrap piece that was milled to the same width and thickness as my boards.

Then I used that scrap to mark out the openings.
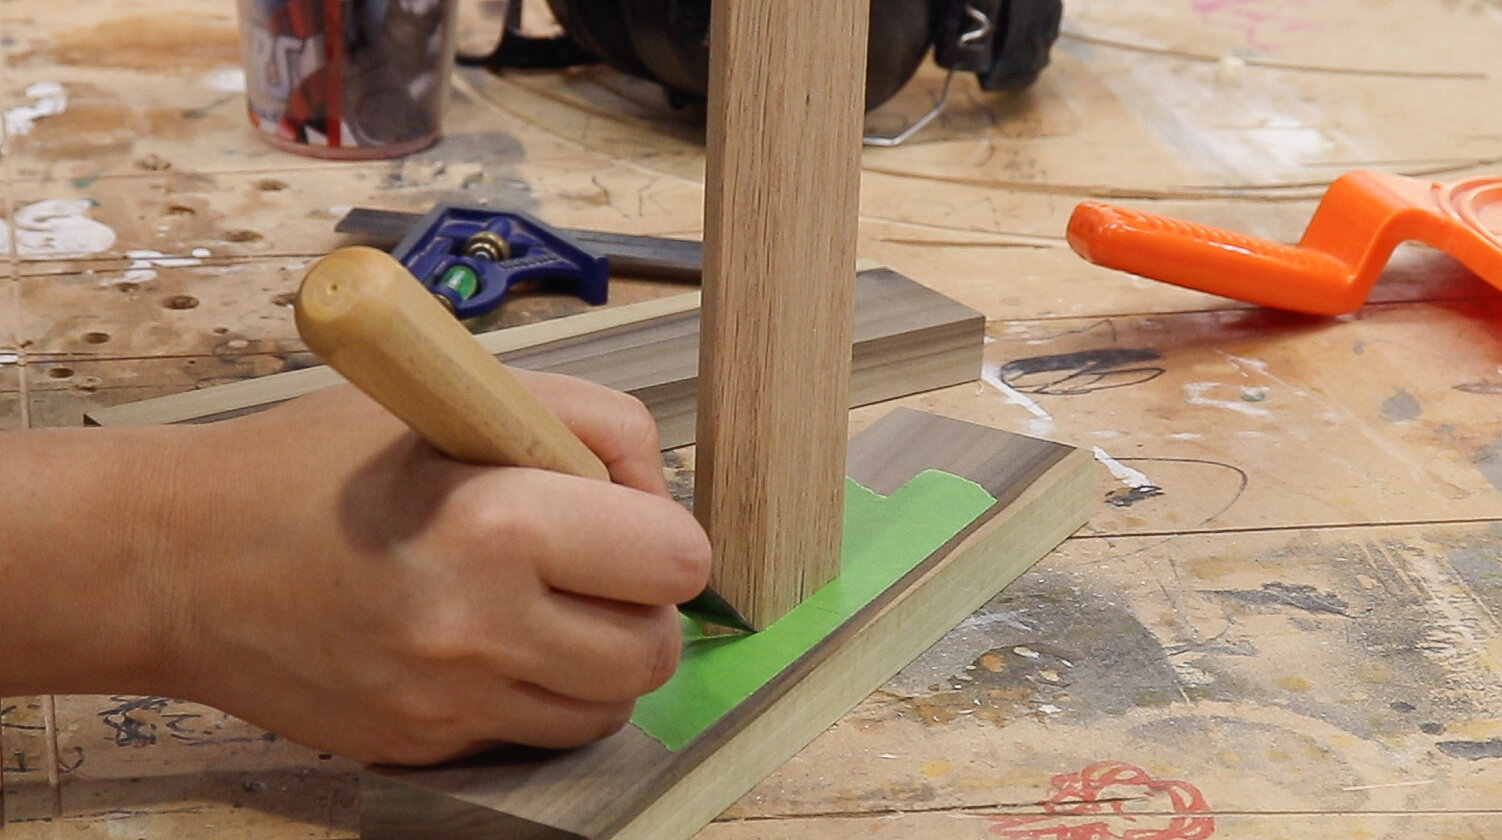
Since the boards are 3 times as wide as they are thick, I could sandwich the scrap board in between 2 of my workpieces to make sure it was perfectly centered through the width of the board.

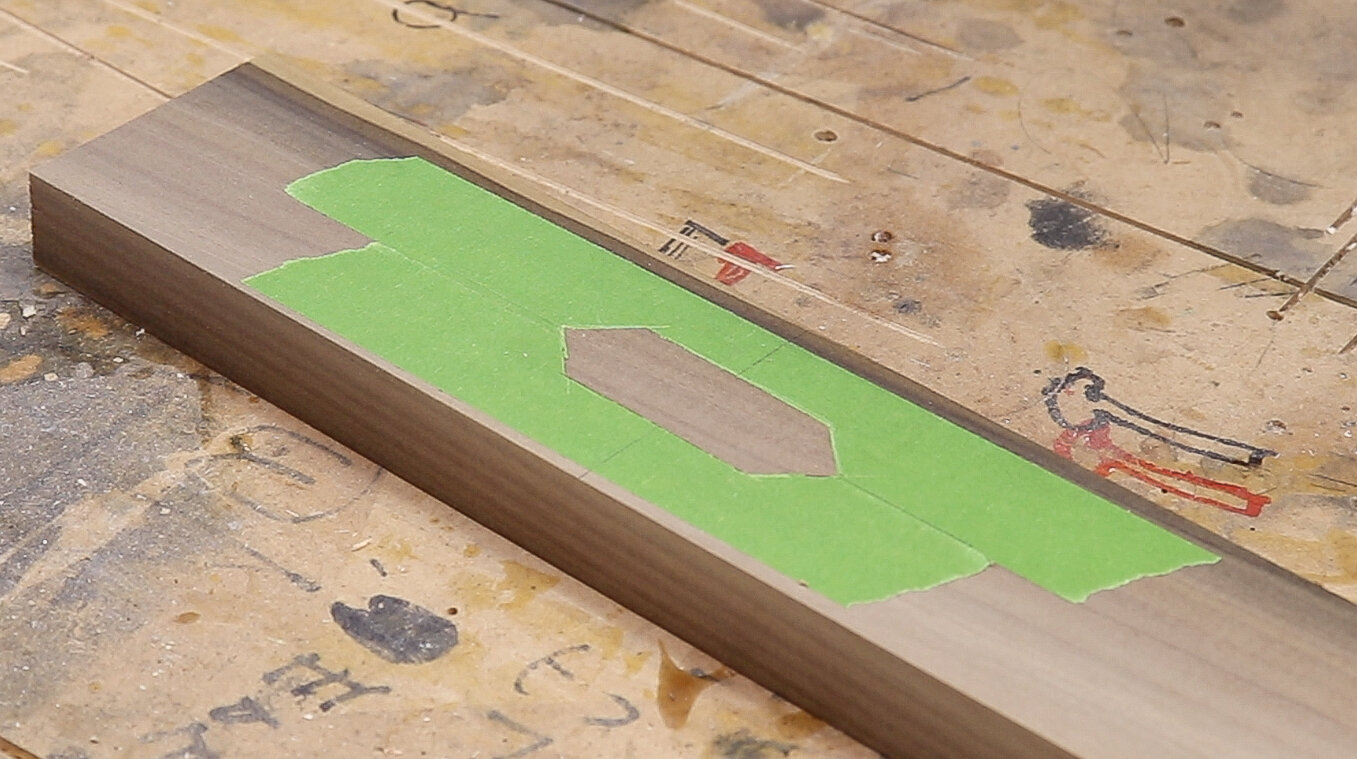
Making sure the scrap board was also centered lengthwise I traced around the board with a marking knife to cut away the tape.
And this is what the first board should look like! It is just the shape of the perimeter on the end of the board.
Moving on to the second piece, it’s the same shape, except there is an opening that is the width of the workpieces.
I marked out the same shape as the first board then marked the opening on the side using one of the other boards, making sure it was square and centered.

This is what board number two should look like!

Board number three has the same opening on the side as number two but it does not have the same full shape as the other boards.
Only 2/3 of the board should be traced out here.

This is what board number three should look like!
See how the main shape is only 2/3 of the way through? I stopped with my marking knife when it reached the opening lines I first marked out.

All together this is what the three boards should look like! Pretty cool….

I’m going to hog out most of the material using a forstner bit at the drill press.
To make sure the point of the forstner bit is always centered, I set my combo square to half the width of the board and made an indentation with an awl.

Speaking of forstner bits, I got a new set of them!
These bits are already discounted 40% and you can get an extra 20% off these bits if you click this link - Forstner Bit Set - and use the code: CMT16BIT20
That would come up to just $6.00 a bit! But it’s only until supplies last…

Next I used a 3/4” forstner bit to hog out the majority of the waste.
Marking the indent with the awl worked out really great to make sure the holes were all centered! even without a fence!

Before moving on I wanted to make sure the openings were marked on the backside using a marking gauge. This helps keep the joints nice and tidy when chiseling on the back side.

I decided at this point to chamfer all the edges.

Then I cut away at the openings on the side using my cross cut sled on the table saw.

If done correctly the opening should fit the thickness of the workpiece.

Then I spent some quality time with my chisels to clean up the joints.
I used a wide chisel on the flat portion of the joints.

And a narrow chisel to clean up the angles.

I love using this japanese shinto rasp to really refine the fit.

To make it look more like the inspiration table, I cut curves on the corners and added the same 45 degree bevel all the way around on both sides.
It felt safer to do it this way over the router table because of the end grain.

All finished! Now it was time to figure out how these pieces all fit together!

It took me a minute (or 10… ha) but it was really satisfying when the pieces snapped right into place!
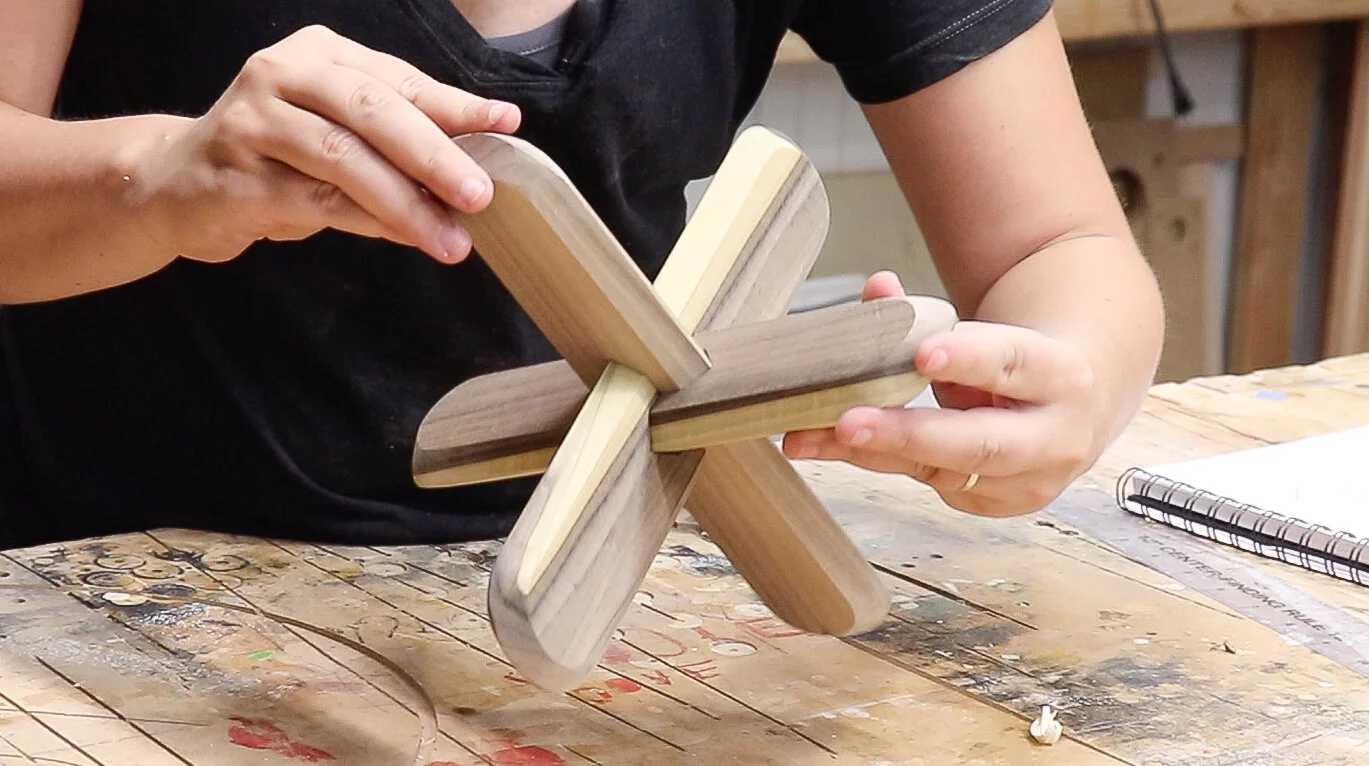
This was such a fun experiment, one day I hope to incorporate it into a piece of furniture but for now my kids are enjoying playing with this!