
Angled Bridle Joint
I am going to be making a table base that has some crazy angles and I figured the strongest way to join the angles would be a bridle joint.
A bridle joint is essentially an exposed mortise and tenon joint and it’s one of the strongest joints out there.
What makes it so strong is all the long grain glueing surface. There is so much surface area of the joint being glued together, so it makes it the perfect joint for these crazy angles!
Regular bridle joints are super simple to cut, it gets a little tricker when angles are involved but it’s not too hard!
Check out the full video below for all the details!
The first step is to cut all your parts to length with the angles you desire.
(I did 30 degree angles on all the ends.)
You can do this at the miter saw or use a regular miter gauge at the table saw, but I recently upgraded to this Incra sled and its fantastic!

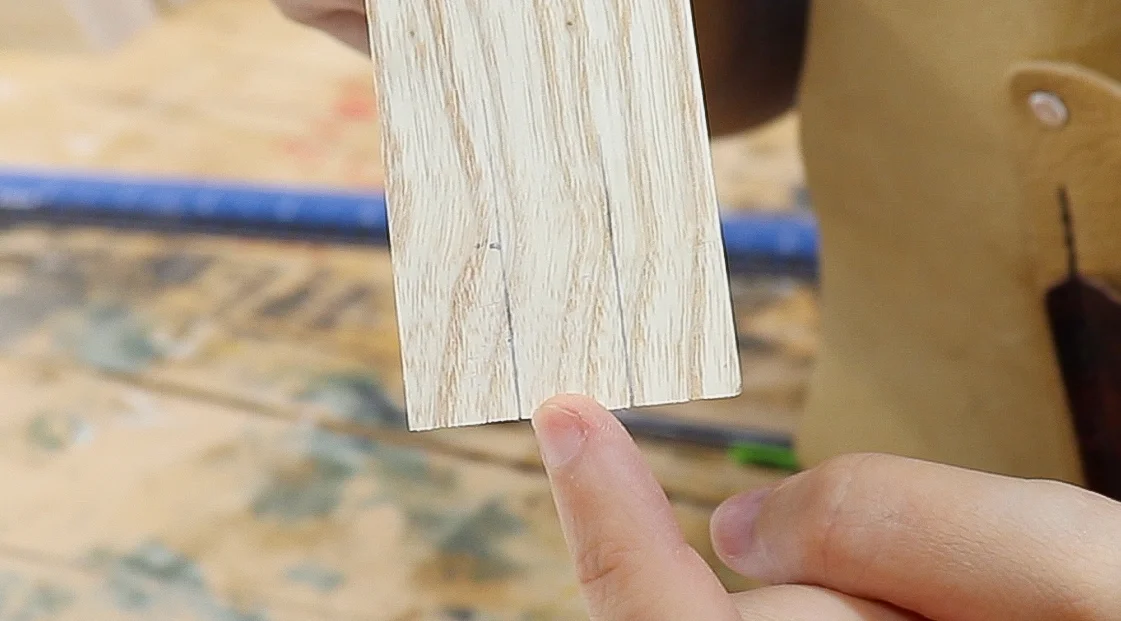
Next you need to mark one of the pieces for the mortise.
I measured the board I was using and divided it by 3 to get 3 equal parts.
Then place the mating piece on top to mark out the height of the mortise.

I set the blade slightly higher than that mark in case there are any errors.
It’s better to sand away a little excess than the joint not be long enough.

Then I used my tenoning jig to define the mortise, making sure to stay to the inside of the cut line.
If you don’t have a jig like this, there are shop made tenoning jigs that can do the same job. I used to use a shop made jig for tenons and it worked fine, this one just saves you set up time and is more versatile.

After defining the tenon, I cleared out all the waste in between to create the mortise.
(Helpful Tip: I was batching out 6 of these pieces. In order to make sure all the mortises were the same size, I cut the right side of the mortise on all the pieces with the jig in the same position. Then I adjusted the jig and cut the slot for the left side of on the tenon on all 6 pieces. Then I cleared the waste on all the pieces after the right and left side was defined on all of them.}
It also helps to have a flat tooth blade so the joint wont need any extra clean up work.

To make the tenon I used referential measurements.
I held the mortise piece up to the mating piece and marked out for the tenon.

Then repeated the same process with the tenoning jig, this time making sure to cut on the outside of my cut lines.

You can clear the waste with the tenoning jig by taking multiple passes of you can switch back to the miter gauge. (Or you can set a stop on your miter saw to only cut as deep as the tenon)
The miter gauge should be set to the same angle as the angles you cut on the ends.
Make sure to cut right at the shoulder line for a good fit.
I eyeballed the cuts because I could line them up on the kerf of the sled, but in hindsight, I should have clamped a block to my table saw fence and used that to accurately cut all the waste off.
(The purpose of clamping the block to the fence would be to avoid kick back of the cut off.)

And that’s it!
When gluing this joint, you want to have 3 clamps, 1 going up and down the joint, 1 going from side to side and 1 clamping the joint together from the outside.
You can see in the picture below, the joint is a bit proud, after the glue dries, a little sanding will fix that right up!

Now I need to continue gluing up these joints to finish up my project!
