
Adjustable Tenoning Jig
Last week I showed how to make an angled bridle joint using a heavy duty tenoning jig from Woodcraft. While I absolutely love that jig, there were a lot of comments saying people couldn’t make the joint because they don’t have that jig… so I decided to make a super easy adjustable tenoning jig that yields the same results!
Watch the full video below for all the details!
Links below are affiliate links, clicking on them helps me keep this site going at no extra cost to you :)
WHAT YOU’LL NEED
The first thing to do is cut some 3/4” plywood to size. This may vary depending on your table saw, but I will share the dimensions I used anyway.
The main support is 12” tall by 11” wide. (All dimensions here - Adjustable Tenoning Jig Dimensions)

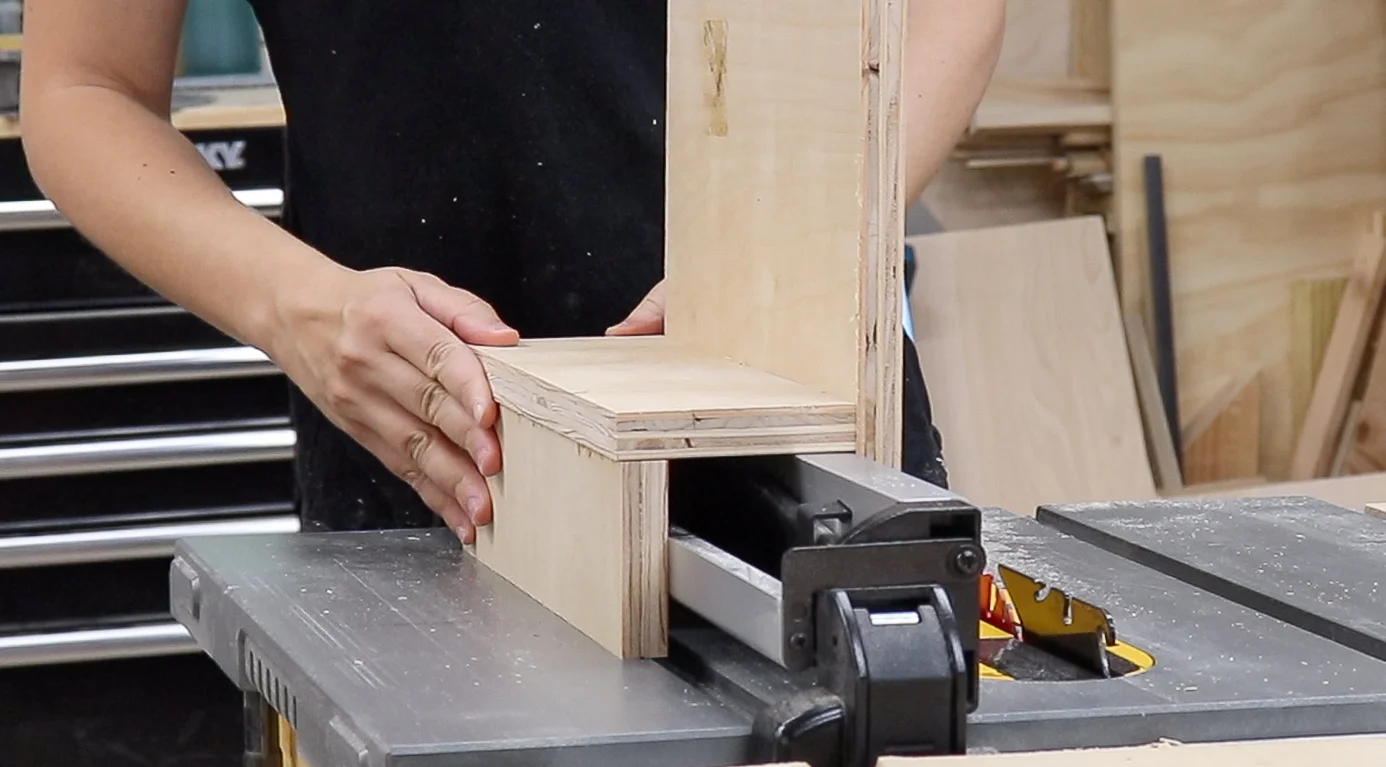
Then I took another scrap and lined it up against the fence to get the perfect height. This piece is going to be the side of the sliding box.
I ripped it to size, making sure it was flush with the top of the fence.

The last piece to cut is the top of the slide box. It’s easy to get the correct measurement for this piece by placing in on the fence and marking it where it meets the side of the sliding box.
On the main support, mark where the top of the sliding box is.
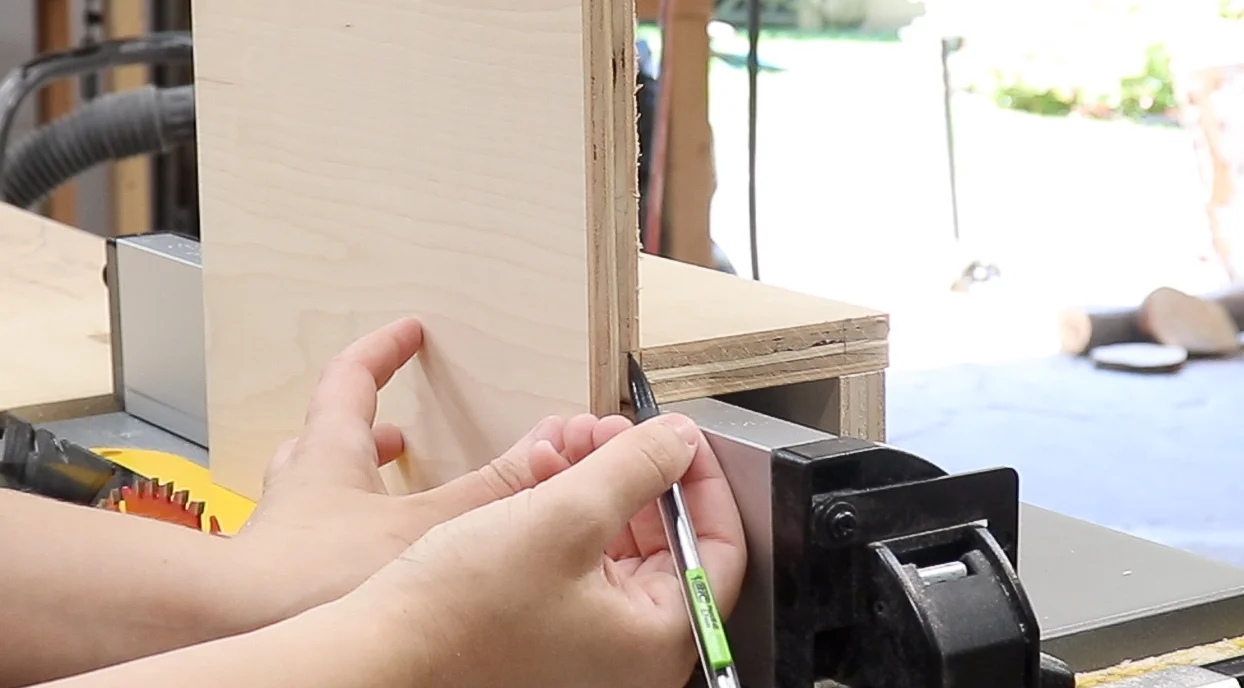
Then bring that mark up on over to the face of the plywood so you can find a good location for the star knob.
You want to be able to turn the knob freely without it running into the top of the slide box.
For me, this measurement was about 5-1/8” from the bottom.

I marked the center of the 5-1/8” line I just made and lined up a triangle on that point to create a 45 degree line going out in both directions.
I figured 45 degrees would be the max angle I would use on this jig.

Then I set a compass to about 5” and made an arc to attach the two angled lines I just made.

If using a router with a circle cutting jig to cut out the curve, this next step isn’t necessary… but I am going to use a jigsaw.
The bolt I am going to use for the star knobs is 1/4”, so I marked out 1/8” from the initial curve I made on both sides to create a 1/4” thick curve.

I used a 1/4” brad point bit in the pivot hole and in both ends of the curves so I can set my jigsaw in place.

Then I used the jigsaw to connect those two holes creating the 1/4” curve for the bolt.

The workpieces are going to need to be clamped down to the jig, so I made two 2” holes with a forstner bit so a clamp can be put through the backside of the jig and securely hold the workpiece down.
You can cut these out with a jigsaw as well.

The workpieces will also need a backer piece to rest on, so I used a scrap piece of oak and drilled a 1/4” hole on the center of it.
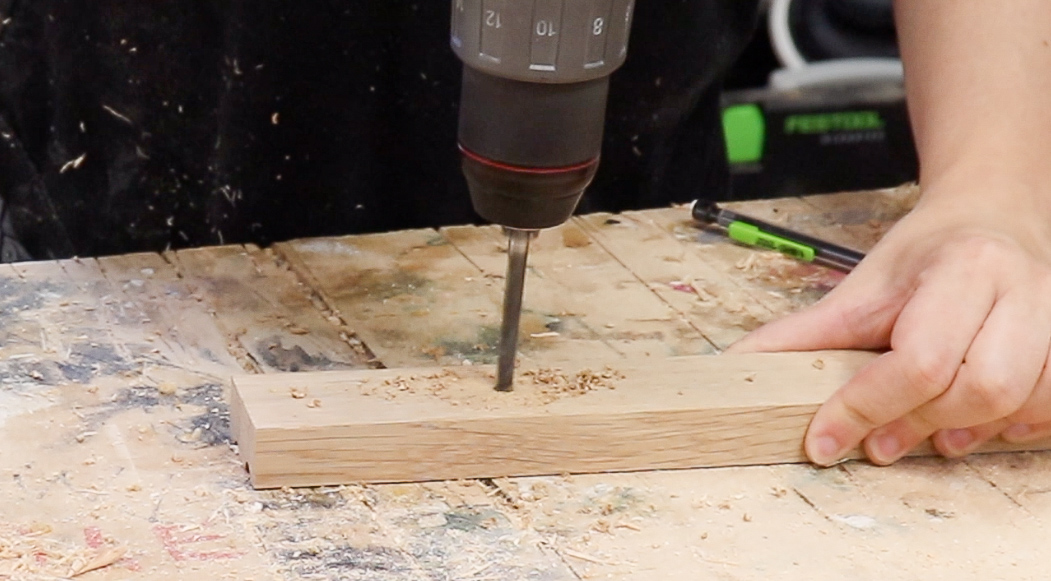
To drill the second hole in the backer piece in the correct location, I placed the bolt in the backer piece and through the pivot hole. Then I just used the 1/4” curve I jigsawed out as my guide to drill the second hole.

I then used a forstner bit at the drill press to create a recess for the head of the bolt. This could be done with a hand drill or a chisel too.

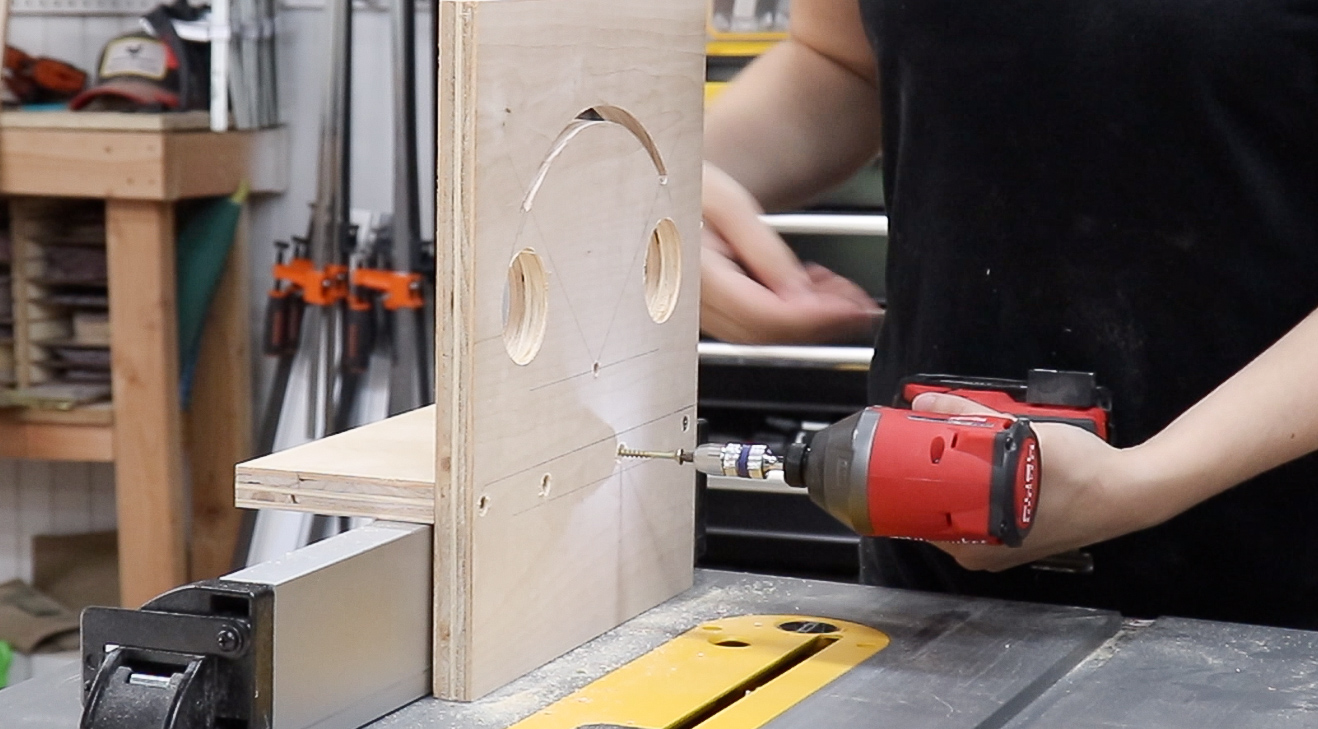
Time to assemble the jig!
The most important thing to keep in mind during this assembly is to keep the main support square to the top of the table saw.
I used CA Glue along with accelerator spray to hold it square while I pre-drilled and counter sunk some holes.

Then I locked the main support down to the top of the sliding box with screws.
I repeated the same process for the side of the sliding box, I used CA glue and accelerator spray to make sure the box was nice and tight to the fence before pre-drilling and locking it down with screws.

One last thing to do is add a handle so it’s easy to push along the fence.
I just ripped a 2x4 so that it wasn’t blocking the hole for the clamp and glued it in place.

Now the jig is done!
To use it, I put the backer piece in place with the star knobs and locked it down at the desired angle.
(Note the 2x4 handle is missing here, it was an afterthought…)

I clamped down the workpiece through the hole I cut in the jig, then cut out the mortise for the angled bridle joint just like I did with the woodcraft jig!

This jig did exactly what I expected it to and it would be a great alternative to a store bought jig. It’s not as sturdy and doesn’t have as many features but it gets the job done.
