
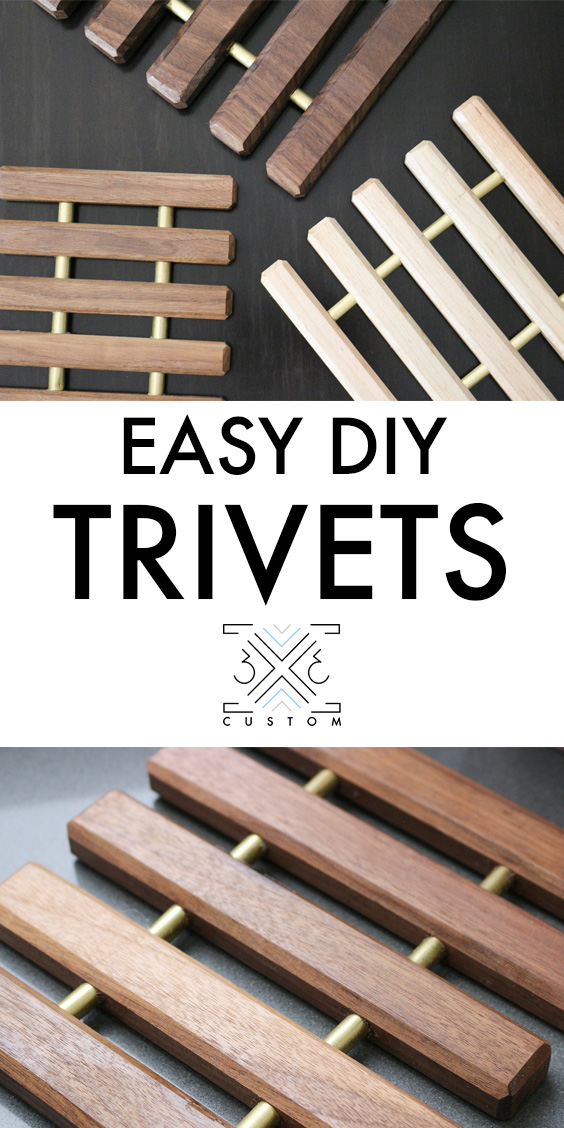
Scrap Wood Trivets
*This post is sponsored by The Home Depot
I have a scrap wood problem... and apparently so do a lot of us makers! A bunch of awesome makers and DIY'ers got together to try and solve this problem by taking part in a Scrap Wood Challenge. There were no rules but to use up your scraps to make something cool! Check out all the other amazing scrap wood projects down below!
Since it's the end of the school year, I decided to make these trivets as gifts for my kids teachers. These trivets are pretty simple to make, so my kids were able to help out a bit, which is always fun!
Check out the full build video below!
All links below are affiliate links, clicking on them helps me keep this site going :)
TOOLS
I started by raiding my scrap bin.... I took anything that was about 6" long and ripped everything into strips.
My favorite part about projects like this is the lack of thinking involved. Every measurement was arbitrary, I just cut to a size that looked good to me! Math is my kryptonite, so projects without it are the best... ha!

I was making a lot of trivets... To keep them grouped together I taped the pieces so they wouldn't get mixed up. This also helps keep the grain in the same direction if you are going for a continuous grain look.

This step is completely optional.
I love a chamfered edge. I feel like these little rectangle pieces end up looking like emeralds when all the edges are chamfered.
I did this on my router table but you can acheive a similar look with sanding or handplanes if you have them!

This is the most difficult part of this project. Drilling the holes for the brass tubing.
These holes really have to be lined up perfectly on all the pieces for the trivet to be assembled correctly.
To do this I set up a jig at my drill press. It's just a scrap piece of plywood with two more scraps glued on top of it forming a perfect right angle. (Yay for using more scraps!!) I clamped this jig to my drill press, then when I put the pieces on the jig, they were perfectly aligned with the bit.
I was also concerned about blow out on the back of the pieces. So I drilled halfway, then flipped the pieces over to complete the hole on the other side.
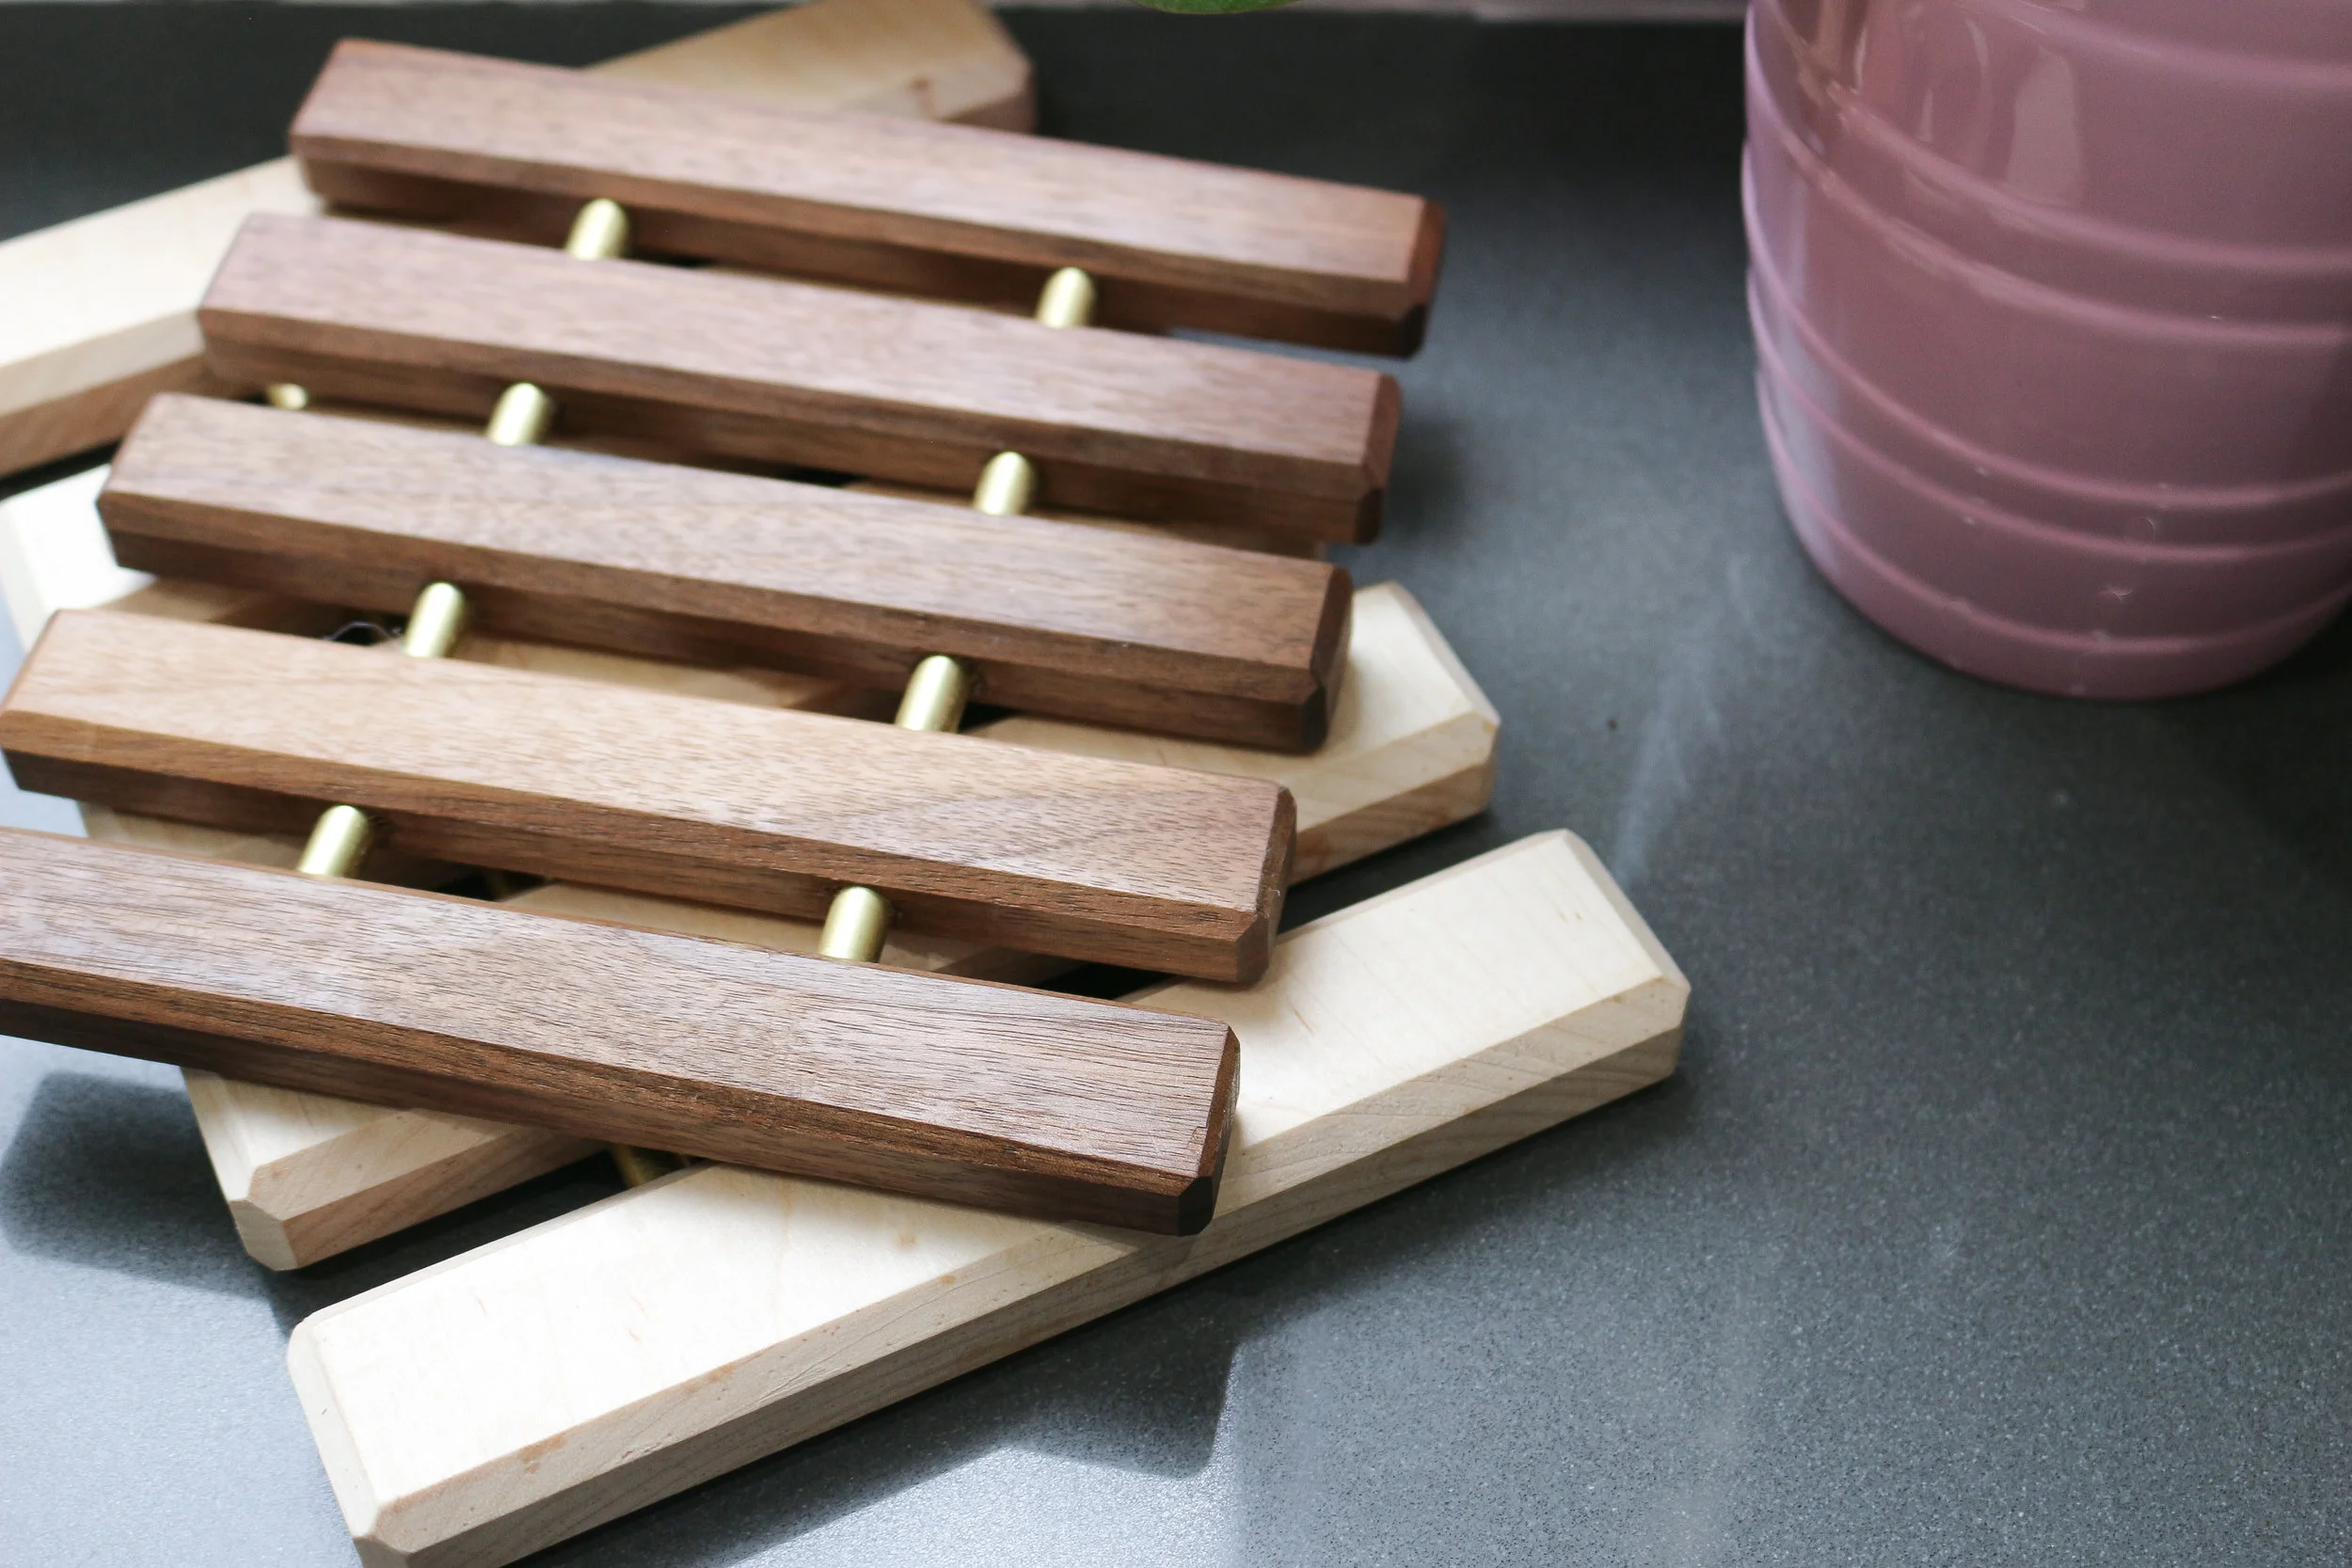
Each trivet has 5 pieces (because 4 looked weird and 6 was too much...) When drilling the holes, make sure 3 have holes going all the way through and 2 have holes drilled half way through. Those 2 are the end pieces.

I decided to connect the trivet with brass tubing. I cut them on the bandsaw. You can also use a hack saw or a Dremel.
You also don't have to use brass tubing! You can use wooden dowels or rope, or anything you like!

Before assembling the trivet it's important to sand down the brass tubing. Rounding over the outside edges will make it easier to slide through the holes.

Deep breaths! Time to assemble! If you watch the video, you'll see this part didn't go so well... but I fixed it and the other ones went ok.
I used 2 ton epoxy which sets in 30 minutes, and I definitley needed those minutes to get everything placed right.

I put epoxy in all the holes and then slid the pieces down the brass rods.
Maybe I should have made a spacer to put between all the pieces to get them to be perfectly spaced because this part was a bit finicky.

The epoxy will be everywhere. To clean it up while it is still wet, you can use some alcohol.

Since these were teachers gifts from the kids, I let them write messages to their teachers on the back.
They wrote in pencil, then I used this Dremel Stylo to permanently carve out their message into the wood.
This was the PERFECT tool for the job. These letters were so small, there was no way I could have achieved the same thing with a router. This Stylo is really lightweight and it's super comfortable to hold. Other Dremels I have used have been bigger and bulkier which makes it a little uncomfortable for small carving like this. It really felt like I was carving the wood out with a pen. Love it.
I don't expect to use this tool every day, but it's one of those tools you are happy to have when you need it!

After finish sanding I finished the trivets up with a couple of coats of spray on lacquer.

And then they were done! This project is so easy to make and I think it is a great use of scraps that were headed to the burn pile.
Don't forget to check out all the other amazing scrap projects down below!


Check out these other awesome Scrap Wood projects:
- The House of Wood - DIY Bunk Buddy
- Ugly Duckling House - Mini Garden Deck
- The Created Home - Animal Coin Banks
- Her Toolbelt - 3D Pixel Art
- The Kim Six Fix - Outdoor Drink Stakes
- DIY Huntress - Scrap Wood Coasters
- Mr. Build It & Mrs. Style It - Bent Plywood Headphone Stand
- At Charlotte's House - Buffalo Check Tray
- Sawdust 2 Stitches - Scrap Wood Wall Decor
- Bower Power - Pallet Baseball Hat Rack
- Pneumatic Addict - Table with Epoxy Resin
- Anika's DIY Life - DIY Spice Rack
- 100 Things 2 Do - DIY Can Crusher
- Hazel + Gold Designs - Patio Table Drink Holder
- Reality Daydream - Scrap Wood Shoe Cabinet
- House Becoming Home - Modern DIY Clock
- Chatfield Court - Wooden Garden Obelisk
I acknowledge that The Home Depot is partnering with me to participate in the ProSpective 2018 Campaign. As a part of the Program, I am receiving compensation in the form of products and services, for the purpose of promoting The Home Depot. All expressed opinions and experiences are my own words. My post complies with the Worth of Mouth Marketing Association (WOMMA) Ethics code and applicable Federal Trade Commission guidelines.