
How to Make a Modern Octagon Mirror
*This post is sponsored by MLCS Woodworking and The Home Depot
I'm having a moment with geometric design. There is something so simple and pleasing about it to me, It feels modern yet timeless all at once. When I needed a large mirror for my front entry I knew I had to make something geometric, so I came up with this elongated octagon shape.
The hardest part about this build was figuring out the angles. So I've done all the hard work for you! You can download the free angle template down below!
Also below are some affiliate links, clicking on them helps me keep this site going :)
Check out the full video and let me know what you think!
Tools
Materials
1-2x4 @ 6' Long
Mirror cut to size
Cut List
Rip all pieces to be 1" square
(The following are short point to short point measurements. That means this is the inside measurement for the frame. Cut your rough pieces larger than this so you get the perfect inside measurement when you actually cut the angles.)
2 @ 27"
2 @ 18"
4 @ 10-13/16"
Final dimensions of the frame is 47" tall x 32-1/2" wide
Printable template for the angles ---> Click Here
Let's get started!
The frame is made from scrap 2x4's I had lying around. I ripped all the pieces to be 1" square.
I think the thinner wood looks more modern, but if you prefer a chunkier style, go for it.

In order for the mirror to sit in the frame, I made a rabbet on one corner of each of the pieces. I used a rabbeting bit on my router table. The rabbet was just above 1/4" deep on both sides.
If you don't have a router table, you can also do this by making two passes on a table saw or by using a handheld router.
You can also do this after the frame is assembled, but then you have to chisel out the corners to make them square (since router bits are round). Thats why I prefer to do it before assembly.

Because this octagon is elongated, the angles are not the same as a regular octagon. In order to figure out the angles I drew the frame on the computer and printed out a template. (Printable template above.)
This way I could set my tools without doing any math...
I locked the angle on my Angle Finder .

Then adjusted my miter saw to the angle set on the angle finder! Simple as that! No math!

Now I could cut all the pieces to size!
It's important to keep track of the four smaller 10" side pieces in this step because there are two right ones and two left ones.

After all the pieces were cut, it was time to glue it up! I used the Merle Band clamp from MLCS which made the glue up go super smooth.
If you don't have a band clamp, you can also glue and brad nail each corner as you go.

I was a bit worried the corner joints wouldn't be strong enough since they are end-grain joints.
So I decided to reinforce them with splines. I did this by taking a slot cutting bit to the frame creating a slot to accept the spline.
If you aren't comfortable doing this, you can use brad nails or screws.

I then glued in a spline that was also a scrap 2x4.

After the glue dried I cut away the excess then sanded it all smooth.

I decided to paint the frame black because I really wanted it to look like metal. I think I totally achieved a metal look with the black paint!

I decided to have a professional cut the mirror to size for me. After watching him make some cuts I realized this was a mistake. Next time I make a mirror I will attempt to cut it myself.
I used some contact adhesive that was good for glass and wood and placed the mirror inside the rabbet in the back of the frame!

For some added support I used some glazier push points. These are really easy to put in. You just need to wiggle them into place with a putty knife. Just be careful not to scratch the back of the mirror.

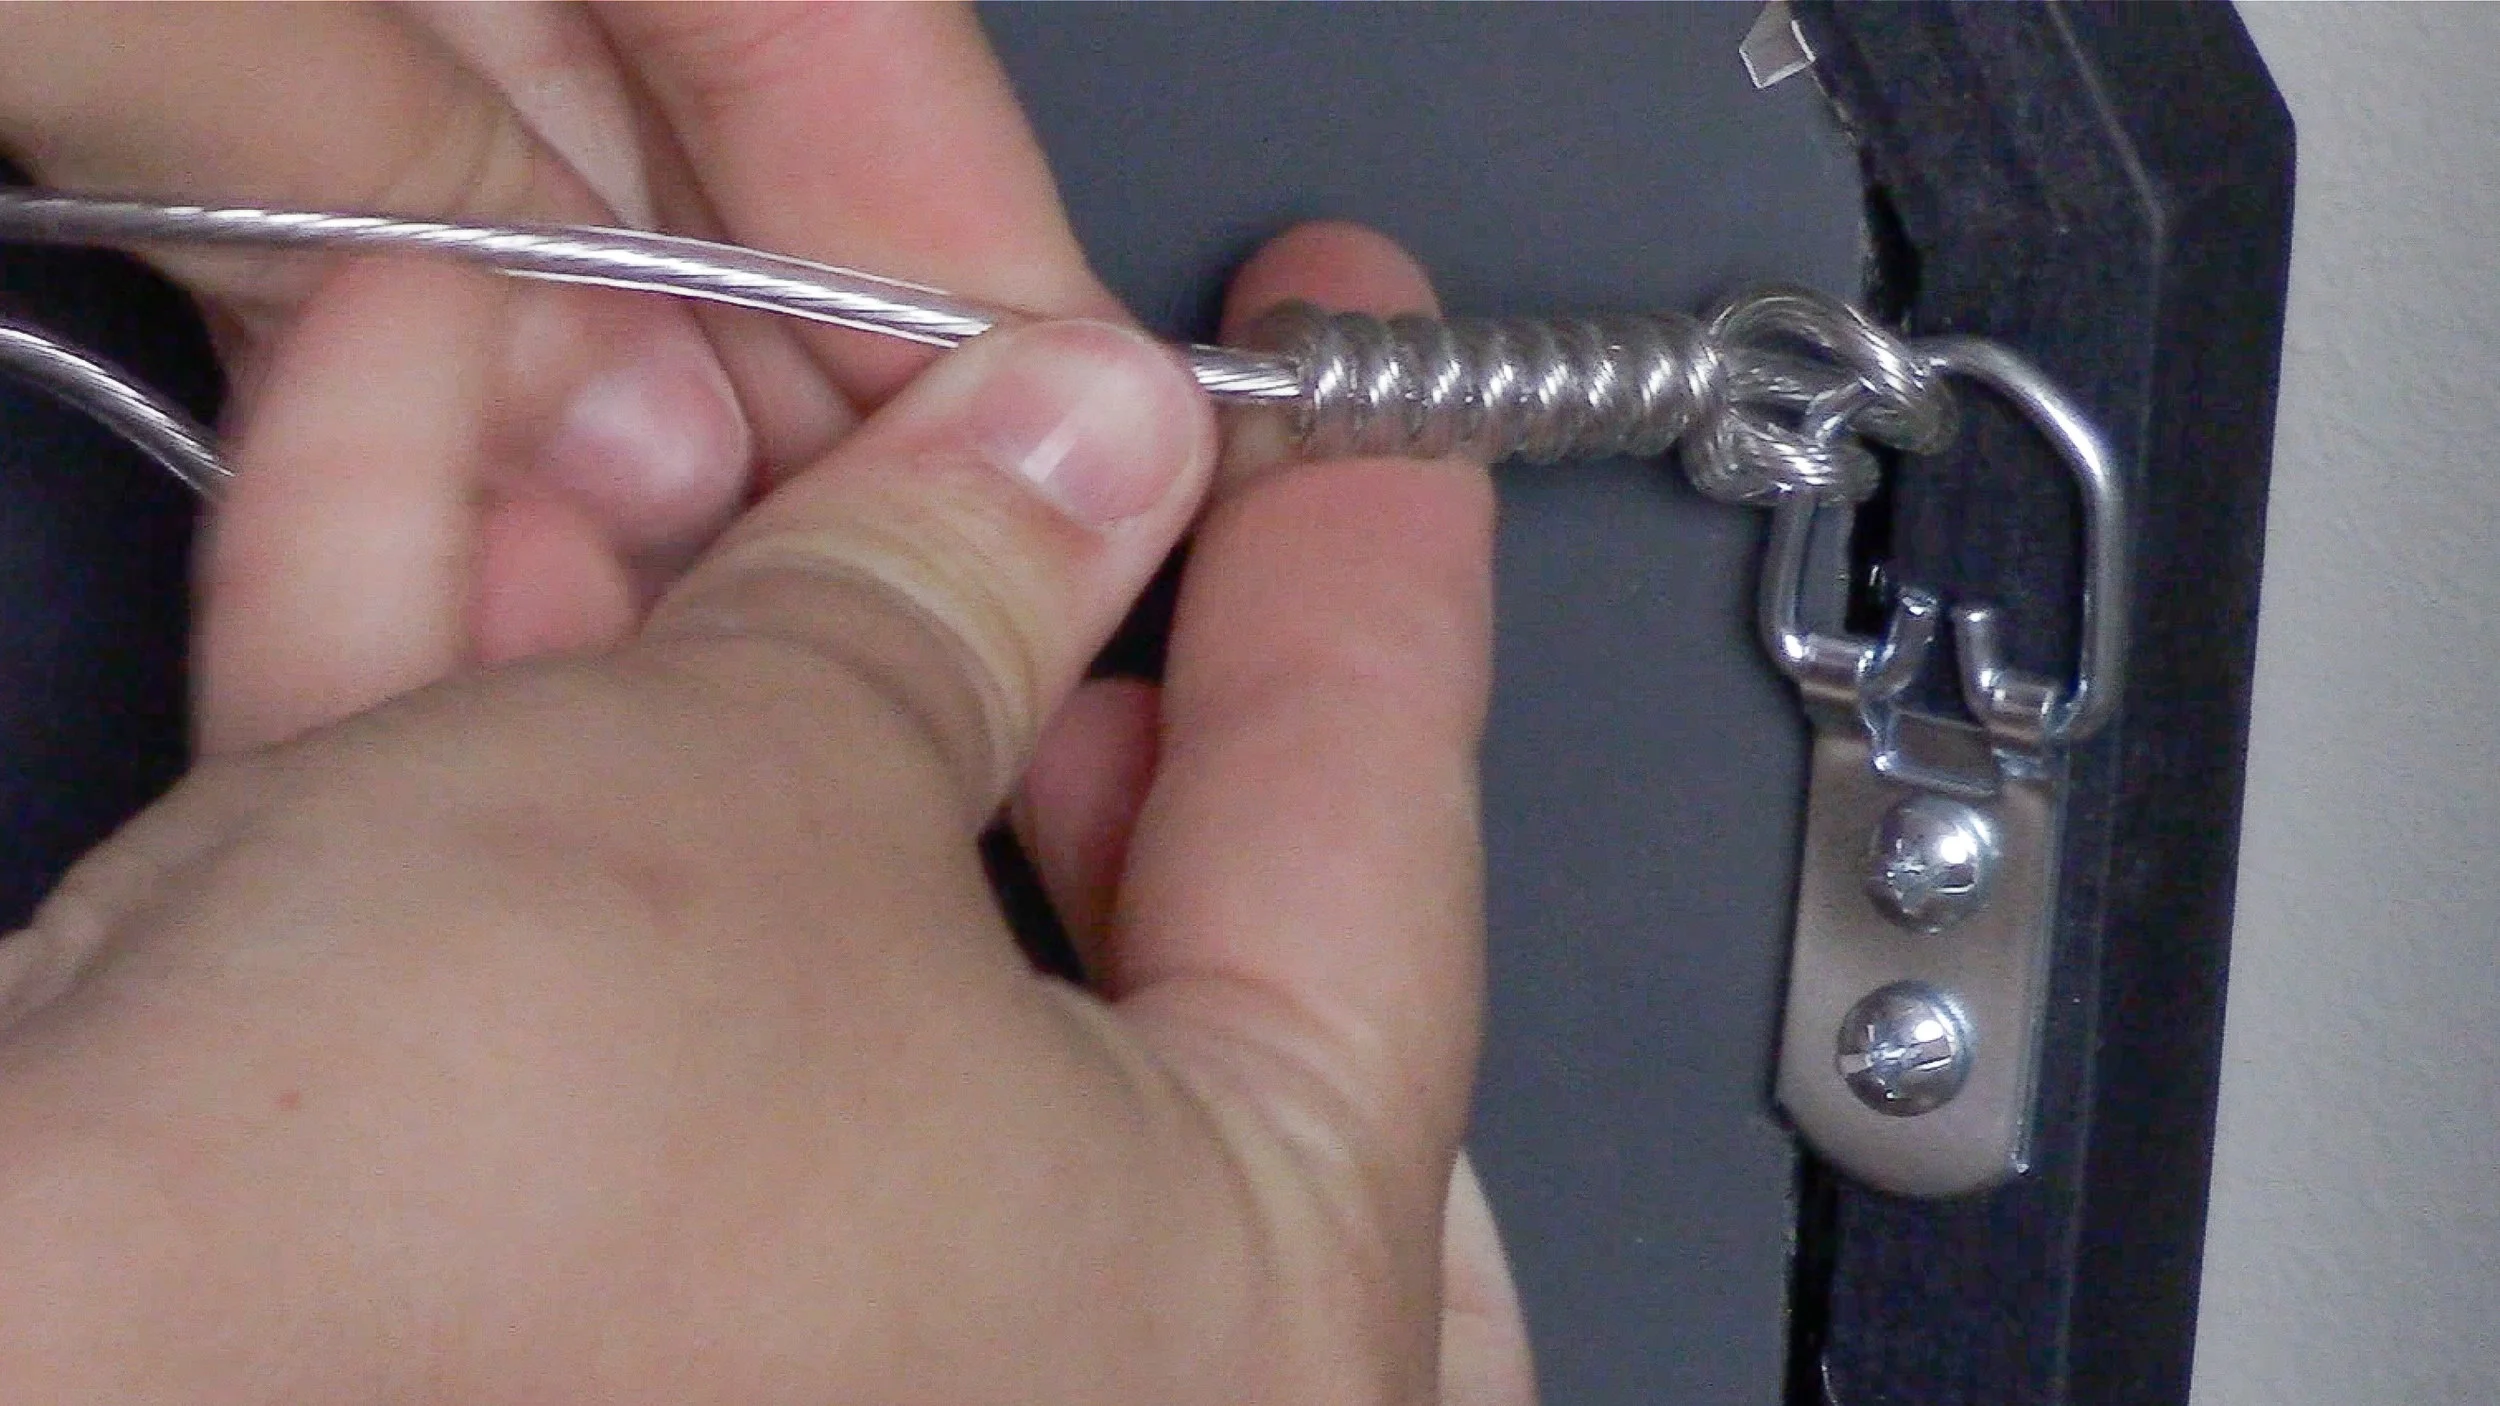
I screwed D-rings onto the back of the frame and twisted a picture hanging wire onto them.
While laser levels are not necessary for a job like this, it definitely made it a lot simpler and more precise.
The Bosch 30 ft. self leveling cross-line laser level is really cool. I love that I could clamp it on anything. I clamped it on my ladder with no problems. It also lets you know when the lines are out of level by blinking on and off. In an old house, where nothing is square or level, this was definitely are great little tool to have.

Using the laser level I marked where the hooks should go.

After getting the mirror on the wall I had to make some minor adjustments to get it to be perfectly level.
The Box Level I used has a digital read out which makes it so easy to make adjustments. You might think you have been level all these years because the bubble looks like its in the middle, but you might have actually been .05 out of level! I love precision so this level makes me so happy!

Because the entryway to my house is really dark I needed to some light so be able to work.
The Ryobi 18V Color Range Work Light is great for situations like this. You can actually change the temperature of the light from 2700K to 5000K which is a pretty great feature. It would be great for photography too since you can decide if you want warm or cool light.
Because it's an LED light it's not so great for video though, some banding occurred in my video footage when set to the brighter side of the light.
If you are on the RYOBI platform it's a cool little addition since it accepts the same batteries as all the other RYOBI tools and it can be plugged in as well!

It's complete! I love how simple, clean and modern this looks. I also love how easy it was to make! More mirrors are definitely in my future...


I acknowledge that The Home Depot is partnering with me to participate in the ProSpective 2018 Campaign. As a part of the Program, I am receiving compensation in the form of products and services, for the purpose of promoting The Home Depot. All expressed opinions and experiences are my own words. My post complies with the Worth of Mouth Marketing Association (WOMMA) Ethics code and applicable Federal Trade Commission guidelines.