
Modern Bar Cart

This is my take on this season’s Builder’ Challenge Bar Cart. I decided to make a bar cart that has round trays and uses dowels as legs. I love how it turned out!
Check out the video below to see all the details of this build!
**Links below are affiliate links, I get a small commission if you click on them at no extra cost to you, clicking on them helps me continue to make more projects! **
If you’re interested in building this project, you can find the plans and cut list over here —> MODERN BAR CART PLANS
Let’s get started!
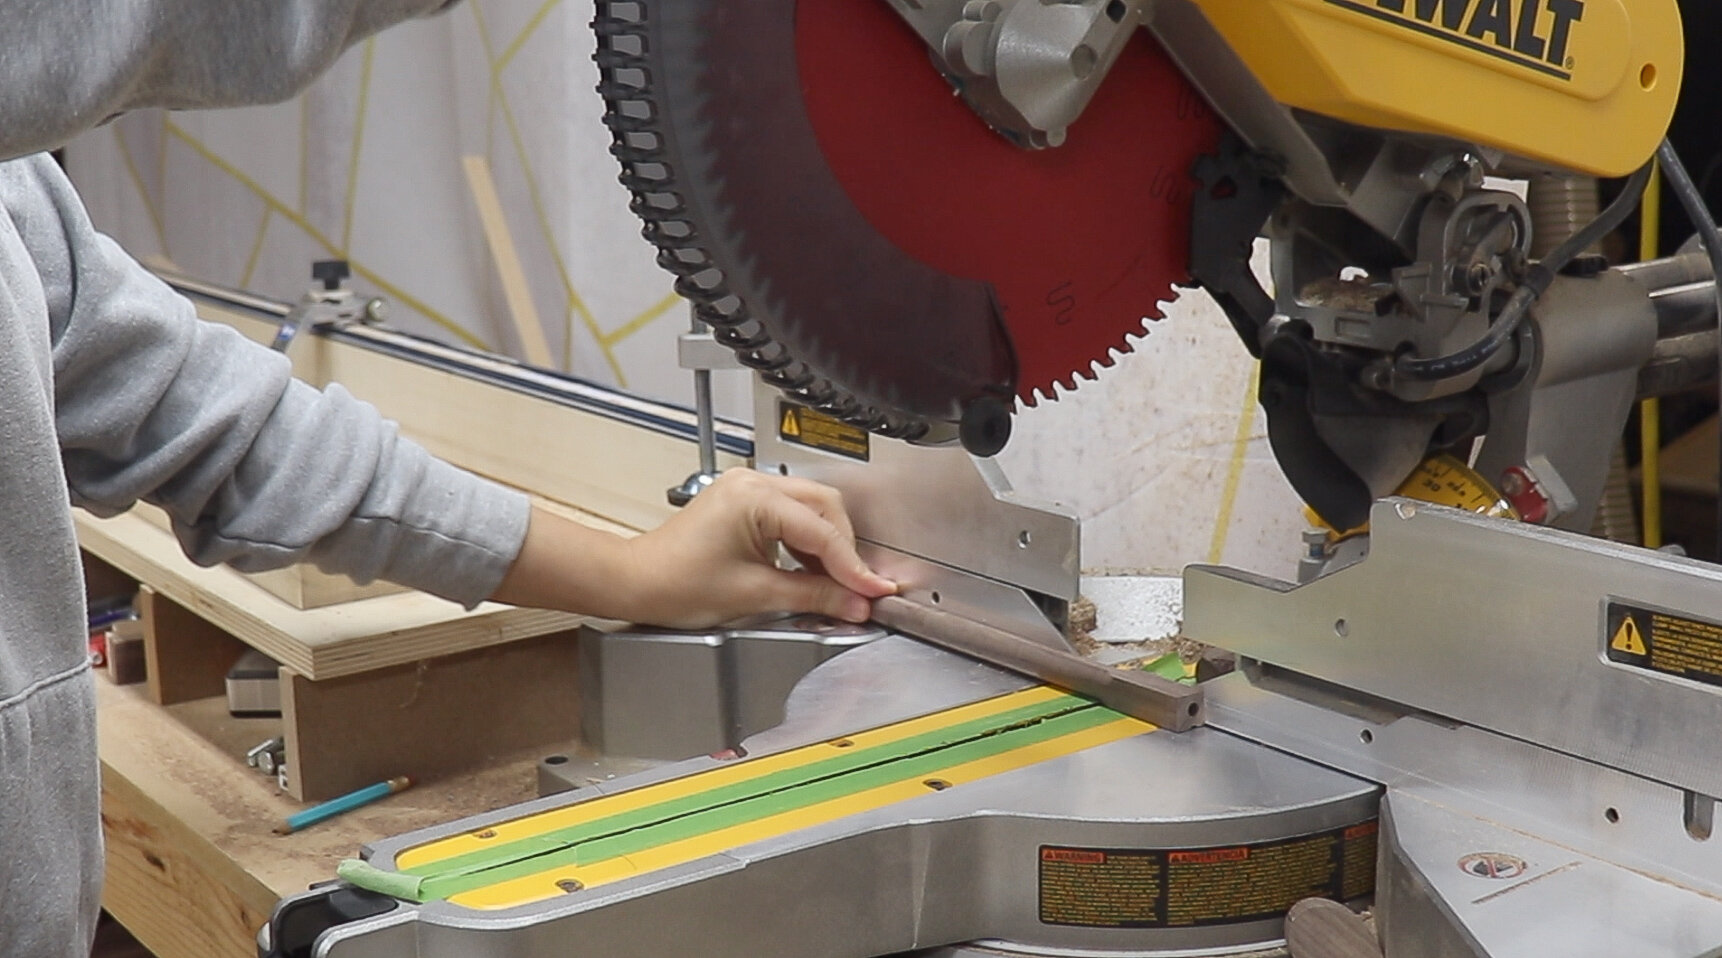
I started by cutting all the pieces for the trays to length at the miter saw.

Then trimming them to width at the table saw.
The trays are comprised of 2 different material thicknesses, so I made sure to rip all of this material to width at the same time so everything will be the same.

The trays of the bar cart are 20” wide and the lip of the outer ring is 3/4” thick.
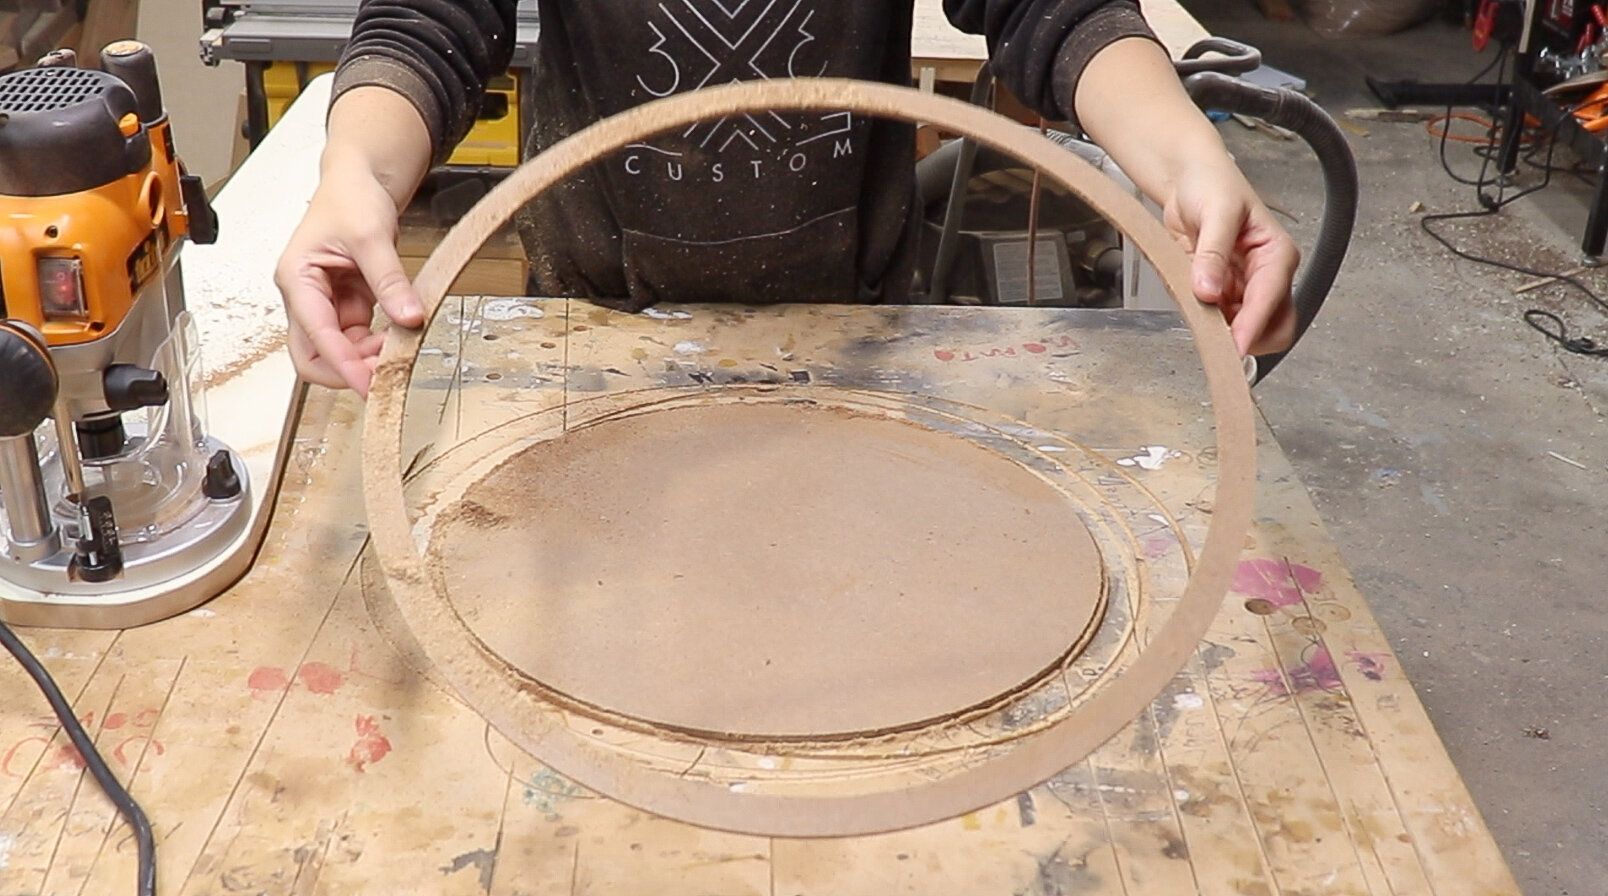
So before gluing anything up, I made a template out of 1/4” MDF using a circle cutting jig on my router.
This MDF ring is 20” wide and 3/4” thick.

In order to make the ring I had to make 2 passes with the circle jig.
One with the pivot point 10” away from the router bit, and a second with the pivot point 3/4” plus the thickness of the router bit away from that first pivot point, to make the smaller circle that cut out the ring.
I wanted the trays to look like they were carved out of thicker material, but I didn’t want to waste all that wood… that’s why I glued up the outer ring separately from the bottom.
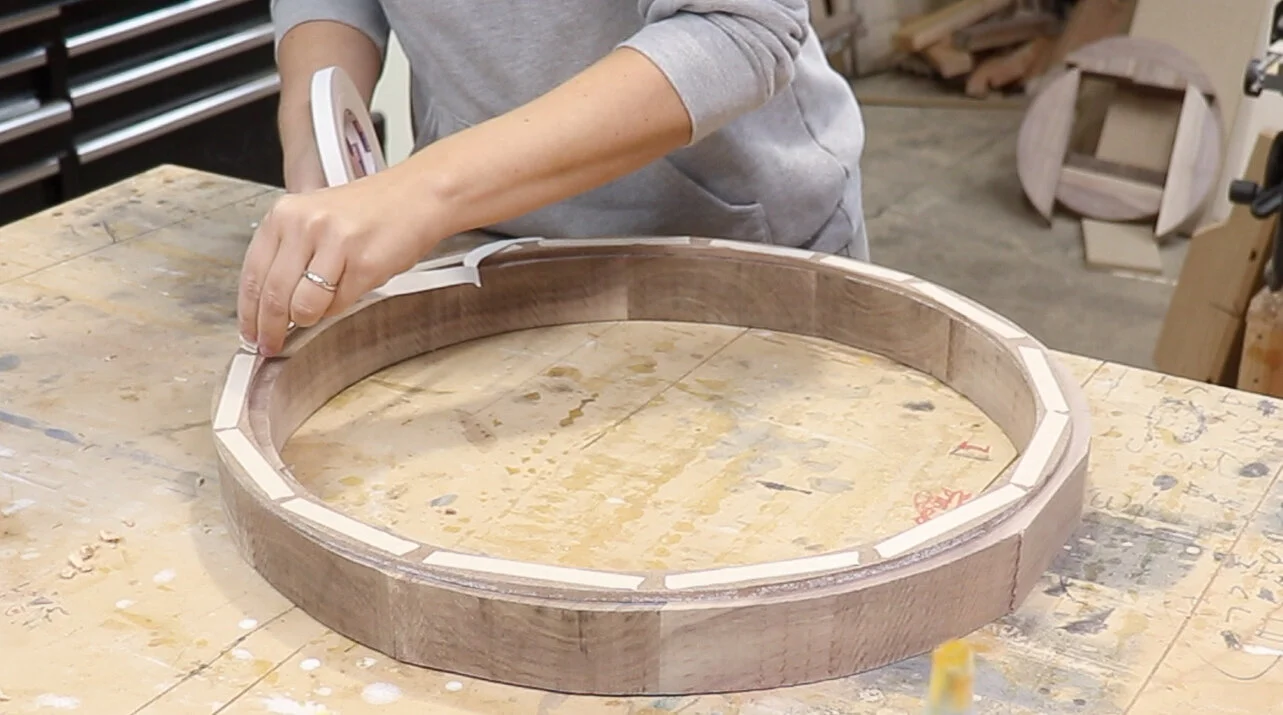
To do this, I lined the template on my pieces to determine how long to cut those little pieces shown below.

Then I glued it up into a blank!

Once dry, I traced a circle on the blank using the template and cut it out with a jigsaw.
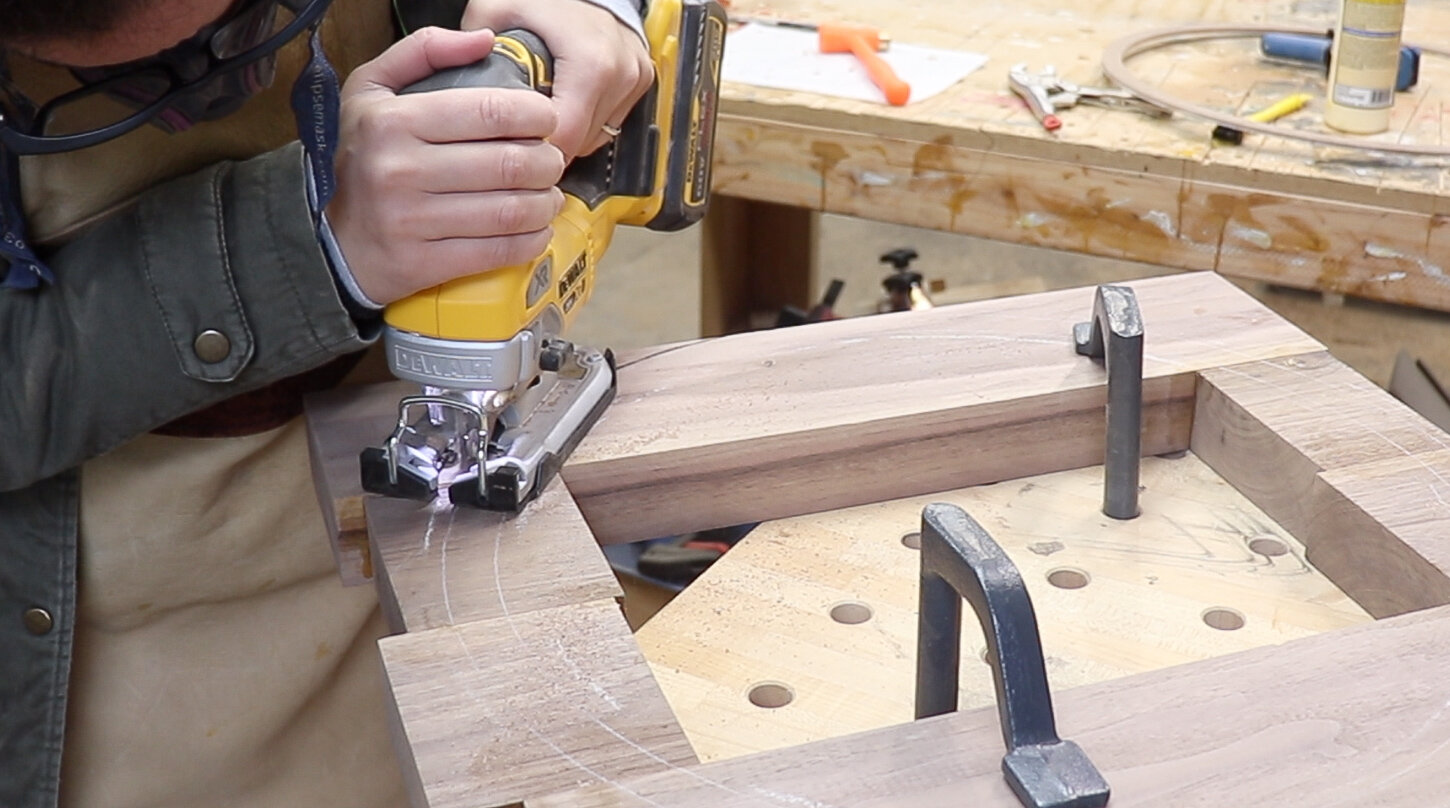
If I were to do this again though, I would set up a circle cutting jig to start the round cuts for this outer ring, then cut the rest out with a jigsaw, then use a flush trim but to clean up the rest of the cut.

But I didn’t do that… Instead, I temporarily attached the MDF ring template to the piece with double sided tape and used a template bit in the router to follow the MDF ring.
Template bits aren’t long enough to cut this thick of material, so I flipped the piece over and swapped out to a flush trim bit.
The bearing on this bit rides along the smooth edge that was previously cut with the template bit.

Once the outer ring was nice and smooth I used a rabbeting bit to make a recess on the inside bottom of the ring that will house the bottom tray.
And the outer ring is done!

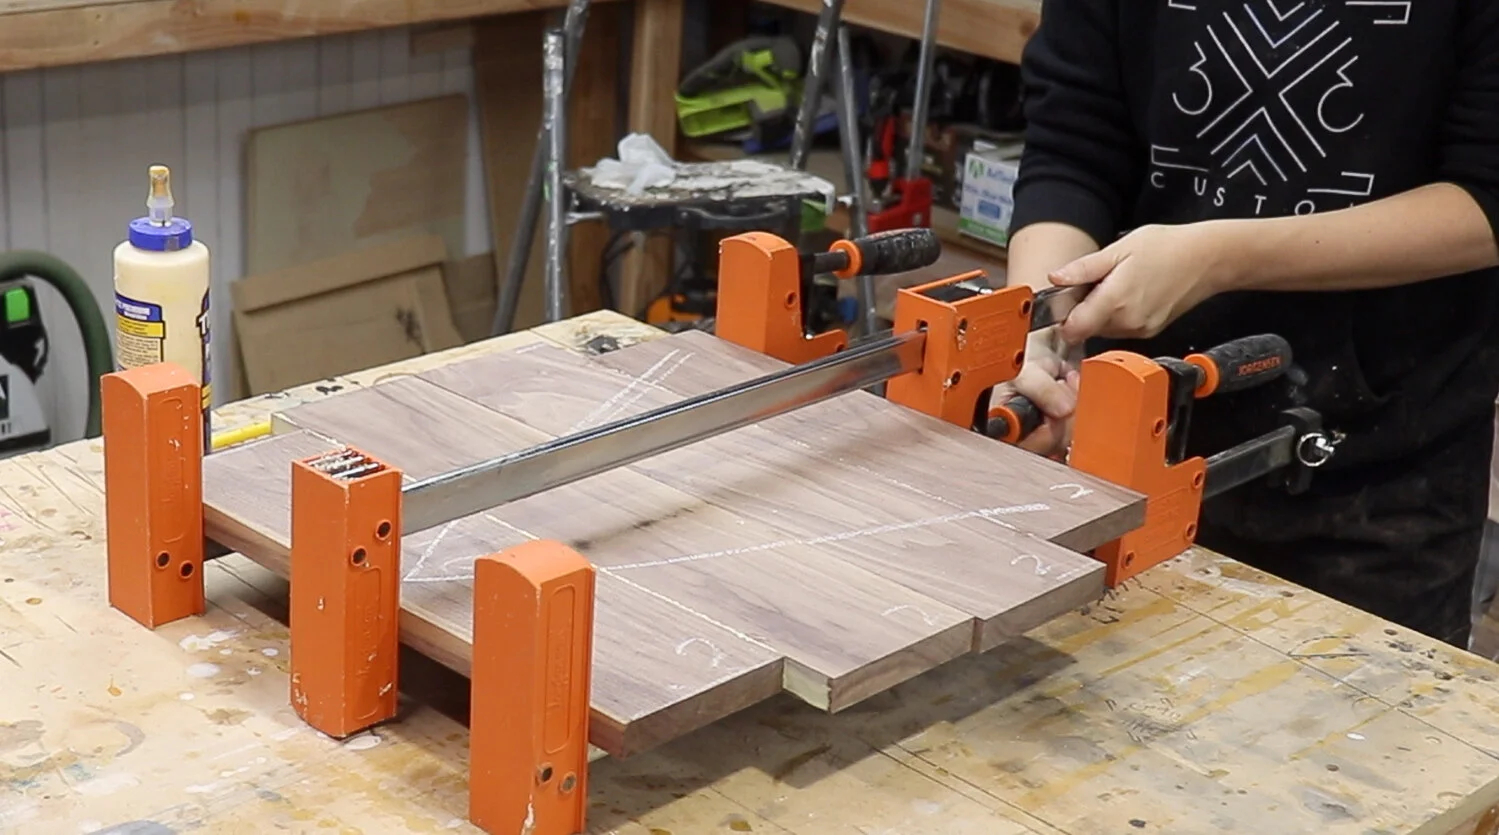
Moving on to the tray bottoms, I glued up both panels, making sure the pieces were long enough for the size circle I needed.
To get the correct size circle, I laid the outer ring, rabbet side down, on the panel and traced it out.

I will cut out this bottom tray with a circle cutting jig.
To determine where to set the pivot point in the circle cutting jig, I used a center finding ruler, lined it up in the middle seam of the glue up and referenced the circle I previously traced out.

The distance between the center point and the pencil outline is the radius of the circle, so I took that radius and made a corresponding hole on my circle cutting jig and cut it out!

Then I glued the tray bottom into the rabbet in the outer ring.

before clamping this down, I made sure to sand the inside because it would be hard to sand later…
I also made sure to clean up any of the glue squeeze out because that would also be hard to clean up later.

While that set up, I cut all the stretchers to size using a stop block at the cross cut sled.

Then I used a center finding drilling guide block to drill holes in the end of the stretcher.

The stretchers are square, and the dowel legs are round… in order for them to sit flush next to each other, I put a slight cove on the ends using a spindle sander.

The last step in preparing these stretchers is to drill some oversized holes to attach the trays with screws and allow for wood movement.
I first drilled a stopped hole that was larger than the head of the screws I will use with a forstner bit, then drilled all the way through with a bit that was slightly bigger than the body of the screws.
The larger holes allows for the tray to be firmly attached to the stretchers, but they still have room to move when the seasons change.

Time to mark out the corresponding dowel holes on the dowel legs!
(If you’re curious how to make large dowels, check out this video I made —> HOW TO MAKE DOWELS )
I used dowel points to do this…. but I had a better idea after I did this……

I should have made a jig out of 2 pieces the same width as the stretchers.
One would be as long as the dowels are wide, the other, that same length plus the thickness of the plywood I used.
After drilling 2 holes in the center of these pieces, I could have used a brad point bit to mark out where to drill those holes and they would have been perfectly 90 degrees to each other…
Oh well, now I know for next time!

Moving on I made a 5/8th dowel at the router table to act as the handle connectors. And also made another dowel for the handle.
Then drilled 5/8th” holes in 2 of the legs to fit those dowel handle connectors.

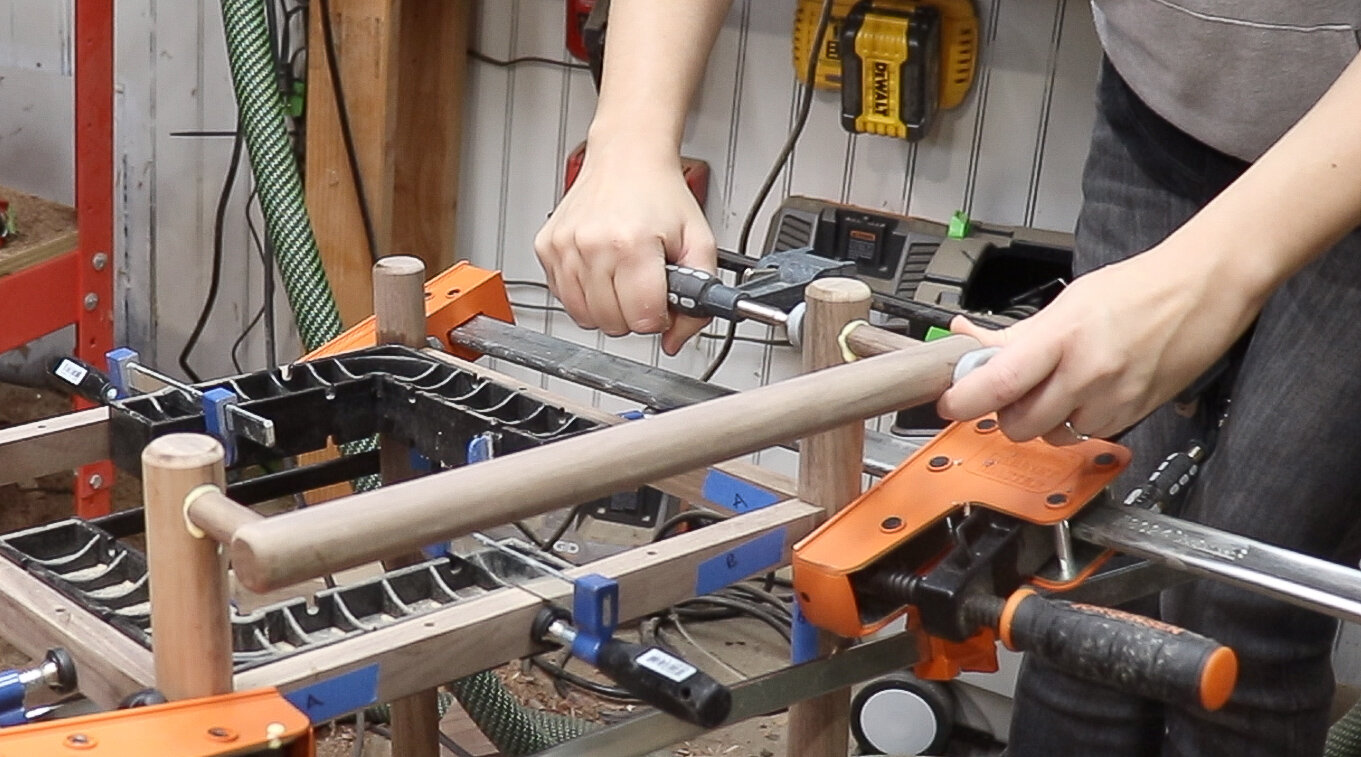
Time for assembly!
I glued up 2 sides at a time to make it a bit easier.

Then I could connect the 2 sides with the rest of the stretchers and I clamped it all up.

While the whole base was in clamps, I glued in the 5/8th” dowel handle connectors and finally the handle!
I decided to install castors on 2 of the legs, so I cut 2 legs to fit the castors I purchased, and drilled holes in the bottom of them.

And installed the castors!

I decided to finish the bar cart with a few coats of satin spray lacquer.

And when it dried I clamped the trays in place and locked them down with screws through the oversized holes I previously drilled out.

And it’s done! I’m so thrilled with how this turned out, I definitely want to incorporate more dowels into my furniture builds!

