
Side Table with Angled Box Joints

Last week I experimented with making a three-way Bridle Joint… it totally inspired me to try and make a table using that joint, and then I got an idea to add angled box joints to it as well! This was definitely a fun little project!
Check out the full build video!
This table will be made from 3 different species of wood. Each one of those species will need 2 pieces. One for the top and one for the leg (but it didn’t start off that way… more details on that in the full build video…)
The top pieces all need to have a 30 degree cut on one end.
This is easily done using a stop block on a miter gauge.

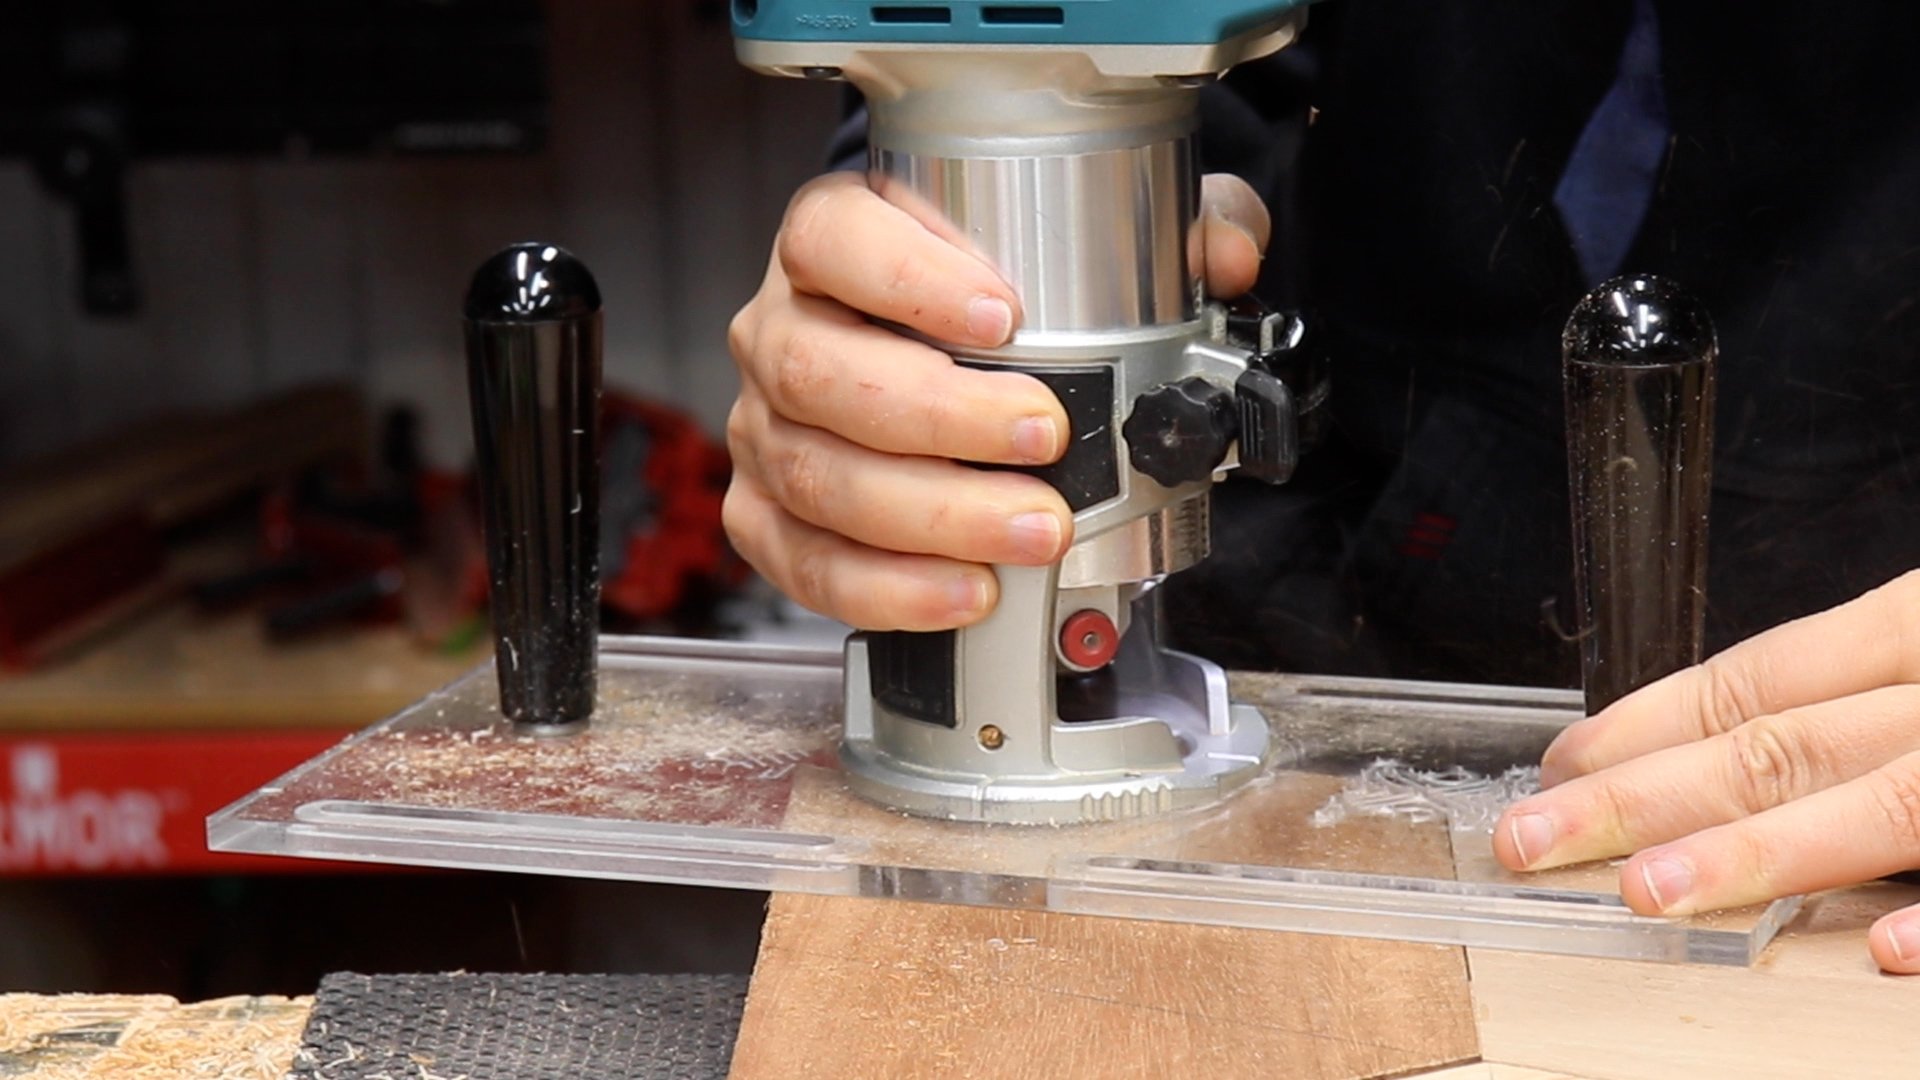
The next step is making the mortise of the bridle joint.
This mortise needs to be as deep as your material is wide, so use your actual workpiece as a guide for how big to make it.

The mortise should be 1/3 your material, so use a wheel marking gauge to divide your material into thirds.

It is easy to cut the bridle joint on an adjustable tenoning jig, but my blade didn’t go high enough to cut the whole depth of the mortise I needed.
(This was the hardest part to figure out for me… all details are in the full build video linked above.)

Since the table saw couldn’t cut all the way, I finished the rest of the cut with a handsaw.

Using a jig that held the workpiece at the correct angle I was able to remove the rest of the waste up to my cut line.

Cleaning up the inside of these mortises was the most difficult part of this build…

Moving on to making the notches, or what will be the tenon.
This should start right at the edge of the mortise made in the previous step but it should run in the opposite direction.

Lots of ways to cut this out… I chose to make a sled for the table saw that has an angled fence.
You can also use a router or a bandsaw.

Flip the fence on the sled so the angle is facing the other way to make the notch on the other side.
These cuts were super clean because I used a FLAT TOP GRIND blade.

I kept the back end of the pieces on there just for stability as I was making those notches, so I removed them afterward.

It’s way easier to glue this up without those back pieces in place…

Once dry I used the track saw to flush up the sides.

And it’s time to join the legs!
I will be using angled box joints here, so I marked out the location on the face of the top.

I chose to use the Shaper Origin to make these cutouts, but this could be done on the table saw by tilting your blade 30 degrees.

The router on the Origin couldn’t plunge all the way through, so I cut out the rest of the joints at the bandsaw.

And cleaned up those cuts with a flush trim bit.
The router leaves curved corners, so I used a chisel to square them up.

Moving on to the matching legs.
I used the Origin again to cut out the matching joints.

But this could be done using a sled with an angled fence as well.
I used the Origin cuts as a guide for making these fit, but a box joint jig would work really well here.

With the blade angled at 30 degrees, the legs get trimmed to final width on both sides which creates the last 2 fingers of the box joints on the ends.

All that’s left is to glue it up!

And add some finish!

And it’s done!
This is such a crazy table… It’s so weird, but I love it.

I love that it was all inspired by a test joint that I made.
The shape and the contrast created by all these pieces is just really cool to me.

And the way this joint looks is out of control!!

Lots of hurdles to get to this point, but all worth it in the end!

So many possibilities with tables like this… I can’t wait to see what you guys come up with!
