
Thin Ripping Jig
*This post is sponsored by 3-IN-ONE and The Home Depot
I needed to cut super thin pieces of Walnut for the inlays on my Balance Board so I came up with this super simple jig to safely do that at the table saw.
All you need is a couple scraps and few nuts and bolts and you’ll be ready to cut super thin strips of wood safely at your table saw.
Check out the full build video below!
Links below are affiliate links, clicking on them helps me keep this site going at no extra cost to you ;)
All you need for this jig is a couple scraps, 1 T-Nut, 3 Bolts, 1 Wing Nut, 2 Star Knobs and something to use for a runner. You can use wood, I used HDPE plastic.

Start by drilling a hole in the side of one of the scraps that’s the same diameter as the bottom of the T-Nut so that it will fit in the wood. Make sure this hole is deep enough for the T-Nut to fully settle in place.
Then drill another hole in the center of that one that’s slightly wider than the bolt you’re using.
So the hole should have a step to it. A wider part that will hold the T-Nut and a narrower part that will hold the bolt.

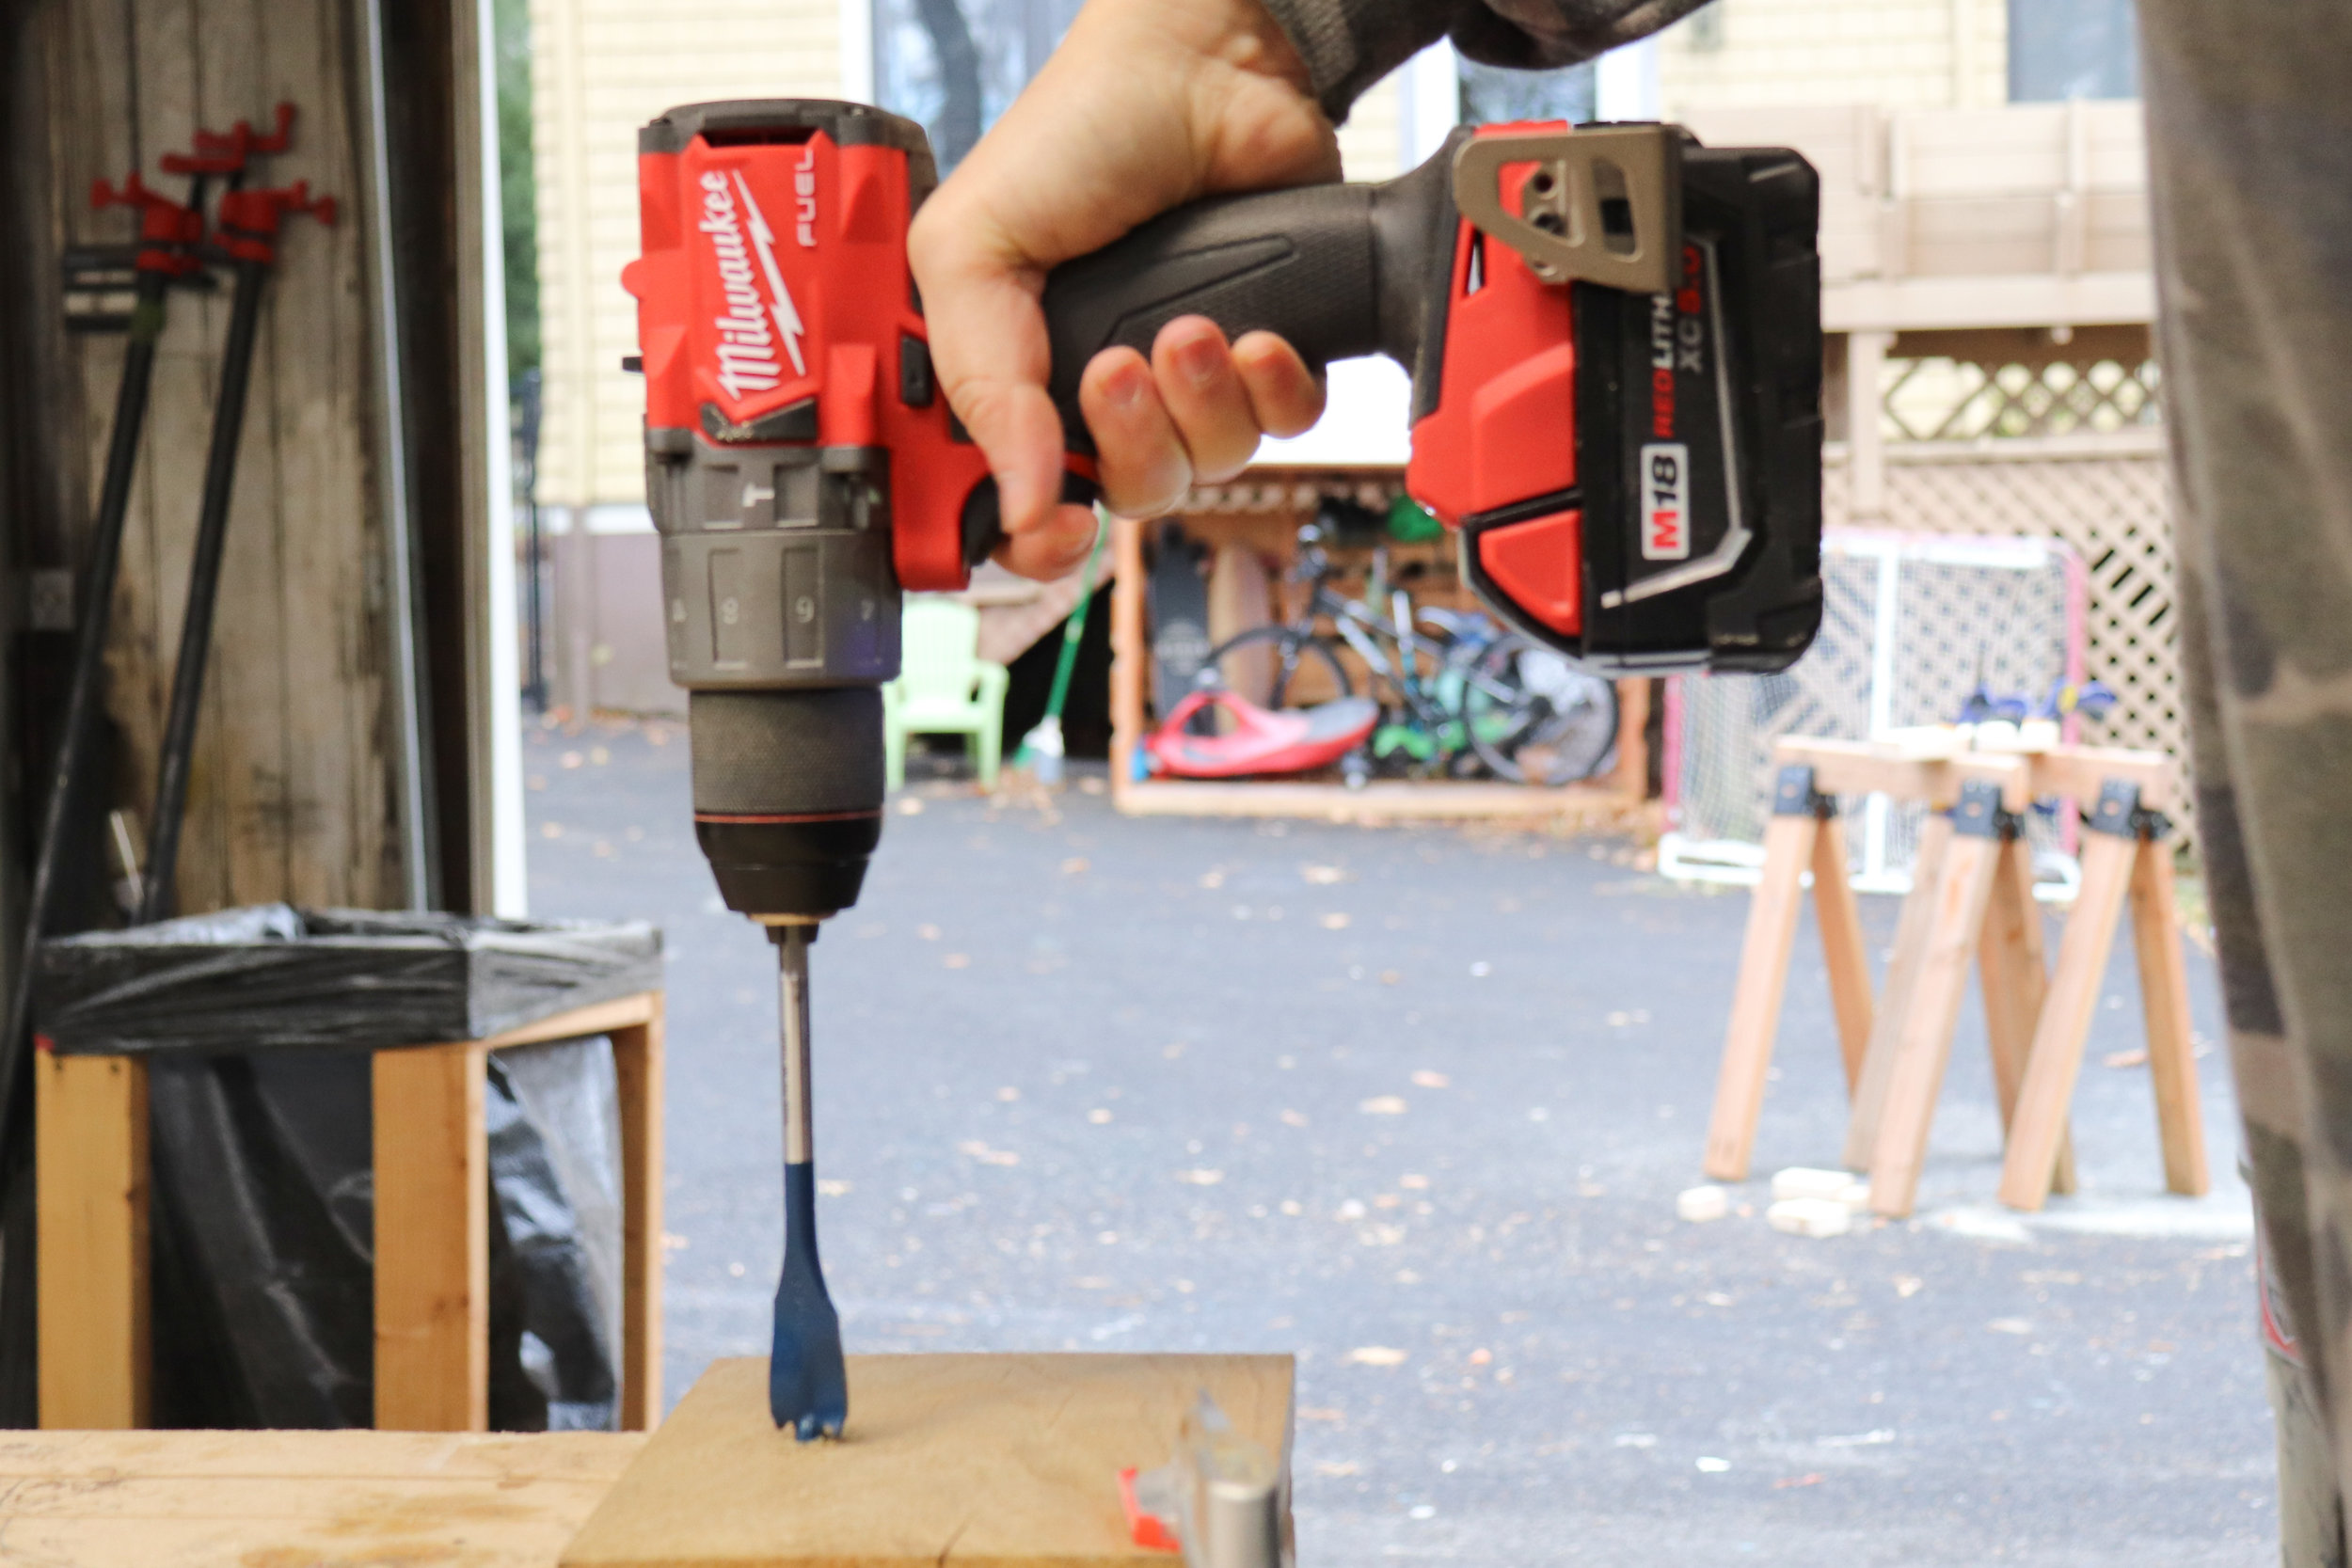
I just recently upgraded to the MILWAUKEE M18 FUEL 18-VOLT BRUSHLESS CORDLESS HAMMER DRILL/IMPACT DRIVER COMBO KIT and I am loving these guys.
The combo kit comes with a hammer drill, an impact driver, two 5.0Ah batteries, a charger and a few other accessories all neatly packed into a hard carrying case.
Right off the bat when I pressed the trigger I could feel these were the most powerful drills I had ever used. The Hammer Drill is the most powerful 18v cordless drill on the market and it’s Brushless Motor delivers 1,200 in-lbs. of Peak Torque and up to 2,000 RPM for super fast drilling speeds. The Impact Driver is also the most powerful tool in its class at 1,800 in-lbs. of fastening torque and up to 0-3,000 RPM.
Later on when building this jig, I used a really dull forstner bit and the drill powered through the super hard white oak even though the bit was crazy dull.
Both the drill and the driver are really comfortable to hold and the all metal ratcheting locking chuck on the drill ensures your bits stay locked in place.
Because this combo kit comes with the batteries and charger I would say, grab it. Milwaukee brand tools are some of the best I use, so if you are thinking about getting on the platform this is a great place to start.

While you’re upgrading your drills, Milwaukee has an amazing 142 pieces bit set . 142 bits!
These awesome bits are made with a Shock Zone so they absorb the highest amount of torque from your drill which in turn prevents breaking. These bits are made to last.
They also have custom machined tips that prevent stripping and wobble so you wont be frustrated when you strip out a screw.
I love how they are so neatly organized in these cases which also stack really nicely on top of each other.
This set includes most bits you will ever need, did I mention there are 142 of them?

Another great set of bits are the Bosch Daredevil Spade Bits. They are up to 10x faster than regular spade bits, The tips are fully threaded so it pulls the bit super quickly through your work pieces.
The first time I used one of these bits I was taken by surprise with how quickly it moved through the material since I was used to conventional spade bits that just have a brad point for the tip.
Besides for boring super quick holes the paddle is contoured so it reduces clogging.
Better bits men better workflow… back to the jig…
Take a hammer or mallet and bang the T-Nut in place!

Place a bolt into the T-Nut you just installed and extend it out as far as it will go, then place your jig on the table saw with the bolt touching the blade. .
Mark 2 lines on the end of the wood where the jig meets the miter slot.

Measure how wide your miter slot is and cut some material to that thickness at the table saw.
I used HDPE plastic sheeting because it is completely stable and won’t warp with changes of temperature.

The jig uses a stopper piece at the back. So take the wood you are using as the stopper and place it on the jig to mark how long you need to cut the runner.
Then cut it to length.

Pre-drill and counter sink a couple holes in the runner making sure the screws you will use to attach it will be completely flush with the bottom and that they will fit all the way through.
If you drill holes that are too narrow, and you try to force the screws in place, the HDPE might expand a bit in those spots and it wont run smoothly in the miter slot.

Place the runner on the marks you made by the miter slot earlier, then using a square, pre-drill into the wood and insert the screws.

Now it’s time to make the stopper piece.
My particular table saw has tracks at the front that move with the fence. In order for the stopper to work correctly it needs to clear the highest point of those tracks.
So I measured from the highest point of the tracks to the top of the table saw.

Then cut a piece of scrap to slightly smaller than the measurement you just took, just to make sure it will fully clear anything.

The stopper gets attached to the jig using some bolts.
I used a forstner bit to drill a hole that was slightly wider than the head of the bolts, and made the hole deep enough that the top of the bolt would sit flush with the wood.

Then I used a brad point bit that was the same diameter as the bolts and drilled all the way through.
The combination of using a forstner bit and brad point bit is perfect. The tip of the forstner bit leaves a center mark while the tip of the brad point bit can easily find that center.

Put the stopper in place on the back of the jig and continue to drill all the way through the rest of the jig.
I drilled one hole. Put one bolt in place, then drilled the second hole to make sure they would be spaced perfectly even.

In order for the star knobs to work correctly you need to secure the bolts into the stopper.
I used CA Glue on the bolts to secure them in place. Then topped it off with more CA glue to make sure they stay.
Using accelerator spray is really helpful in these situations.

Shop jigs make woodworking projects go smoother by saving time and increasing accuracy. I find maintaining my shop is just as important.
The garage doors in my shop have seen better days and we have been looking to replace them for a while. The motor has been broken since we purchased the house (over 10 years ago…) so I need to open them manually every day.
This isn’t always an easy task, closing it is even harder…
I sprayed some 3-IN-ONE Garage Door Lube on all the moving parts to see if it would make opening and closing the doors any easier.
The nozzle flips up for a more direct spray and it was super easy to apply. It also dries really quickly and there was no mess to clean up.
After a quick spray the door was moving so much better!
While we will still need to replace the door at some point because it is broken in other areas, using the spray helped me push that off a bit longer!
When we do end up replacing doors I will definitely maintain them better by spraying all the moving parts with 3-IN-OIL Garage Door Lube monthly to avoid this problem again!

And the jig is done! just put on the star knobs to lock it in place and you’re good to go!
To use the jig, remove the stopper pieces and move the jig up the miter slot so its next to the blade.
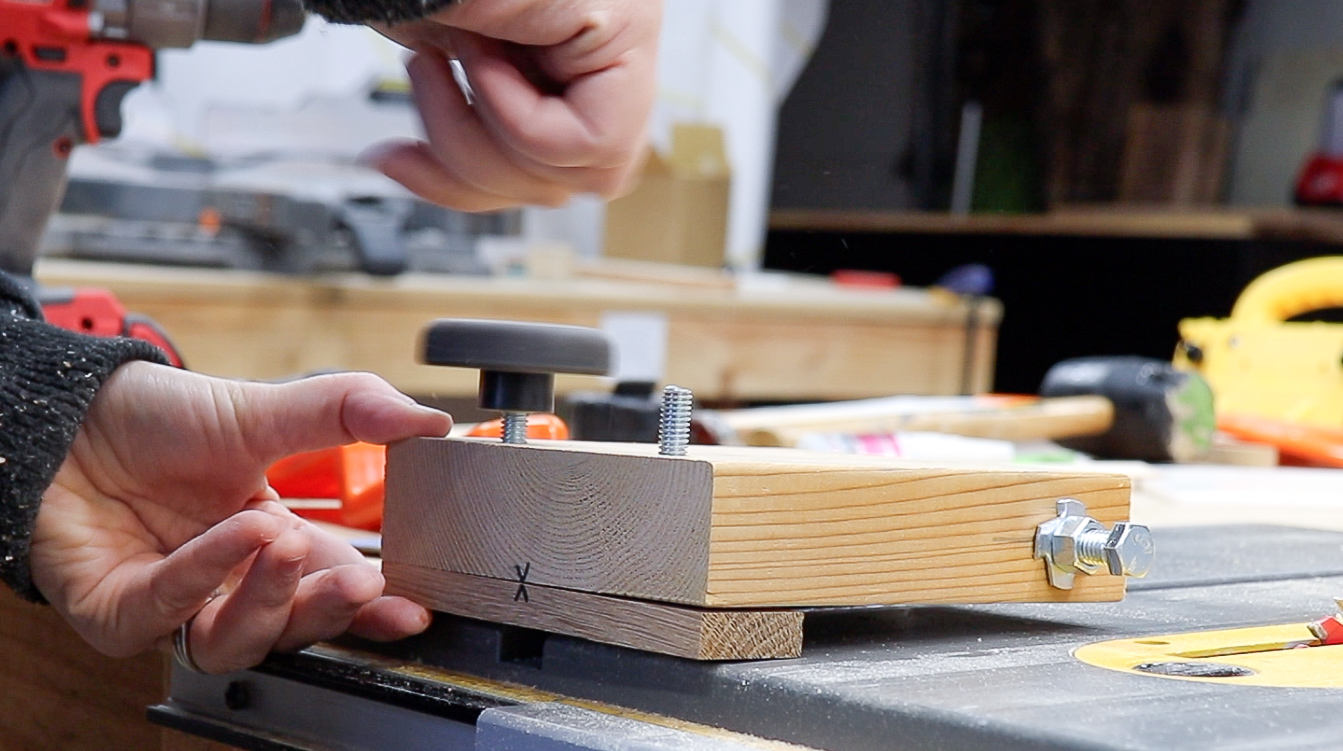
Turn the bolt so that the thickness between the top of the bolt to the blade is what you want. if you want 1/16” wide pieces then set the bolt to be 1/16” away from the blade.
Lock the bolt in position using a Wing Nut. (The picture below just has a regular nut, I had to tighten this with pliers. If you use a Wing Nut you can simply tighten it by hand.)
Then bring the jig to the edge of the table saw, insert the stopper piece and lock it down with the star knobs.
Now the bolt is safely away from the blade and it wont move from that position.

All you need to do it push the wood up against the bolt, adjust your fence and rip away!
If you want to make repeatable cuts, you just have to keep repeating the same precess.
Line up wood to bolt, adjust fence, rip.


I acknowledge that The Home Depot is partnering with me to participate in the ProSpective 2018 Campaign. As a part of the Program, I am receiving compensation in the form of products and services, for the purpose of promoting The Home Depot. All expressed opinions and experiences are my own words. My post complies with the Worth of Mouth Marketing Association (WOMMA) Ethics code and applicable Federal Trade Commission guidelines.