
Taper Jig
I was asked by The Builder’s Challenge to create a taper jig that would go along with the plans for this seasons build. Curious about The Builder’s Challenge? Click here —> The Builder’s Challenge
This jig is really easy to make with just a few passes at the router table. But don’t worry if you don’t have a router table, you can use a handheld router or even just a jigsaw! (scroll down to the bottom, for how to make this with a jigsaw.)
Check out the full build video video!
Links are affiliate links, clicking on them helps me keep this site going at no extra cost to you ;)
What You’ll Need
30” x 11” piece of 1/2” Plywood
30” x 3” piece of 3/4” Plywood
I chose to use 1/2” plywood for this base of this jig for maximum blade height when in use.
I ripped the 1/2” plywood to 11” wide at the table saw.

Then cut it to 30” long at the miter saw.
These measurements are sort of arbitrary, 30” felt like a good length for cutting table legs and 11” wide was just how wide the base of my table saw is when the fence is at the edge.

The Tee Bolts need to in a groove in the base of the jig so the bolts will be flush to the bottom, to do this I lowered a 1/2” bit so that it was the height of the head of the Tee Bolt.

I set the fence so it was 3” away from the bit and made start and stop lines on the fence that were about 1-1/2” from the end of the bit.
This way I could plunge the plywood onto the bit about an 1-1/2” away from the edge and run the board until I got to the back stop line. When the board reaches the stop line you can just lift up the board and repeat the same process on the other end.

Making sure to keep the fence in the same position, I swapped out to a 1/4” bit. This cut will go all the way through the plywood, again using the start and stop lines on the fence so I don’t cut the board in half…
It’s important to keep the fence in the same position for both of these cuts so the cuts will be centered on each other.

I found a 3/4” piece of plywood that was 3” wide and I cut it to 30” long to use for the fence.
Then I repeated the same process as before, except on this piece the groove and slot are running lengthwise on the board. (as opposed to widthwise on the base)

Even though I was using the same bits to cut the base piece and the fence piece, it’s important to route them separately since the fence position changes between the two pieces and you want to make sure the 1/2” groove and 1/4” slot are perfectly centered on each other for both pieces.
This means I had to do some extra bit swapping, but it was worth it for centered cuts.

The jig is basically done now. Yup, that’s all there is to it!
I decided to add some sticky back sandpaper to the base of the jig just for added support of the work pieces, even though there are clamps, the sandpaper will prevent anything from shifting.
This step is not necessary, just an extra precaution.

I installed the Incra hold down clamps in the slot of the fence piece.
And attached the fence to the base using Tee bolts, washers and star knobs.
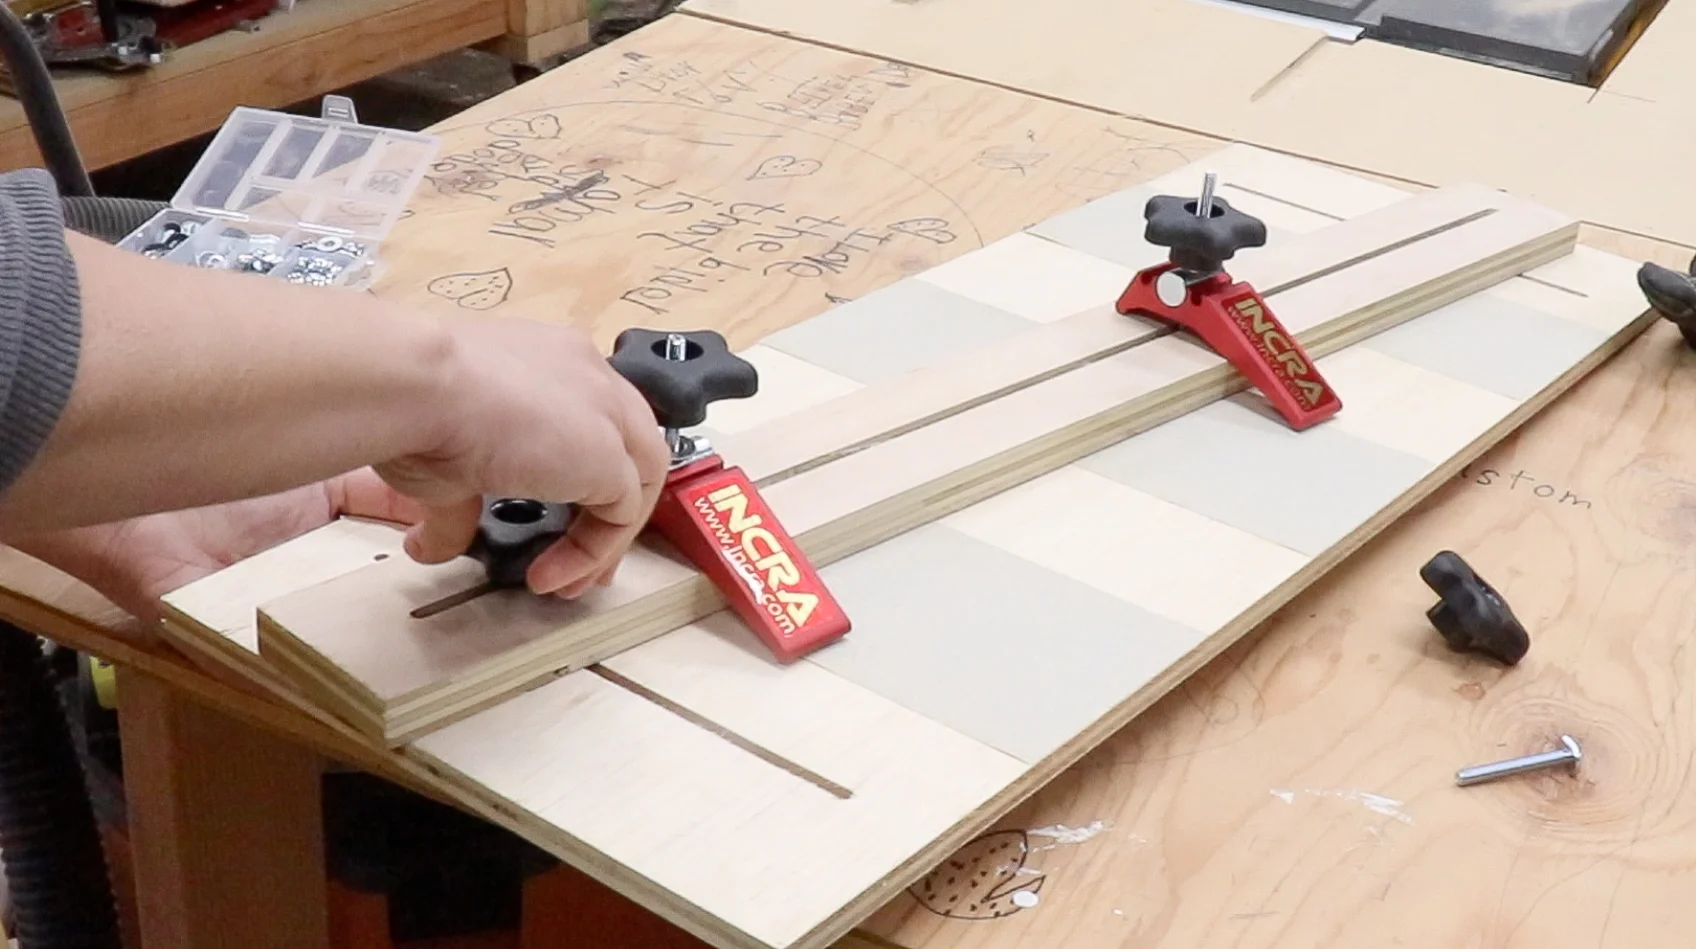
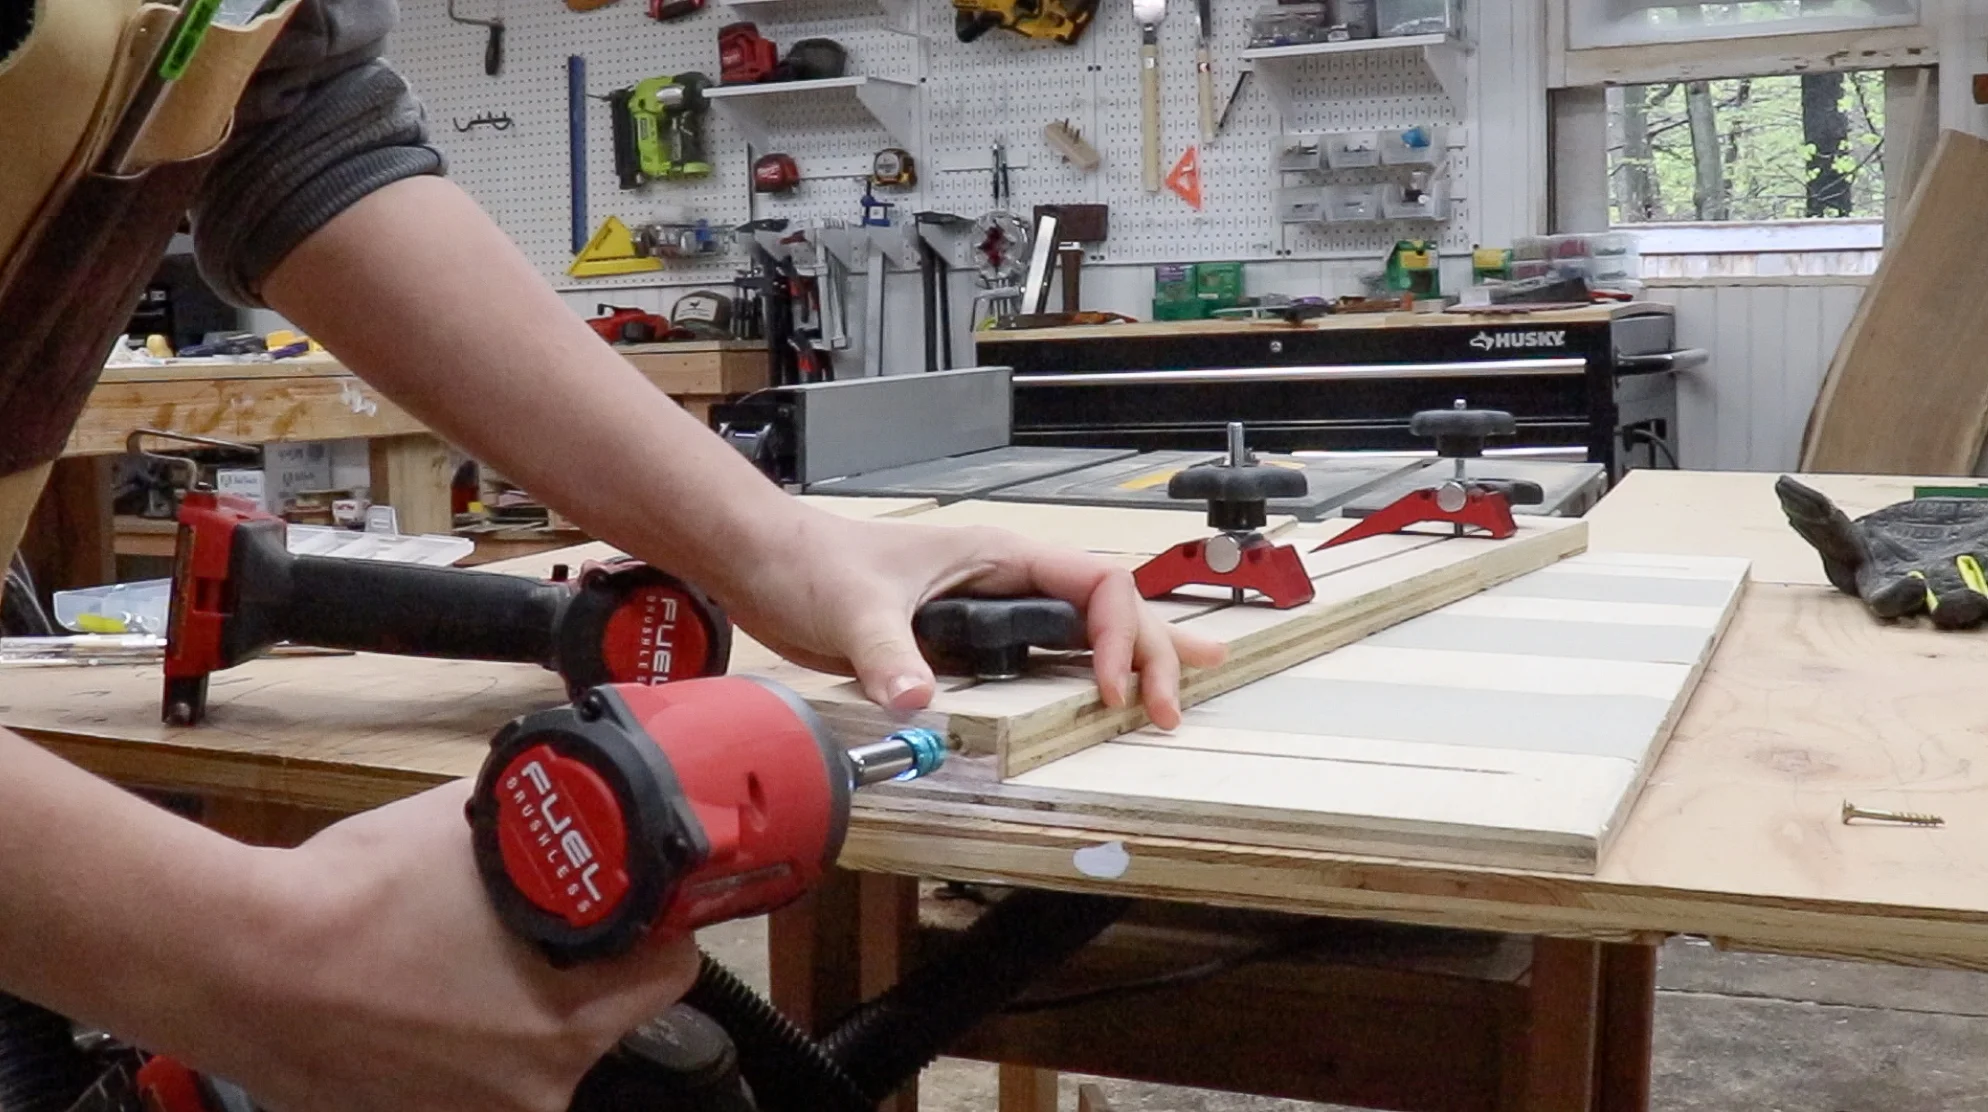
The last step is to just screw on a stopper at the back of the fence, I just used a thin scrap of oak that was about 3/4” wide (same as the fence piece.)
This stopper will increase accuracy for repetitive cuts.
Let’s see this thing in action!
I love how easy the Incra clamps adjust to different material thicknesses.

I also love how the clamps adjust the full length of the jig, this way if I’m cutting a taper on a short piece, I can slide both clamps toward the front of the jig to securely hold it in place.
This jig can also be used as a jointer jig if you clamp the fence square instead of angled.

If you don’t have a router you can still make this jig with a jigsaw!
I’ll show you how to do this on a small piece of scrap, but you would make these cuts on your longer pieces of plywood.
Simply drill two holes with a 1/4” bit on your drill and use a straight edge to mark lines from one end of the hole to the other.

Clamp your board down and use your jigsaw on those marks you just made to create the slot for the bolt.

The bolt now fits in the slot but it is protruding out the bottom of the plywood, the bolt needs to be flush to the bottom of the jig pieces.
In order to do this simply glue on a piece of 1/8” hardboard or plywood to the bottom of the plywood making sure to leave enough room for the bolt to move freely.
And that’s it!

Even if you don’t have the right tools for the job, there is always another way!
