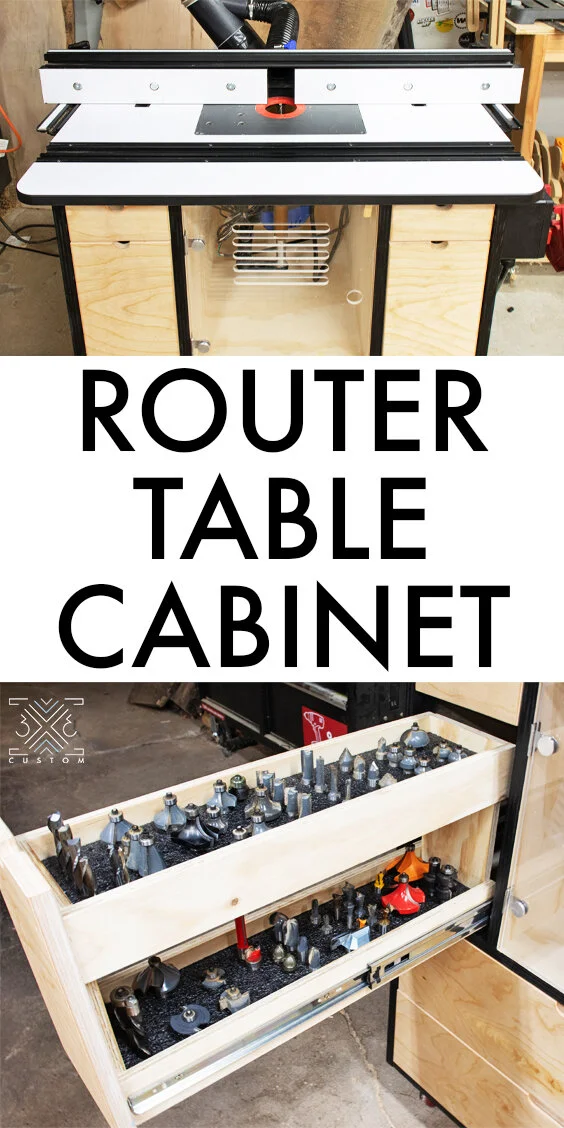
Router Table Cabinet
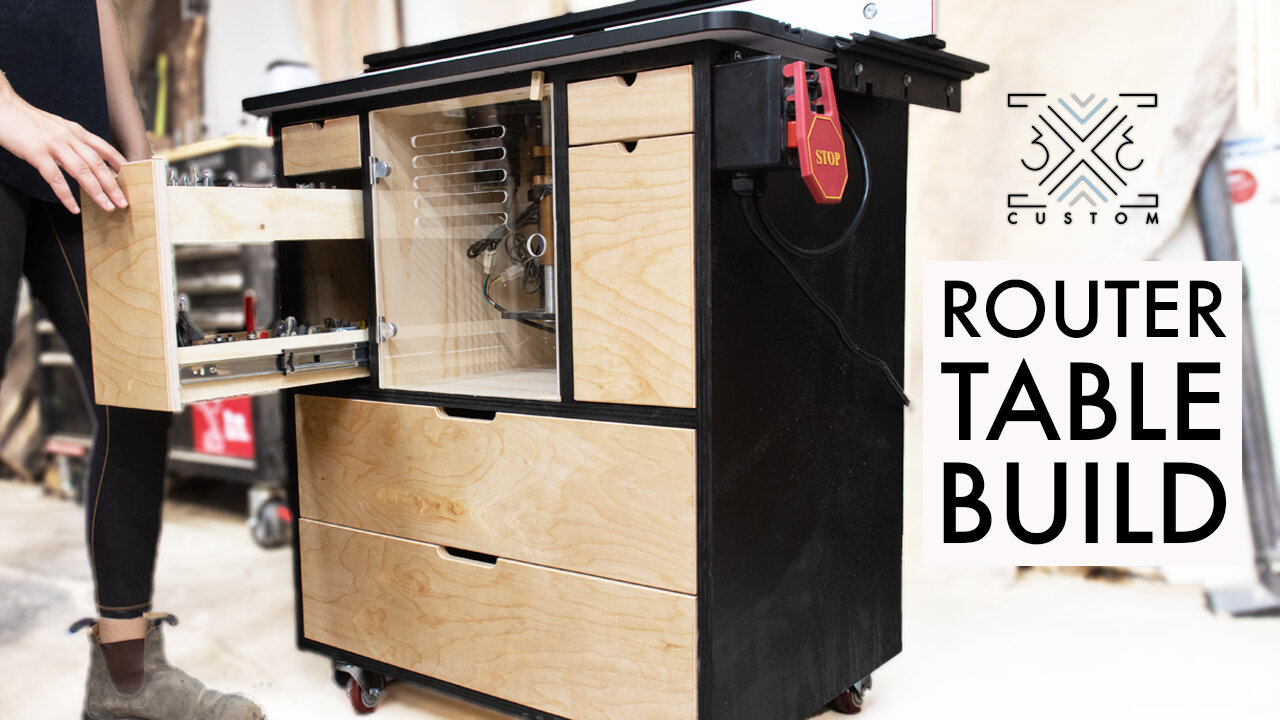
The router table creates the biggest mess in my shop, the dust collection on the fence is just not enough… so I decided to build a router table cabinet that will help with dust collection and help with storing all my router bits and accessories!
Check out the full build video below!
Want plans for this build? Check them out here!
ROUTER TABLE CABINET PLANS
What You’ll Need
Let’s begin!
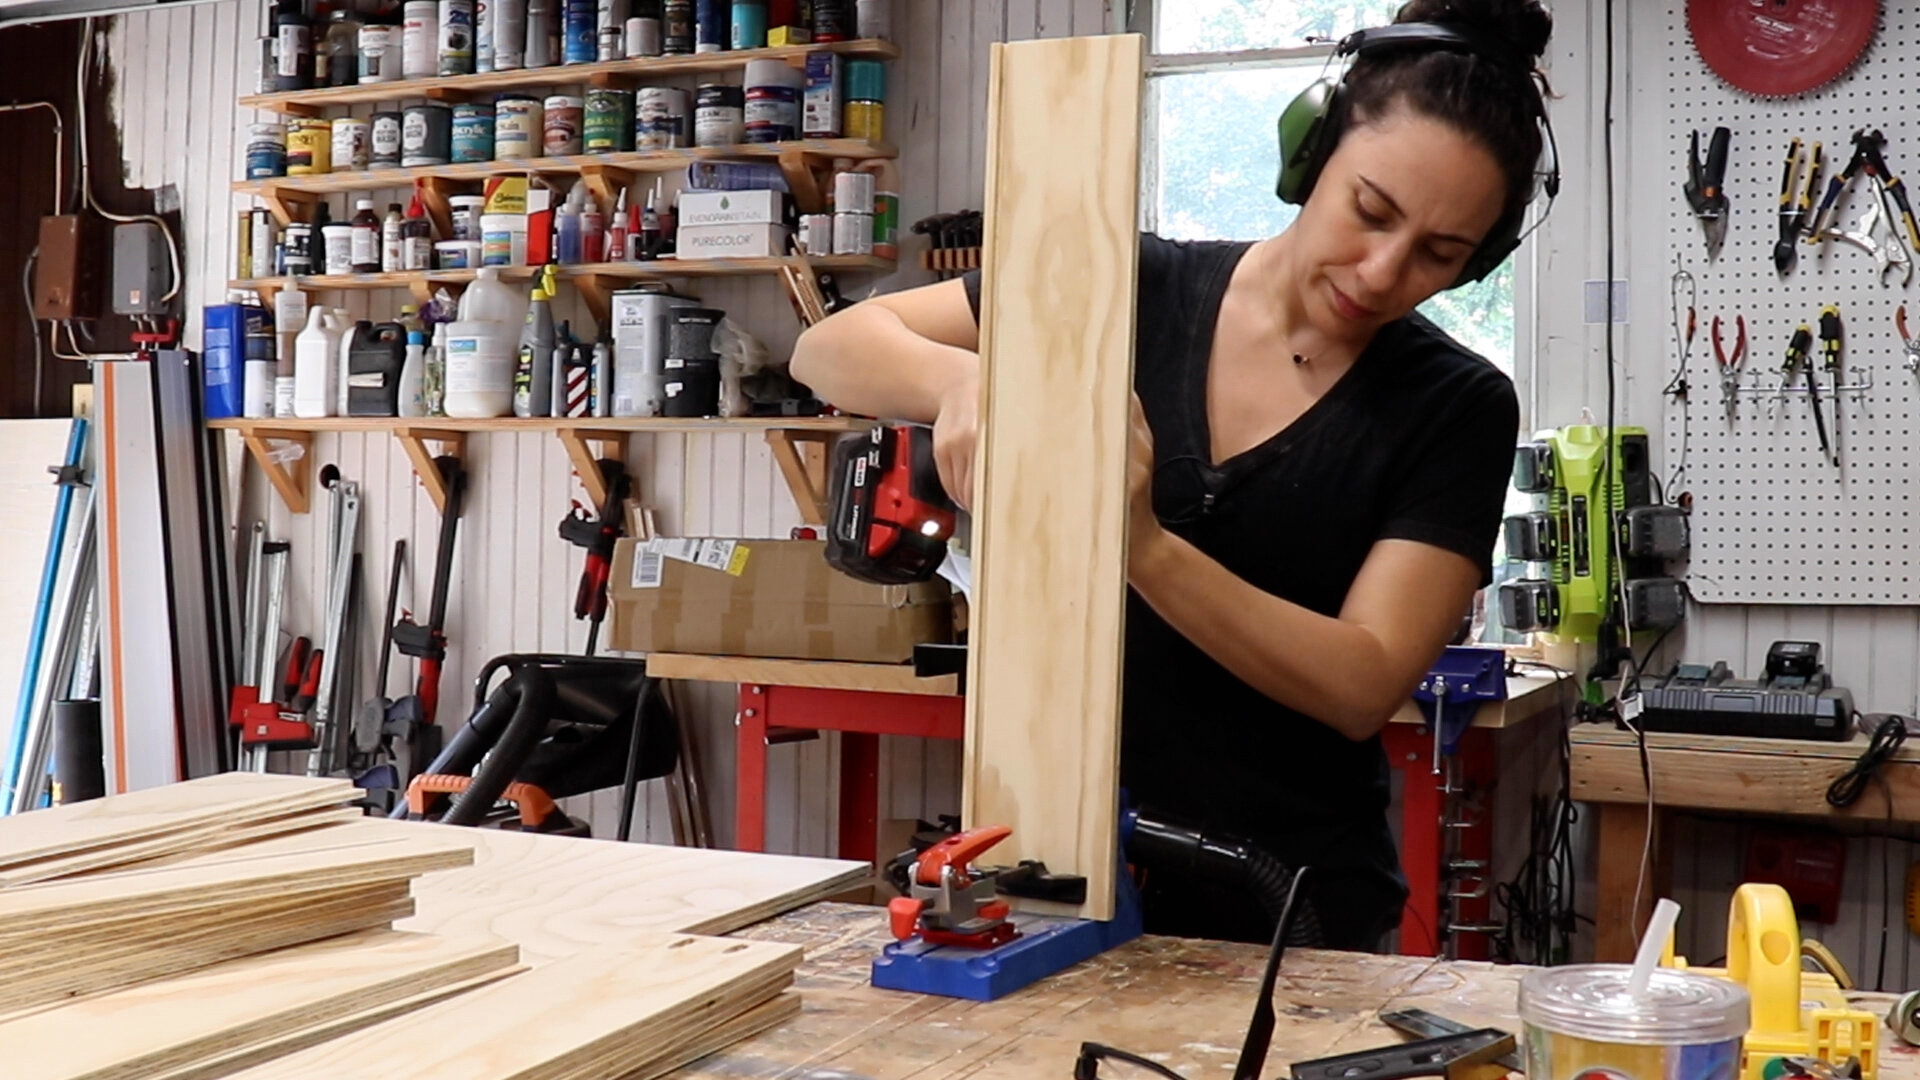
Start with cutting all the pieces for the carcass to size.

The top of this cabinet will have stretchers going along the top.
To make room for these stretchers the middle dividers need to be notched out.
This is easily done on the table saw, but you can use a jigsaw, circular saw, or bandsaw as well.

This seems early in the process, but it’s best to figure out where your castors will go, so none of the screws are in the way.
I will be installing the castors with countersunk nuts, so I drilled one large hole that was wide enough for a socket wrench to fit into when tightening those nuts, then drilled a smaller hole for the bolt on the casters.

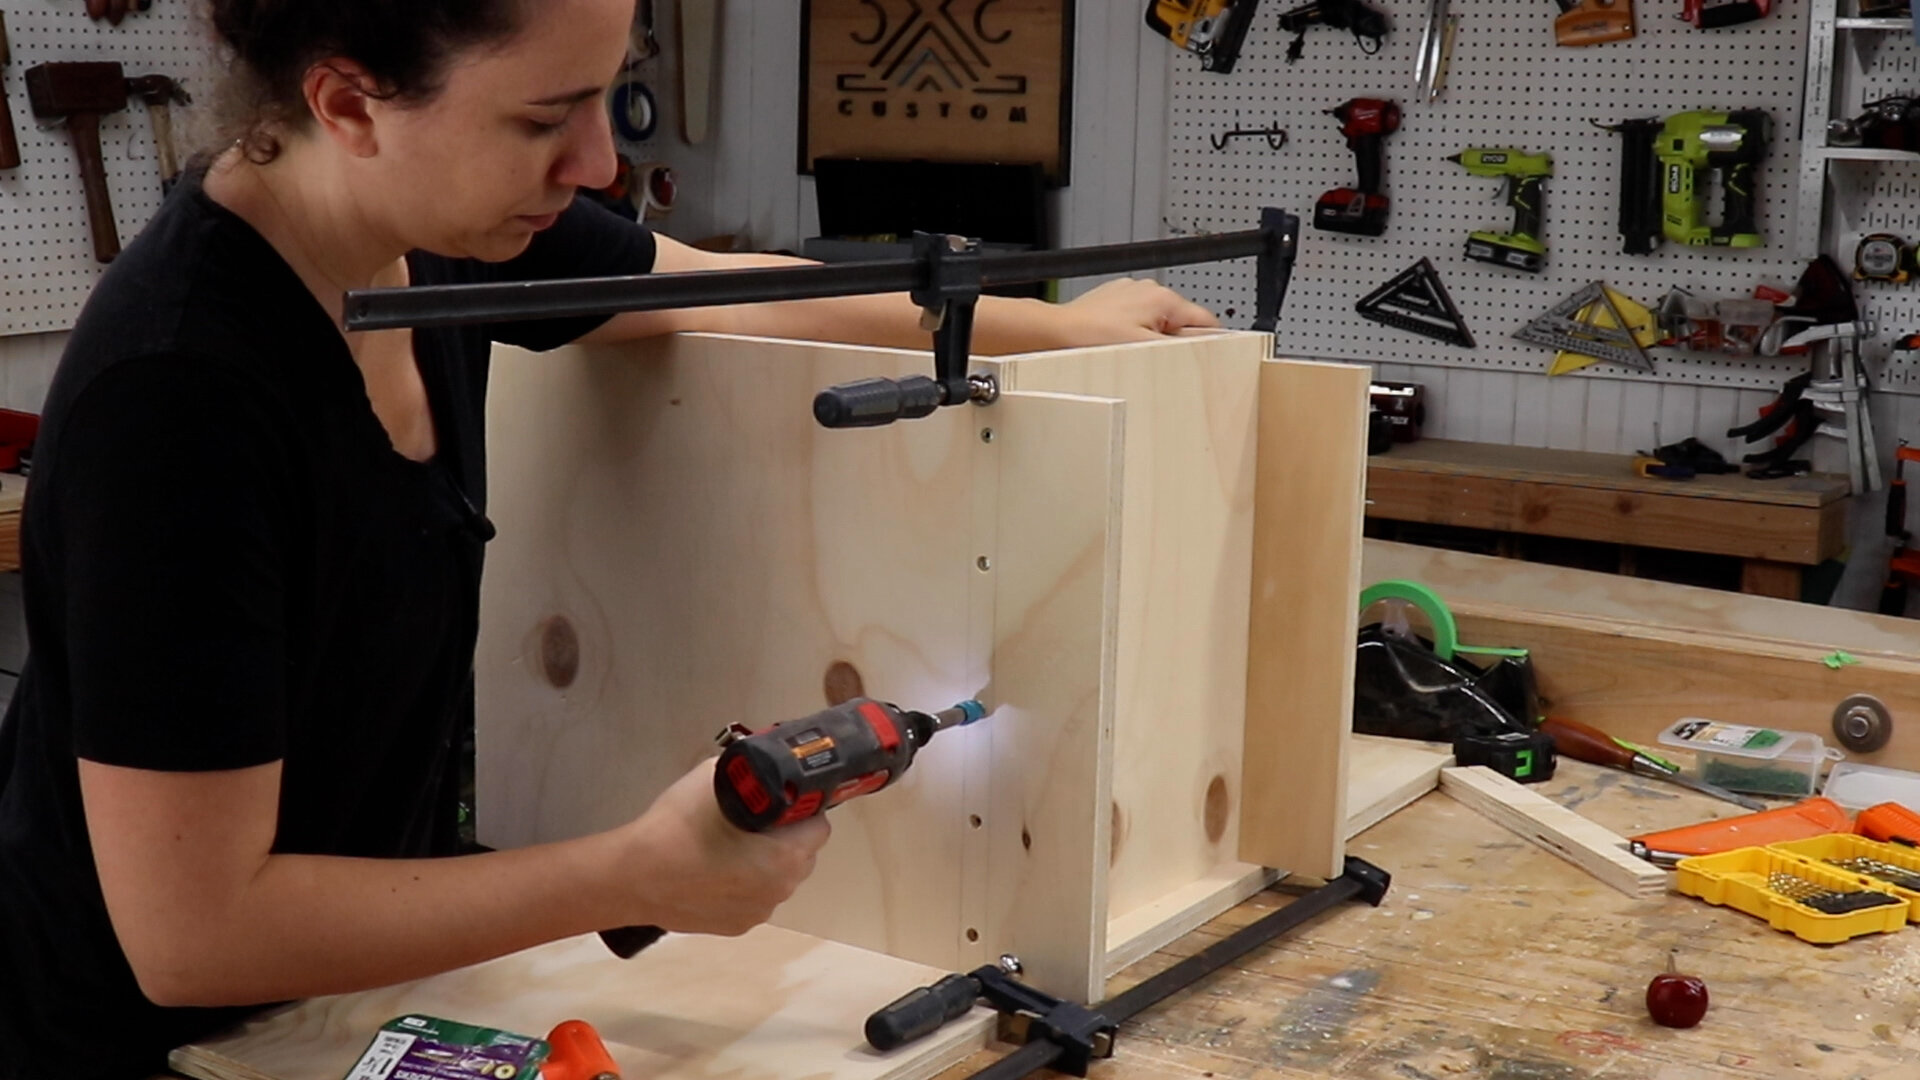
The prep-work for the carcass is all done, time for assembly!
This cabinet will be assembled with quick and easy pocket hole joinery. Based on those holes drilled for the casters, drill the pocket holes in a location where they won’t interfere.
Start by attaching the bottom panel to the sides making sure the countersunk holes for the nuts are facing inside the cabinet. Then lock it all down with pocket hole screws.

Flip the cabinet over and attach the 3” wide stretchers to the top of the cabinet.

Next up is the center compartment that will house the router and contain the dust.
This is made up of the 2 notched out center divider pieces and a back panel.
The back panel should be screwed to these dividers where the notch begins.
This brings the dust collection closer to the source and it also helps keep the whole unit closer to the wall of my shop because dust collection parts are not going to be protruding out as much.
Now making sure that assembly is evenly spaced on the middle divider, flip it upside down and screw it from underneath with countersunk holes.

To attach that middle divider with the center compartment to the main carcass flip the whole carcass upside down and place it on top of the stretchers. If done correctly, the notches should slip right into place on those stretchers.
Clamp the center compartment so it is pressed tight against the stretchers and screw it in using pocket holes from the underside.

While it’s upside down, it’s a good idea to install the casters.

Flip it right side up and lock the stretchers to the notches in the center compartment divider pieces with countersunk holes.
The carcass is now done!

Moving on to the drawers!
Rip all the draw parts to the correct width.

Then cut the draw SIDES to the correct length.
Do not cut the fronts and back yet, because plywood thicknesses vary, it is impossible to get an exact measurement for this in the plans, the length of the fronts and backs will be based on your actual material in the next step…

… Which is to determine the thickness of your drawer slides, plus the thickness of your drawer sides.
Drawer slides are typically 1/2” thick, but they will vary, mine were actually slightly over 1/2”. So make a spacer piece that equals the thickness of both slides together.
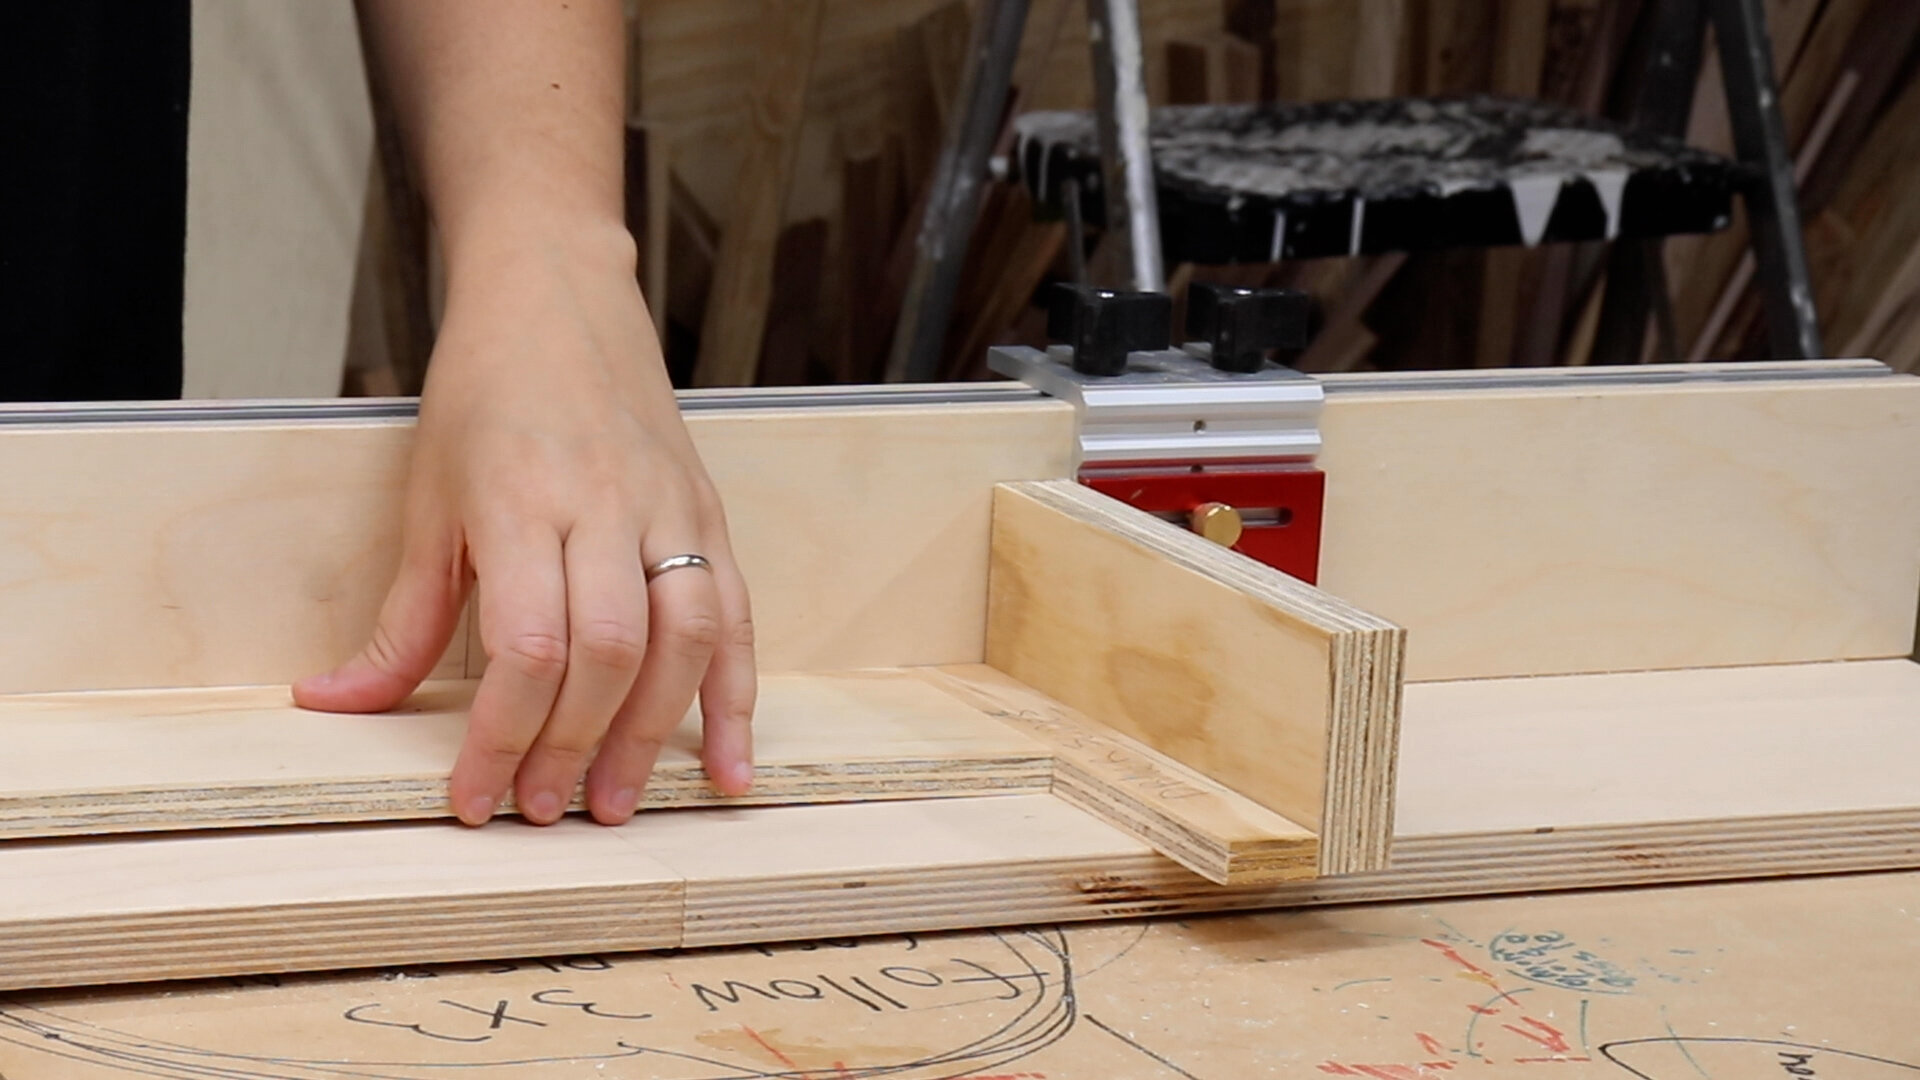
Then set your stop block to the length of the cabinet opening and put that spacer in place along with two pieces of scrap that will represent your drawer sides.
So drawer fronts and backs are the length of your opening minus the thickness of two drawer slides and two drawer sides.
I like to put drawer bottoms in a groove.
This groove is 1/4” up from the bottom of the drawer and it’s half as deep as the thickness of the material that you’re using. The bottom drawers and small upper draw get one groove on all parts, the bit storage drawer is a little different…
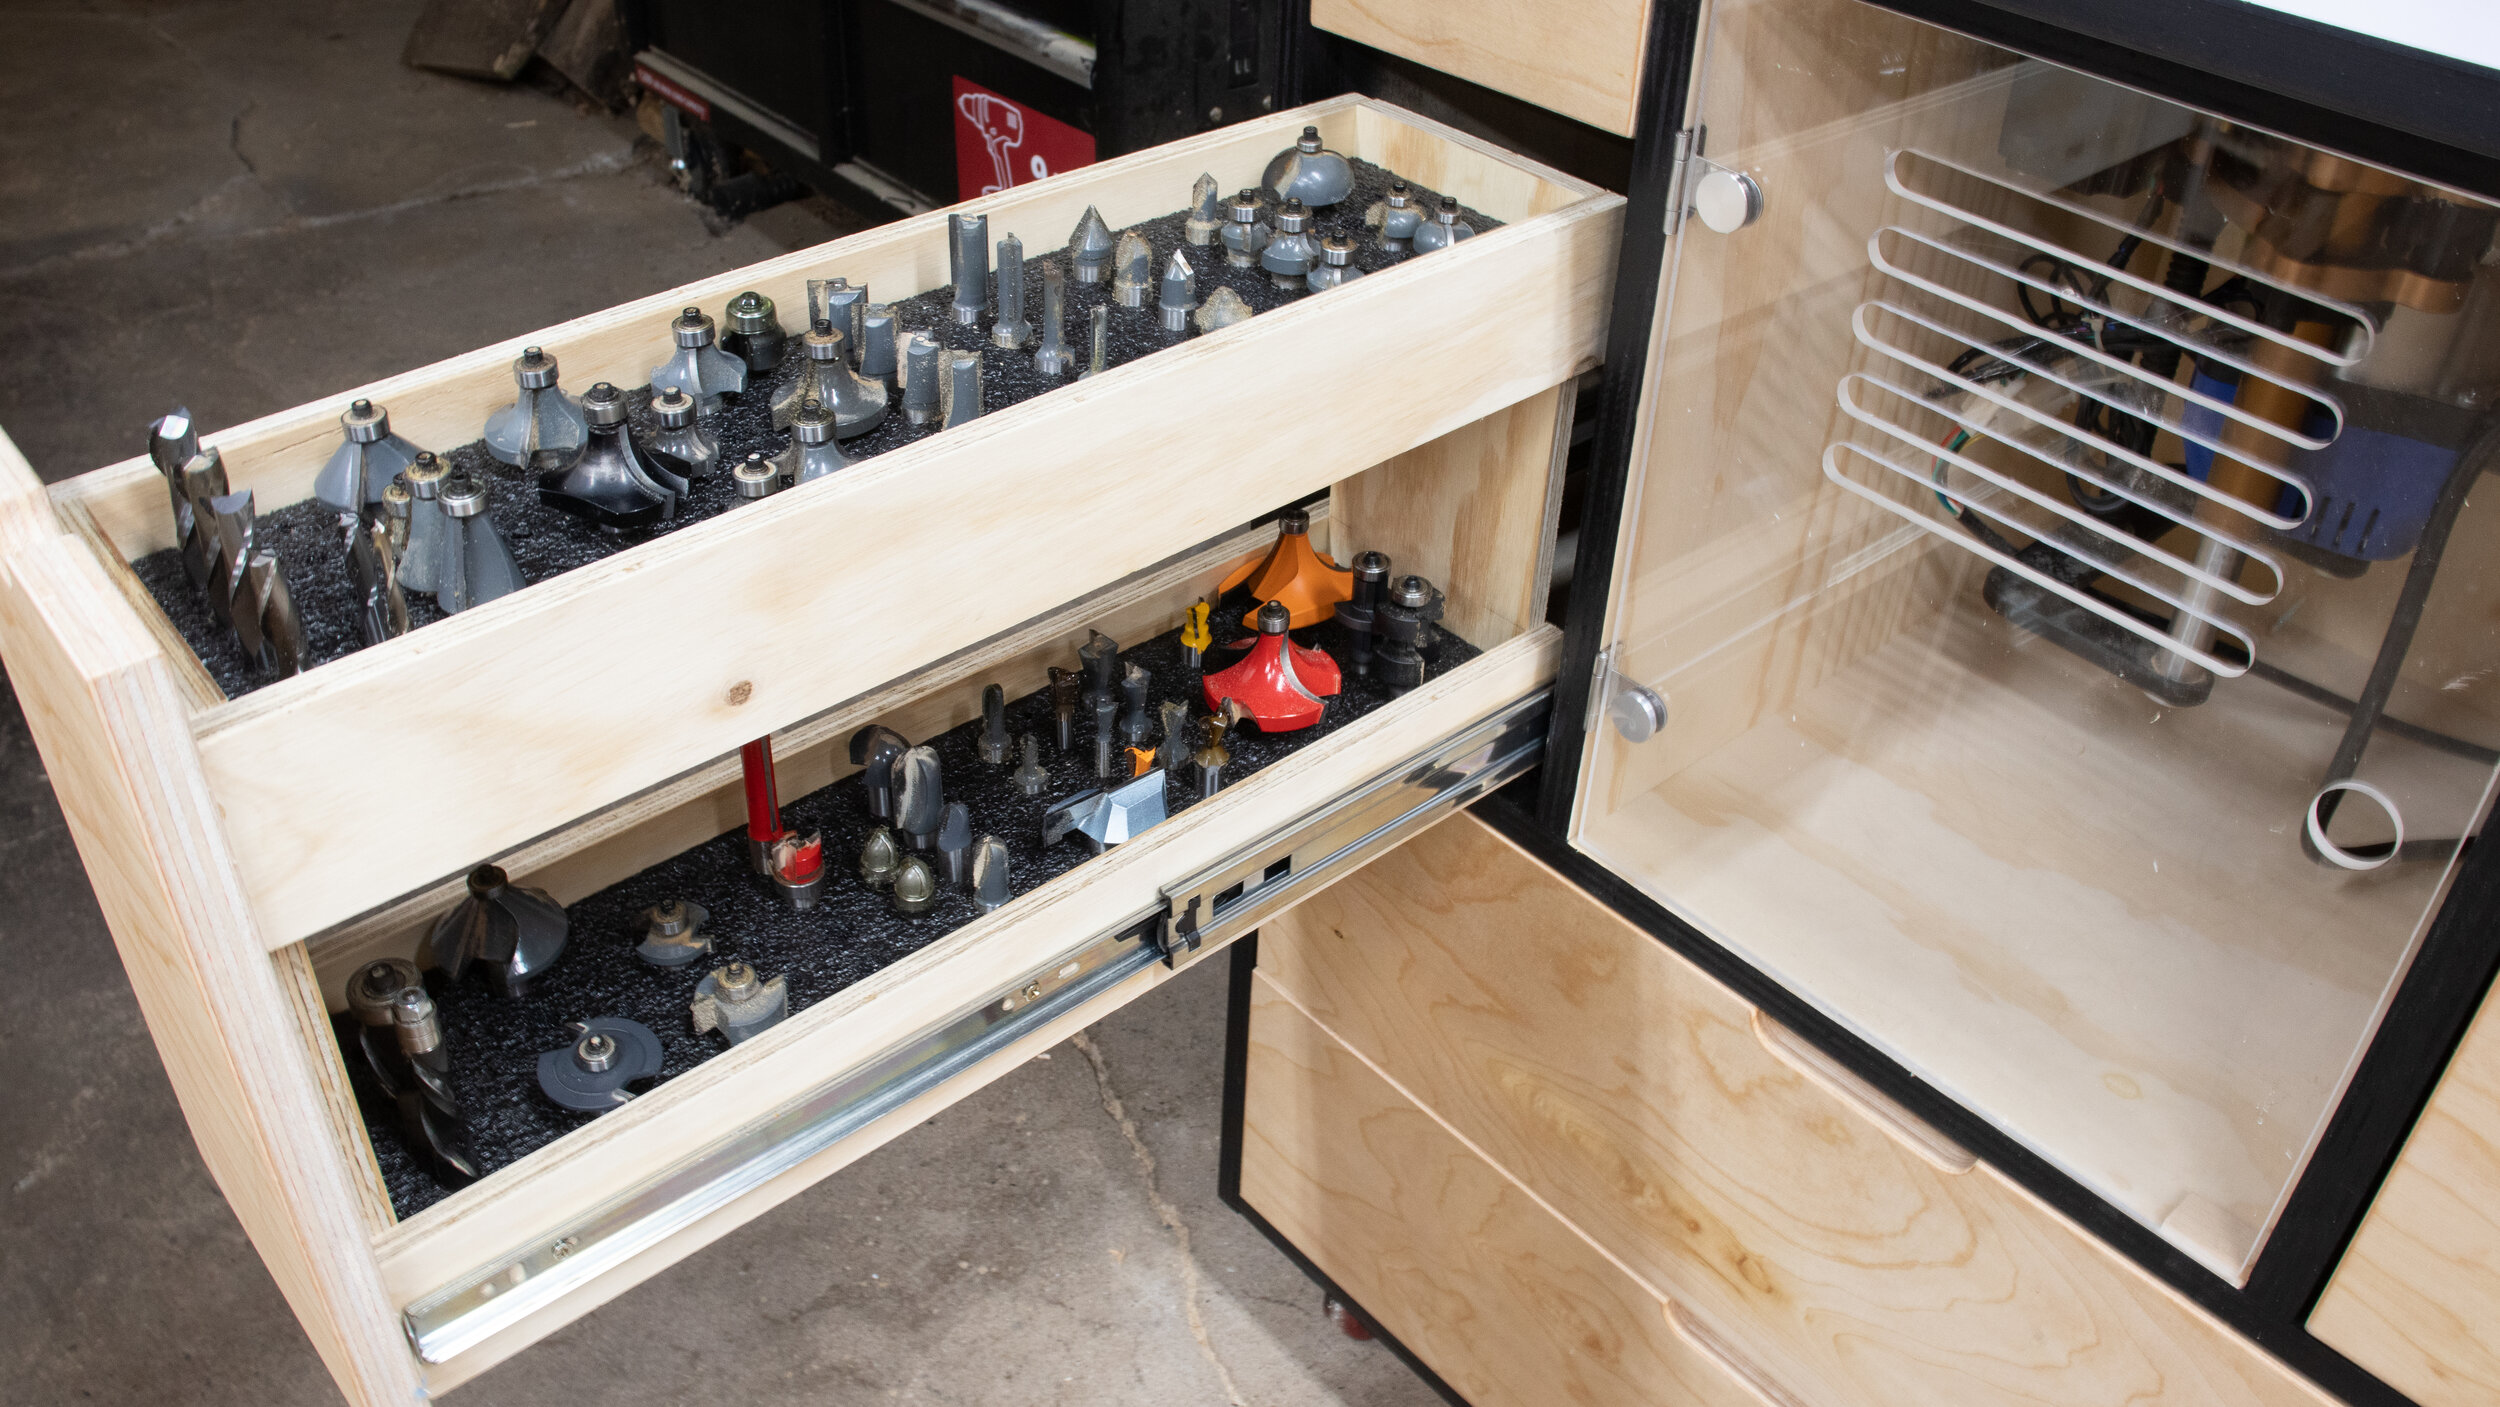
The bit storage drawer will be a double layer drawer, so it will look like one long drawer, but inside it is really two different drawers. Kind of like a spice rack.
To achieve this, I made two grooves going across the bit storage drawers that will hold two drawer bottoms.

After all those grooves are cut you can use them as a guide for how large to cut all the bottom panels from 1/4” plywood.

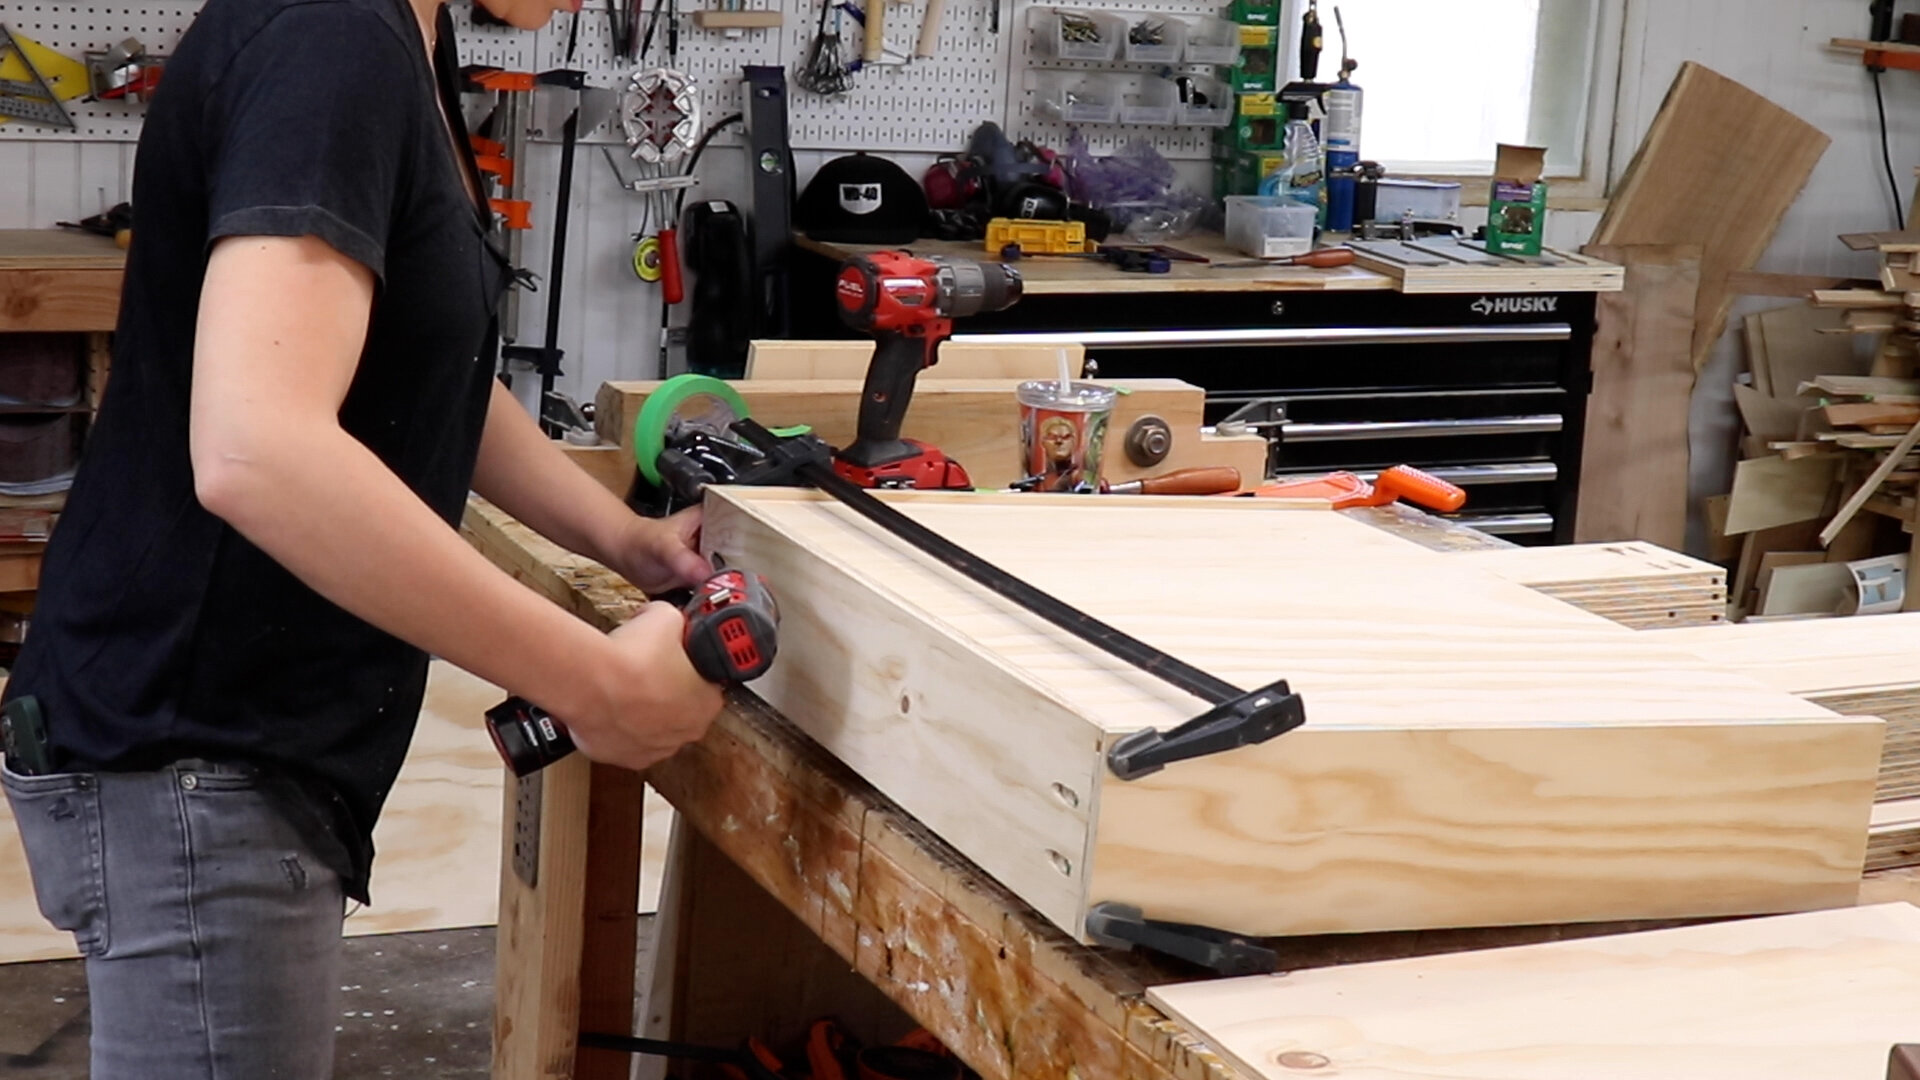
These drawers will be assembled using pocket holes. Quick and easy.
Only drill the pocket holes in the front and back parts of the drawers, not the sides.
Since the bit storage drawers are essentially double drawers, you need to drill two sets of pocket holes on these, one for the sides that will be attached on the bottom section and one for the sides that will be attached on the top section.

Assembling them is super easy! Clamp them in place and drill pocket hole screws from the fronts and backs into the sides.
You can see here how the double drawer is assembled.
Making the grooves on all the parts makes this step really easy to line everything up when screwing it in place.

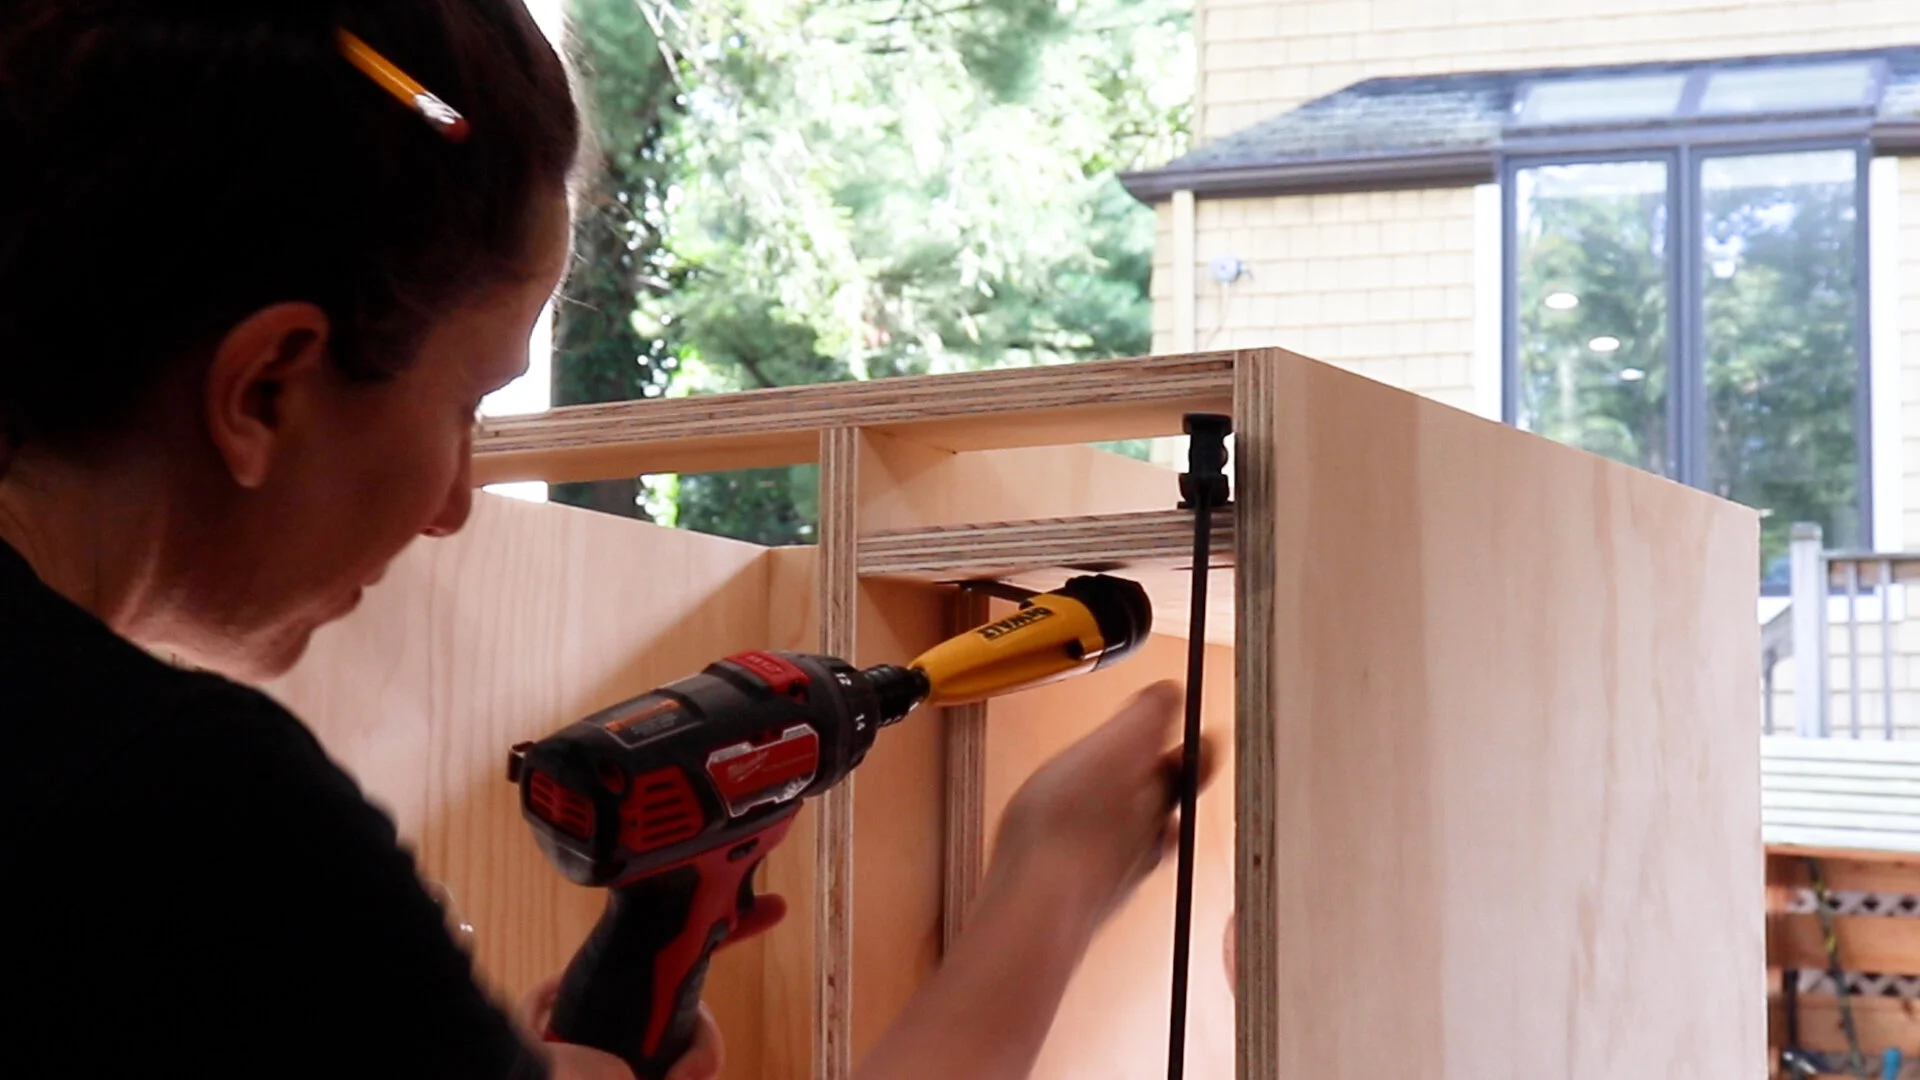
The upper right-hand corner of this cabinet won’t be a drawer, it is a shelf that will hide all the wires.
This probably could have been installed easier in an earlier step, but if you have a right-angle drill attachment, that helps.
Using a spacer for the drawer faces install the drawer slides to the carcass and then then to the drawers.

The bit storage drawers only get one set of slides even though it is a double drawer.

Based on the openings of your cabinet cut the drawer faces 1/4” smaller than that to create an 1/8” reveal around all sides and attach them to the drawers.

The wire shelf gets a false front for easy access. This is cut to the same dimension as the small drawer on the upper left, but it is held in place with magnets.
Drill two screws in the back of the drawer front, then drill corresponding holes into the edge of the plywood shelf. Glue in some magnets and glue a little lip made of scrap to the underside of the shelf to keep the false front in the correct position.
I opted to make my own foam holders for the bits, I included a drilling template in the full downloadable plans if you’re interested.

Last little details!
Drill some holes for the wires to feed through.

Screw on the Start/Stop Switch.

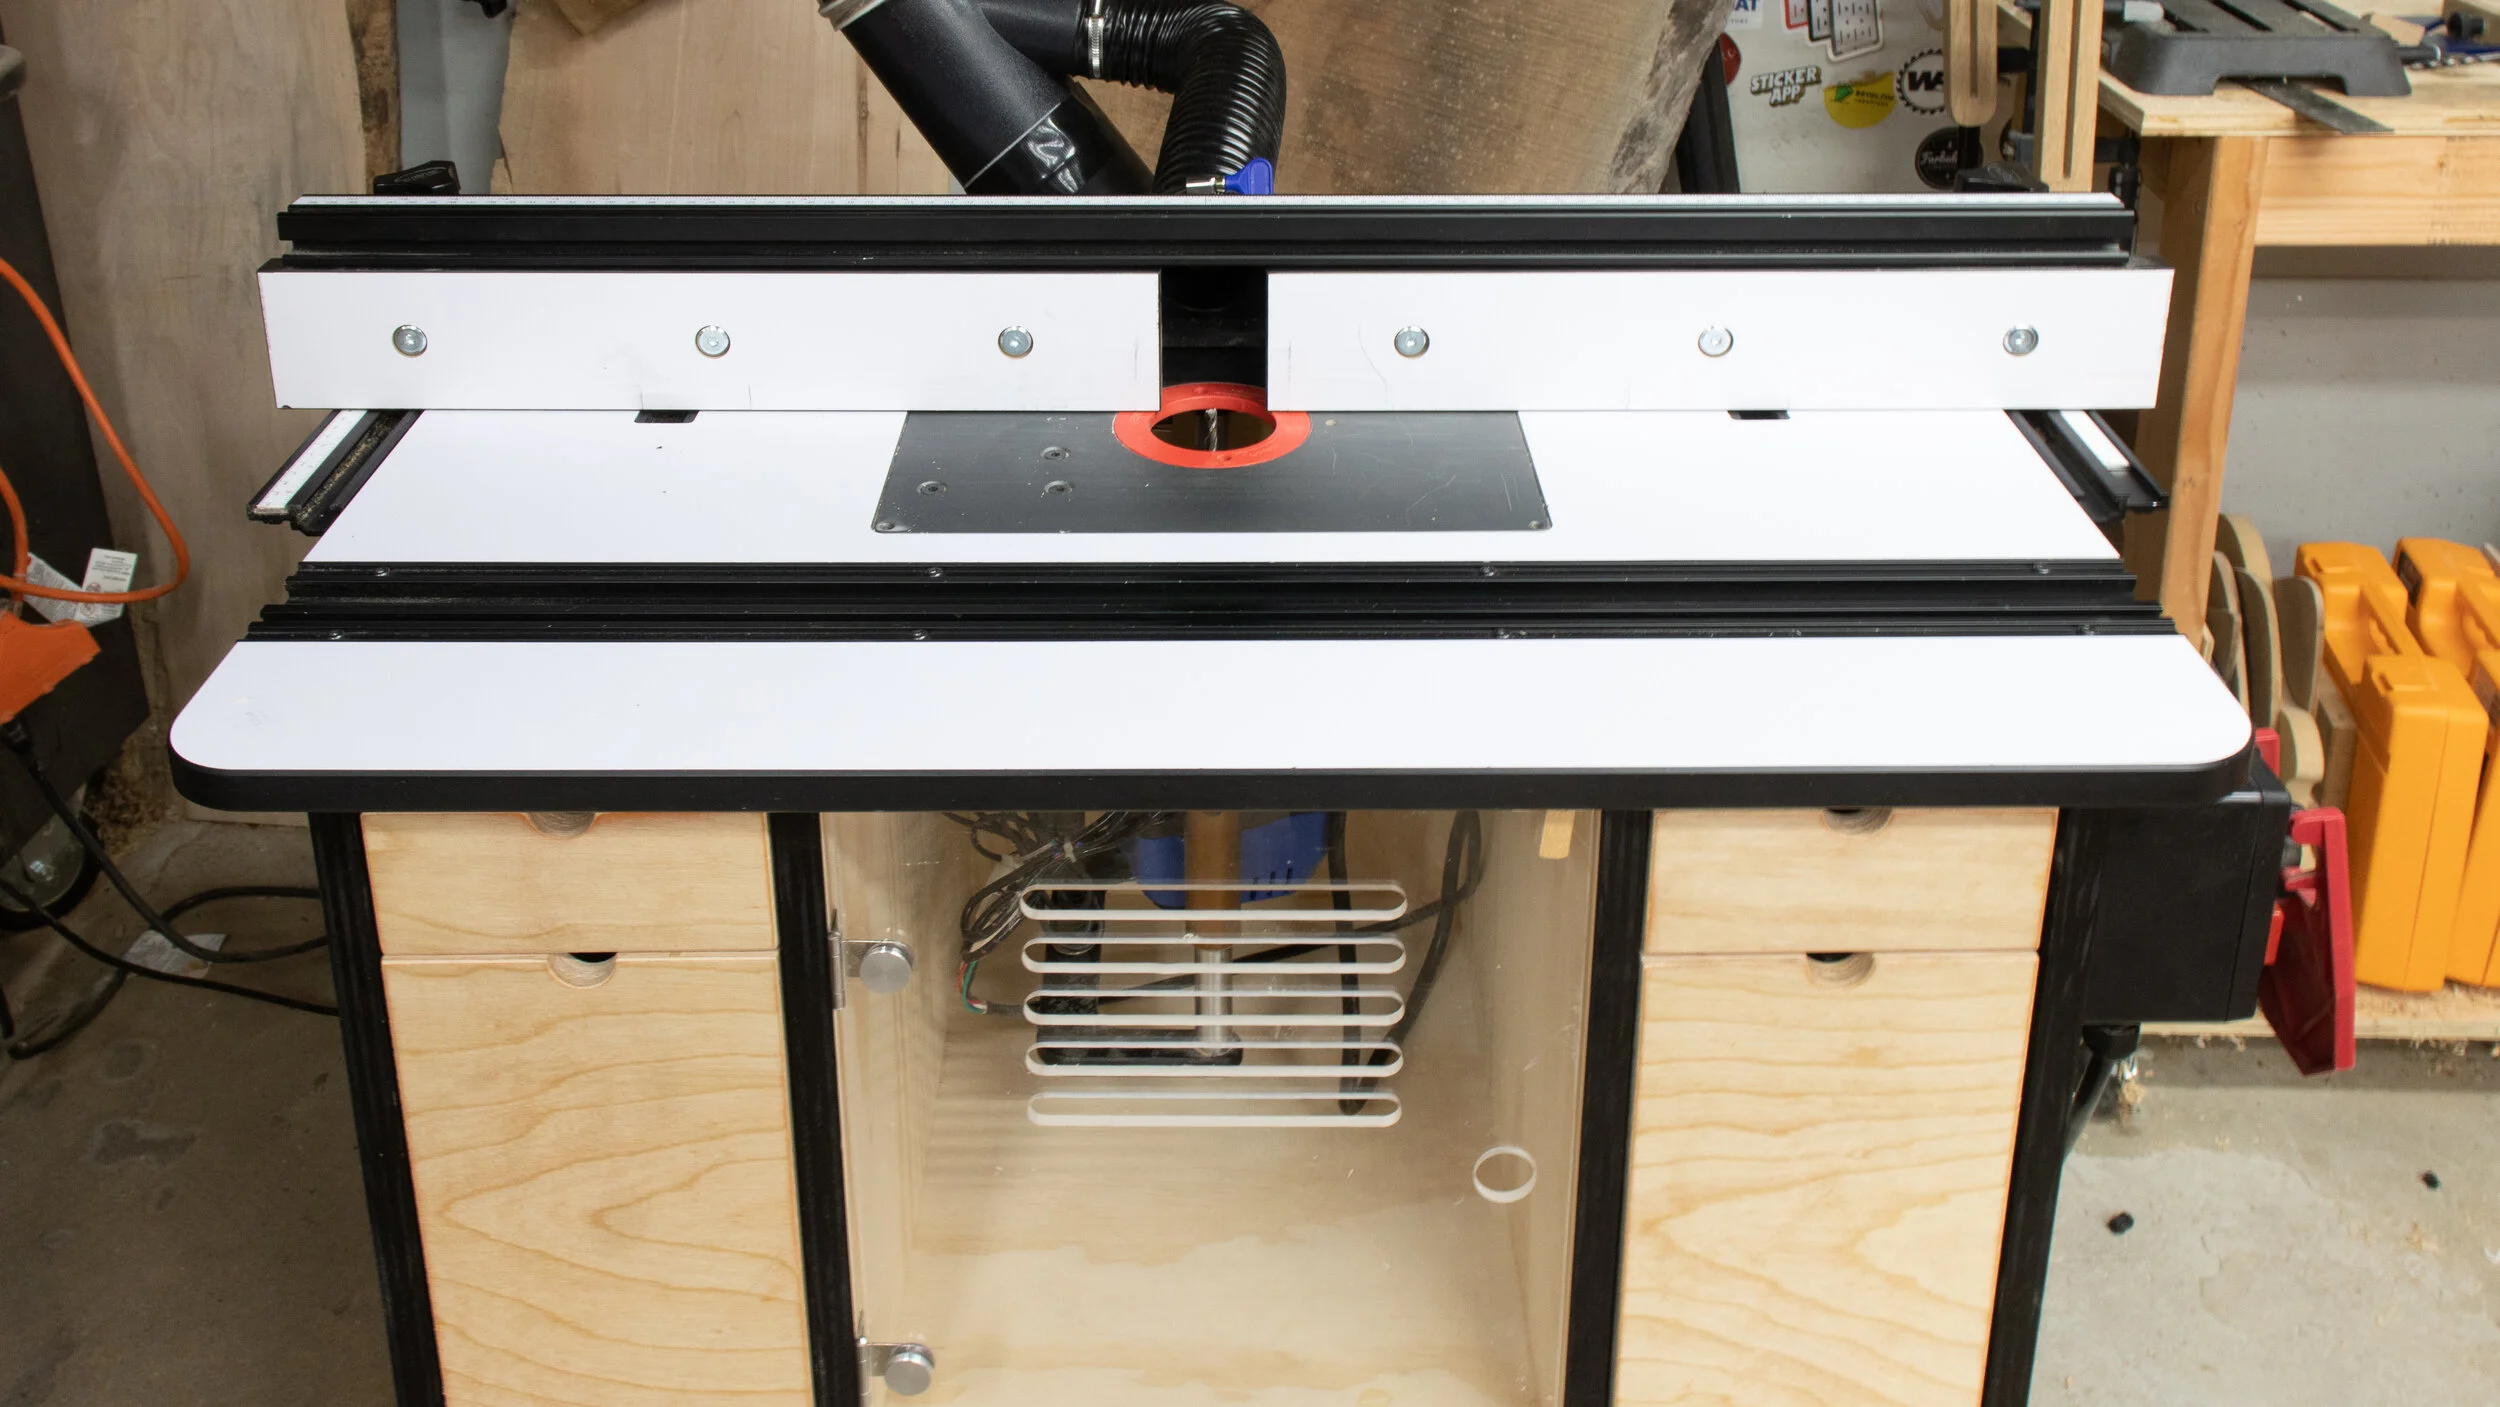
Cut a 4” hole in the back of the center compartment and attach a 4” flanged inlet.

I opted to use acrylic for the front door of the center compartment so I can easily see what’s going on in there, but it’s not necessary.

Cut out a section of the back panel to fit around the cut out of the center compartment and tack it into place.

Attach a router table to the cabinet through countersunk holes in the stretchers.

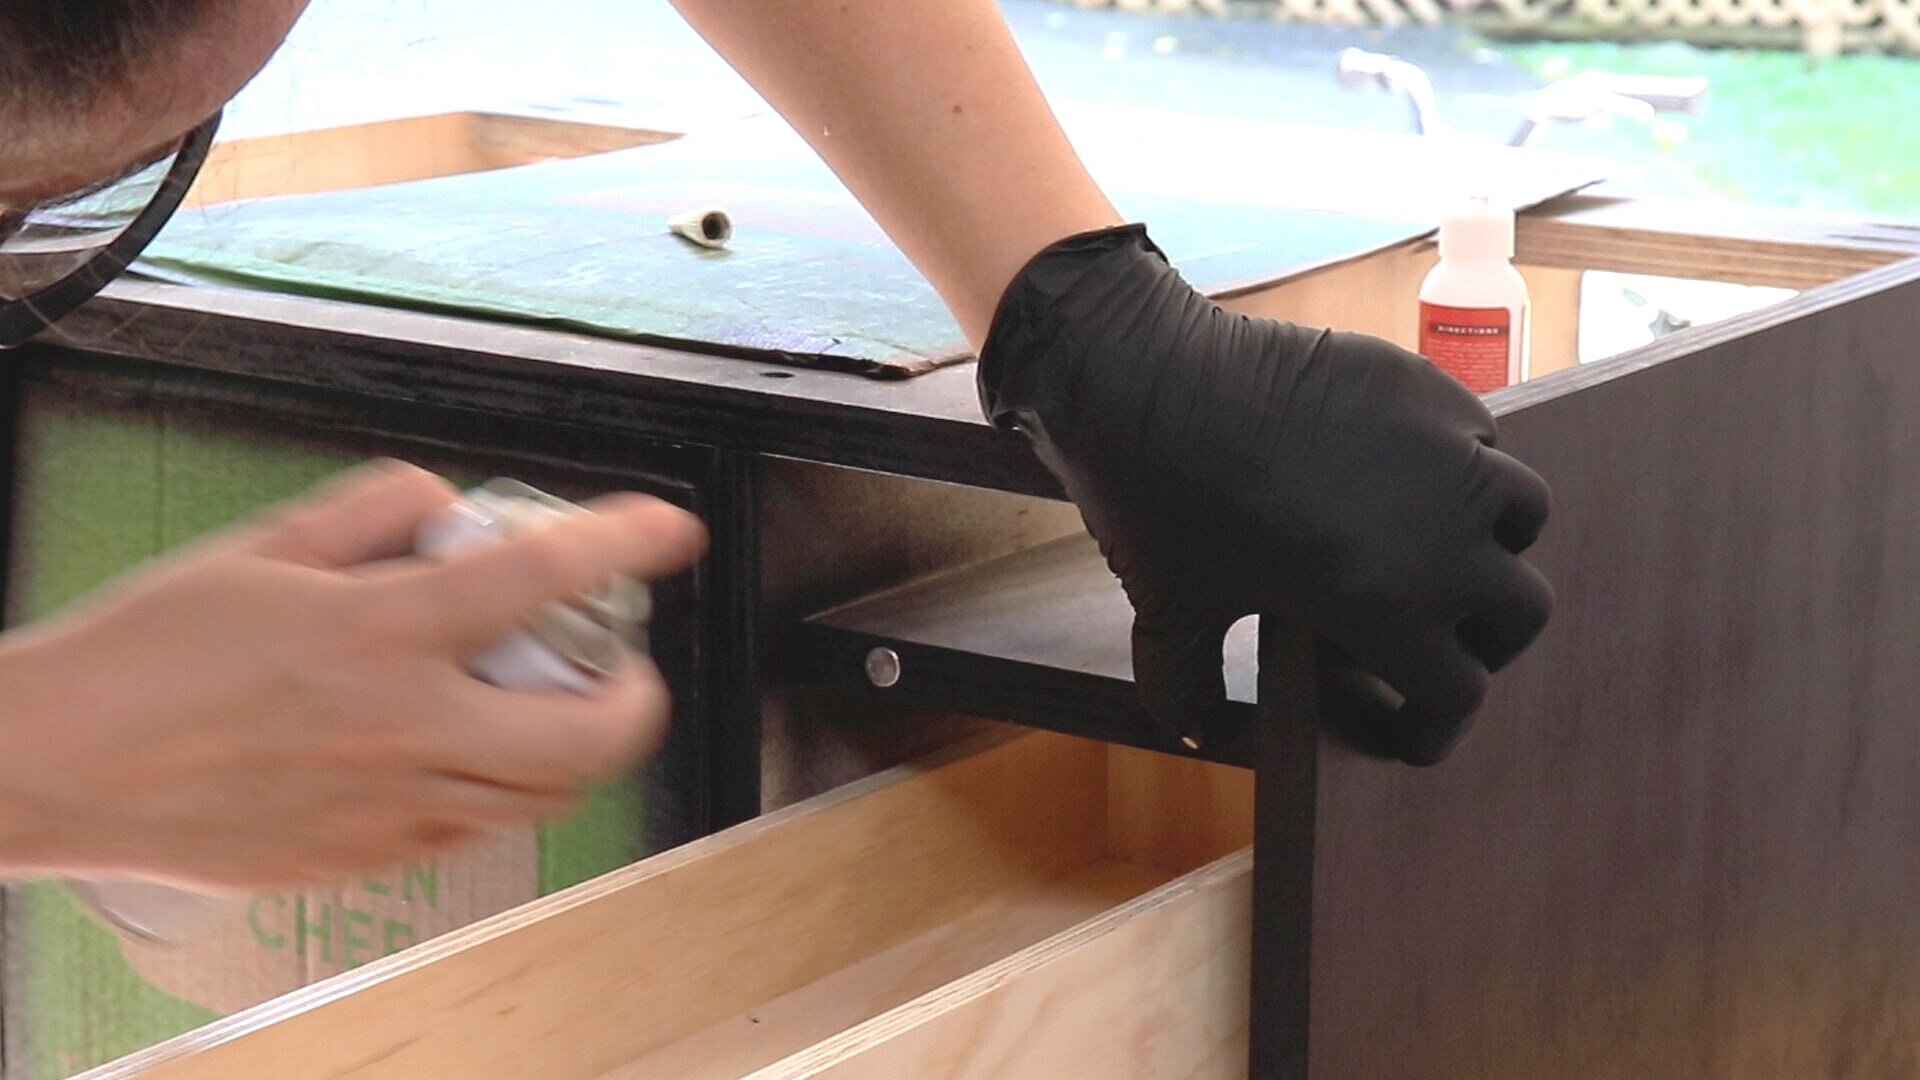
Assemble all the dust collection parts in the back.

Attach it to dust collection. These thumb screw hose clamps are awesome…

And it’s done!
I am so excited about all this bit storage, looks like I can use some more bits!

I love how these double drawers came out, love that I can reach in from both sides.
And this little compartment here for my bit changing tools. So happy!

I have more storage than I know what to do with and the dust collection is keeping all the dust contained. I can’t believe it took me so long to do this. Could not be happier.