
Rolling File Cabinet

Recently I partnered with SawStop to build a Modern Curved Desk that has hidden storage and a matching Rolling File Cabinet.
All the details and free plans for the desk are on SawStop’s website here - MODERN CURVED DESK WITH HIDDEN STORAGE
The Rolling File Cabinet is also included in the free plans linked above, but I made a separate video and tutorial down below.
Let’s get started! If you want plans for this Rolling File Cabinet click here - MODERN CURVED DESK
The plans include all the materials you need with dimensions.

First, cut all the pieces that make up the carcass to size. Do not cut the drawer parts yet.
Actual size of the drawers may vary depending on plywood thickness and tape measures…
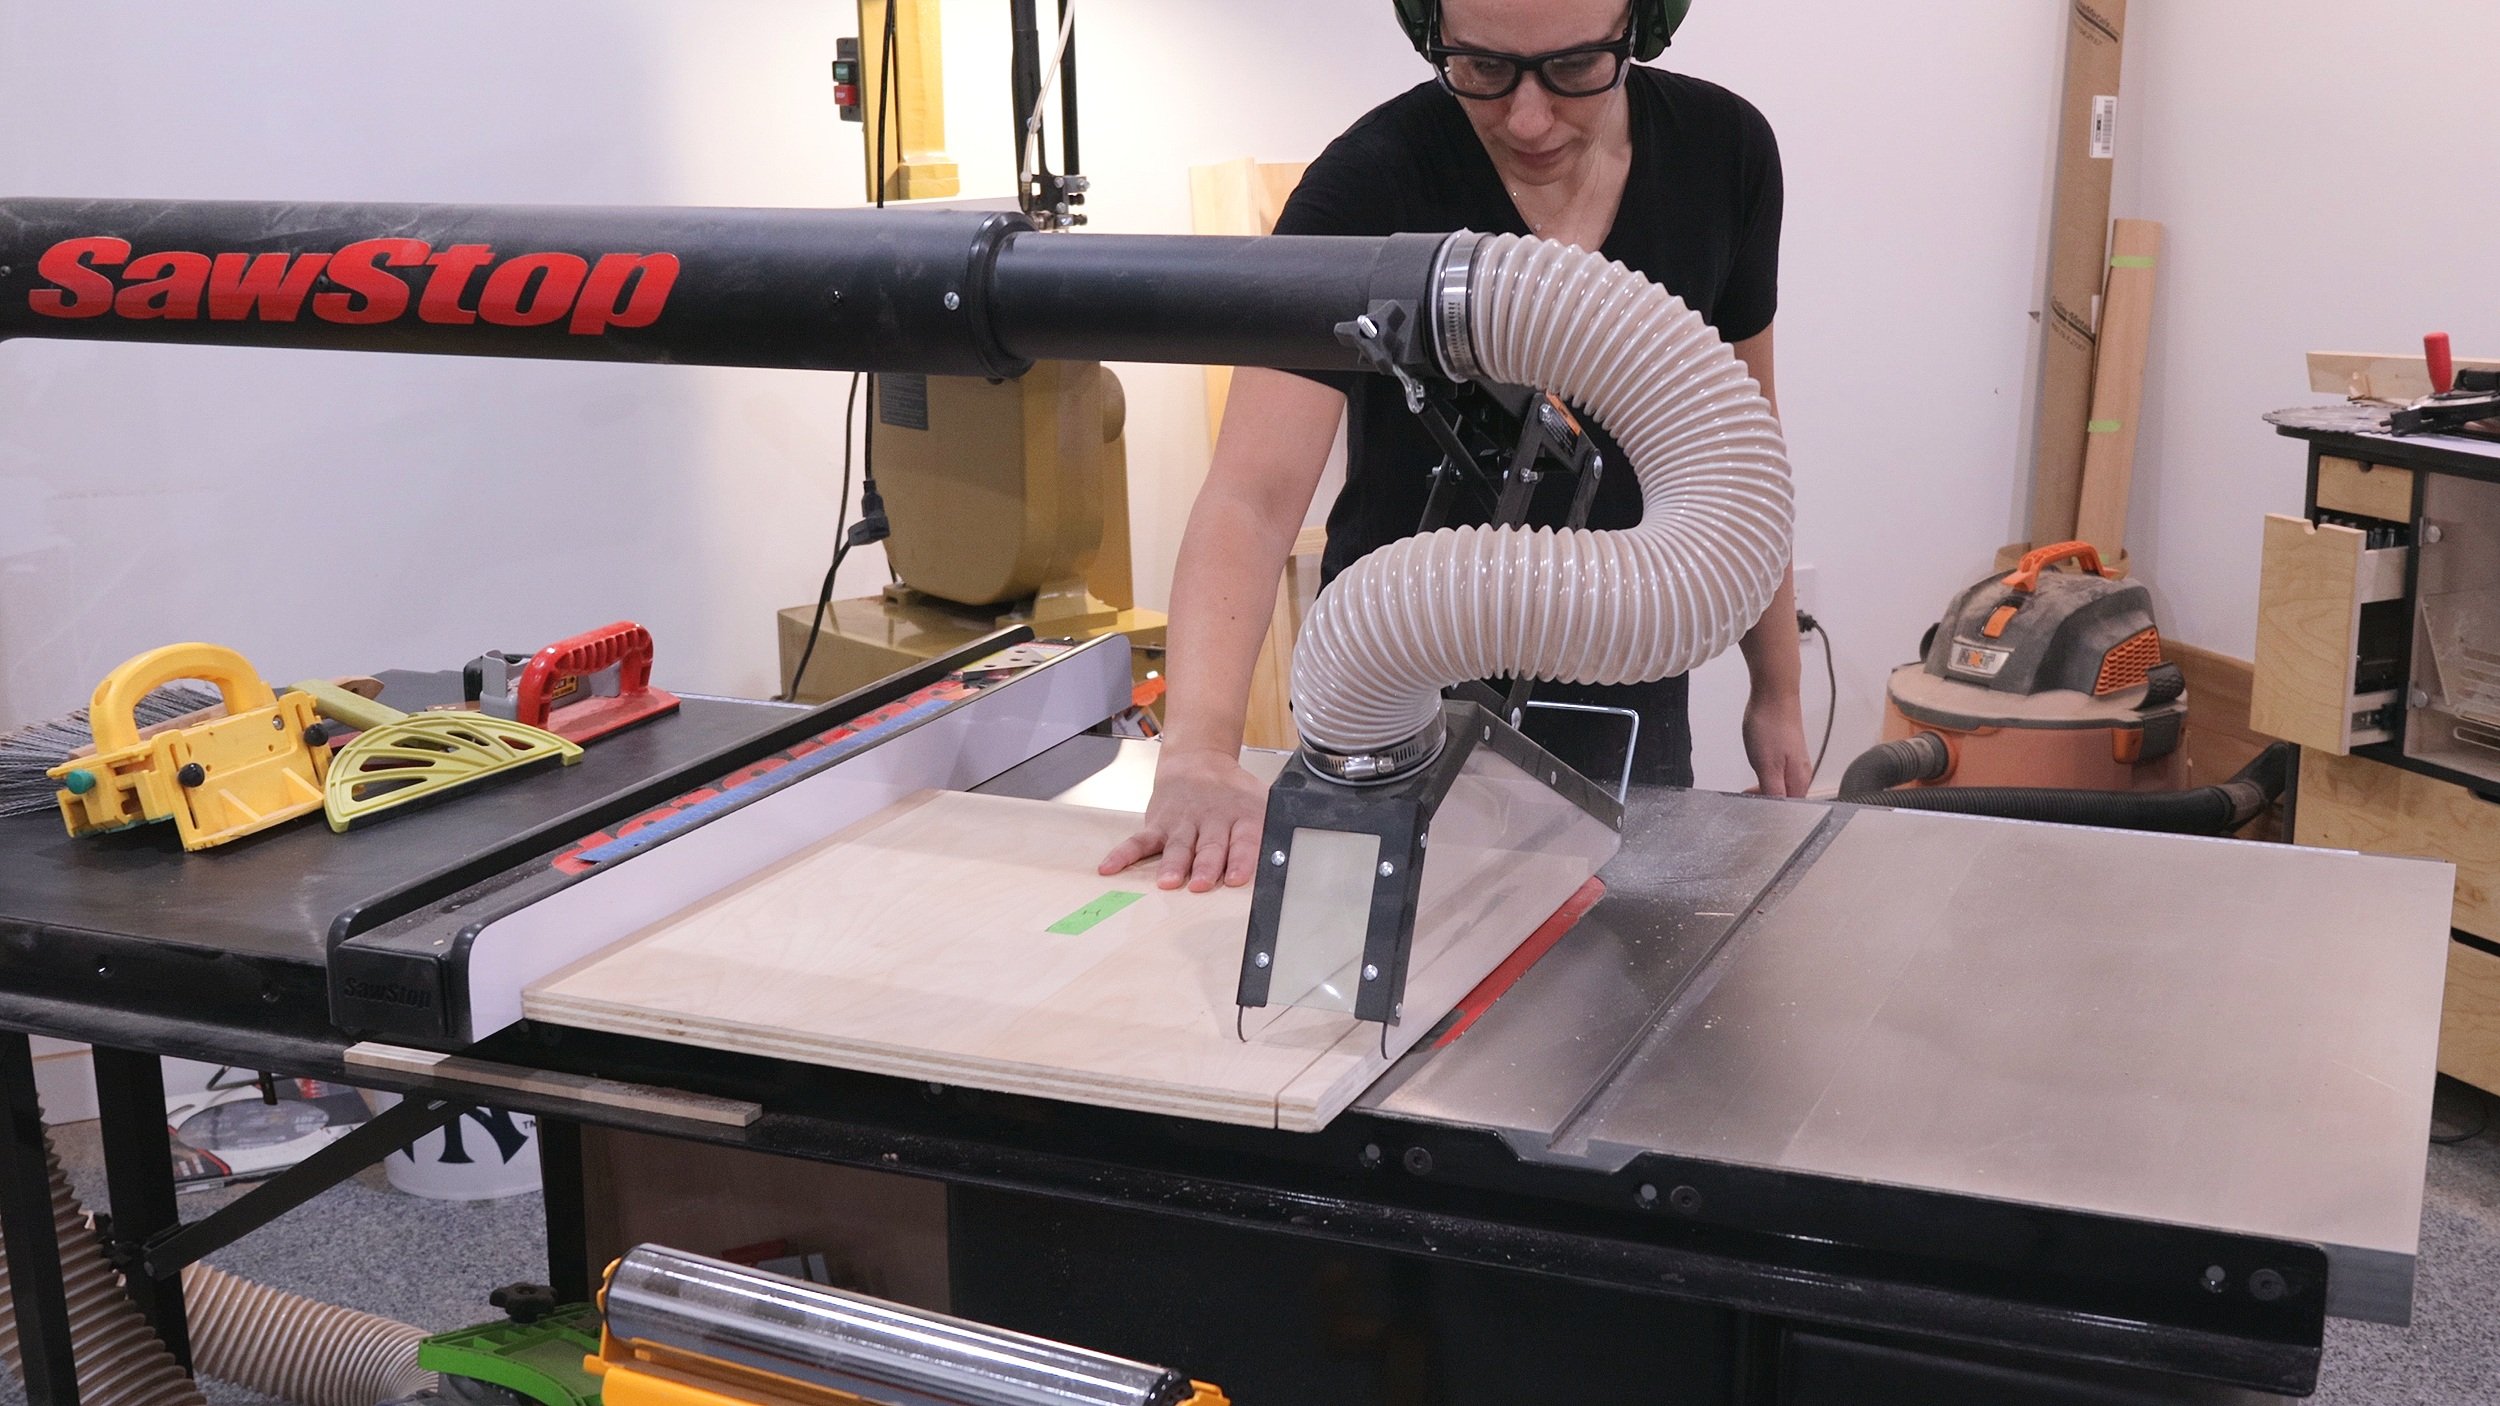
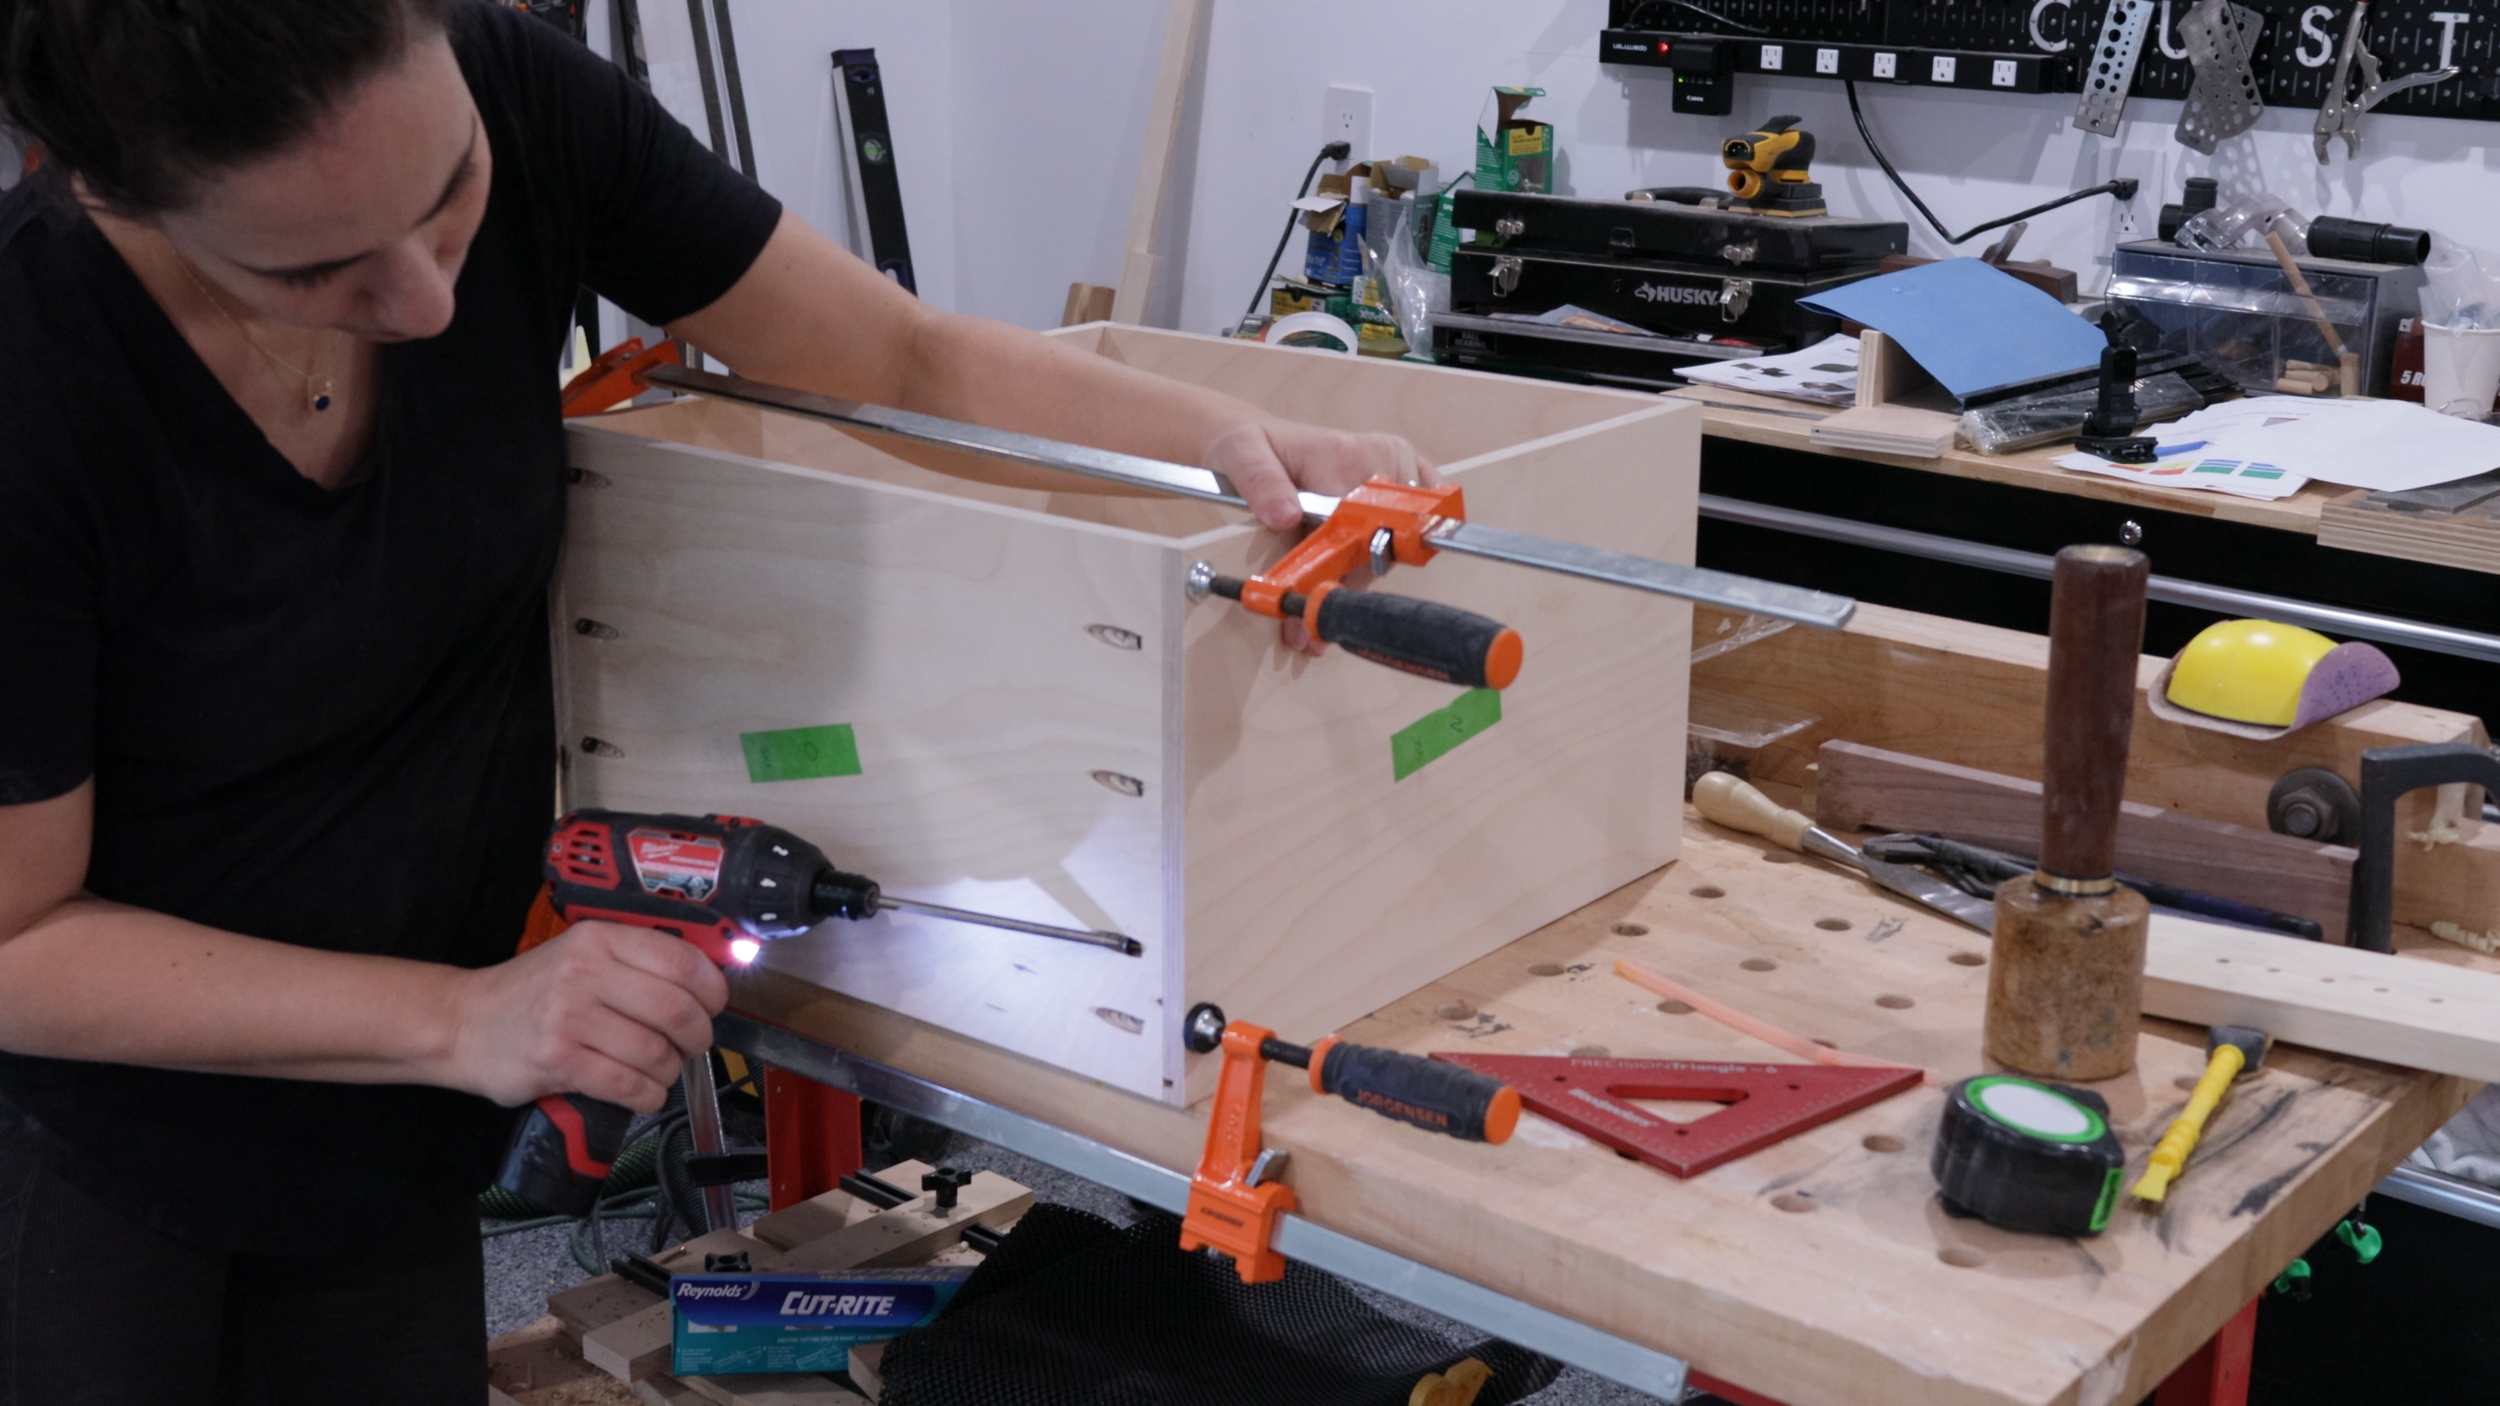
There are lots of ways to join the main box, I chose to use dominos, but you can you anything from pocket holes to dovetails…

Whatever you choose, just make sure to assemble the four pieces square!

Now that the main box is built, you can measure the opening for the drawer parts.
First measure for the drawer FRONTS and BACKS. Place both drawer SLIDES you will use, plus both drawer SIDES on one side of the box and measure the opening.

Then cut to size!

I like to assemble my drawer bottoms in grooves.
To get the perfect width of the grooves you can use a tester piece to get an exact fit, then cut the grooves on all your parts.
More detail on how I do this in the full YouTube video linked above.

The drawer bottoms are cut to size based on the distance of the groove.

The plans call for 1/4” bottoms, but for some reason I bought 1/8”… I still made it work!

Pocket holes are a really easy and strong way to make drawers. You drill the holes on the front and back pieces and they will never be seen since there is an added drawer face that goes on top of the drawer front.

Besides for the added strength in building drawers with grooves, it also makes it easier to assemble.
You just have to build your drawer around the drawer bottom.

Make sure it’s all square, then lock it down with pocket hole screws.
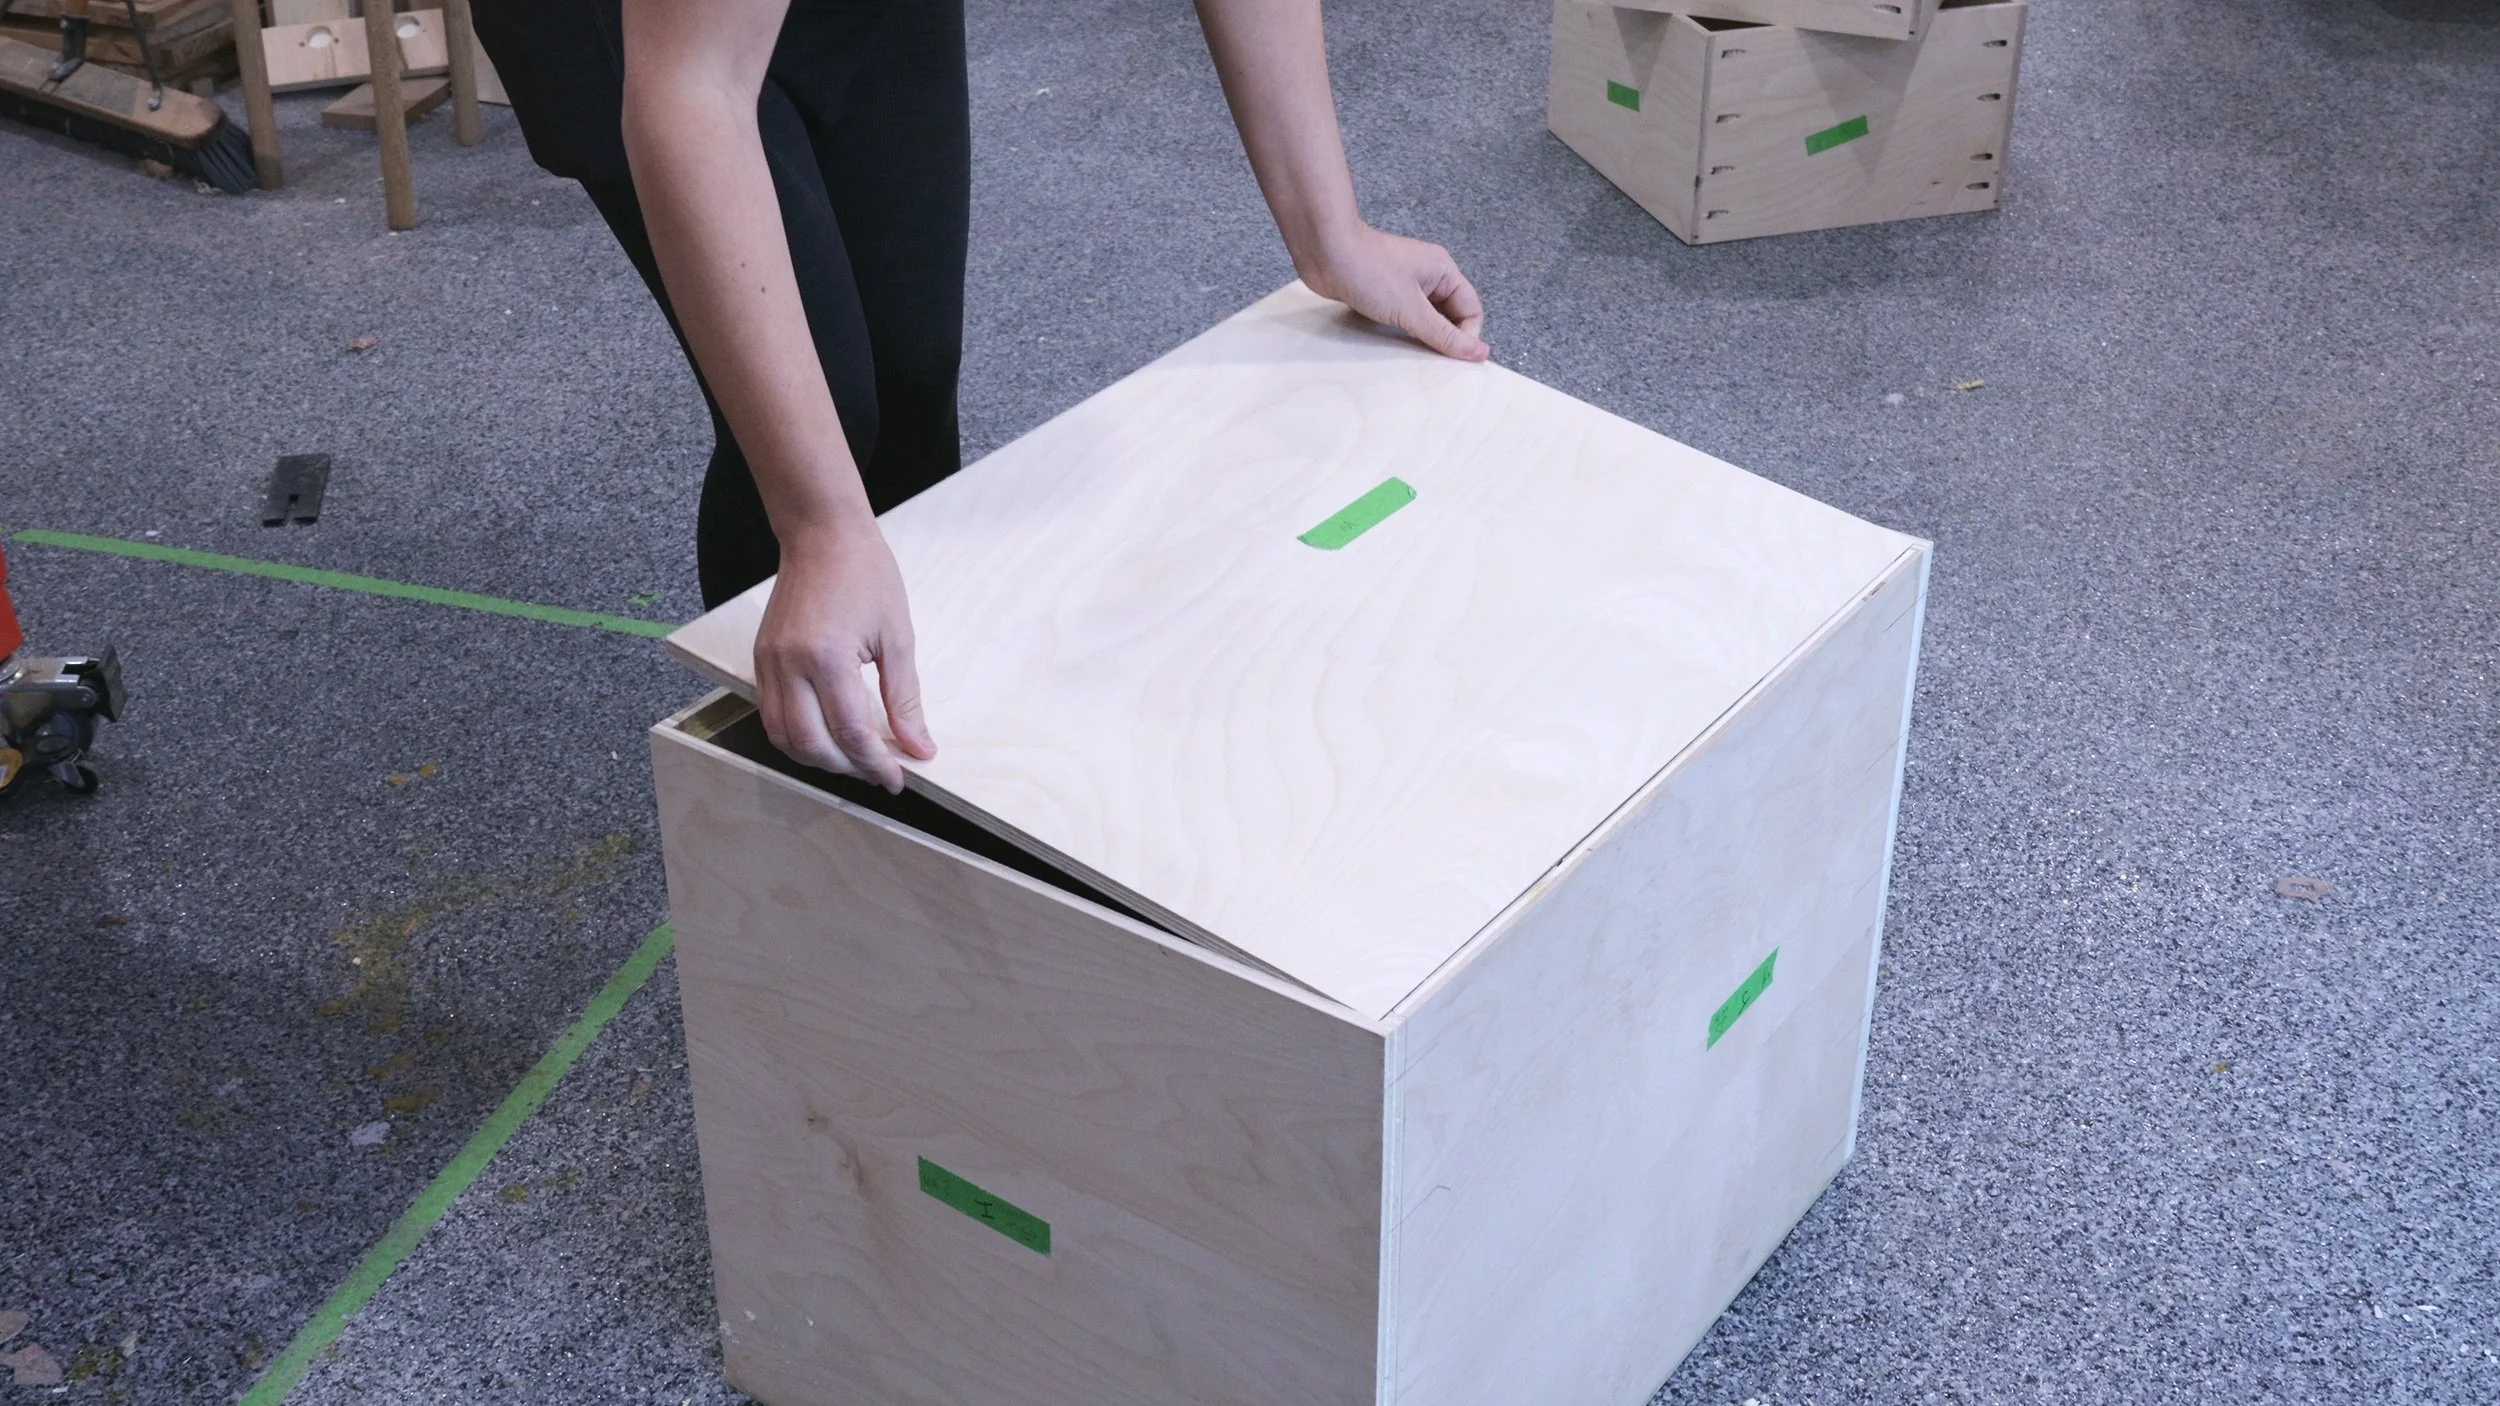
The back of the cabinet will go into a rabbet. This is easy to do after the box is assembled with a rabbeting bit in a router.
The added surface area on my 6-in-1 jig really helps keep the router stable!

The back is then cut to size based on the size rabbet you cut and glued in place.
I chose to paint my cabinet black. I used wood filler to fill in all the exposed engrain, primed and painted.

Next install the drawer slides. I like to use a scrap to keep the slides square and level to each other.
I start from the top and cut the scrap as I move down the box.
More details on how I do this in the full YouTube video linked above.

Next the other part of the slides gets screwed to the drawers. I use a scrap to make sure these are flush with the front.

Then screw it down!

The drawer faces are cut based on the opening of the main box you built.
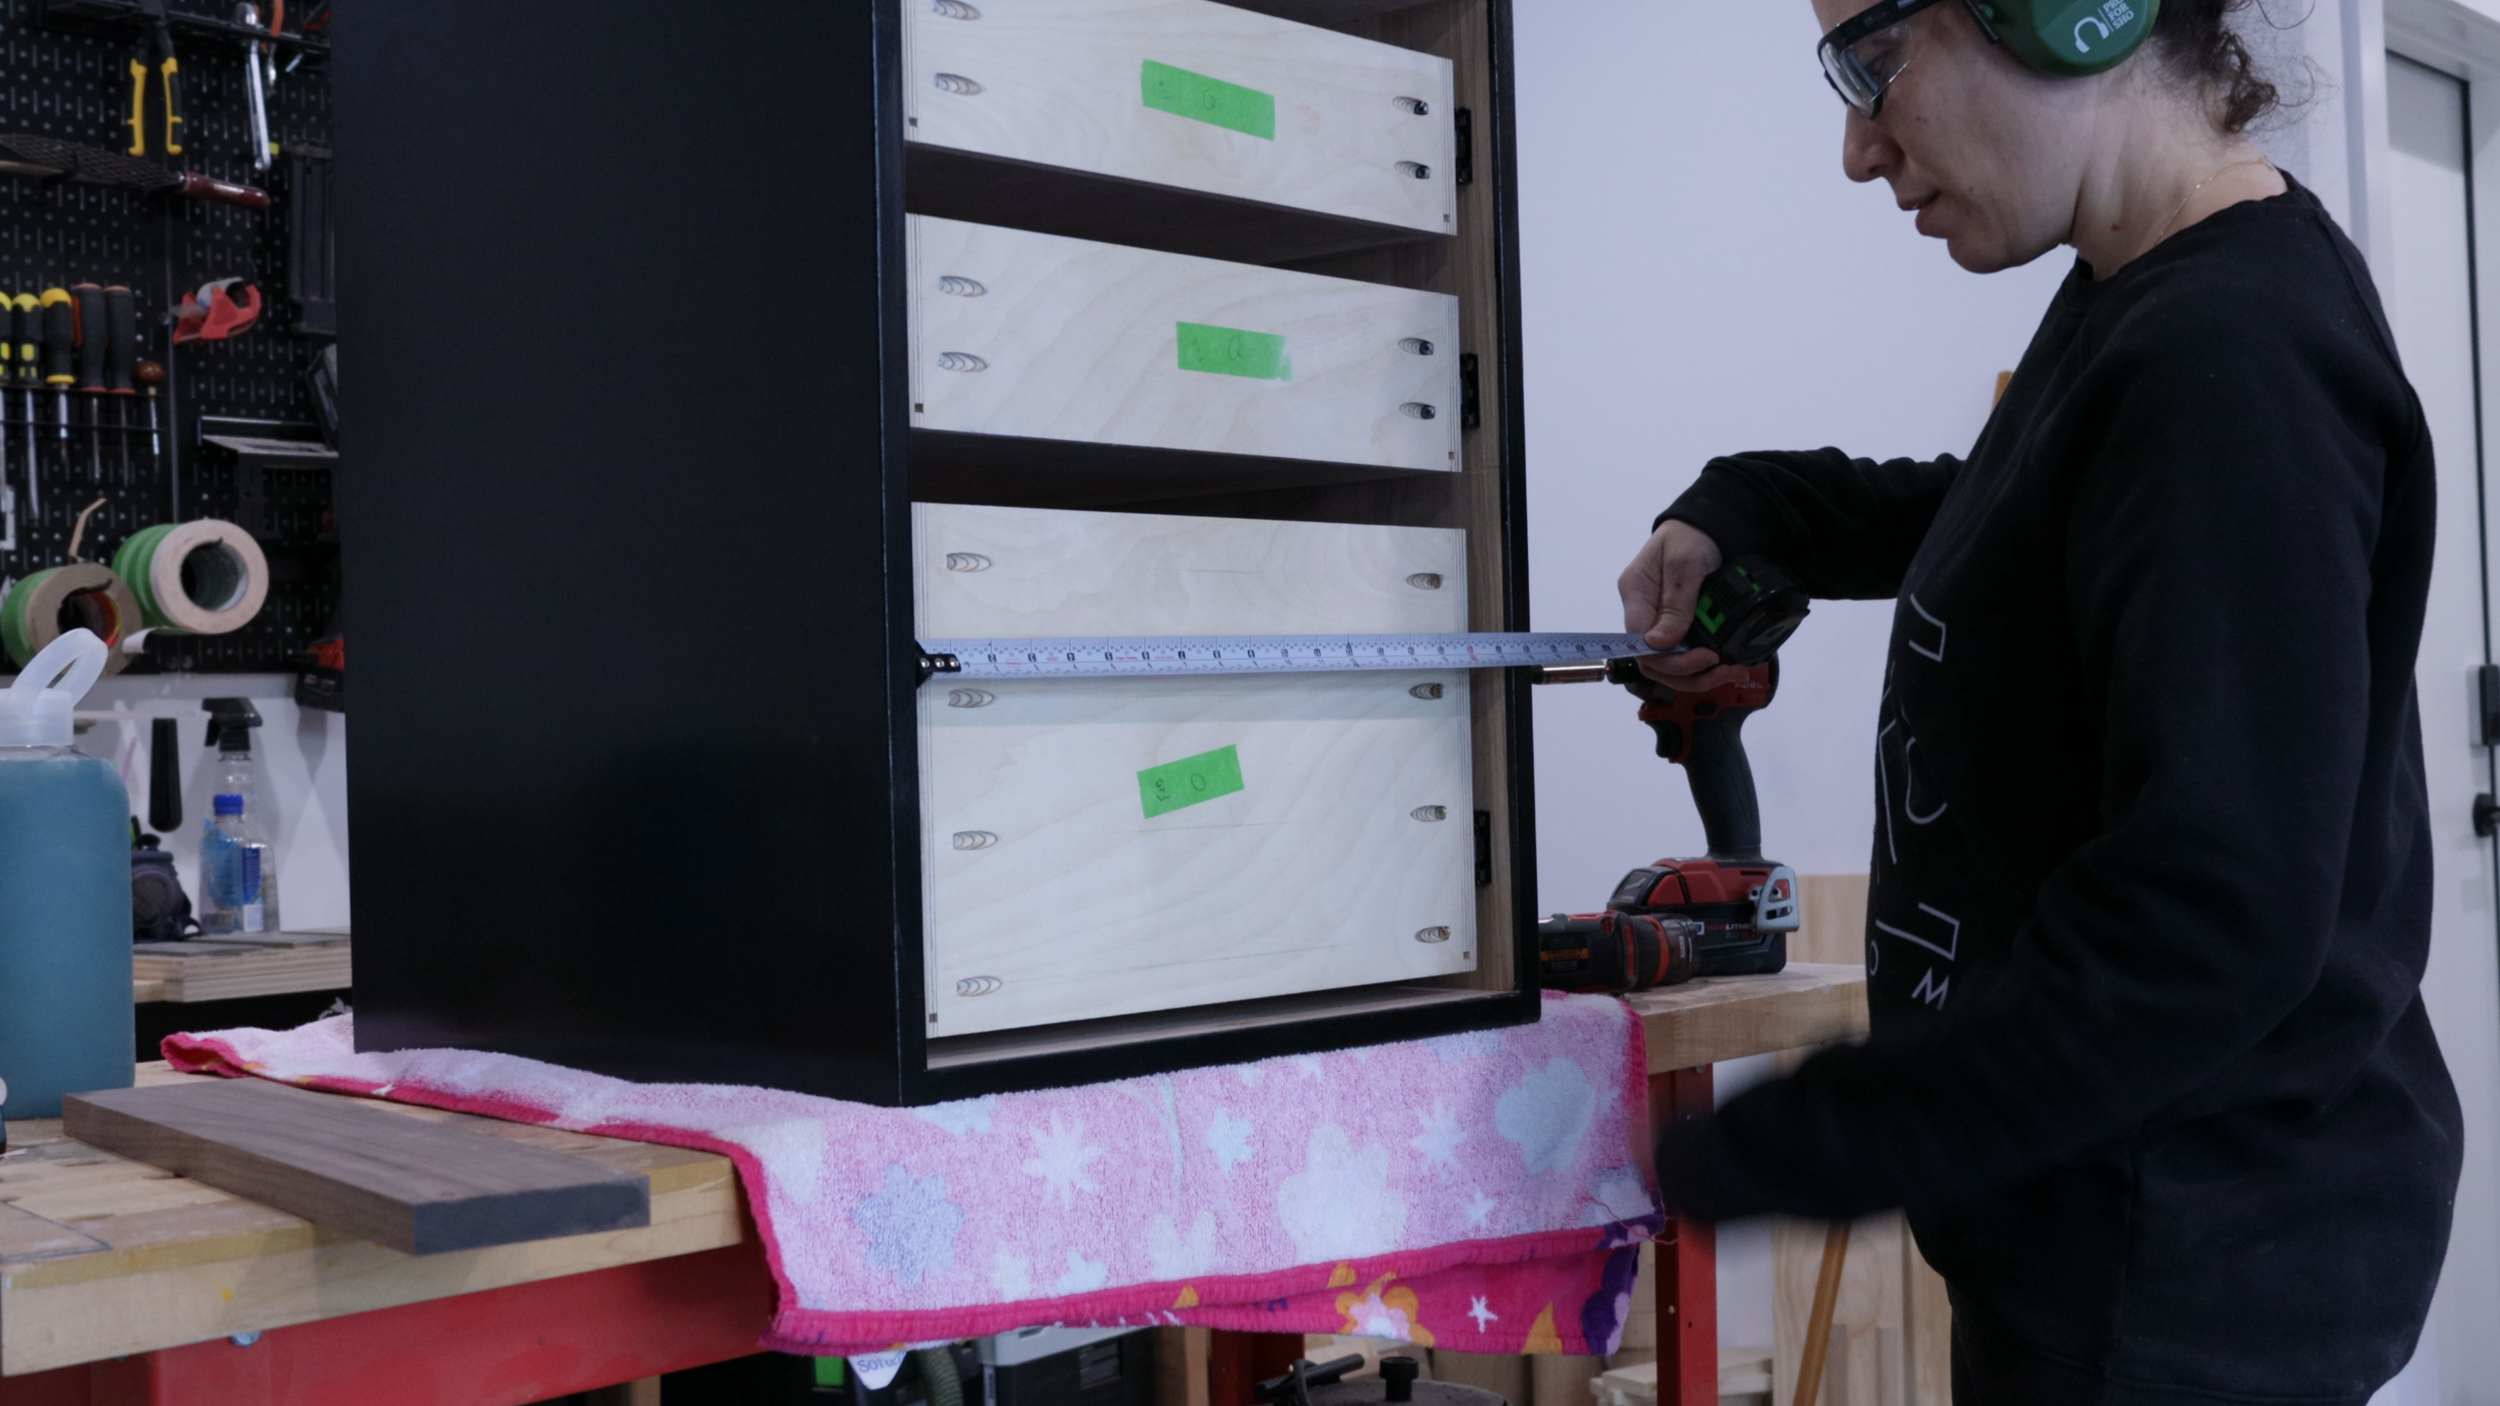
Measure your actual opening, then cut to size!

To install the drawer faces, I drill pilot holes though the front of the drawer fronts.

Then after the face is positioned in a good location, I clamp it down and screw it through the back of the drawer fronts.
Then install the wheels on the underside - 1” CASTERS

That’s all there is to it! Just install the drawers back in place, and you’re done!

The bottom drawer will be the file cabinet portion by placing these 16” hanging file rails on top of the drawer sides. You can find them here - HANGING FILE RAILS FOR FILE CABINET

Hand up your files and it’s done!

I love how this turned out. I love that it rolls around and I could move it around the office.

I can store it under the desk.

Or roll it wherever I need! It is currently sitting in the corner of my office and my printer is living on it.

If you are interested in plans for this Rolling File Cabinet of the Modern Curved Storage Desk make sure to check out SawStop’s website here - MODERN CURVED DESK with ROLLING FILE CABINET
