
Multi Function Cross Cut Sled

Time for a new Cross Cut Sled!
My old sled was the best thing I ever built for my shop, but there was one big problem with it… it was too big! So I decided to create a smaller sled that has the ability to turn into a larger sled with an extension wing.
While I was at it, I decided to add a few more features, the ability to cut 45 degree bevels and an adjustable fence to cut any angle you need!
Check out the full build video below!
WANT TO BUILD THIS SLED?
Download the full plans with cut list here:
Multi Function Cross Cut Sled
WHAT YOU’LL NEED
2 - 24”x30” pieces of 3/4” Baltic Birch plywood
(Or 1 piece of 2’x4’ regular Plywood)
2 - 48” Long T-Tracks
HDPE for runner
Scraps for extension lock
4 - Threaded Inserts
2 - Knobs with studs
Assorted knobs and hold downs for added jig features
Stop Block
First, I ripped the plywood into strips to create the fences.
I cut these wider than the final desired dimension so they can be trimmed to size after glue up.

Then I glued the strips using a level to make sure the fences will stay really straight and flat.

Next I shaped the base, this takes out some of the weight to make it lighter.
This was my first time using a track saw and it totally lives up to the hype.
If you don’t have one, you can use a circular saw, miter saw, jigsaw, bandsaw… etc.

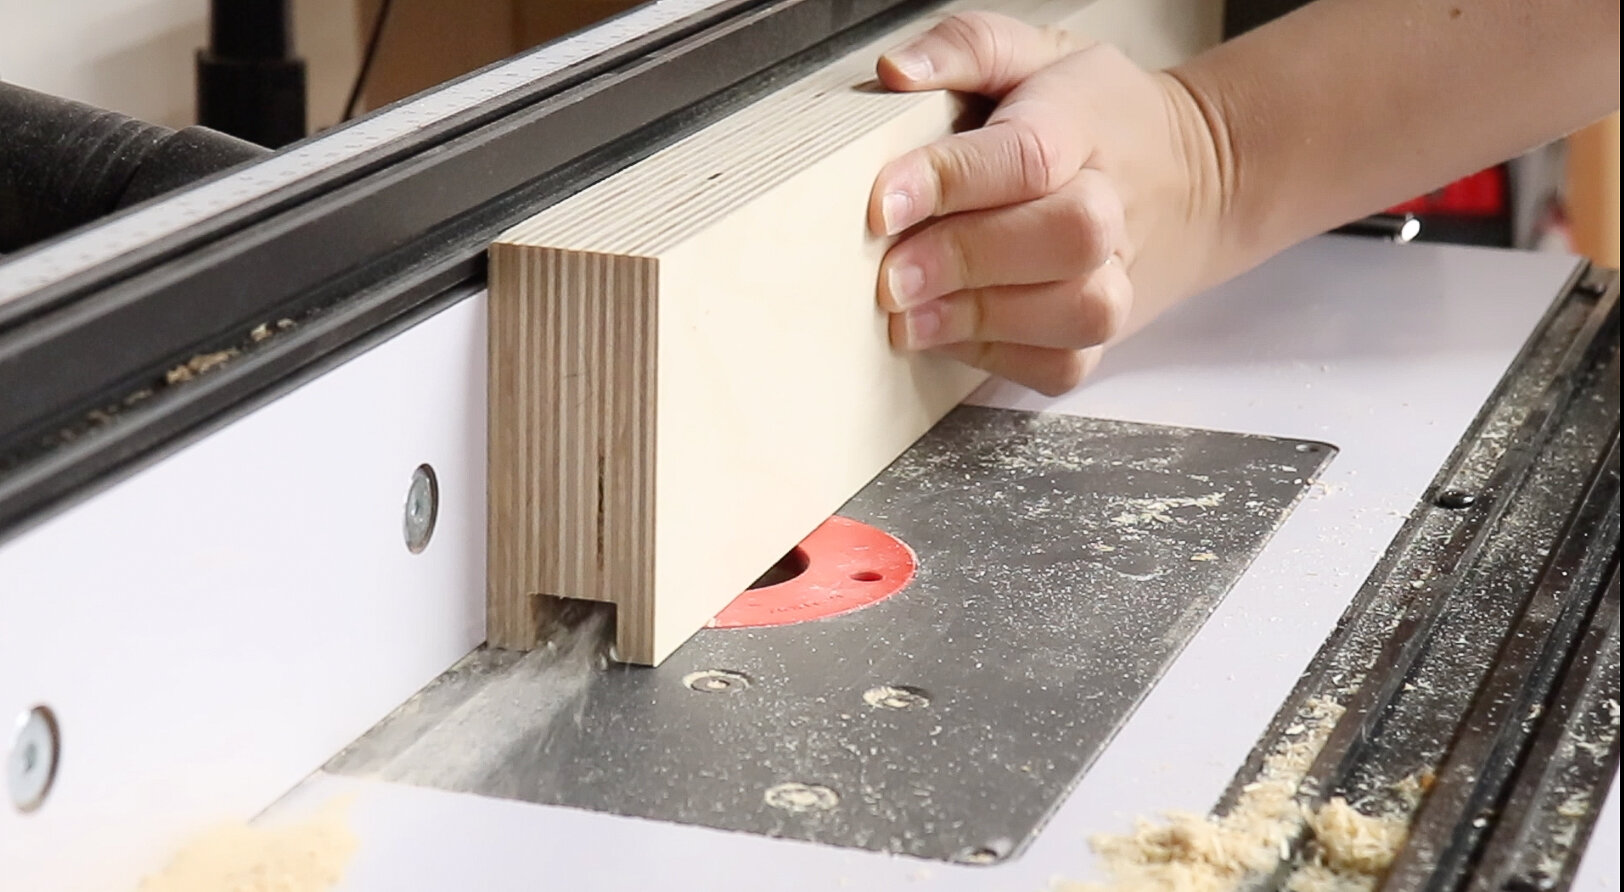
Next I made the dados for the t-tracks using a 3/4” router bit in my trim router.
My folding router edge guide really came in handy here!
But you can also use a dado stack in your table saw or make multiple passes with a single blade to create the dados.

I decided to go with HDPE for the runner because it’s a really stable material, it won’t shrink or expand with the seasons.
I cut it to fit the miter slot and drilled countersunk holes in it.

Used washers to raise it up a bit, then put on double sided tape to temporarily attach it to the base.

I used the fence as a reference for where to place the runner on the bottom of the base.
This location is important because you don’t want the runner interfering with the dado on top where the t-track will go.

I flipped the base over and locked the runner down with screws.

Then cut the t-track to size and installed them in the dados using 5 minute epoxy and screws.

The base is now complete!
After the glue dried on the fences I trimmed them to final size at the table saw and miter saw.

Then, using a 3/4” router bit in my router table, I made the groove in the tops of both fences to fit the t-track.
This can also be done on the table saw.
I cut the t-track to size and then attached it to the fences using screws.

Note, to make it easier to line up the extension fence with the main portion of the sled, I offset the t-track a bit when installing it.

Then I cut the base for the extension piece to size.

And used a slot cutting bit in my router to create alignment slots for the extension wing.

Then cut and shaped some scrap material to size so that they fit in those slots. Kind of like elongated biscuits.
This could also be done with dowels or a biscuit joiner.

I glued my homemade biscuits into the slots only on the extension portion of the base and fence.

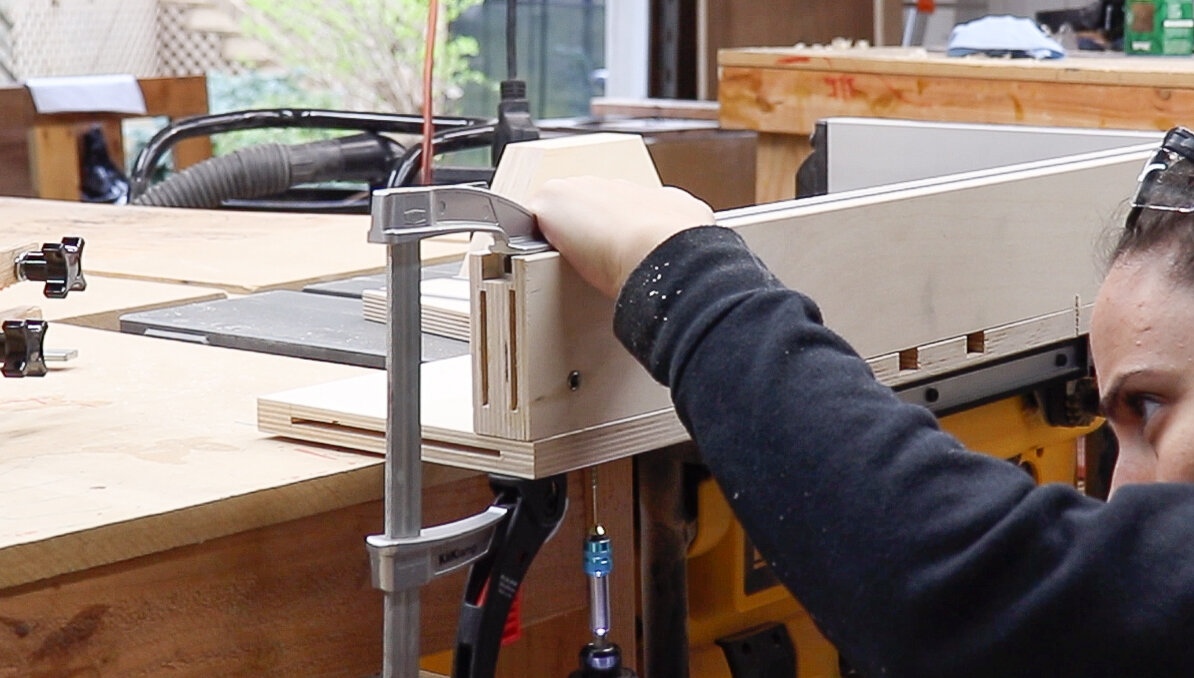
The extension fence is now aligned because of the biscuits but it needs a way for it to lock in place.
I cut some oak strips and screwed them to the back of the extension fence, making sure there was some overhang on the side.

Then I lined up the extension fence with the main fence and clamped a level to both pieces to make sure they were fully parallel to each other.
Then drilled two 3/8” holes straight through the oak strips into the main fence.
It’s quite possible that I over-engineered this part though… I think just one piece of hardwood would be sufficient for the extension lock.

Next I installed threaded inserts into those holes on the fence.

And into the oak strips.
Now the locking mechanism is done!
I put threaded inserts into both parts, but stacking threaded inserts like this is not really suggested. If the pieces aren’t fully flush with each other they won’t tighten because there will be a gap between the threaded inserts.
So when I install the extension wing, I make sure the oak strip is fully flat against the plywood fence before tightening the knob.

Just a few more finishing details before assembling it all!
I added a chamfer to the bottom front edge of the fences to catch sawdust and make the cuts more accurate.
And used a round over bit on all the edges that will be touched for a better feel.

Time to assemble it!
I started with the back fence. This does’t need to be square, it is just there to hold the two halves of the sled together and keep it stable.
(I cut angles on the sides of it just for aesthetics, I thought it looked cooler. Ha)

Once clamped I flipped the sled over, predrilled holes and locked it down with screws.

Then I cut through the sled stopping just shy of the front.

The best way to square up the front fence is to only install one screw on one side of the fence.

Then line up a square to the cut line made in the previous step and pivot the fence until it looks perfectly square.

Once the fence looks like it is square to the kerf cut in the bottom of the base, lock down the other side of the fence.
Make a few more tests cuts to make sure the fence is actually square, then add more screws all along the fence to lock it down further.
Now that I know the main fence is square to the blade I can set the extension fence for square.
I locked the extension fence in place using the threaded inserts and knobs.

Then I clamped a level to both fences to make sure it stayed really flat and square.

Clamped the extension fence to the extension base and locked it down with screws.

Next up is the bevel feature!
I set my blade to 45º.

Moved the sled to the other miter slot and just made the cut!
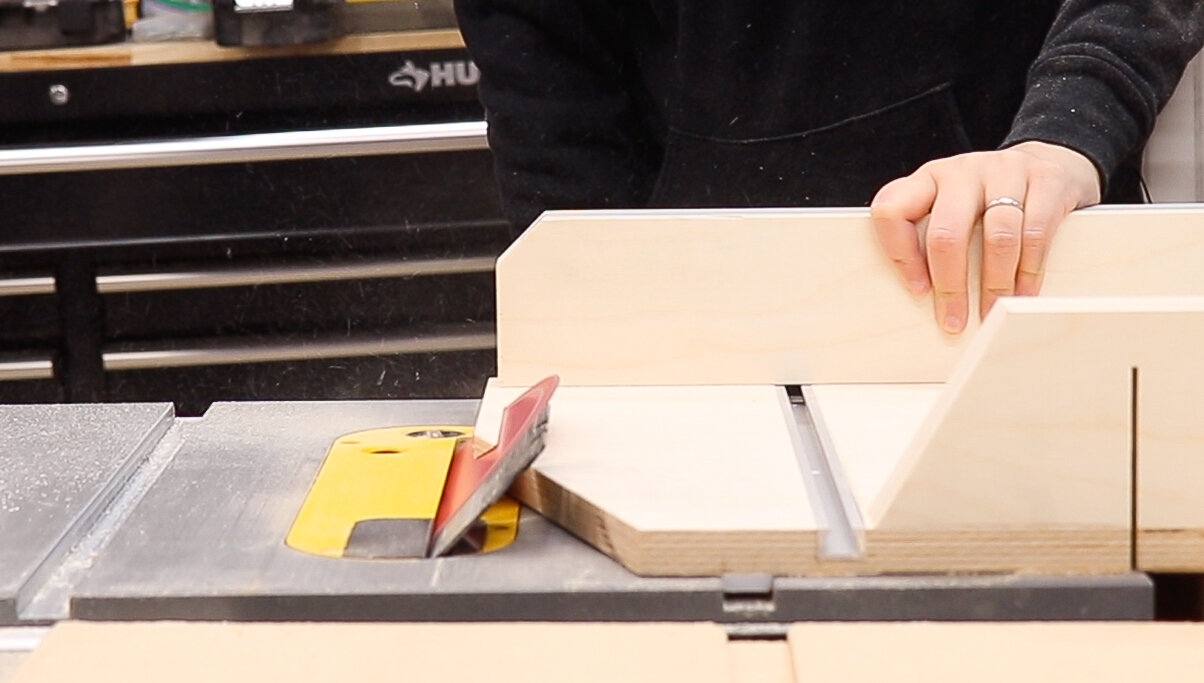
Super easy!
Next I made the adjustable fence jig.
I took some scrap and used a 1/4” router bit in my router table to make a slot in the middle of the boards.
This can also be done with a just a drill and a drill bit.

Then I glued those boards together and the jig is done!
Maybe it would be better to glue the boards together before routing the slot in the center though.
The reason why I doubled up the thickness of this fence was to prevent tear-out on the backside of my workpieces.

Whats cool about it is that once you cut the desired angle on one end, you can use that to lock it in place for future cuts.
And you can precut all 4 corners of the fence to angles that you commonly use by flipping it on its other side.

The last step is to attach a blade guard at the back of the front fence, and it’s done!

Why I love this design:
1) The main sled is light enough for every day use.
2) The extension makes repetitive cuts easy on longer stock.

3) The side can be used to cut long bevels, like for box parts.

4) The adjustable fence can be set to any angle you need for your projects.

Happy Building!
