
Mini Mortising Jig for Loose Tenon Joinery
Loose tenons are an extremely strong joint, but some of the equipment required to make them can get a little pricey… Not anymore! This Mini Mortising Jig is made from scraps and a few little clamps and fixtures. It can even be built in an afternoon!
Check out the full build video below to see how I put it all together.
*Links below are affiliate links, I get a small commission if you click on them at no extra cost to you ;)
GET THE PLANS HERE!
MINI MORTISING JIG PLANS
WHAT YOU’LL NEED
Dovetail Track Hardware with Knobs
Threaded Inserts (optional)
Knobs with Stud (optional)
Just a note, the final version of this was created by Mike Taylor from TayTools. While he did not sponsor this project, you can help support what he does by purchasing some of the hardware for the jig using the links above.
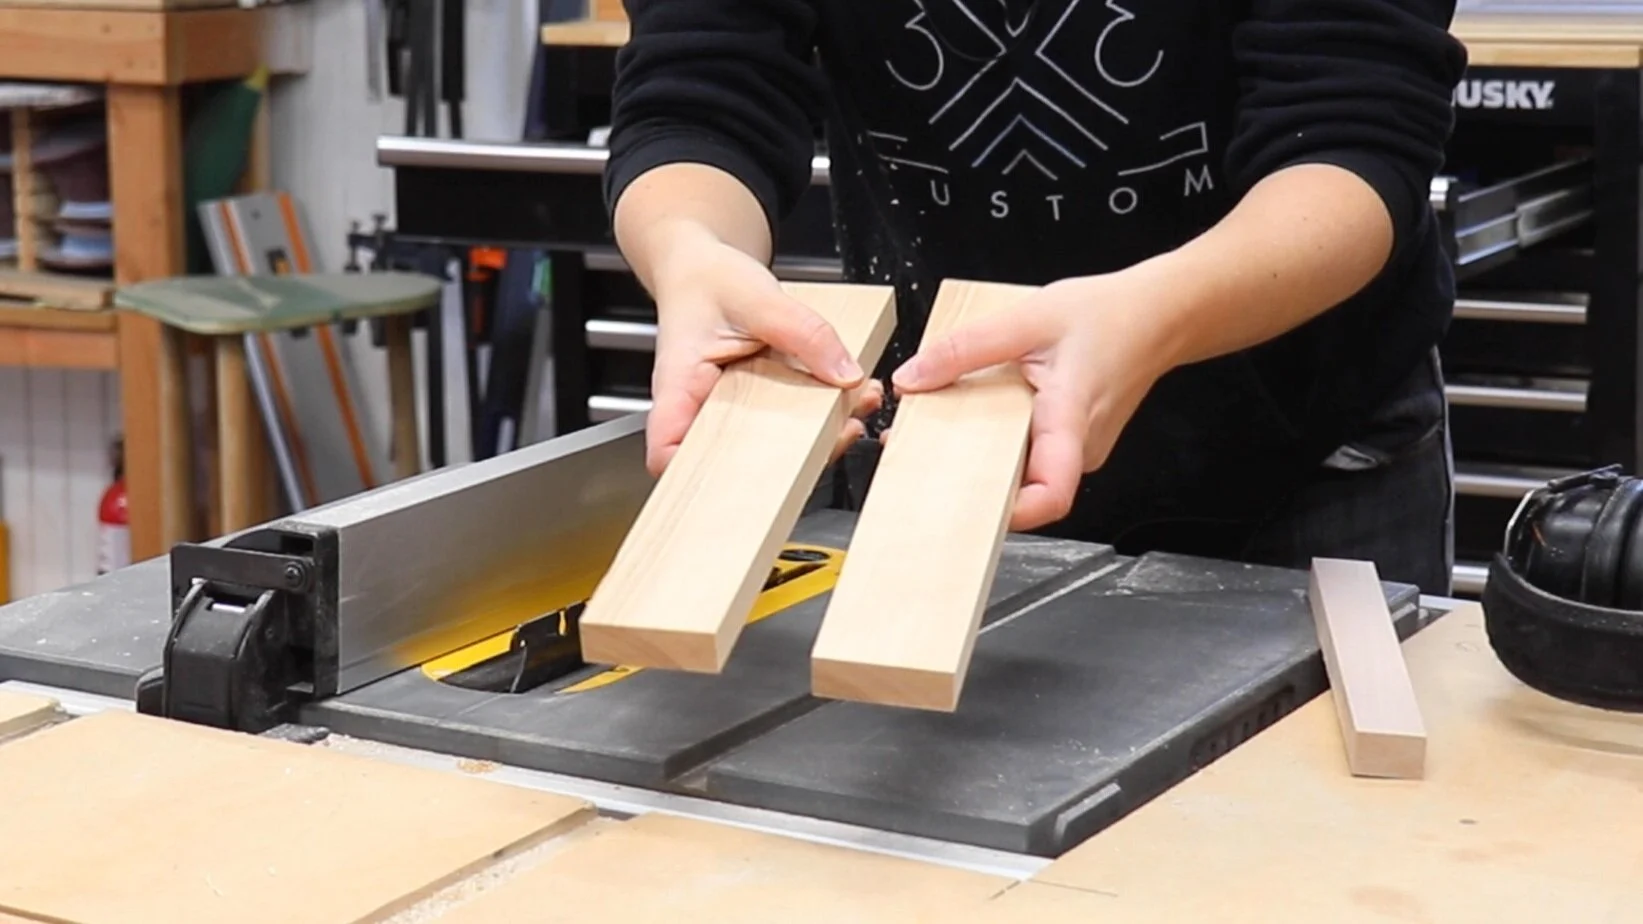
The first thing to do is work on the platform by cutting all the pieces to rough length.
Cut them oversize for now, they will be trimmed to final length after glue-up.

Then rip to rough width! Again, this is oversize for now.

You should have 2 pieces at rough length and width for the platform. Their dimensions don’t need to be perfect at this point.
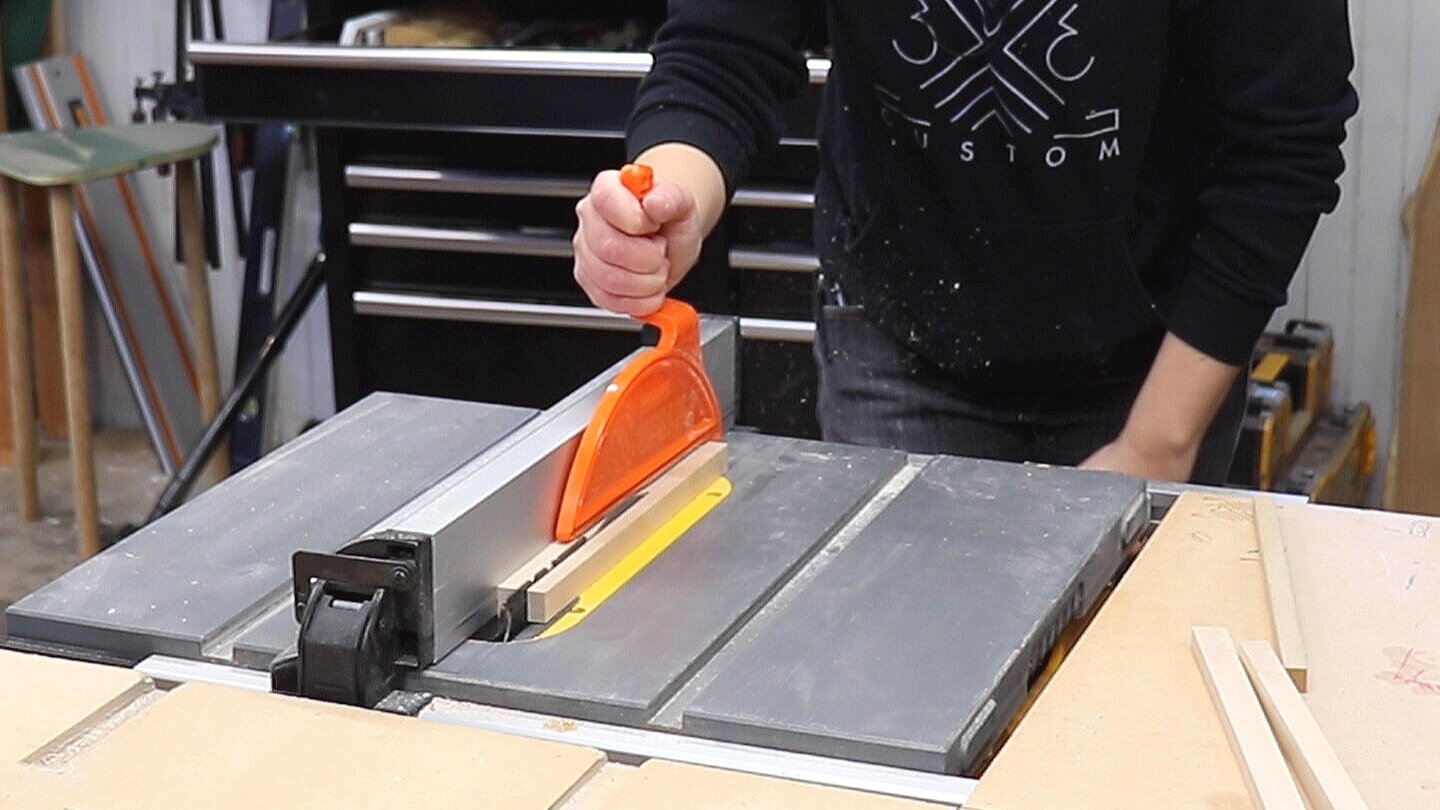
The next piece on the other hand needs to be very precise…. This is the spacer that will determine the opening in the jig. This piece needs to be the exact width of the guide bushing you plan on using so there is no slop in the jig.
To get this piece to be the exact width of the guide bushing you are using, use some calipers!

Then bring that measurement over to the table saw and set your fence. Easy enough!

Before cutting the actual piece, do some test cuts on scrap wood to dial in the perfect thickness.
Once you have that dialed in, you can rip the actual piece and then cut it in half to create two spacer pieces.
Temporarily clamp all the pieces together and test fit the guide bushing one last time to make sure there is a tight fit before glueing anything together.

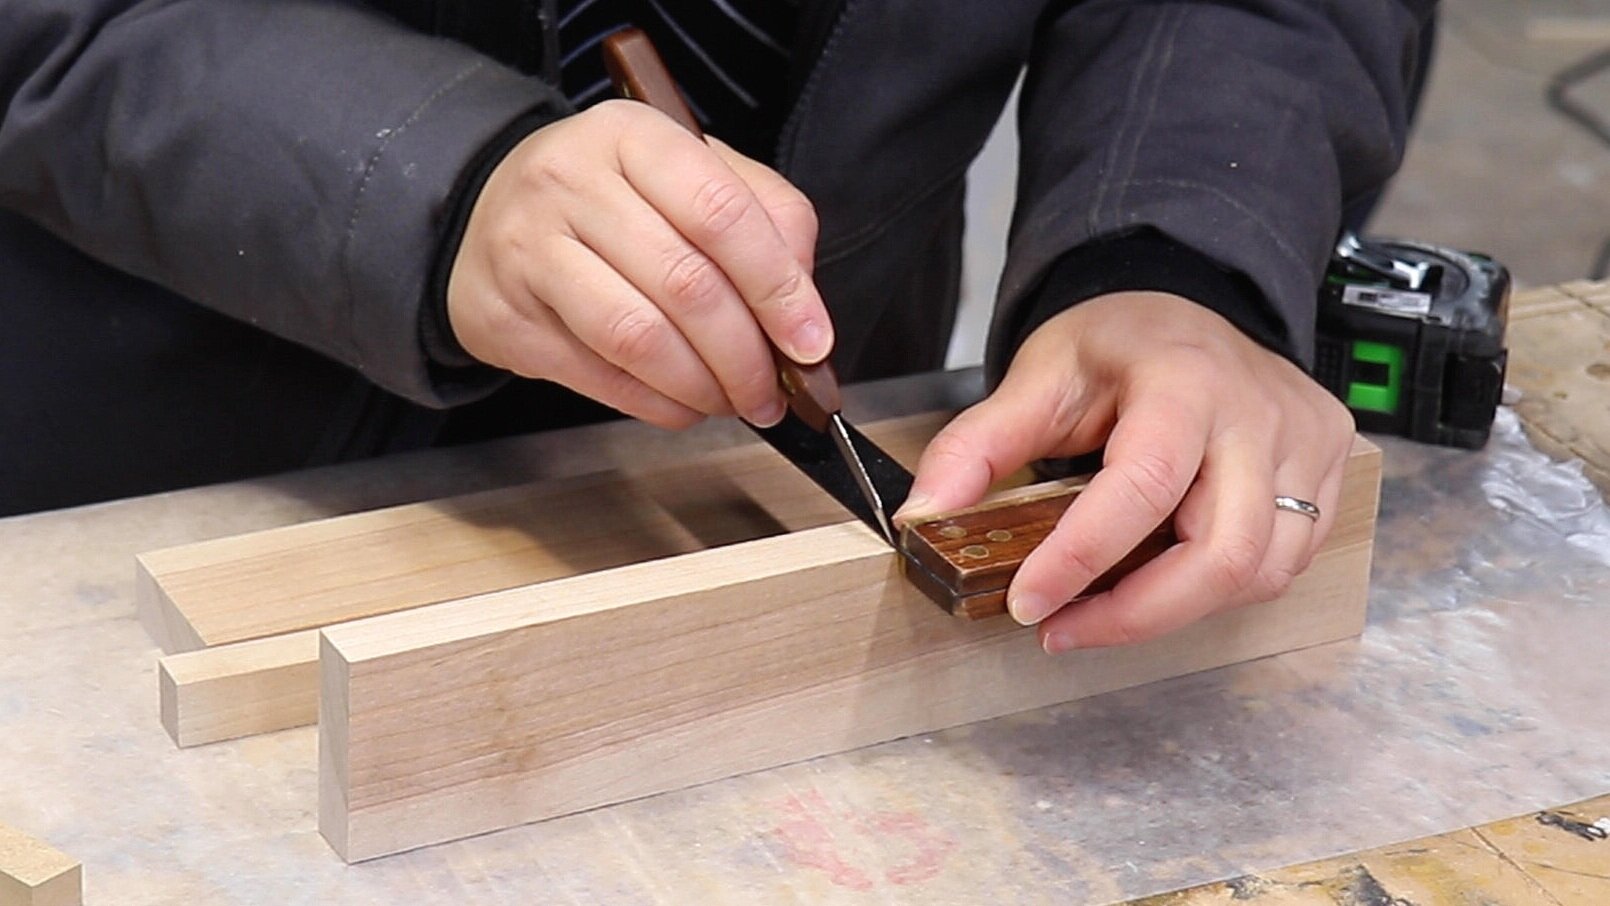
Another thing to do before glue up is to score a center line in one inside edge.
This is just easier to do now before it is all glued together.
Use a marking knife, then fill it in with pencil or pen so you can see it very clearly.
This center line will be useful when actually using the jig.
The opening in the middle of the jig should be 4” long.
You can use one of your test scrap pieces from earlier, cut to 4”, as a perfect spacer when gluing it up.
You can also mark a center line on that scrap spacer and line it up with the center line you scribed on the inside edge of the platform piece to make sure everything is glued up where it should be.

And just clamp it on up!

While the glue is drying on the top platform you can start to work on the fence piece.
Trim it to rough length and width at this point in anticipation of tear out from the router bits.
(If you don’t have thick enough material, you can glue up some pieces to make a beefy fence.)

All the clamps and fixtures are going to attach to the jig using special hardware that has a dovetail shape on them. These Dovetail Slots are very easy to cut with a Dovetail Router Bit. The Microjig bit has a 1/2” shank but there other brands that make dovetail bits with a 1/4” shank, so you can use your trim router to make this as well.
And if you don’t have a router table, you can just use a router with an edge guide set up.
These cuts DO NOT need to placed perfectly, they are not an integral part of making the jig work squareness wise, so don’t worry too much about getting the exact location of these.
To avoid tear out though, there is an optimal order of operations.
Make the shorter slots going ACROSS THE GRAIN first.

Then route the long slots going WITH THE GRAIN second.
This is the best way to avoid tear out in the middle of your board.

Now that the slots are routed, you can cut it to final length and width by taking off the same amount of material from either side.
The squareness on the end-grain doesn’t matter much, but you will want to make sure those edge grain cuts are perfectly square to the face where the slots are routed.

At this point, the glue is probably dry on the platform, so you can mill it to it’s final 1/2” thickness and use the fence as a reference for how long to cut it.

And cut it to it’s final length.
Don’t cut it to width yet!

The platform gets those same dovetail slots, one on each end of the board.

There will be tear-out on those cuts! So wait till after you route the slots to cut it to it’s final width.

In order for the jig to work properly, the distance from the edge to the opening needs to be consistent through it’s length.
So use some calipers to make sure all the edges are parallel. If they aren’t, just a few quick passes with a handplane can fix that.

Add a center line along the bottom of the platform using the center line you already scribed on the inside edge before glue up as a reference.

Fill in the scribe line with some pencil so you can see it more easily.

A center line also needs to be scribed along the length of the bottom of the platform.
This can be done with a wheel marking gauge, and you know it will be perfectly centered if you reference both edges.
Fill those lines in with pencil as well.

Drill and countersink holes on both edges of the platform for the screws that will hold the width stoppers.

Use the actual dovetail slots you routed under the platform as a guide for where to drill though holes on the edge of the fence.
These holes need to line up with those slots since that is how you will be mounting the fence to the platform.

Drill out the through hole from both edges so that they meet in the middle.

Cut the 12” long threaded rod in half and use some Thread Locker to permanently attach it to one of the Dovetail Nuts.
And repeat, you should have two of these to attach the fence to the platform.

Route slots in some more 1/2” thick material to use as the width stoppers. And it’s basically done.

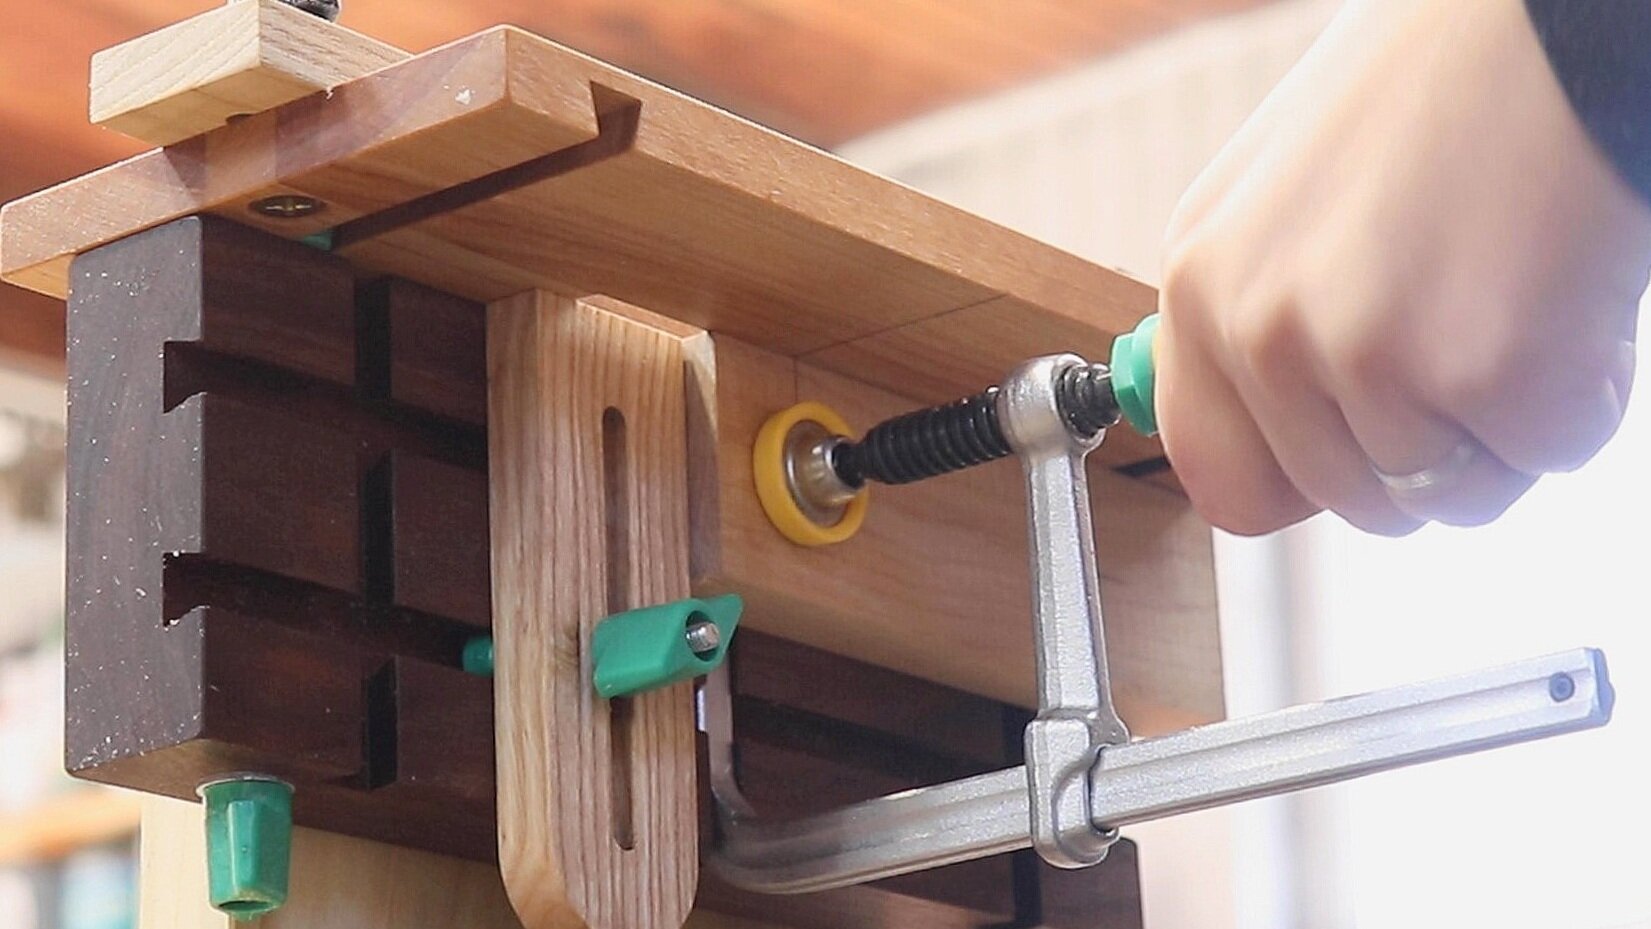
This step is optional, but it is a cool way to mount the jig for hard to clamp situations.
Install some threaded inserts into the back spaced about 5” apart.
You will then have to make a separate board that has two corresponding slots in it for clamping.

It’s done and ready to be used!
To assemble it, place the Dovetail Nuts with the glued on threaded rod into the dovetail slots on the underside of the platform. Then place the fence on those rods and loosely lock it into place.

HOW TO SET IT UP
STEP 1 - SET THE OFFSET
This offset will determine the distance between the edge of the workpiece to the center of the mortise.
Typically a mortise is made in the center of a workpiece, so the offset is usually set to half the thickness of your workpiece.
For example, if you are using 3/4” thick material, you will set your offset to half that, which is 3/8”.
You can do this in one of two ways…
1) You can use a combo square against the front edge of the platform and adjust the ruler so that the desired offset is past your centerline. Then lock down the knobs.

2) Or, without using any math or numbers, you can simply make a center line on your workpiece and line it up with the center line on the underside of the platform. Then lock the fence in place making sure it is even on both sides.

STEP 2 - SET THE WIDTH OF THE MORTISE
Whether you are using shop-made loose tenons or you purchase them premade, you will have to decide how wide the mortise will be.
The width of the mortise is determined by the placement of the Width Stoppers that are screwed on the top of the platform.

First mark out the desired width of your mortise onto a workpiece making sure to also draw a center line.
Then line up that center line with the center line that is built into the inside face of the jig.

Using a Dovetail Clamp in the dovetail slots, clamp that piece to the fence.

Now, remove the guide bushing from your router baseplate so you can easily see the router bit.
Slide the router over so the edge of the bit lines up with the edge of your desired mortise width.

Then lock down one of the width stoppers on top of the platform.
Repeat the process for the width stopper that is on the other side of the platform.
Just an FYI, the width of this mortise should be ever so slightly wider than the width of the loose tenon you plan on using.

STEP 3 - SET THE DEPTH OF CUT
Typically the depth of the mortise will be a little bit deeper than half the length of the loose tenon you are using to make room for some glue.
You can easily set this up using the depth stop function on your router base.
Plunge the router down until the router hits your workpiece. Then use a spacer bar, like brass set up bars or just a scrap of the correct thickness to set the depth setting.

Install the guide bushing back on your router baseplate and it’s ready to be used!
If you are working with multiple pieces, you only need to do this set up process one time!

HOW TO USE THE JIG
Mark a line that goes across both pieces you want to join together.

Line up the center line from one of your workpieces with the center line that is scribed on the underside of the jig.

Clamp it into place!
If you are routing multiple pieces for a project you can add stops to the fence so all the mortises will be routed in the same exact location on all your parts.

Just route away! But do not go full depth all at once.
Slide your router to one side, then plunge to full depth making a starter hole. Bring the router back up and slide it to the opposite side, plunge it all the way down to make a stopping hole. Now you can connect those two holes by taking shallow passes until the whole mortise is routed.

Now clamp the mating piece to the fence by using the center lines again or by using the a fence that you set up.
And repeat the process!

If done correctly, the loose tenon will be perfectly placed to join the two pieces. Awesome.

If you make additional fence pieces that are rounded on one end, you can even make positive stops for angled pieces.

And you don’t need the optional attachment at all. You can just clamp your workpiece to a vise and then clamp this jig onto your workpiece.

Or you can simply clamp a board to your bench then clamp the jig directly to that board.
Notice the picture below how you can also use the tracks in the bottom of the platform for clamping down a workpiece.

There are so many more clamping options that I didn’t even cover here, so many features are packed into this small little jig!
