Easy DIY Moxon Vise

A Moxon Vise is an essential tool when you start working with hand tools. It clamps on to your workbench so you can cut joinery into the ends of your workpieces. When you’re done using it, you can take it off your bench and easily store it away!
This Moxon Vise is really easy to make, but the best part, the hardware only costs $40! You can check out the hardware kit here - Moxon Vise Hardware Kit
Check out the full build video below to see how easy it is to make!
*Links below are affiliate links, I get a small commission if you click on them at no extra cost to you! Thanks!
The Moxon Vise hardware kit comes with an instruction booklet with everything you need to know to make your own Moxon Vise. You can customize it based on your height or what kind of wood you have. The options are endless, but I will share the dimensions I decided to go with….
The Vise is made up of 2 parts, a front jaw and a rear jaw.
The front jaw should be between 3/4” and 1-1/2” thick, 23-1/2” long and at least 4” tall.
The rear jaw should be at least 1-1/2” thick, 29-1/2” long and at least 4” tall.

Cut the boards to size.
Cutting the front jaw at 23- 1/2” will leave a gap of 18” between the rods, which is plenty of space to work with.
If you need a different size for the work you do, you can change this dimension. Just cut the front jaw to whatever length you need and add 6” to the back the jaw for the clamping tabs.

The height of the vise depends on how tall you are or how tall your workbench is. Anywhere from 4”-6” should work.
I am short, so I went with 4”. IF you are taller, make it taller…

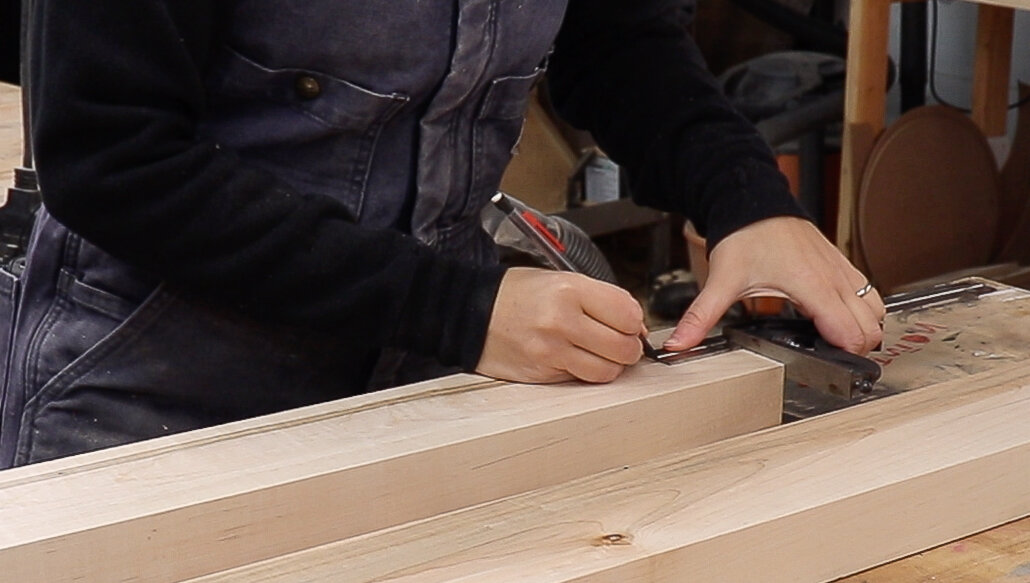
Mark out the holes for the rods!
Mark the center of the boards lengthwise on both ends. My boards were 4” wide, so the center was 2” in from the edge.

Then mark 2-3/8” in from the end of the front jaw on both sides.
Transfer that line onto the rear jaw.
(This line is really 5-3/8” from the ends on the rear jaw because of the 3” clamping extensions, it’s just easier to transfer the line than to measure it. Just make sure the overhang on the rear jaw is the same on both sides before transferring the lines.)

On the front jaw, mark 1/4” from either side of the 2-3/8” marks.
This will create an oval hole that will allow the front jaw to pivot so you can clamp angled or tapered parts.

This is what the marks on the front jaw should look like:
1 line marking the center of the board (the horizontal line below).
1 line at 2-3/8” away from the end on that center line (the vertical line below).
2 marks on the center line that are 1/4” away from both sides of the 2-3/8” line.

Using a 3/4” forstner bit, drill all the way through the board on both of the 1/4” marks.
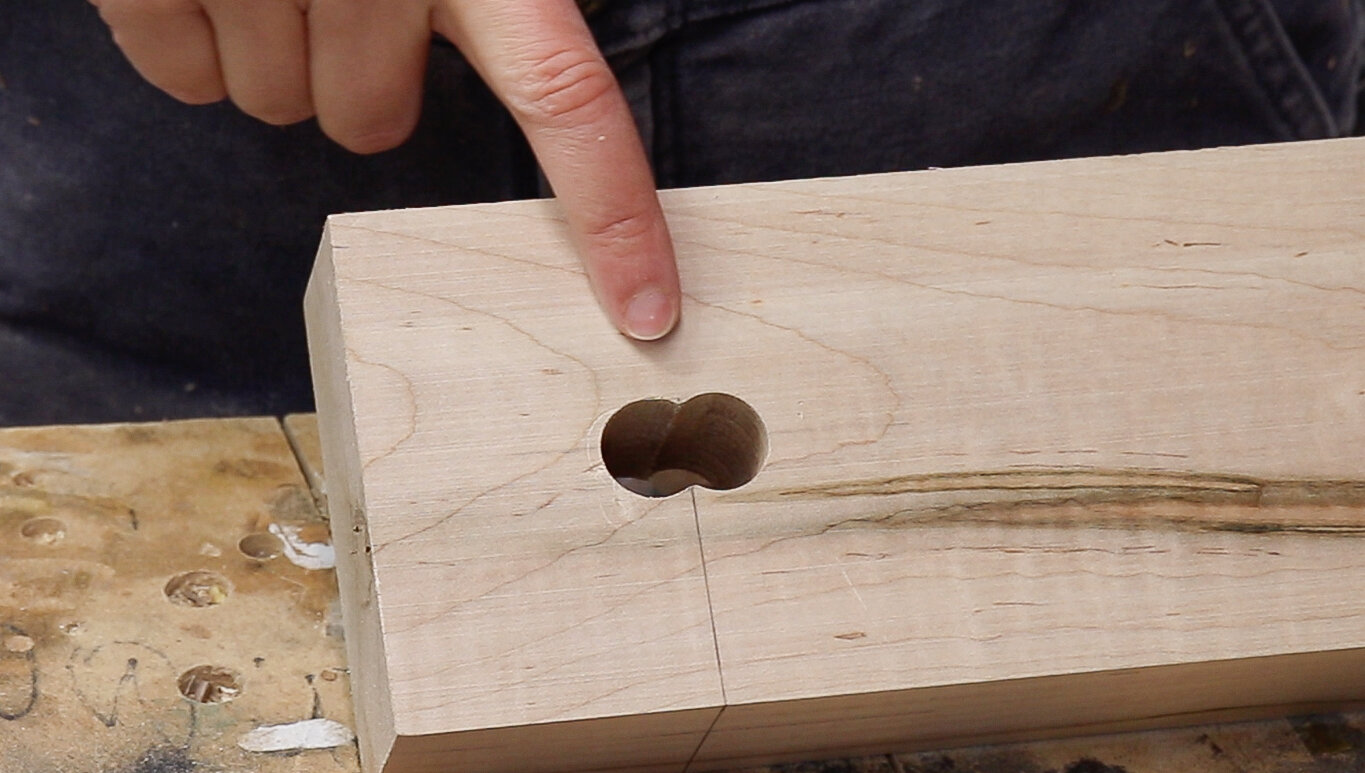
Then use a chisel to connect the 2 holes making an oval.

Moving on to the rear jaw!
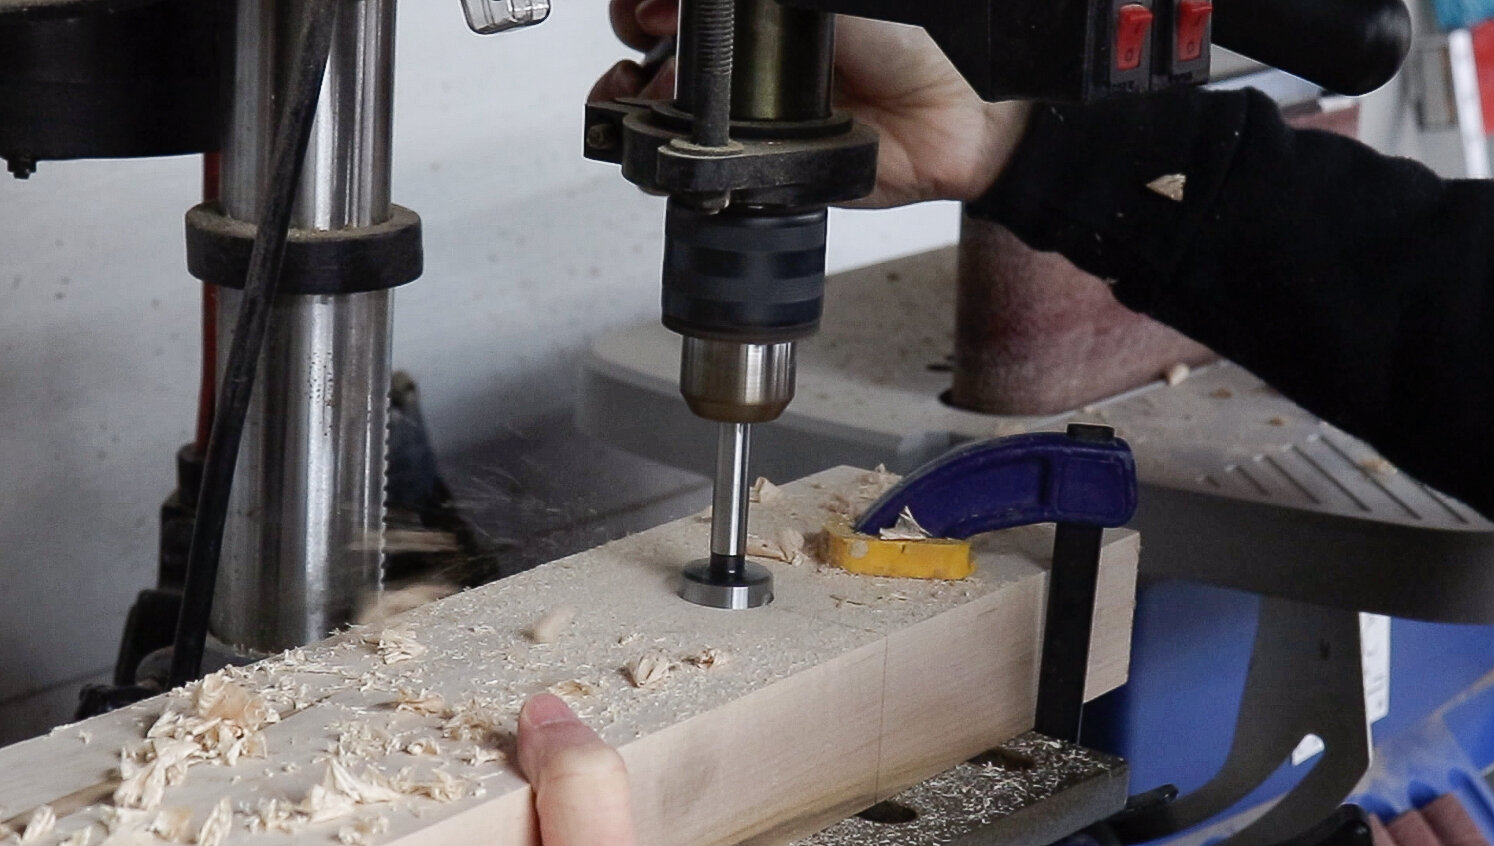
Using a 1” forstner bit, drill a hole that’s just a tad deeper than the thickness of the nut from the kit. This larger 1” hole should be on the inside face of the rear jaw.
Then swap to a 3/4” forstner bit and drill all the way through the board towards the outside of the jaw.
To recess the nut into the board, thread it onto the rod and put the rod into the 3/4” through hole you just drilled out.
Now you can easily scribe around the nut knowing it will be in the right location.
(The nut is being recessed on the inside face of the rear jaw.)

Now just use a chisel to hog out all the waste! This part was really fun!

All the hard parts are done! Just a few small little details left!
I cut a bevel on the top front face of the front jaw. This is so that I could use a handsaw for cutting things like half blind dovetails without the jaw getting in the way.
This step isn’t necessary, nor is it precise. I just chose a random angle at a random distance that I thought looked good…

Same thing with the clamping tabs, there are a few options here, I measured the heads of my clamps and cut off that amount at 3” in from the end.
I started the cut on the table saw, and finished it with my hand saw because my table saw blade wouldn’t go high enough.
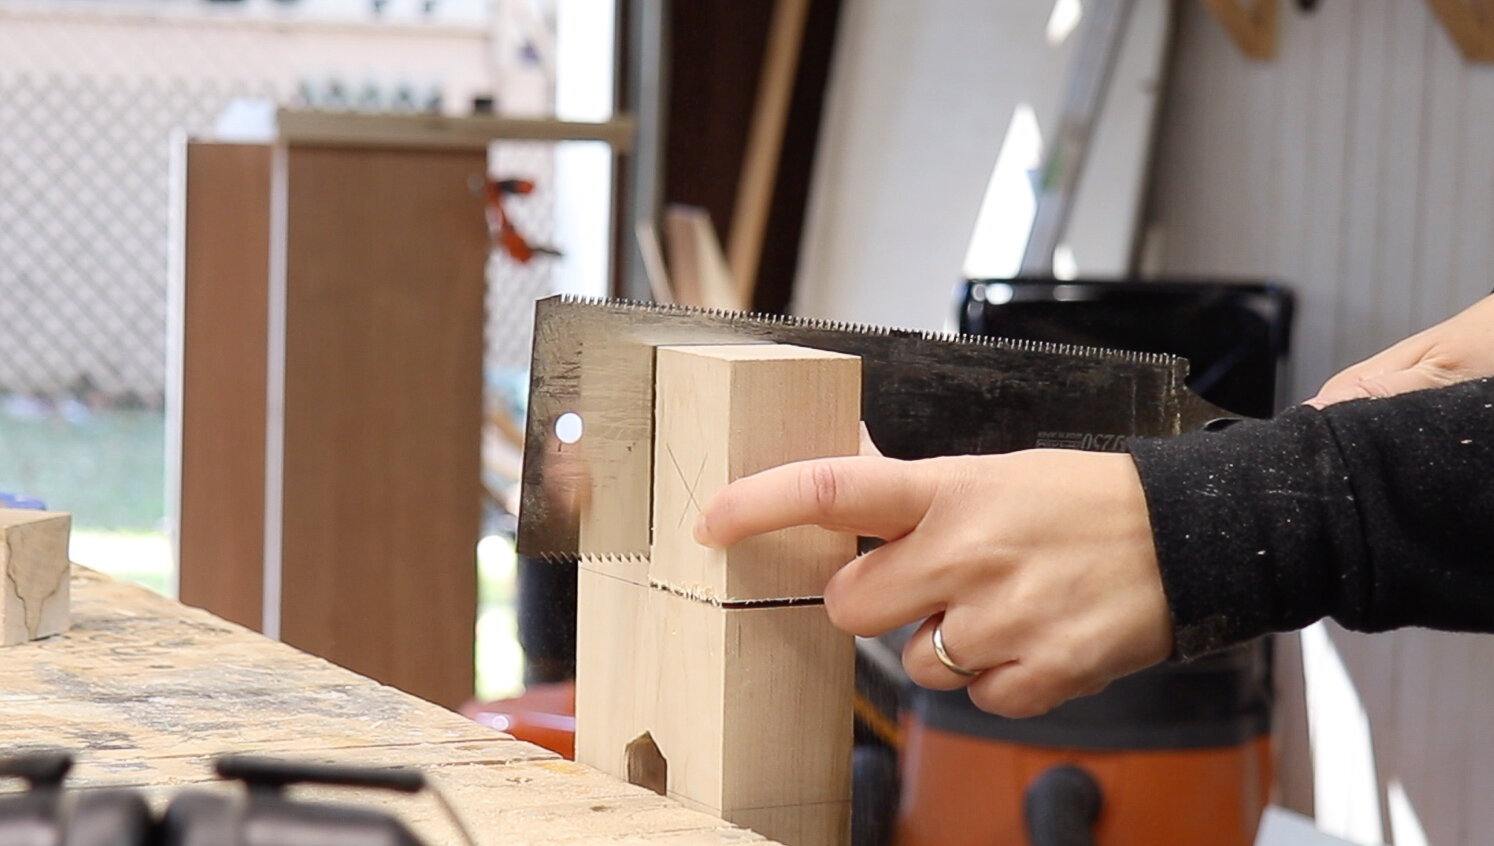
Then cleaned up the cut with a chisel.

The steel in this kit is untreated so it might rust if left in a humid shop.
I sprayed some WD-40 long term corrosion inhibitor on all the parts to prevent them from rusting.

Then finished all the wood parts with some Danish oil.
I didn’t finish the inside faces of the jaws to maximize clamping pressure.
(You can also line the insides of the jaws with leather, cork or “crubber” to help with holding power.)

To make lining up the vise with my workbench easy, I screwed on some tabs that will be used as a positive stop.

The tabs make it easy to line the inside face of the rear jaw with the edge of the workbench and you can fold them away if you ever need to.

Thread a nut onto the rod and place it in the holes that were chiseled out on the inside face of the rear jaw.

Keep threading the rod until it is protruding out the back of the rear jaw and lock it down with a washer and another nut.

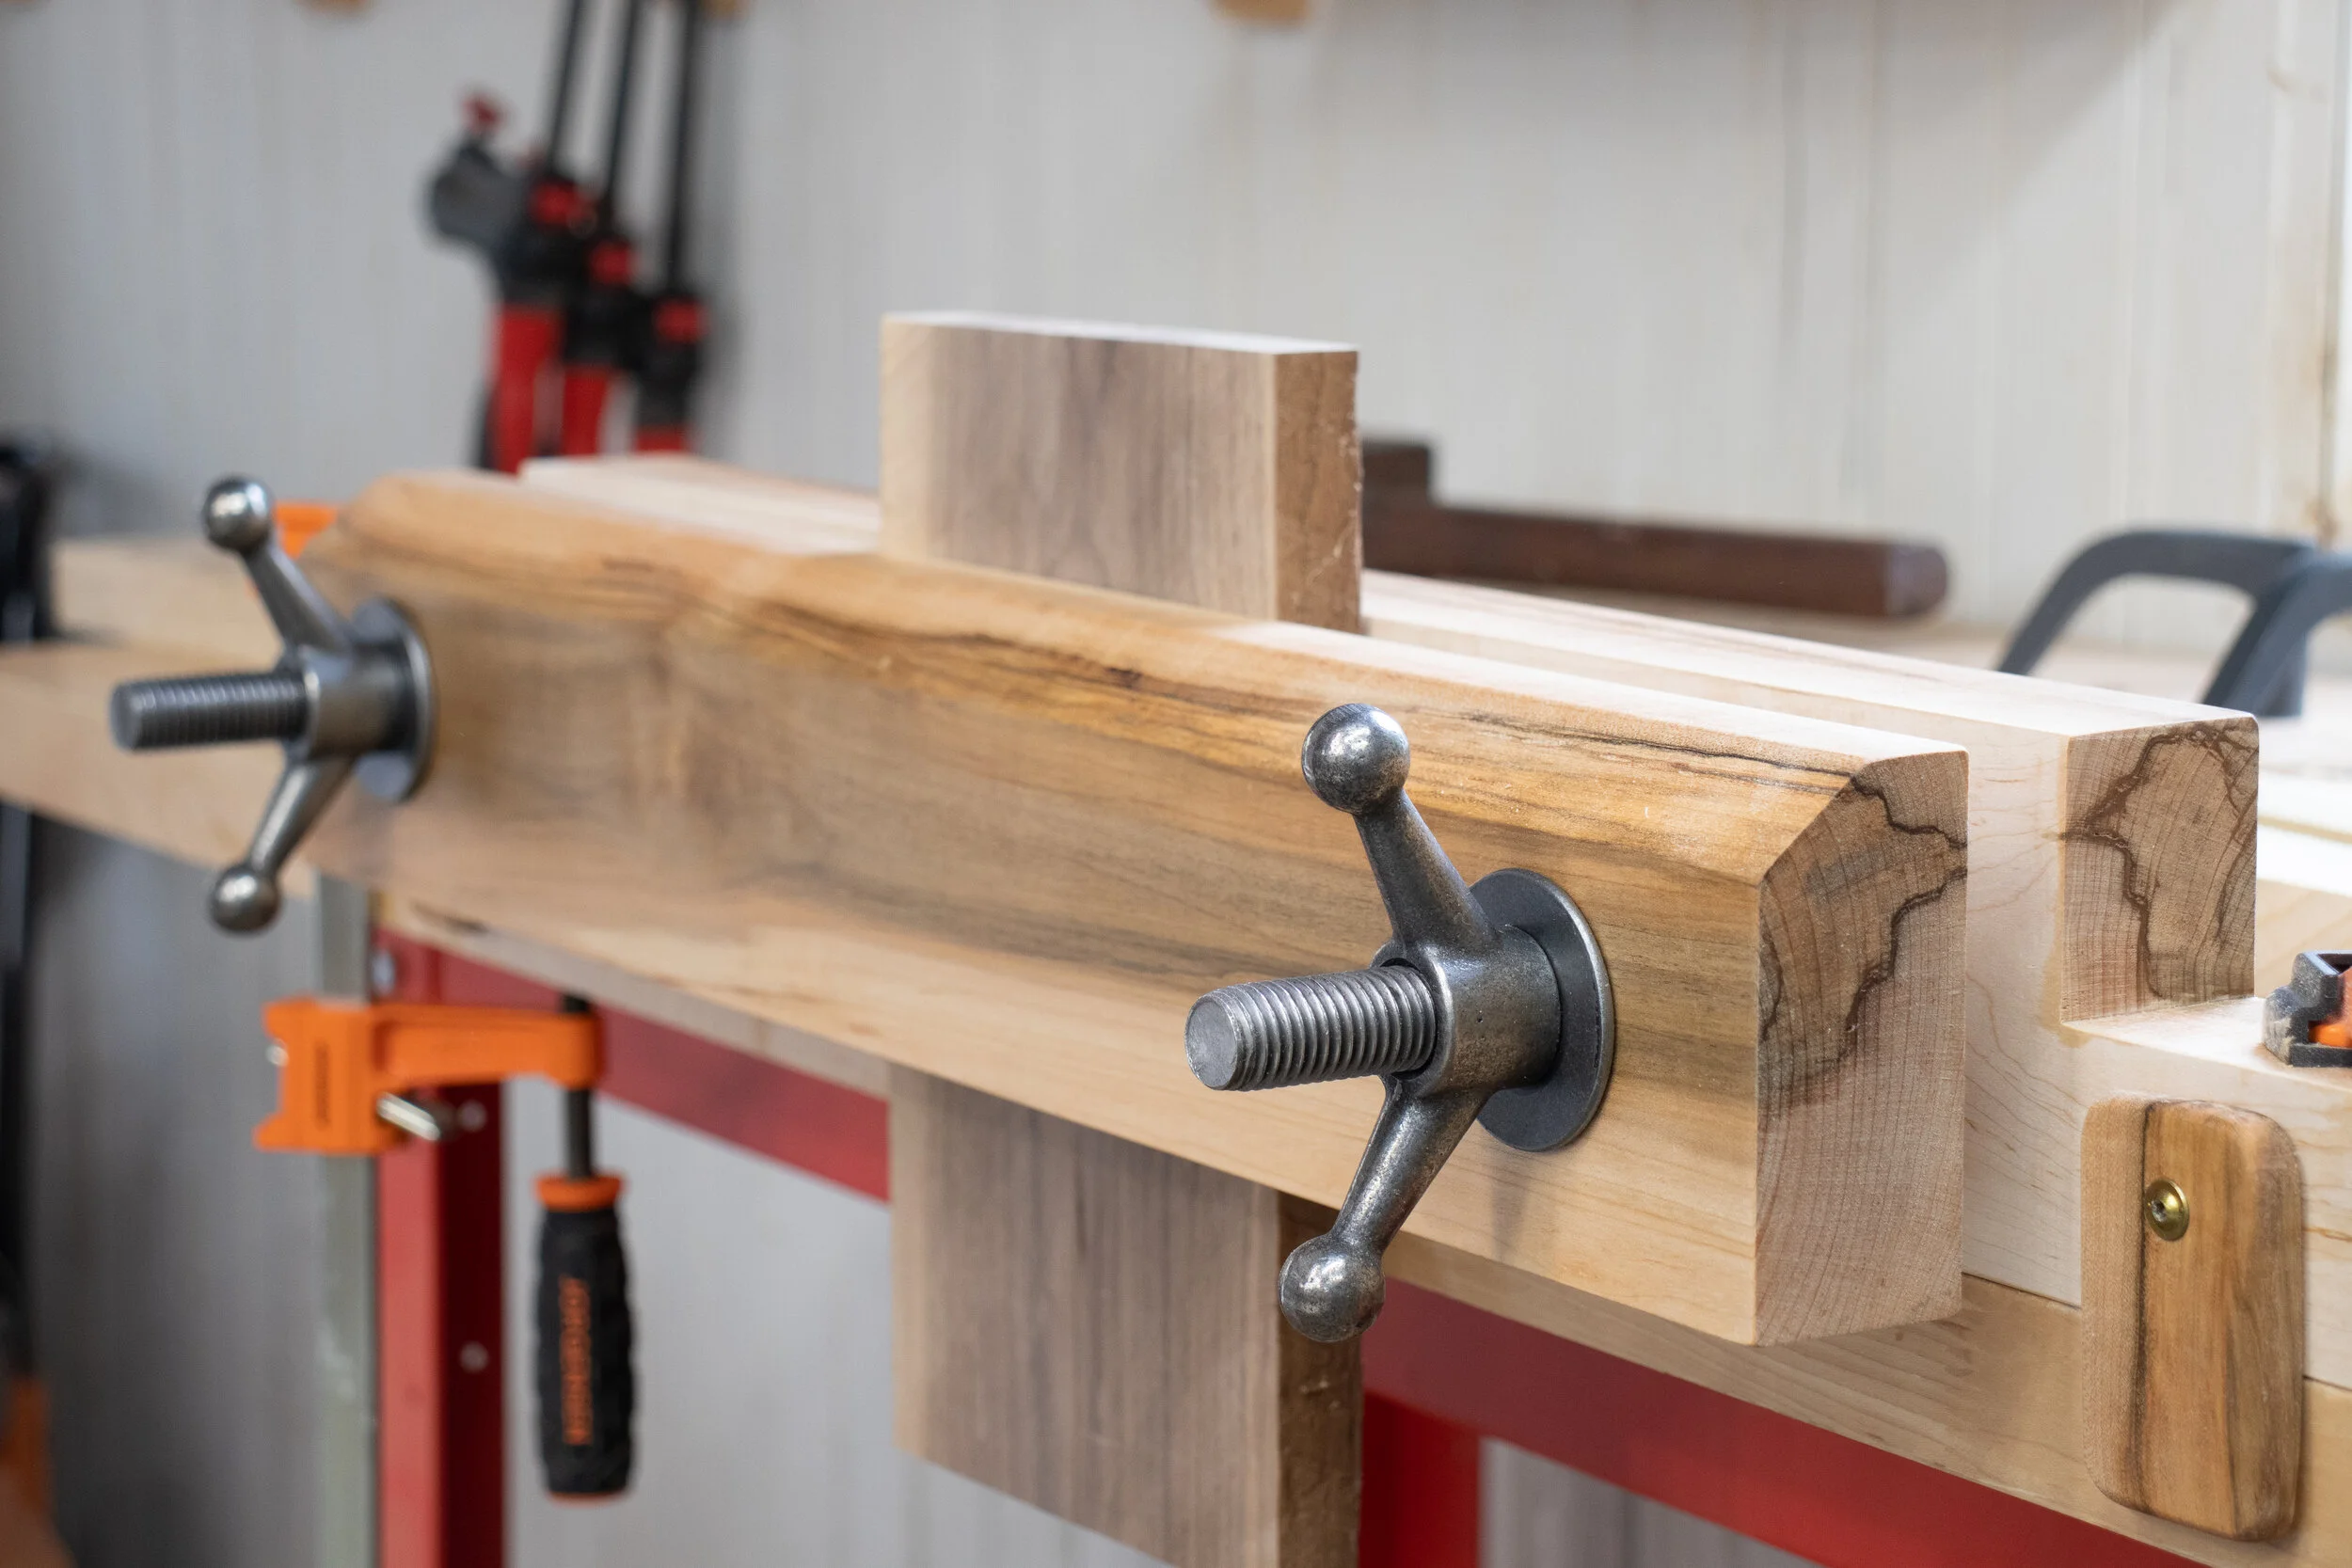
Clamp the rear jaw down, put on the front jaw, lock it down with the washers and knobs, and it’s done!