
Three Way Bridle Joint

A Bridle Joint is one of the strongest joints you can make, so I wanted to see if I can use it to join three pieces of wood together… Here’s the Three-Way Bridle Joint!
Check out the full YouTube video below!
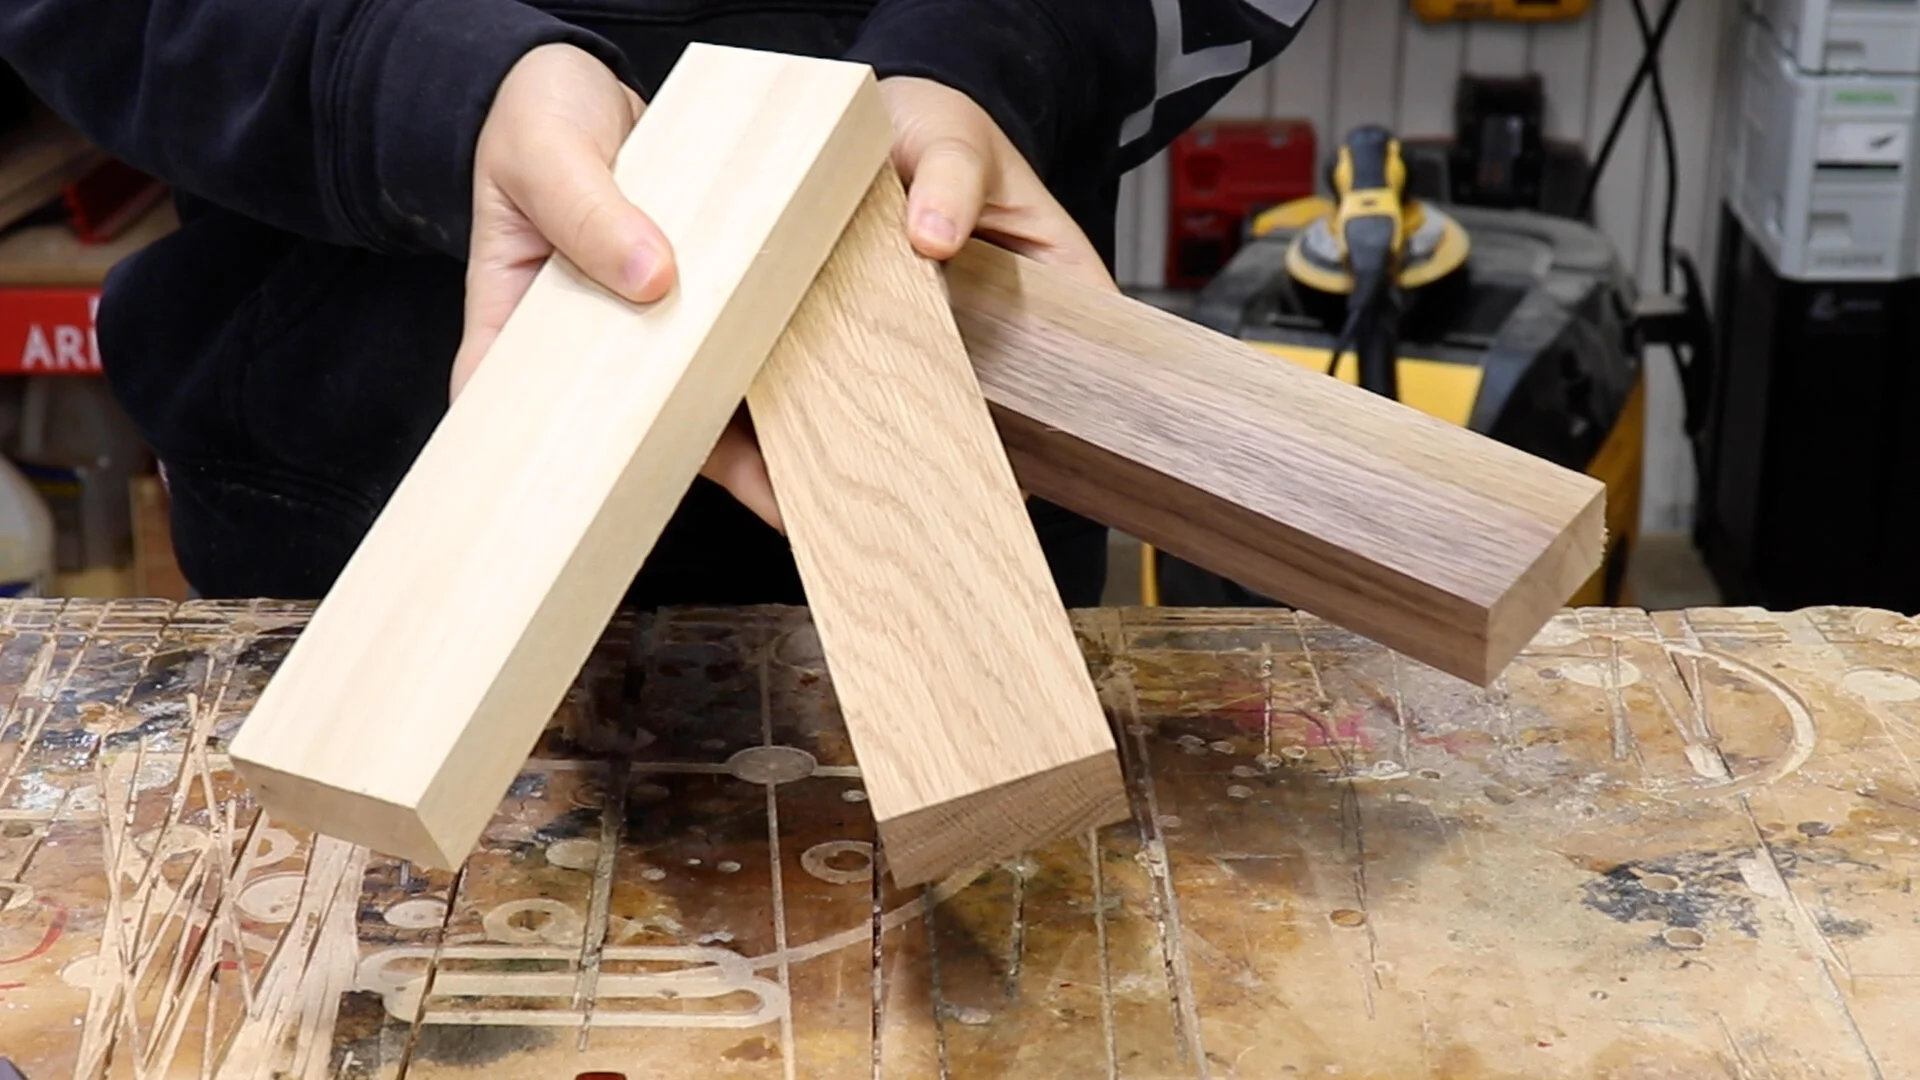
To make this joint you will need three pieces of wood that are milled to the same dimension.
That dimension does not matter at all, as long as they are all the same width and thickness, you’re good.
MARKING IT OUT
There are only THREE STEPS to making this joint which you can mark out on one piece.
STEP 1: Make a 30º cut one end.

STEP 2: Make the mortise. You can use one of your actual workpieces as a guide here.
Line it up on the mark made in STEP 1 and mark the other edge. This is just a reference mark to bring that line down to the sides because this is going to be an inside cut, the mortise.

STEP 3: Make notches on the face of both sides in the opposite direction as the mortise marked in STEP 2.
To mark this out, make sure the edge of the notches are directly in line with the edge of the mortise you marked in STEP 2.

Using your workpiece again, line it up on the mark you just made and mark the other edge of the notches.

Using a wheel marking gauge, you can divide the material you are using into thirds and mark the cuts on the edges.

And you should be left with something that looks like this.
One 30º cut on the end.
One Mortise from that end that is angled at 30º.
Two notches on both faces also at 30º but in the opposite direction as the mortise.

NOW LET’S CUT IT!
STEP 1: Set your miter gauge to 30º and cut off one end on all 3 parts.
You can use a stop block on your miter gauge to make sure all the parts end up the same length.

STEP 2: Cut the mortise up to the line made when marking it out.
You can use a tenoning jig to make this cut, but it’s not necessary. You can also use a bandsaw or a handsaw with chisels if that is your thing.

Make two cuts on either side of the workpiece, then clear the waste in the middle.

STEP 3: Cut the notches on both faces.
In order for the pieces to fit nicely together, the edge of these notches need to be right in line with the edge of the mortise you made in STEP 2.
Make a few test cuts to nail this location.

And cut that line on all three of your parts.
I made these cuts using and angled fence on my cross cut sled, but you can use a miter gauge as well.

Next make a second line that represents the other end of the notches.
The distance between the edges of the notches should be the same as the width of the material you are using.
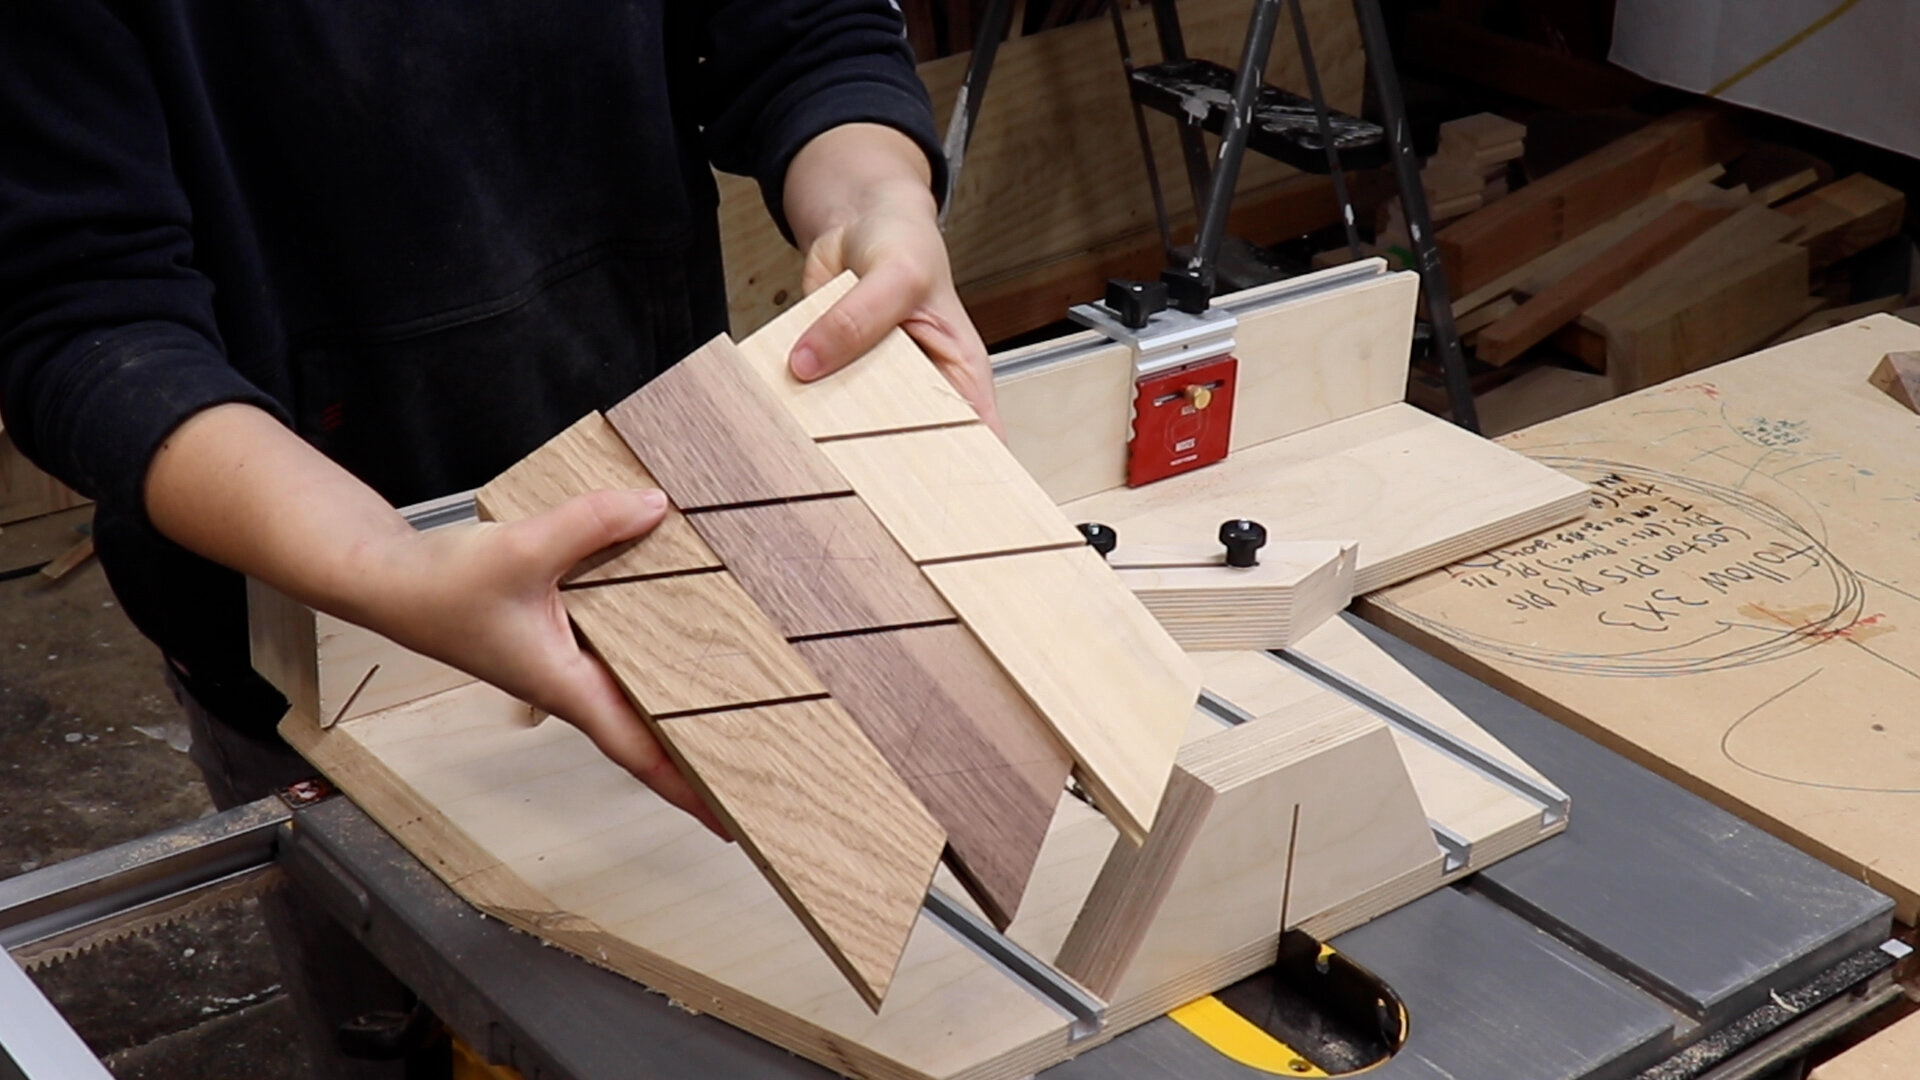
Lastly, clean up all the waste between those two cuts to create the notches.
the material left over acts as a tenon of sorts that will fit into the mortise cut earlier.

Before assembling the whole thing, make sure that each part will fit into one another.

ASSEMBLY TIME
All three of these pieces will slide into place at the same time if done correctly.
The hardest part is lining up all the pieces to make this happen… it takes a bit of fiddling to make sure all the pieces are in the correct spot…

But once they are, they just slide so nicely into place!!

And Boom! Three-Way Bridle joint!

This joint is so cool and crazy strong!

I am loving the contrast in all these woods, it is definitely inspiring me to create a piece of furniture using this joint!
Stay tuned!

