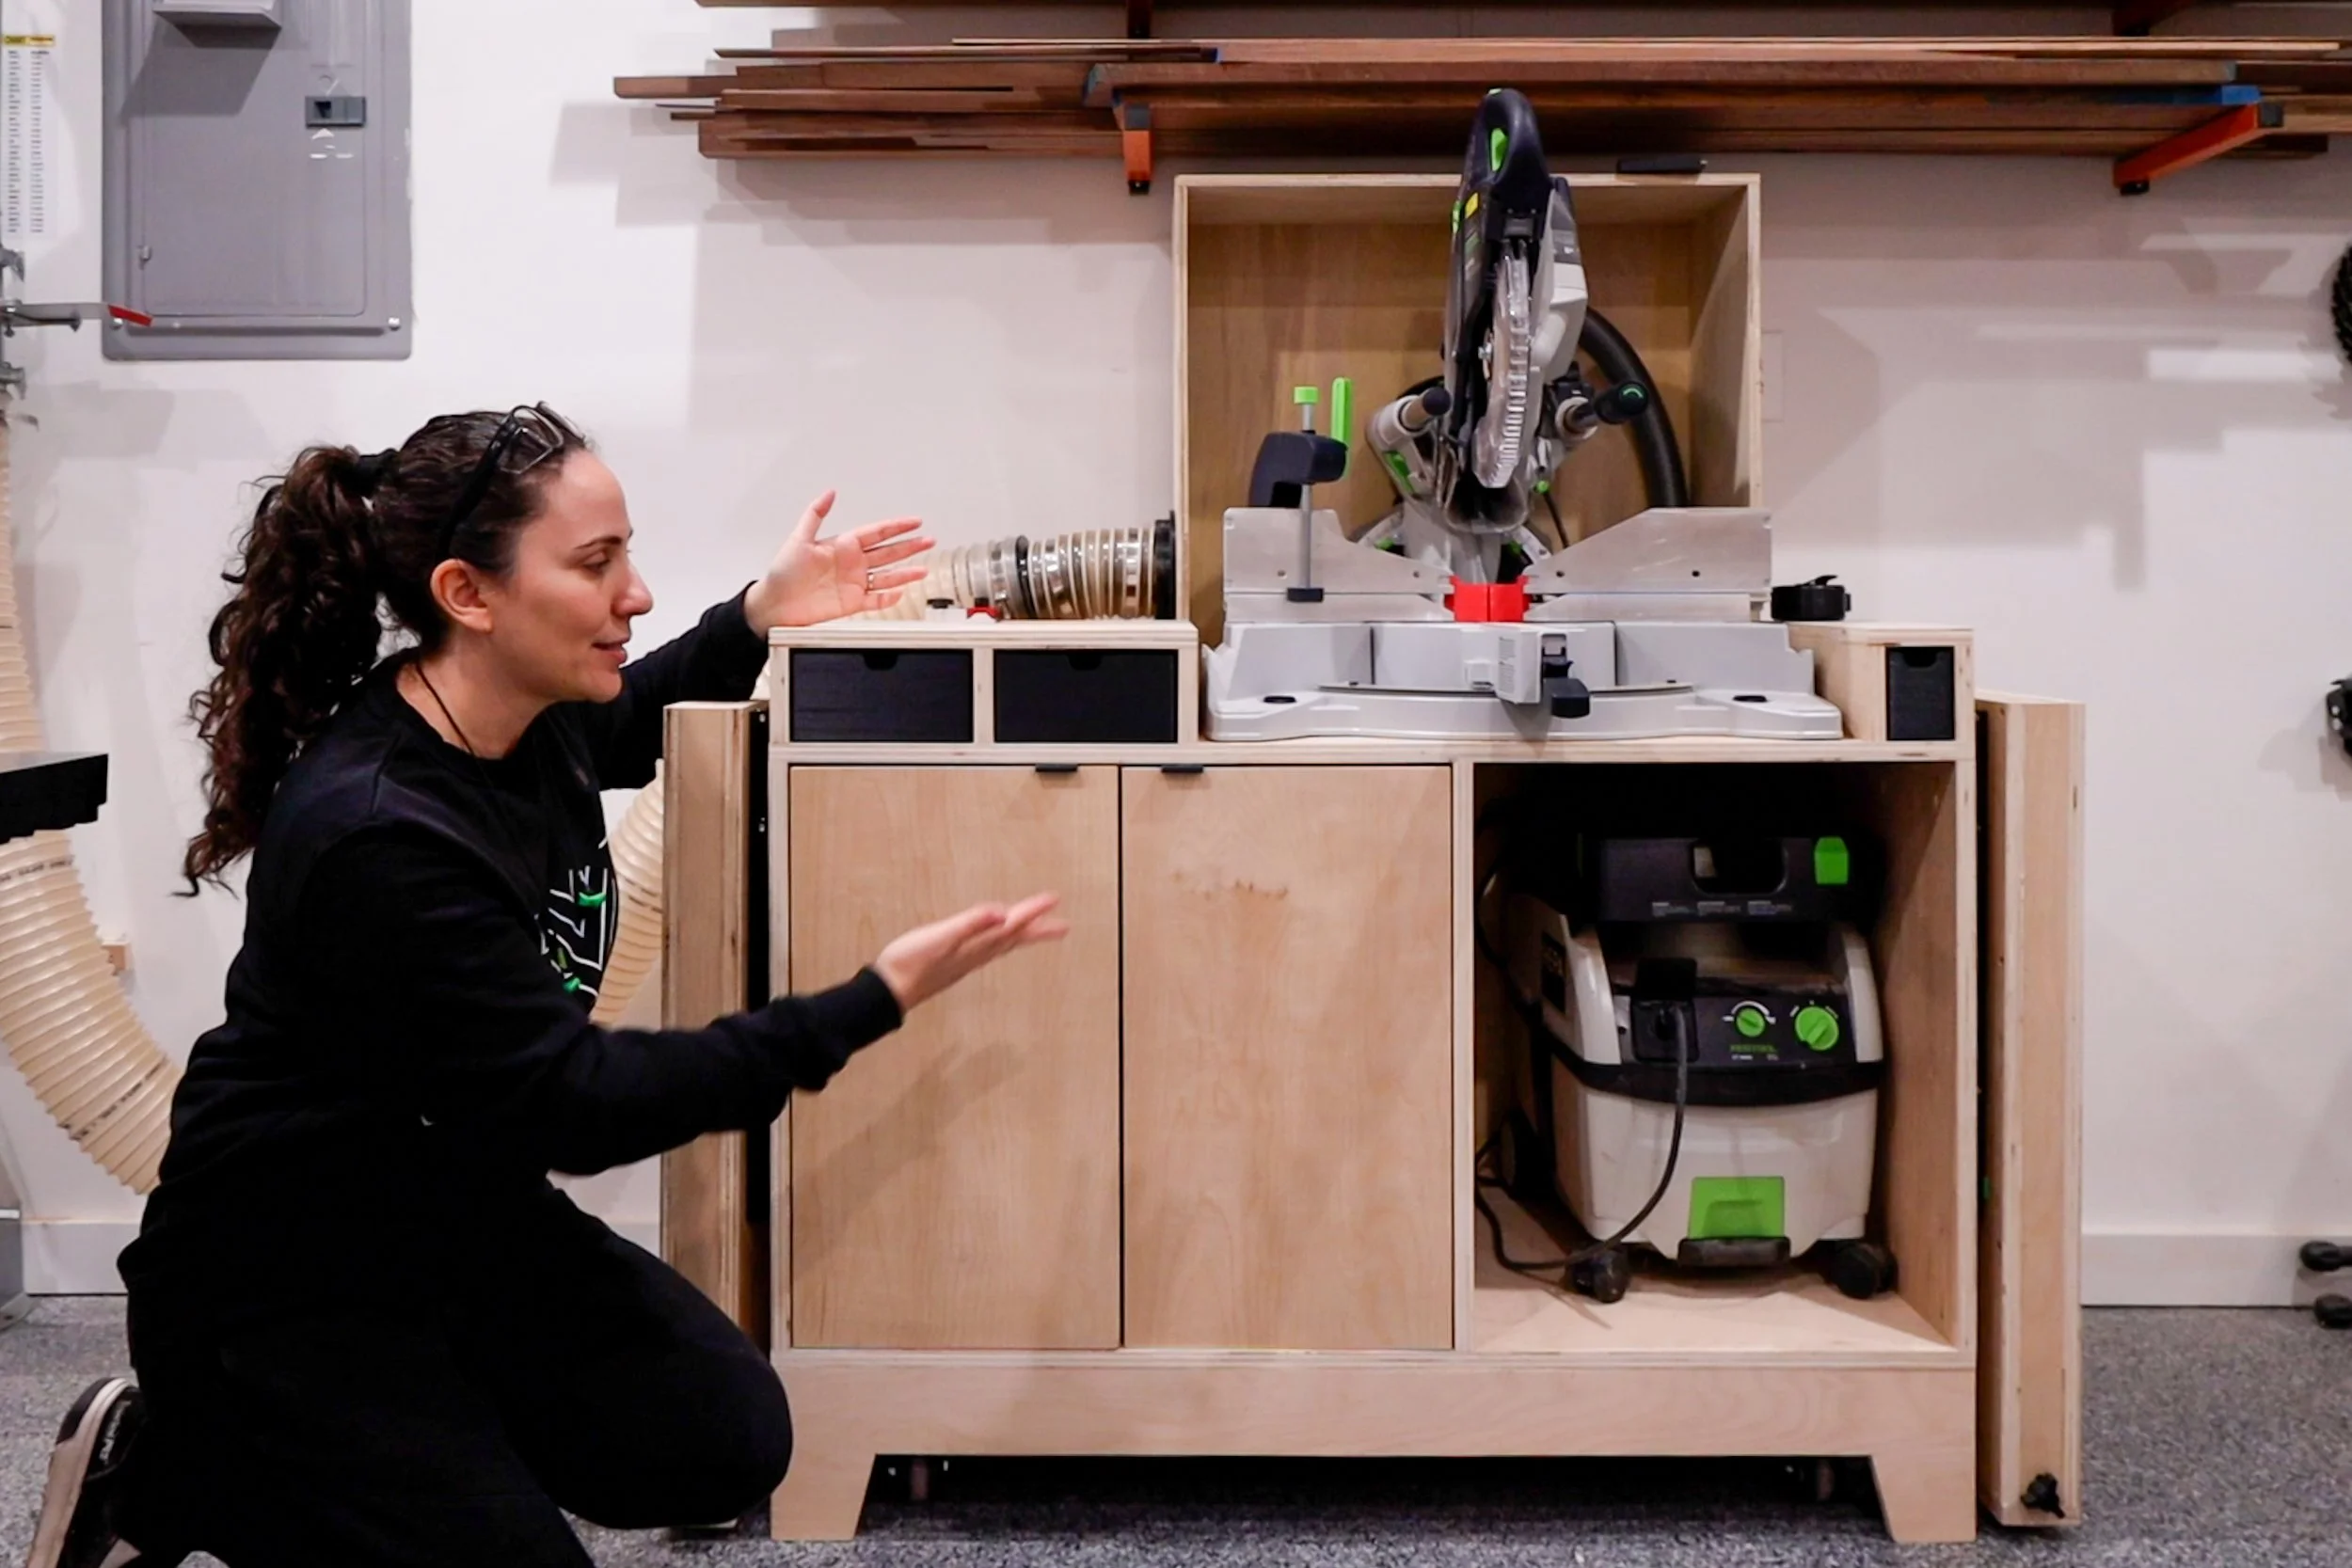
Compact & Expandable Miter Saw Station
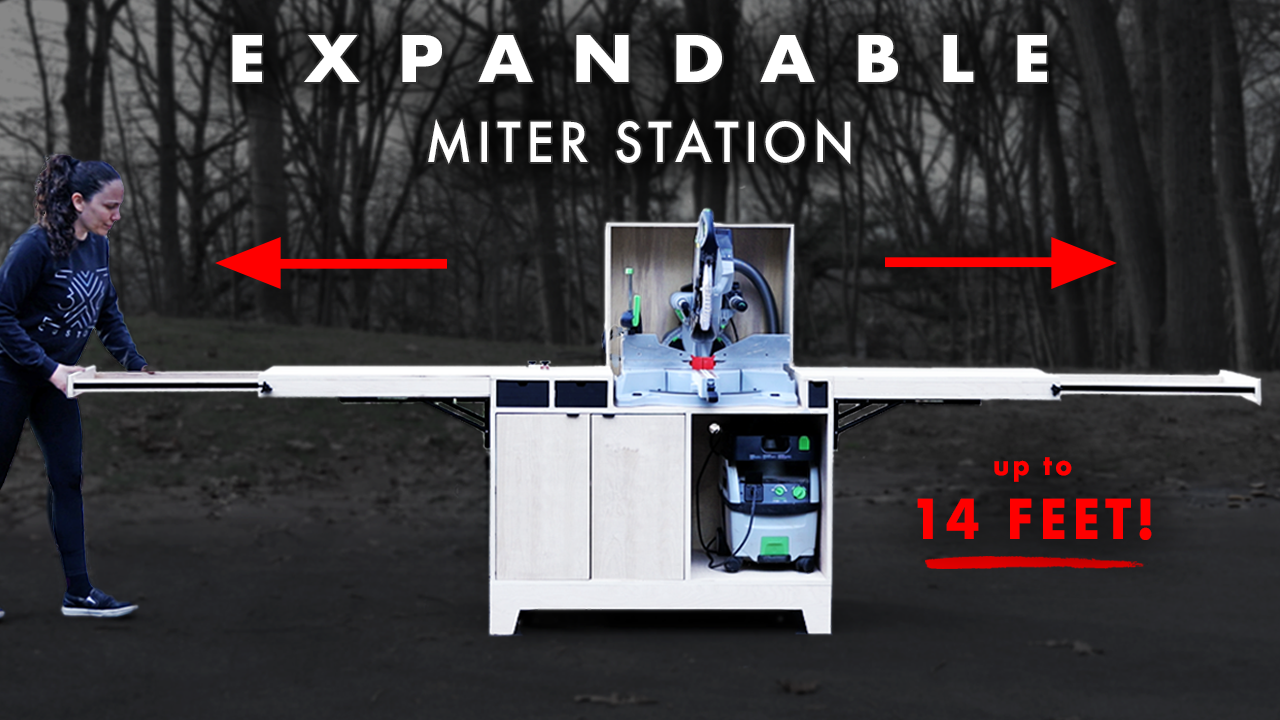
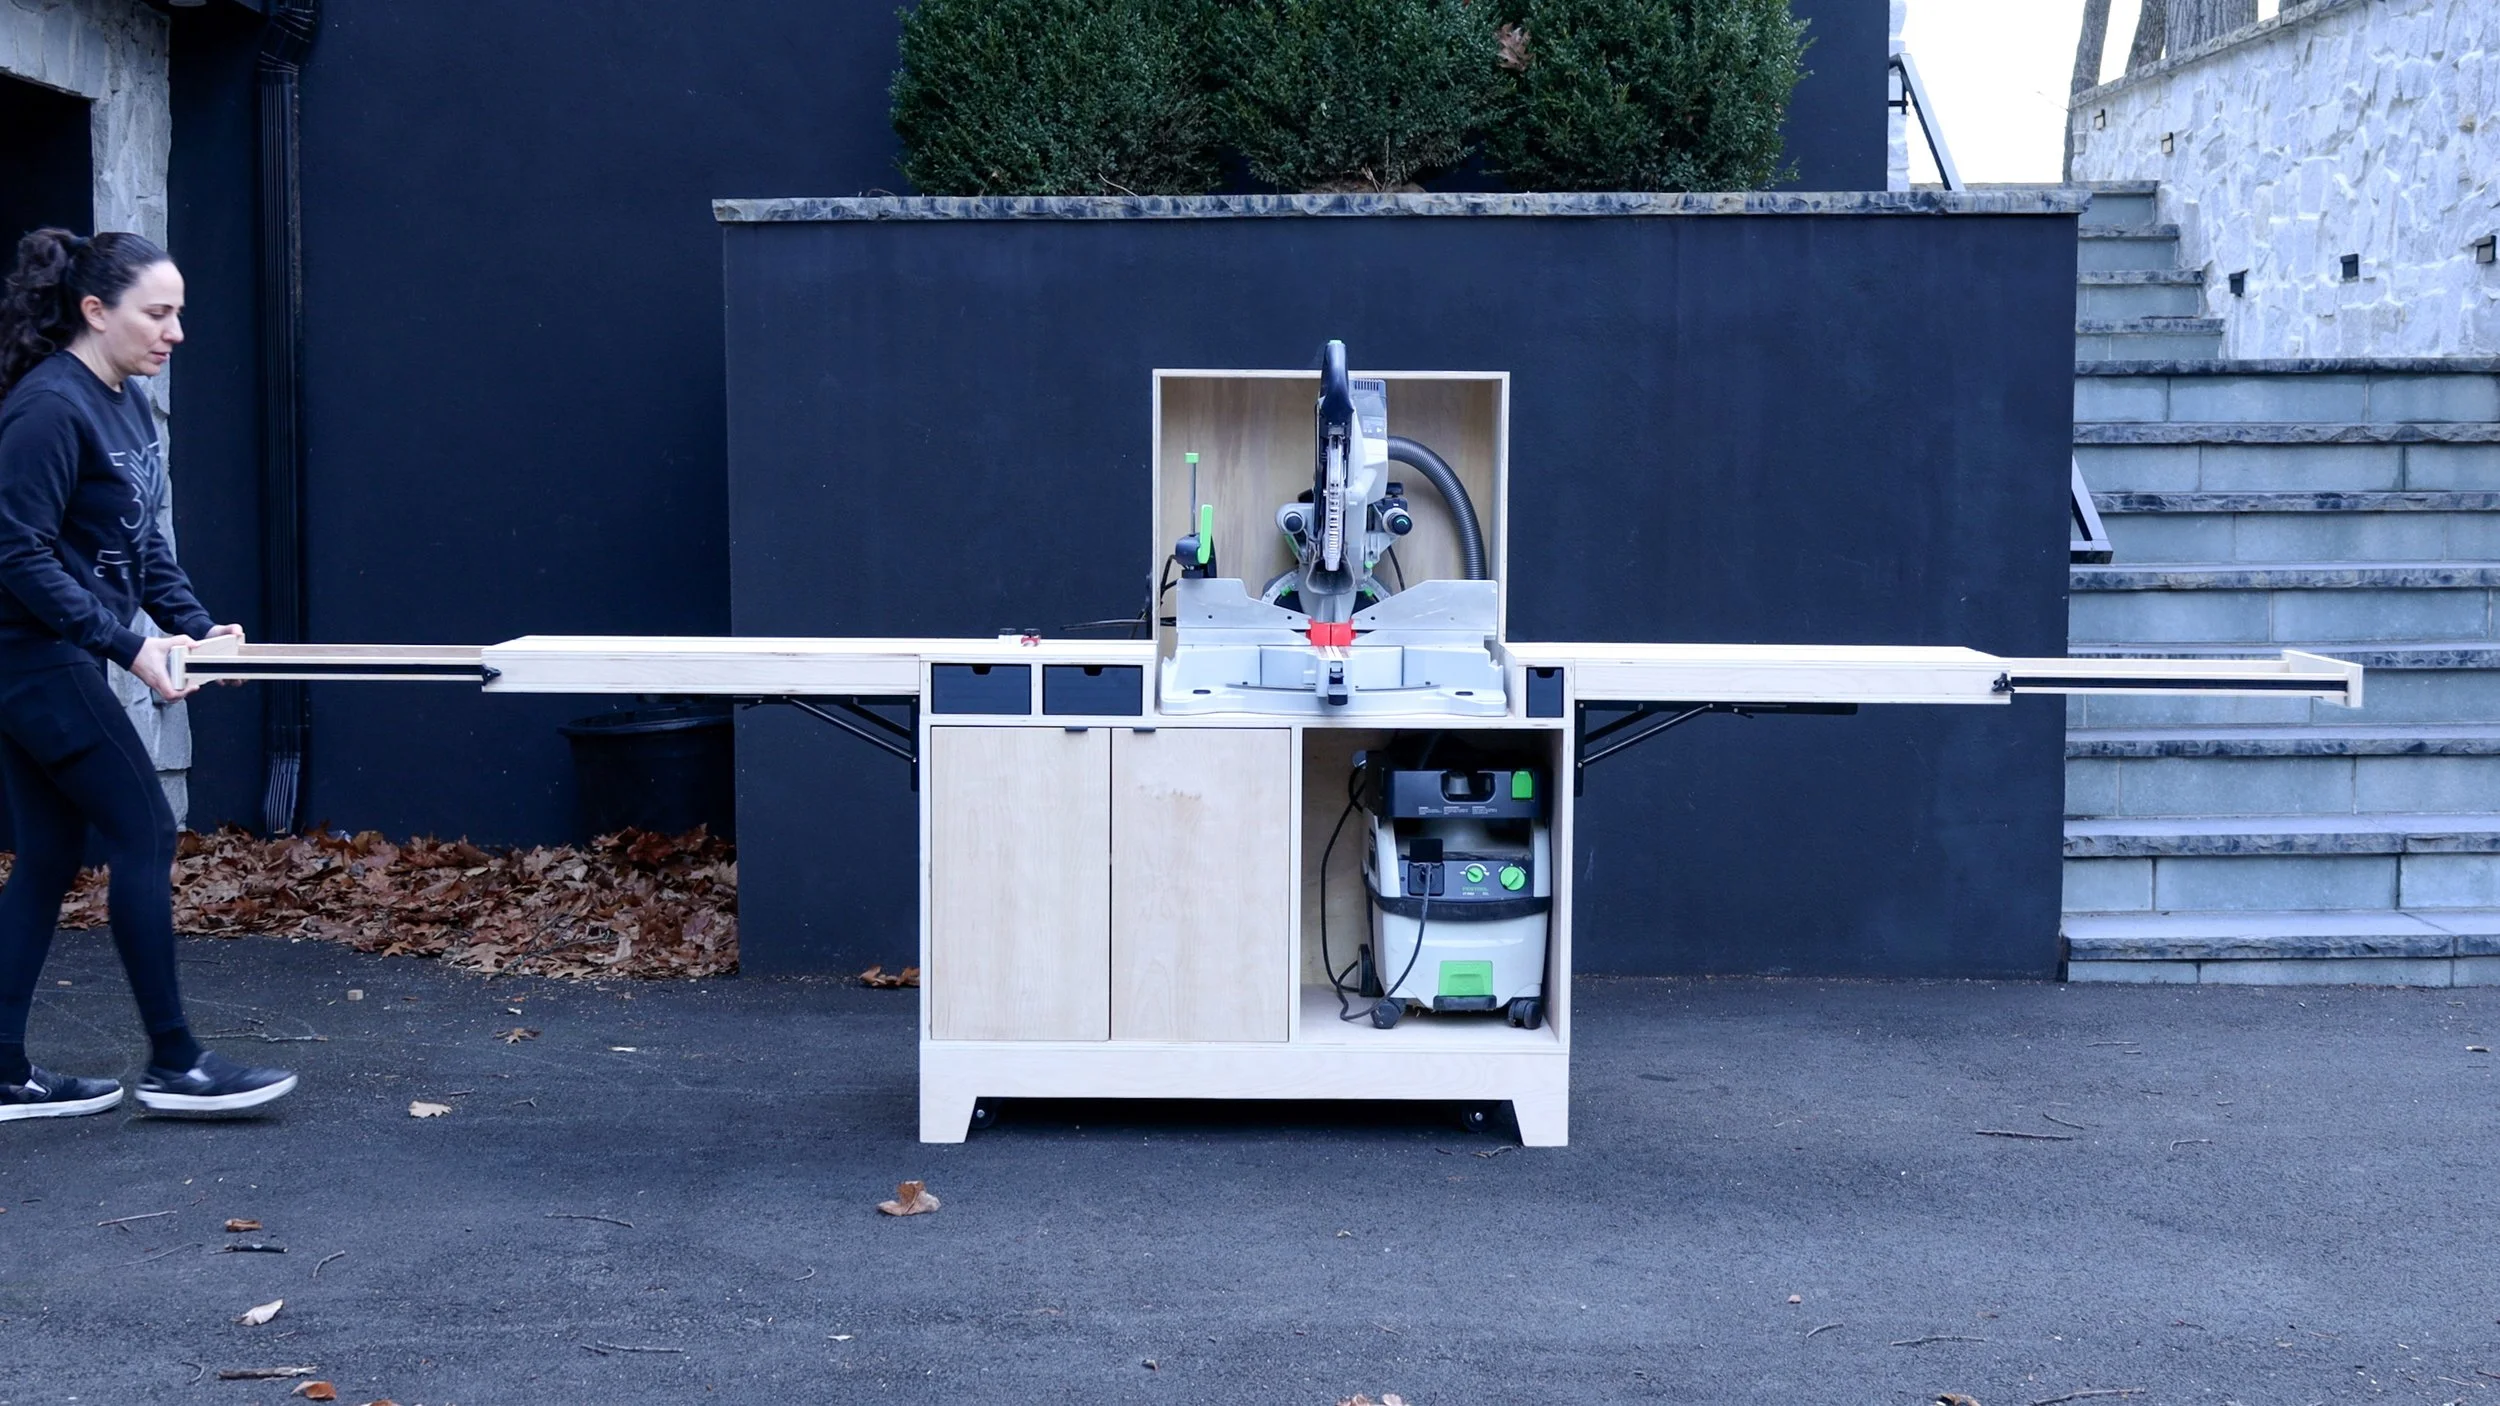
Have a small shop? This compact Miter Saw Station is the perfect solution! It’s only 45” wide, but it can expand to 168” when you need it to! It features lift up wings and extra extension arms, so you get max cutting capacity.
Check out the full build video down below!
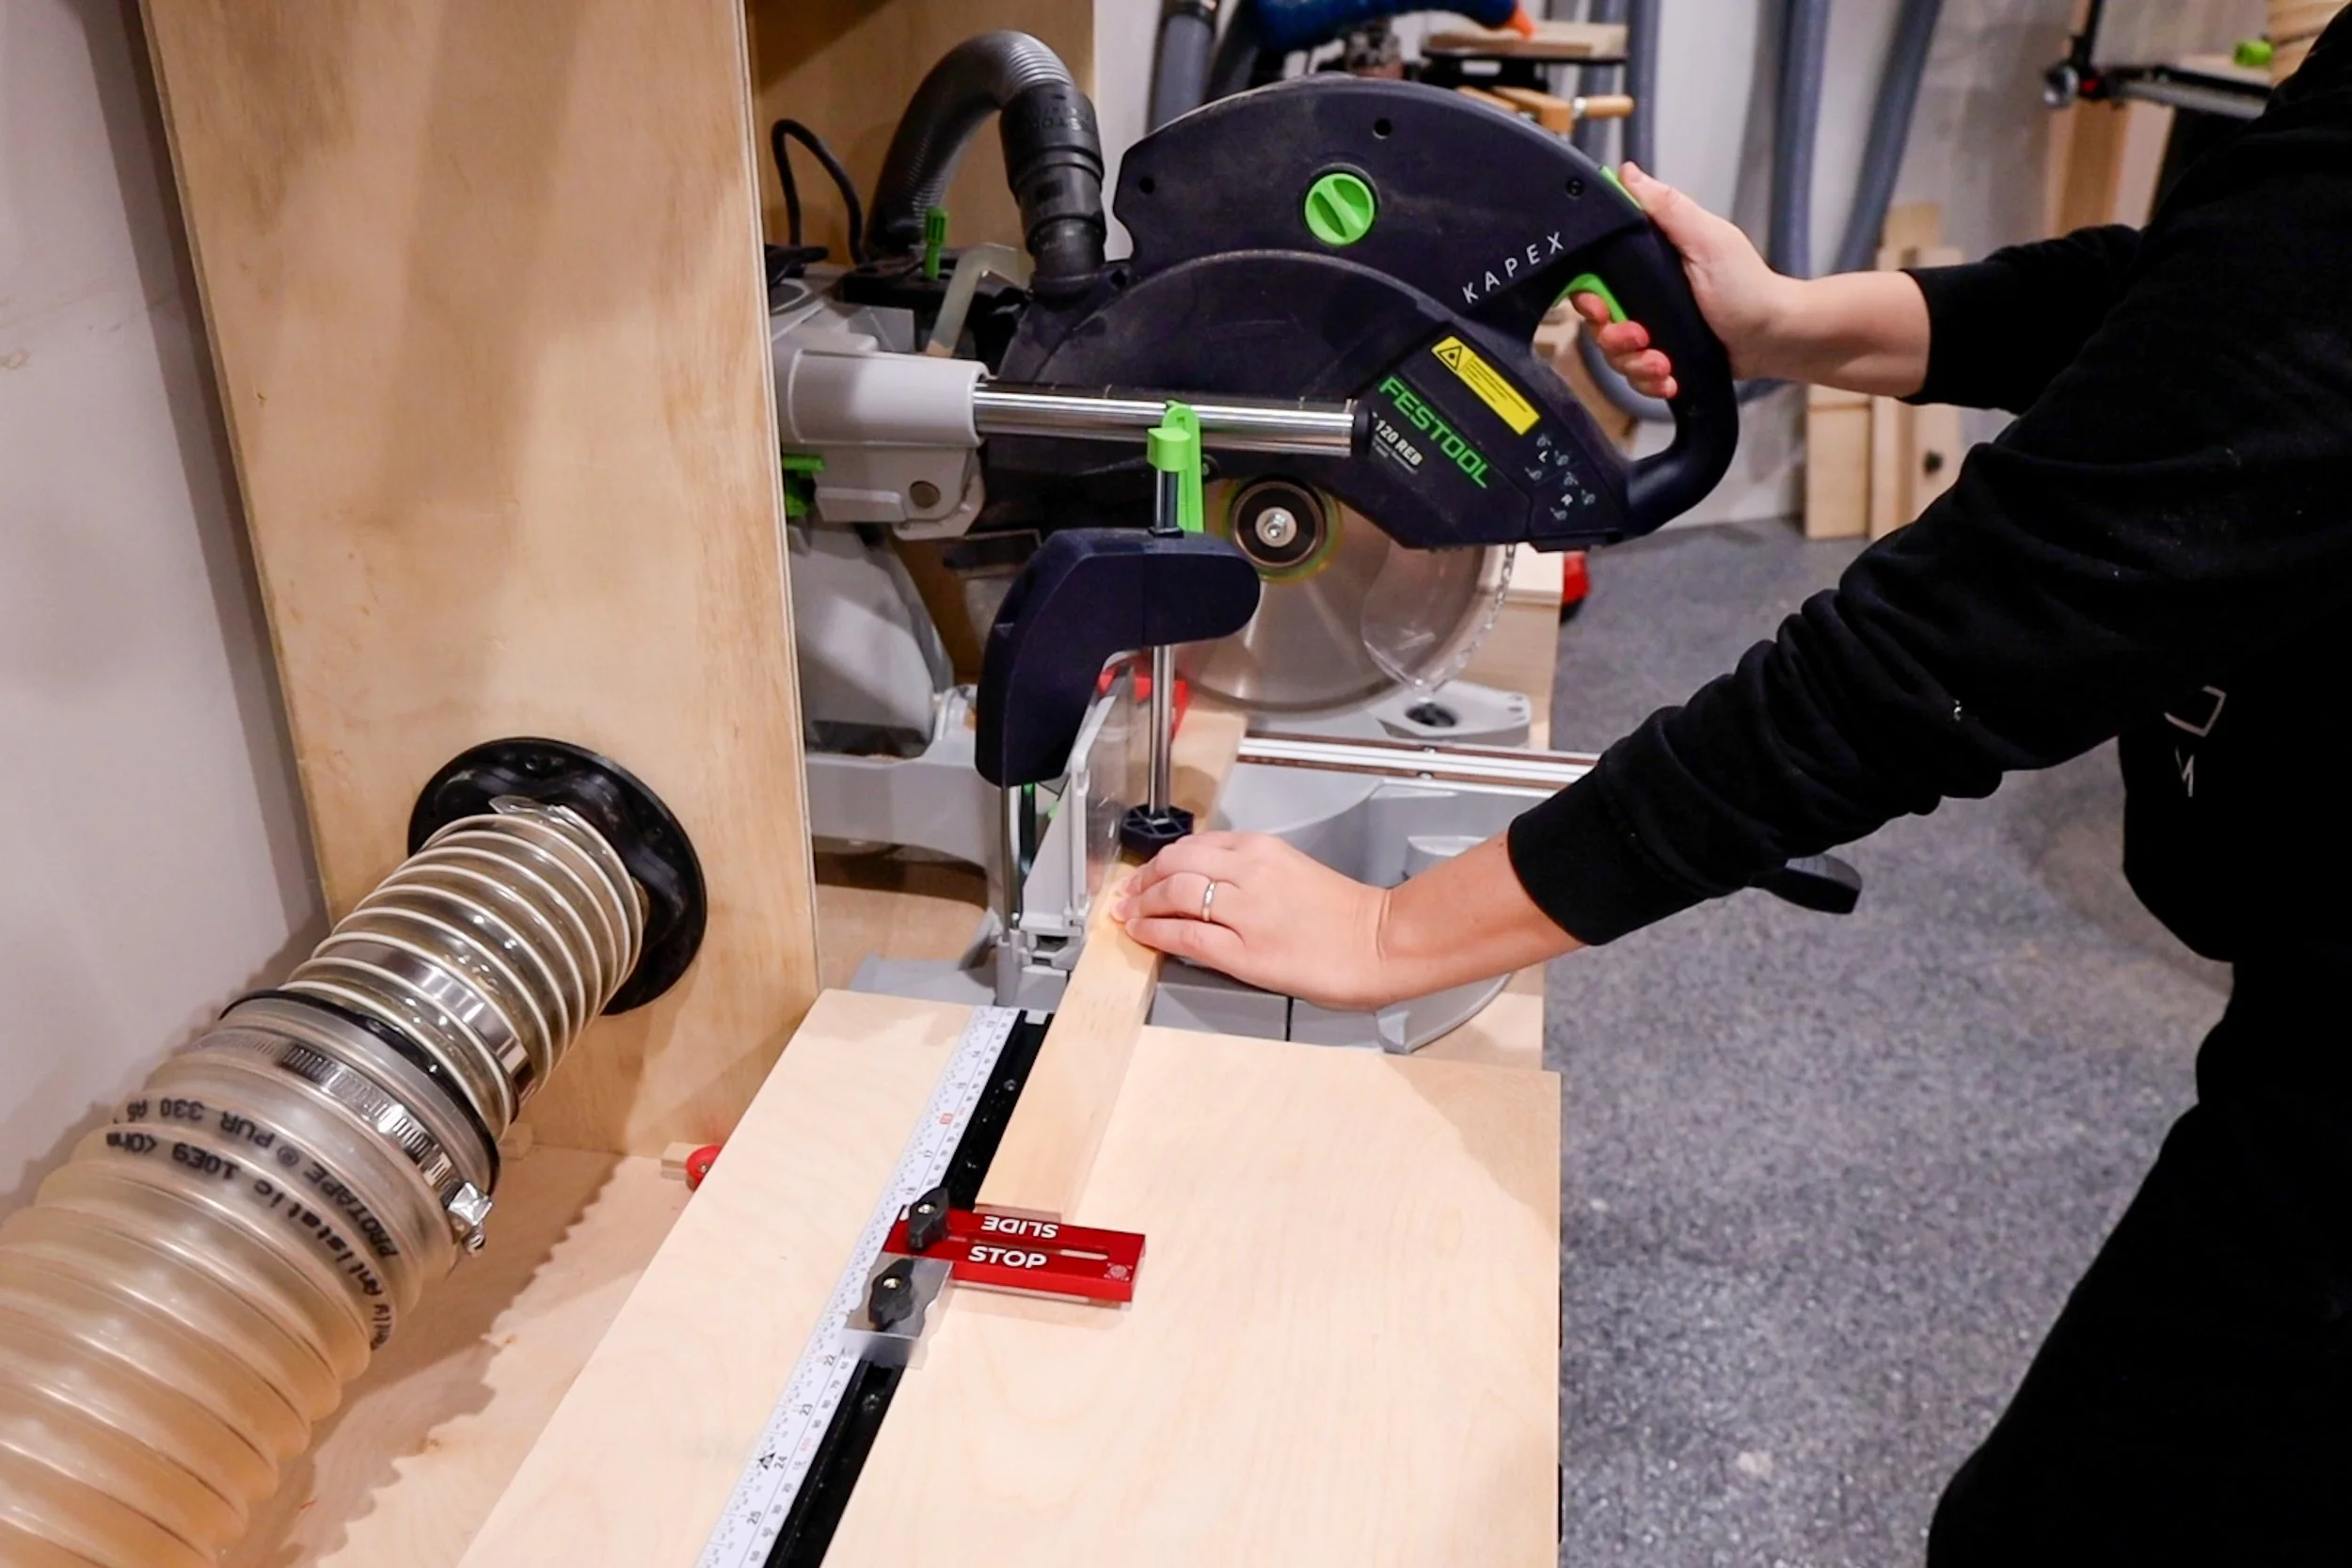
Pairs perfectly with the Slide Stop!
Let’s begin!
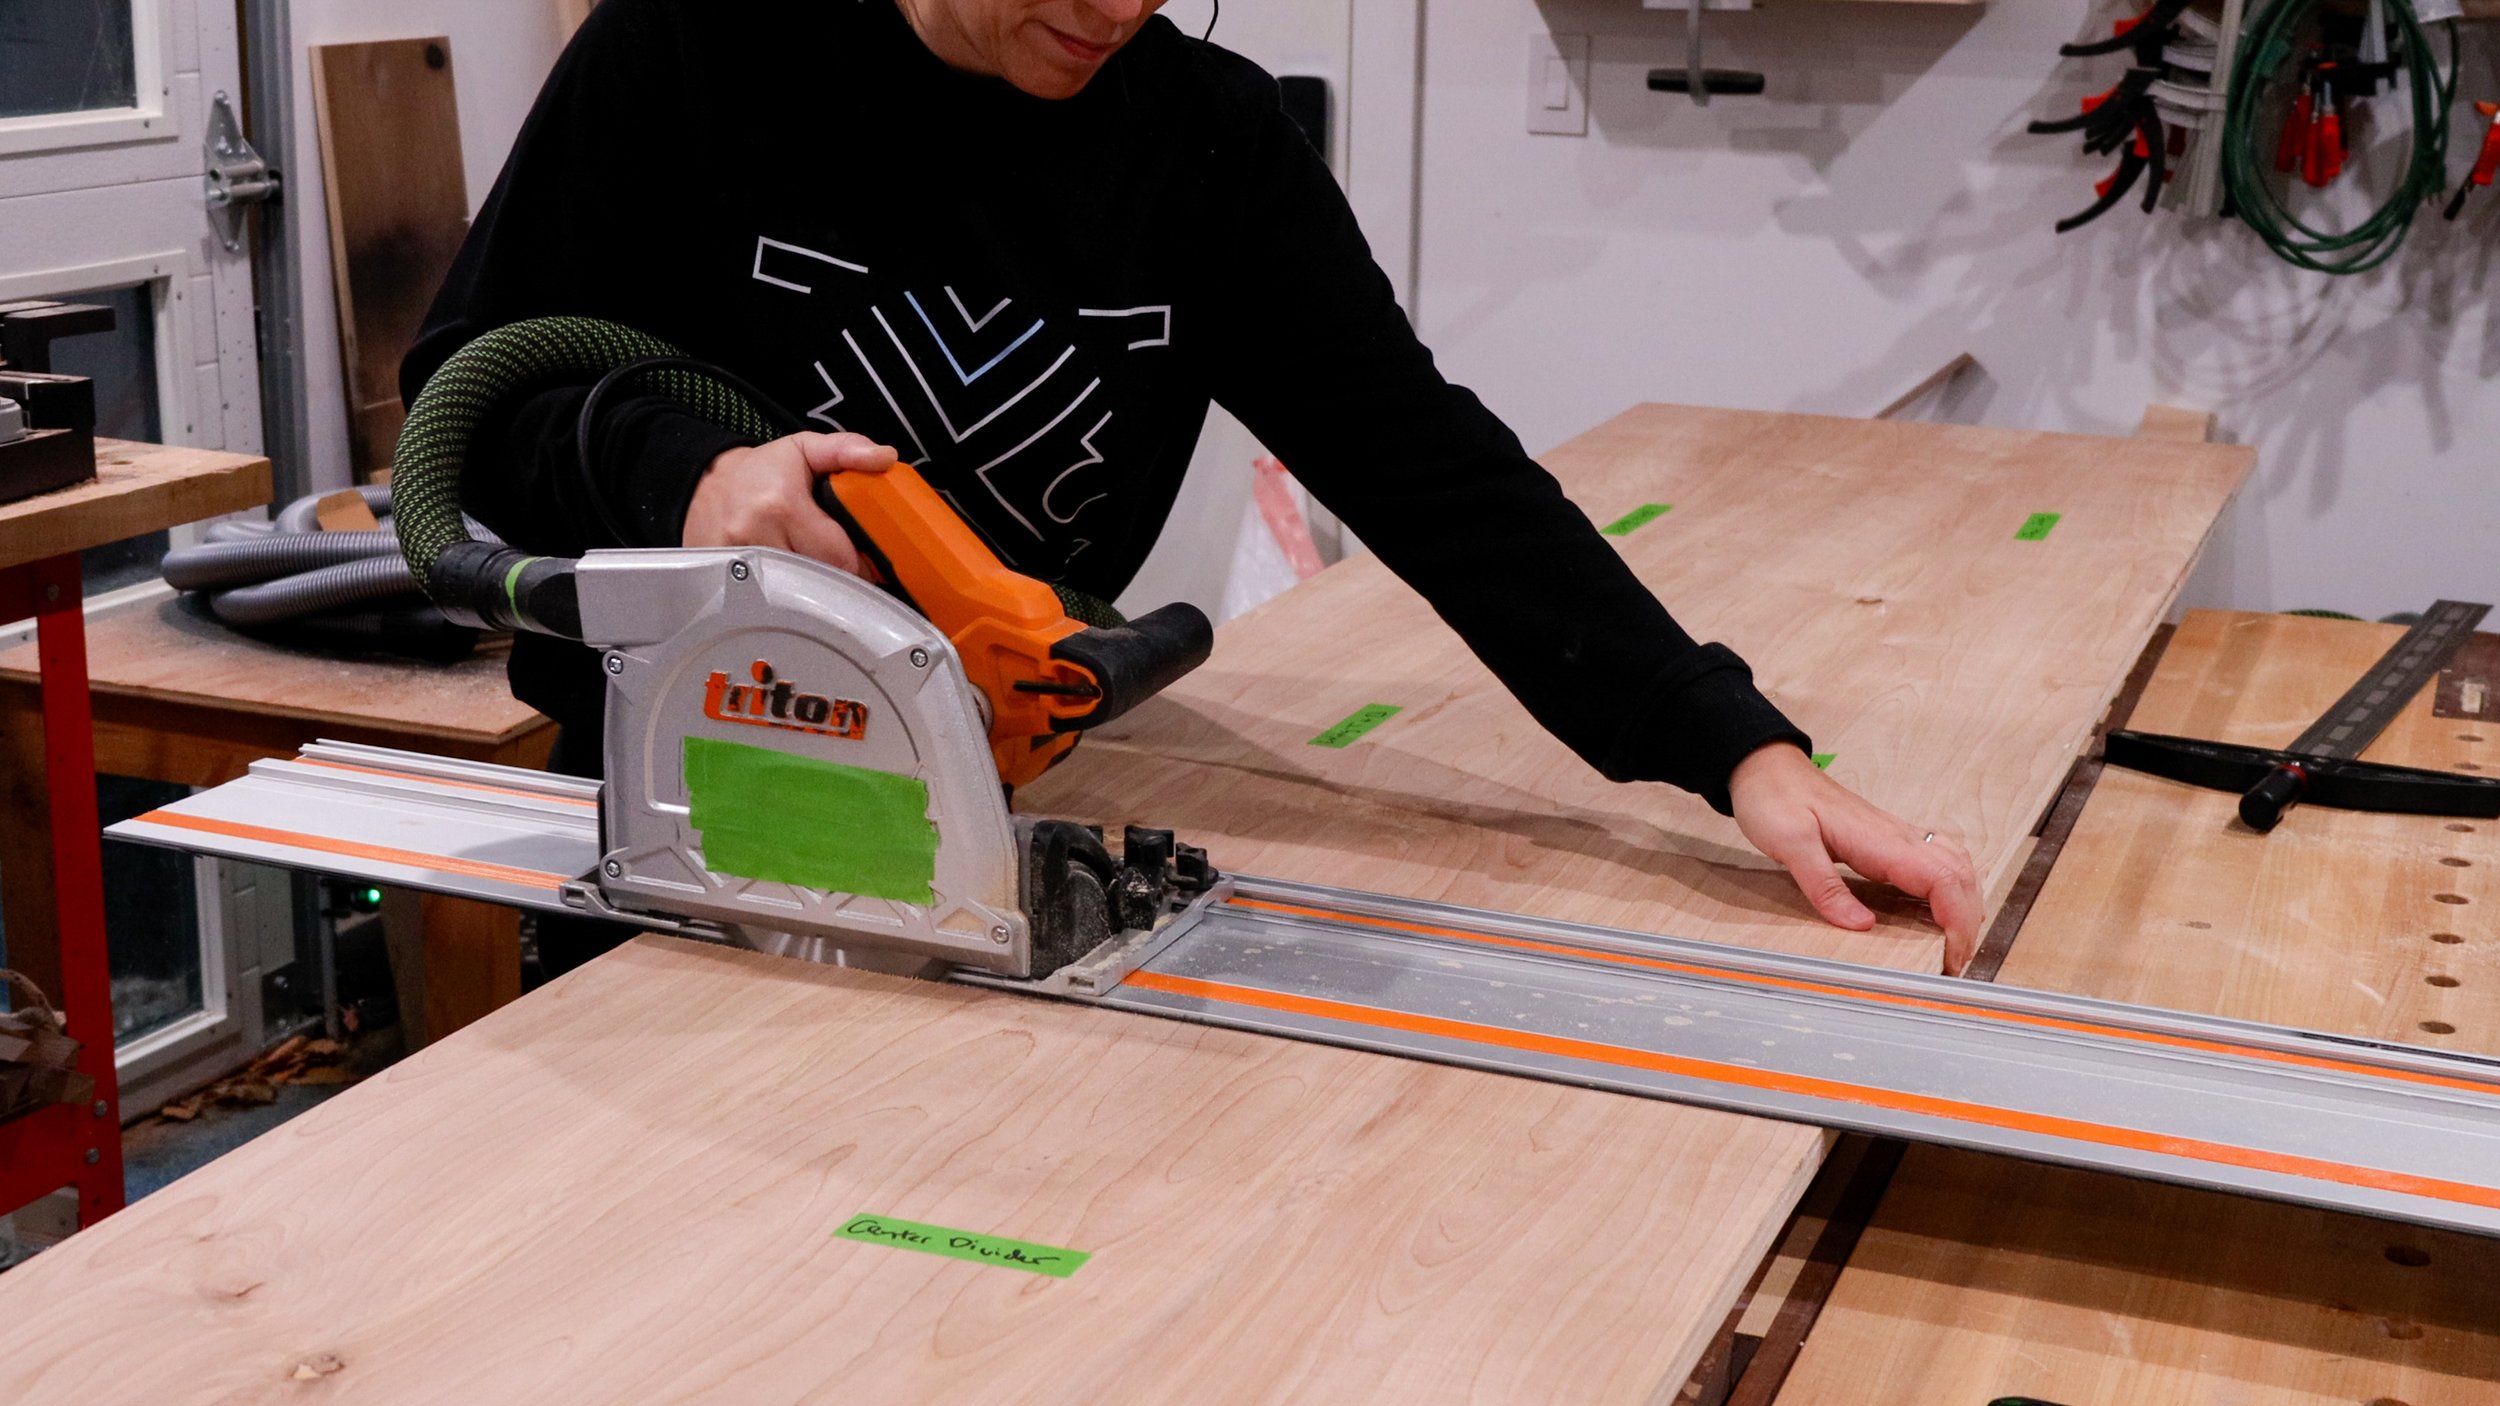
Trim your plywood according to the dimensions listed on the plans above.
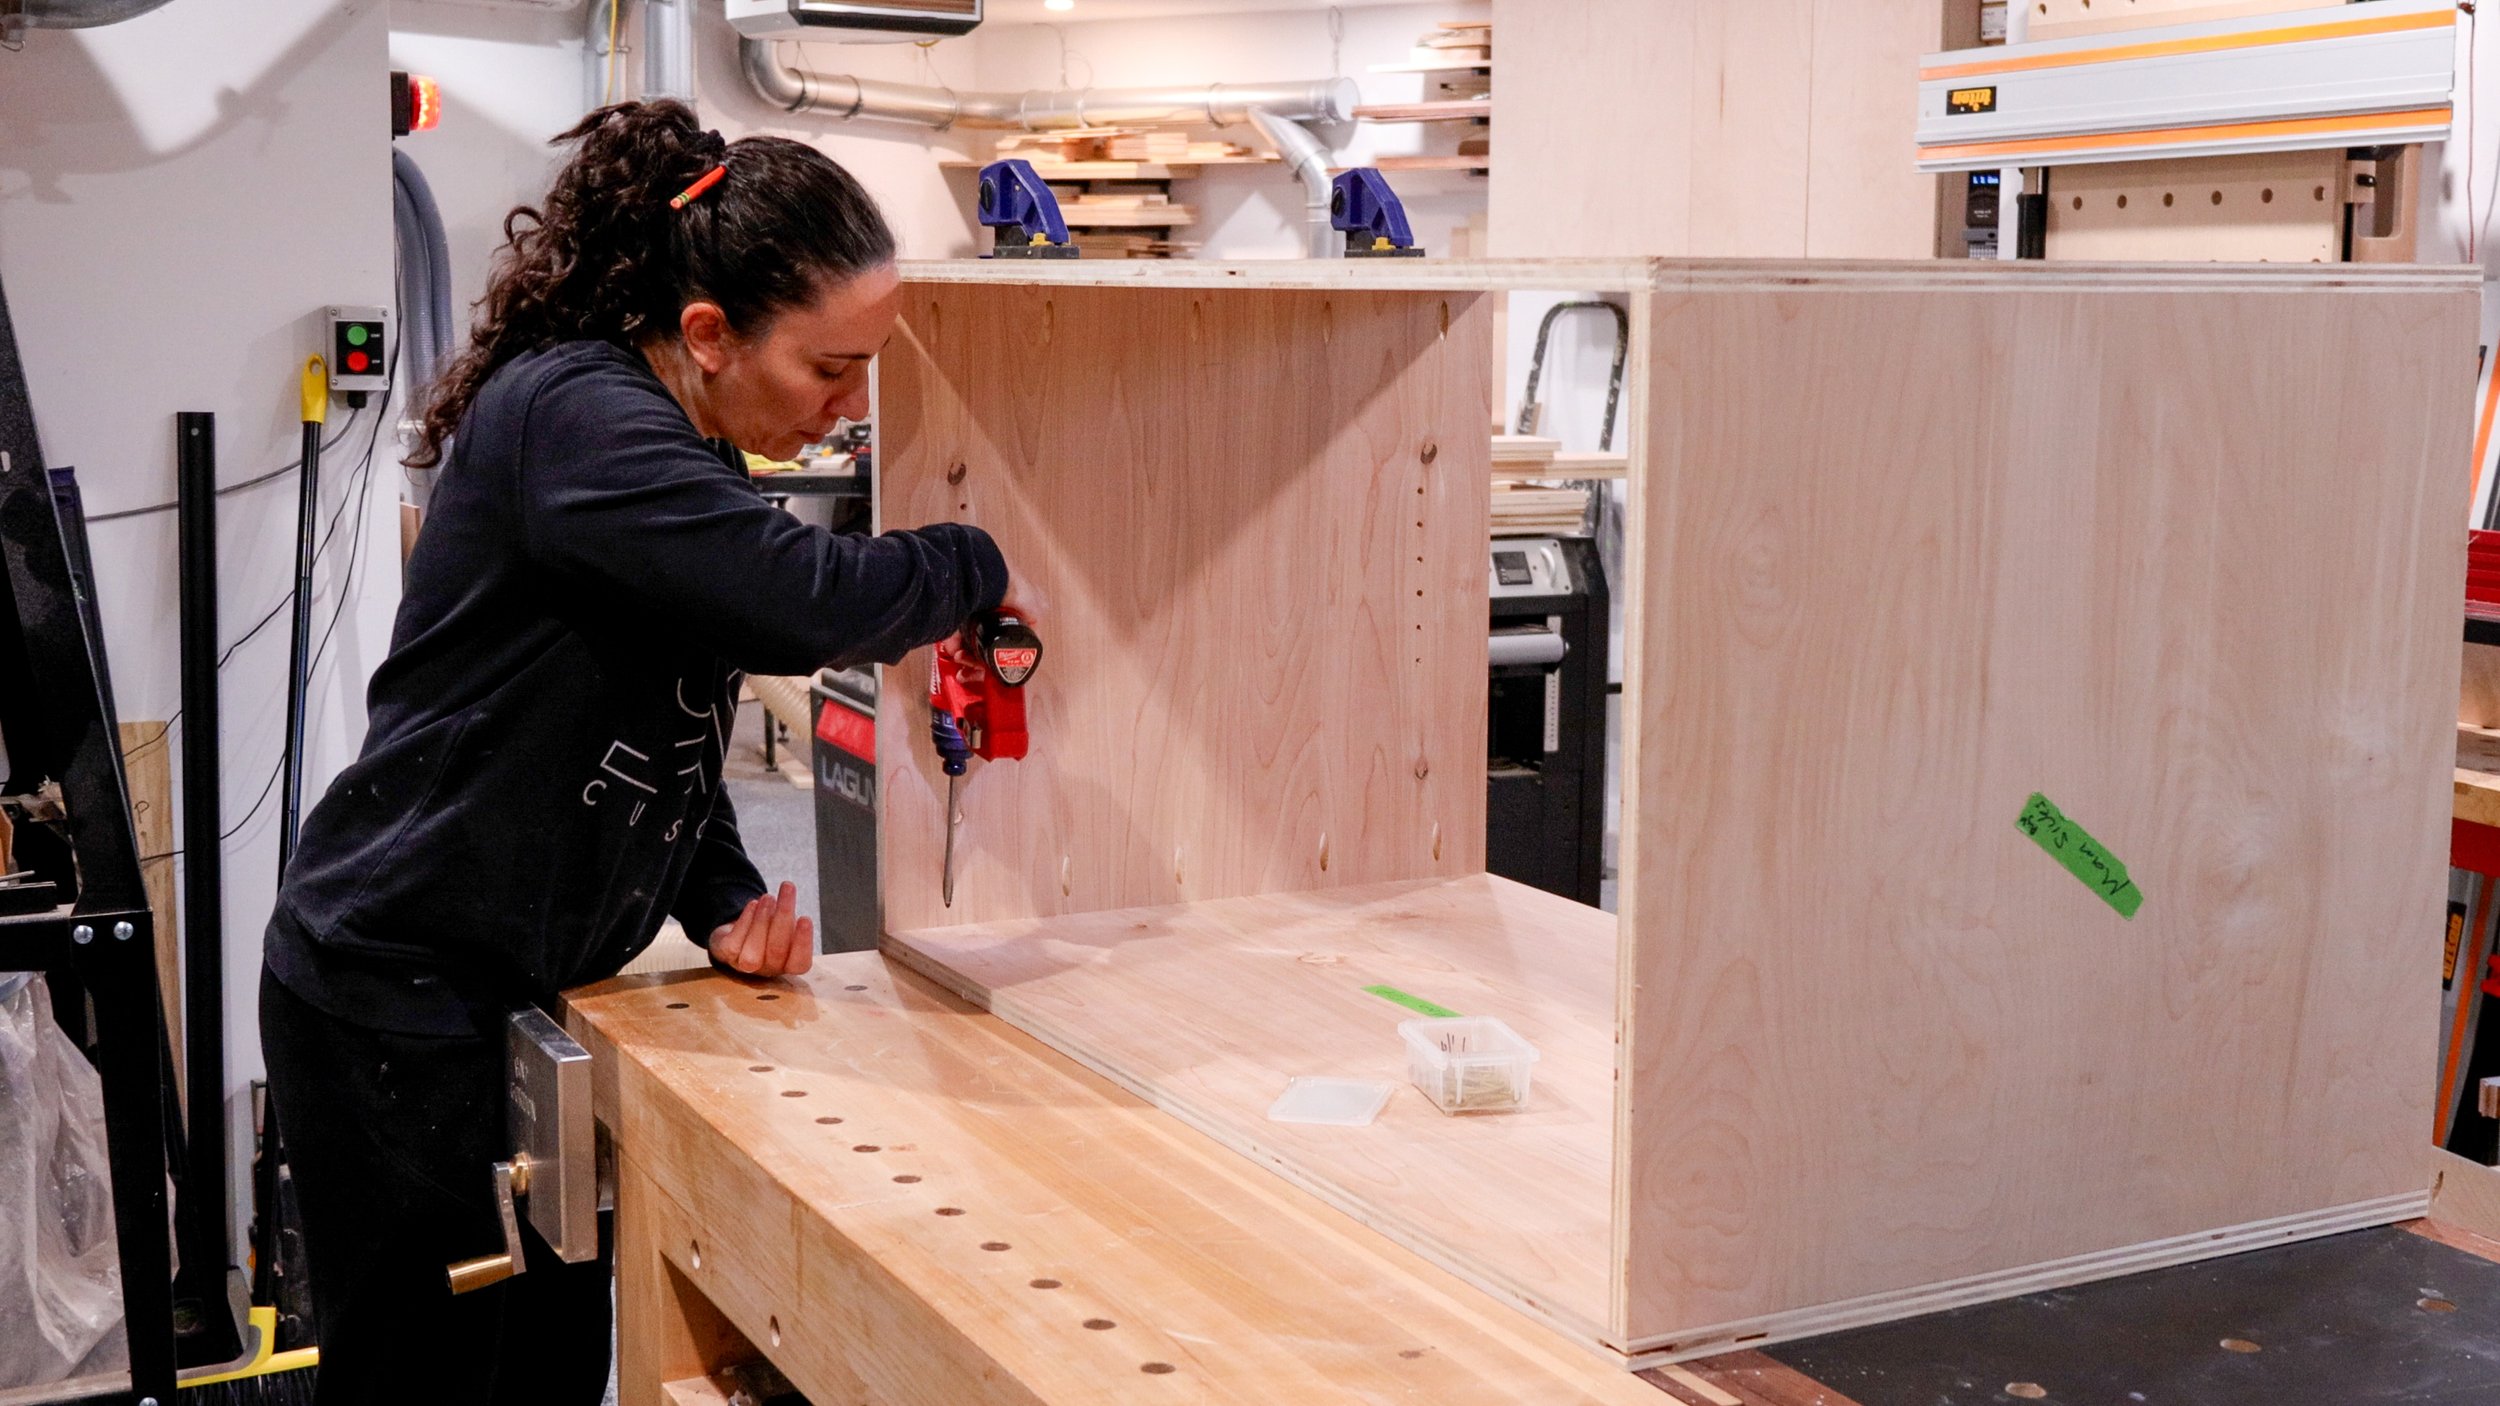
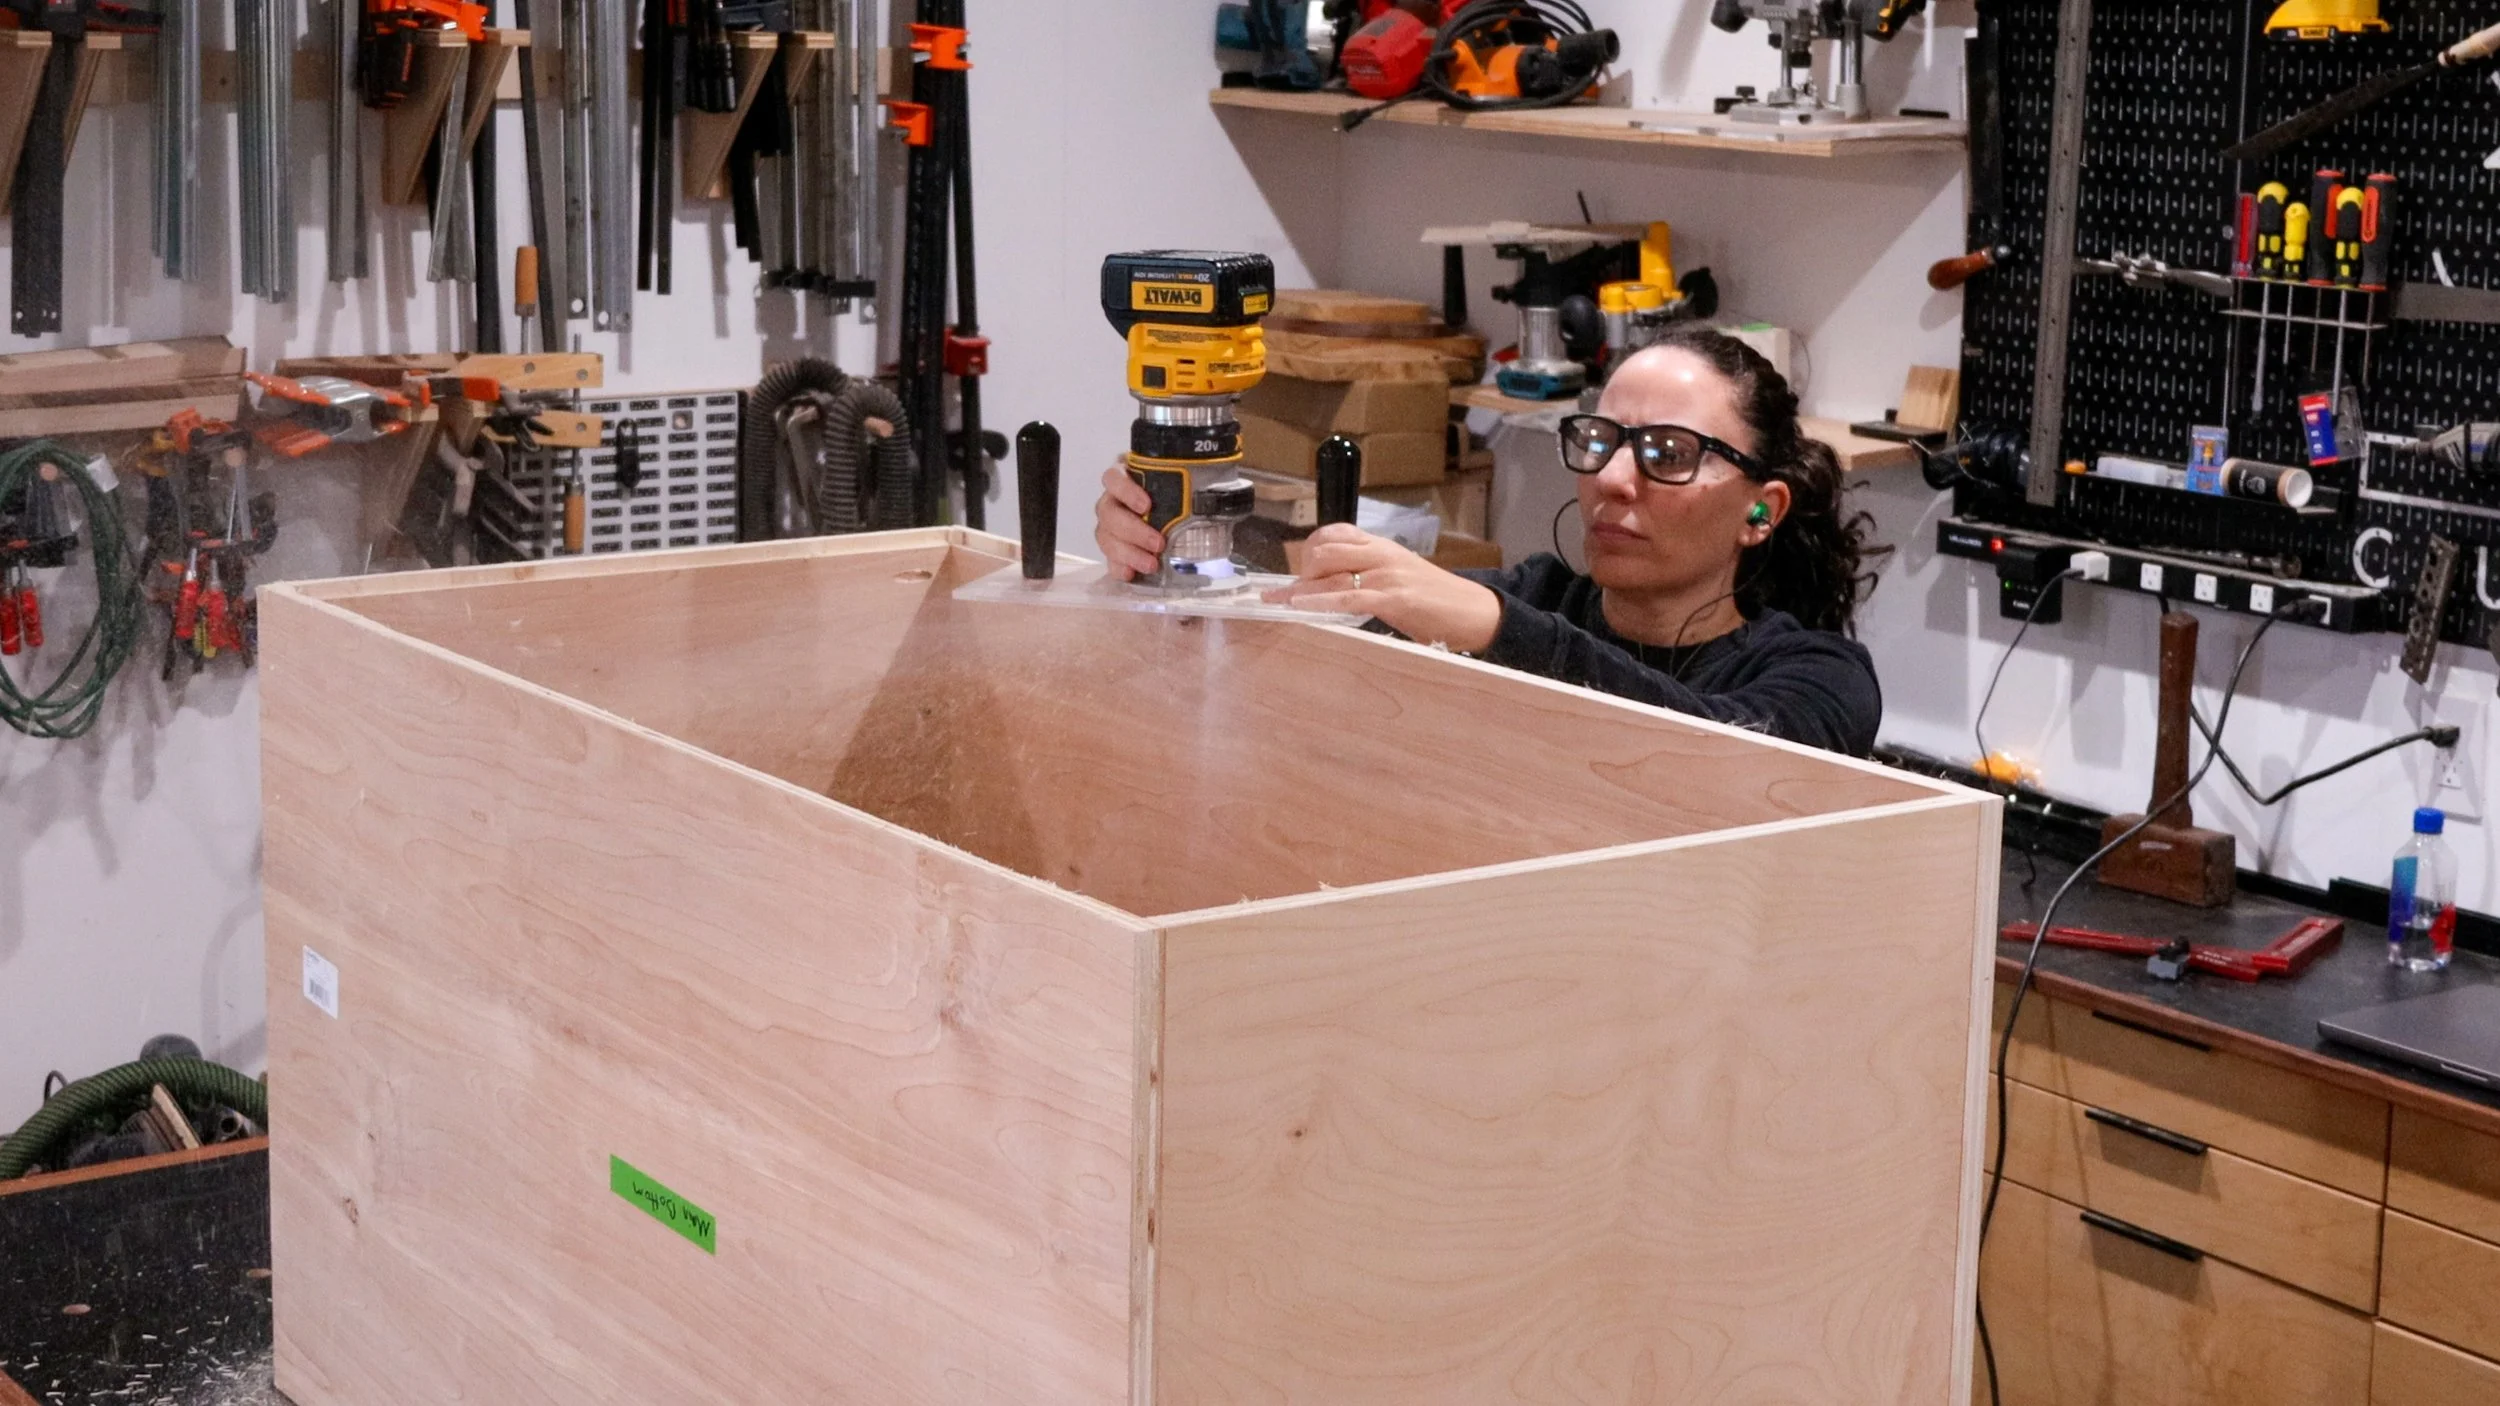
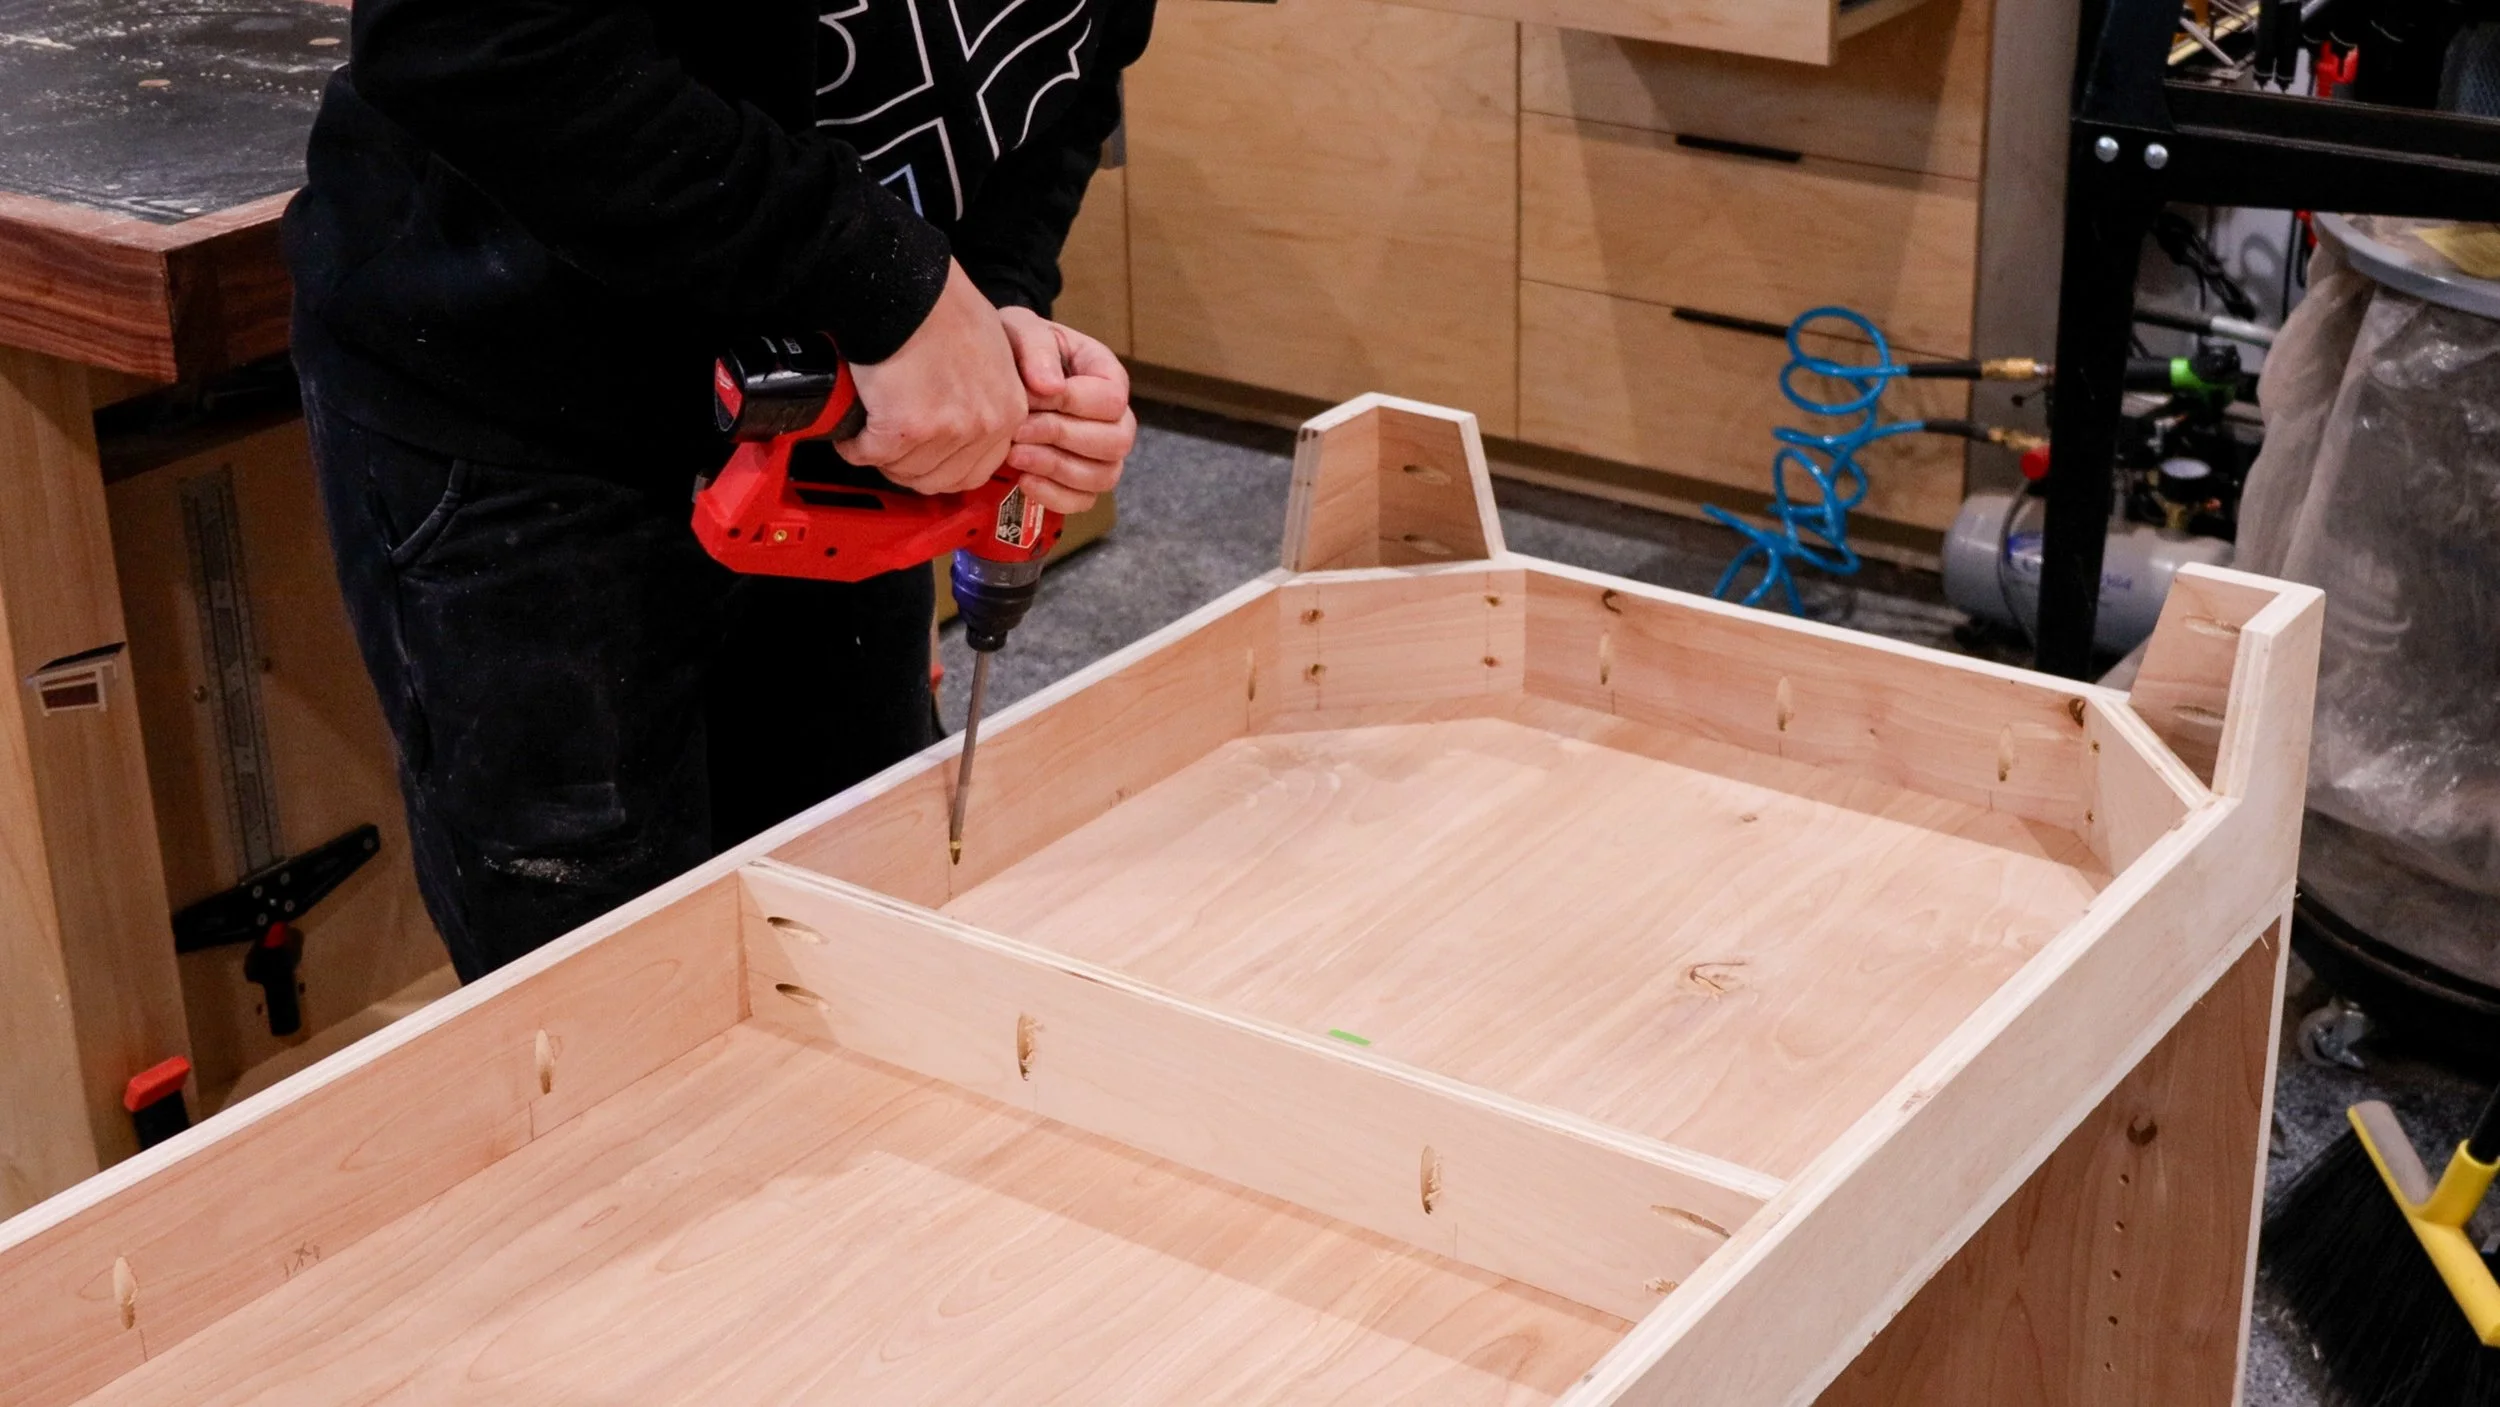
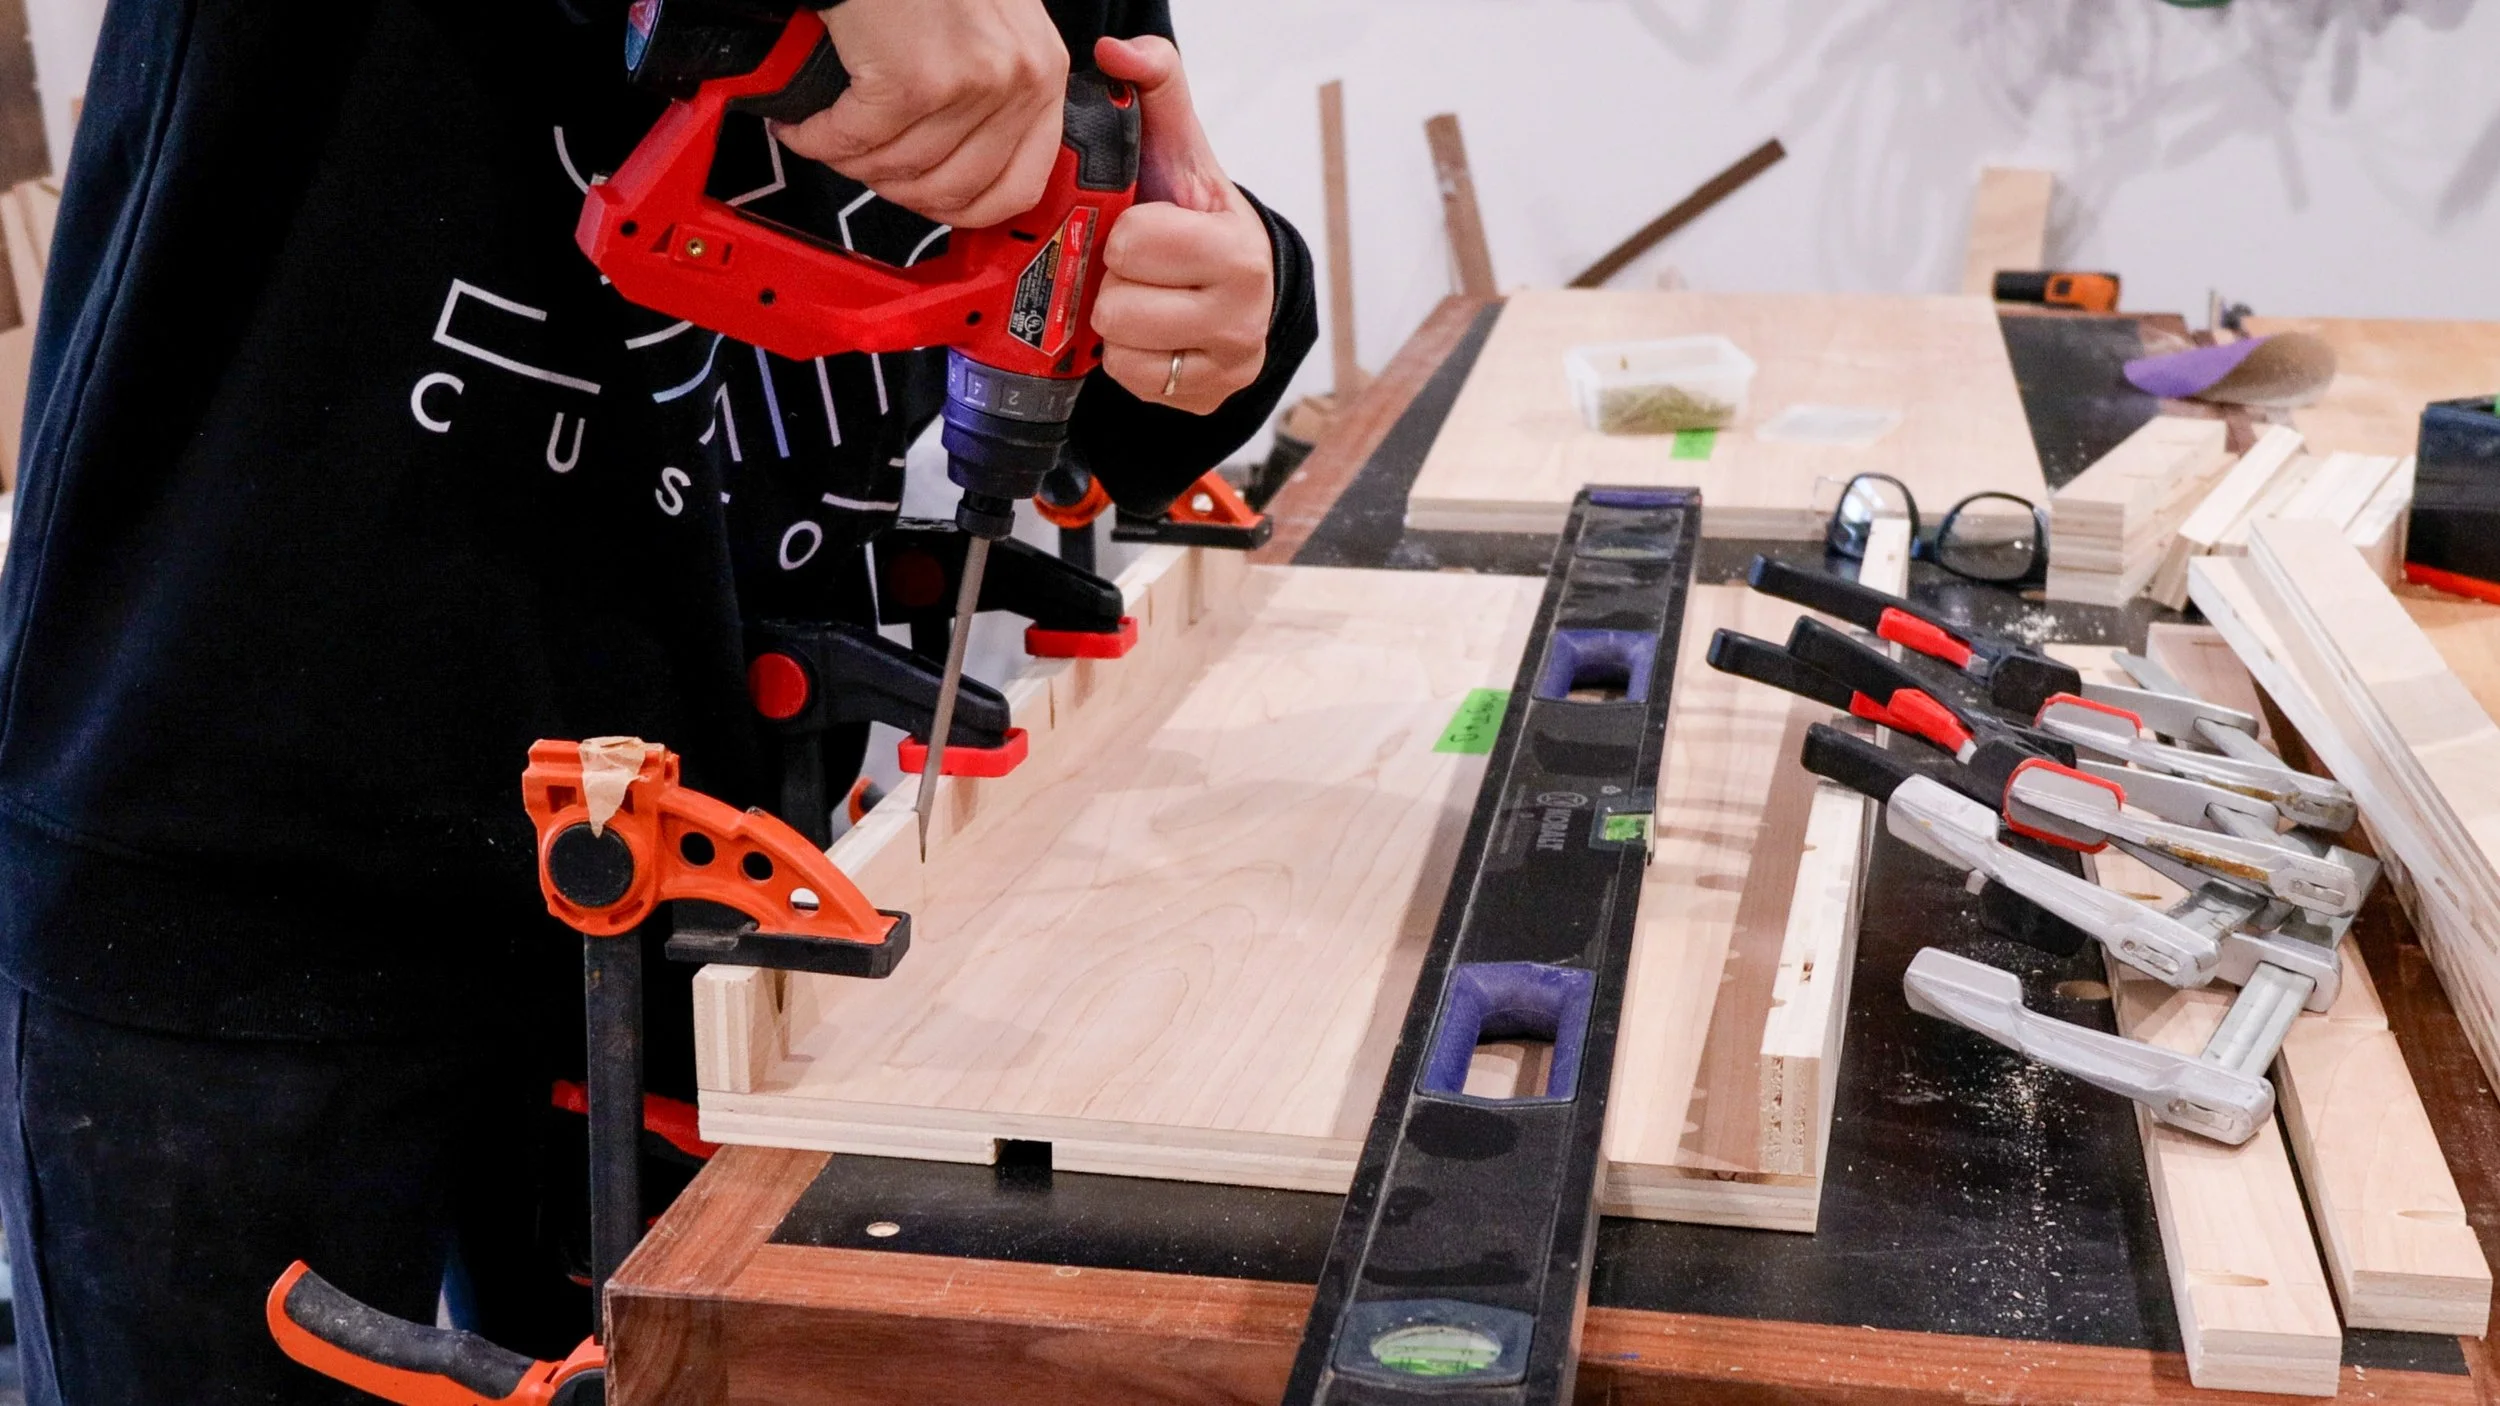
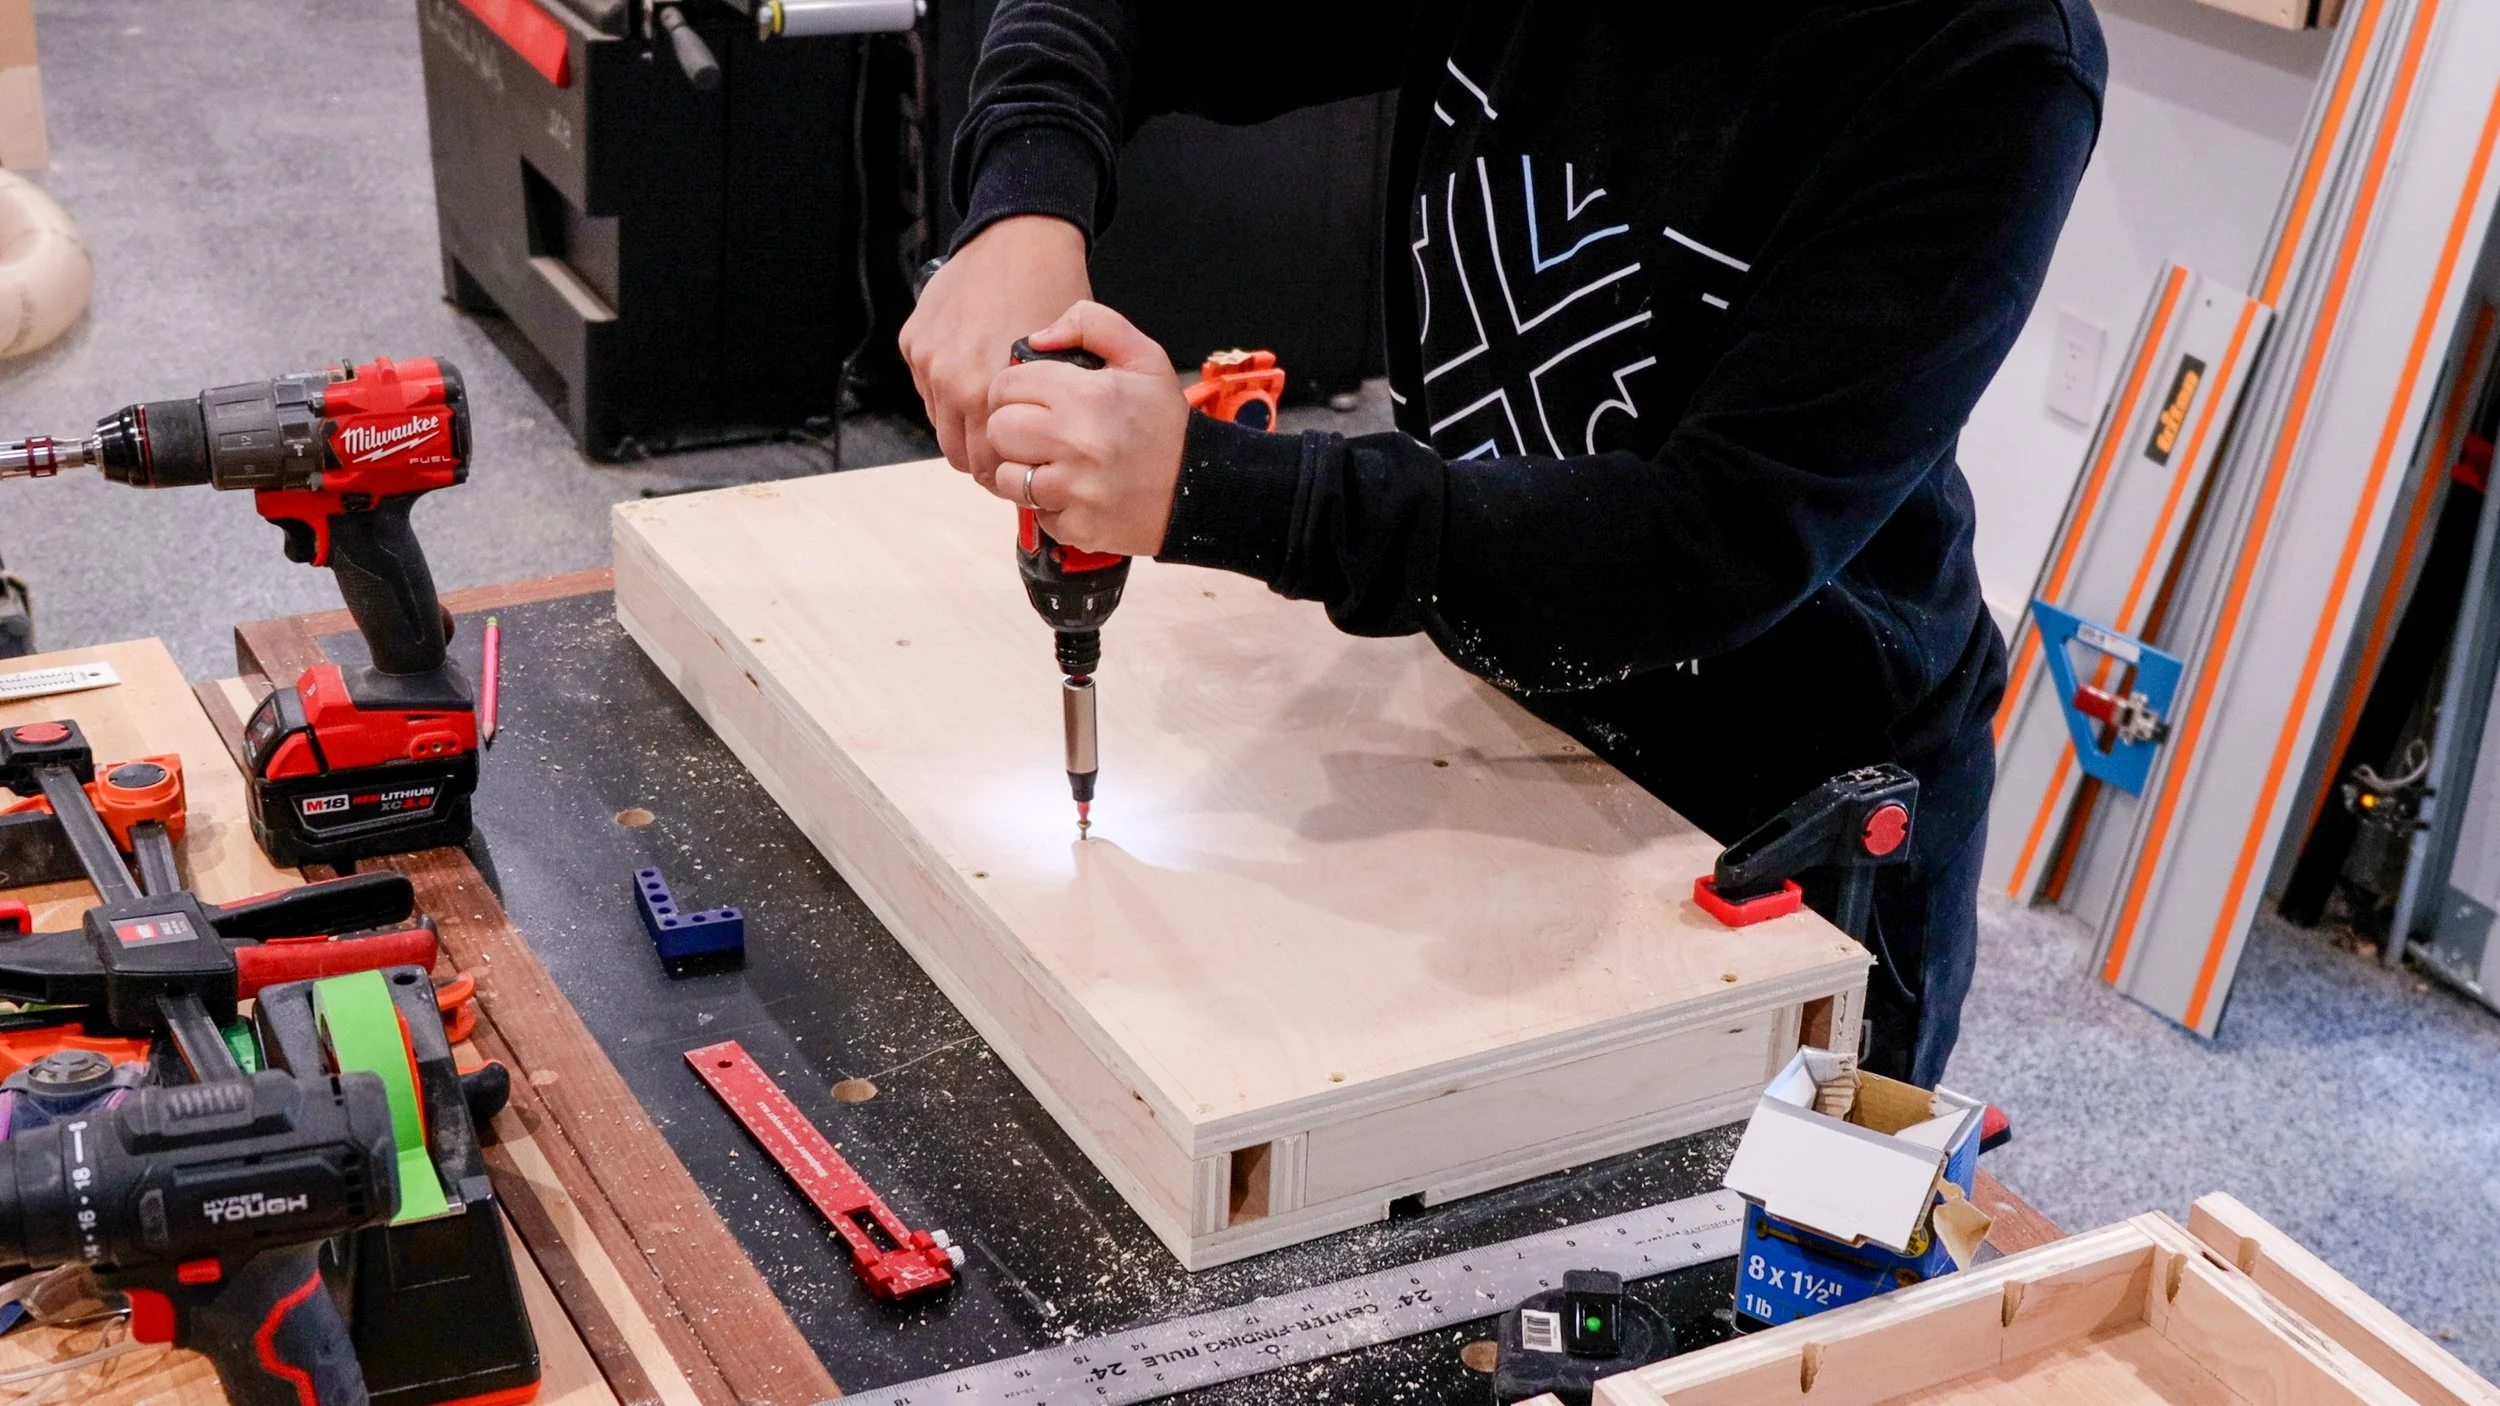
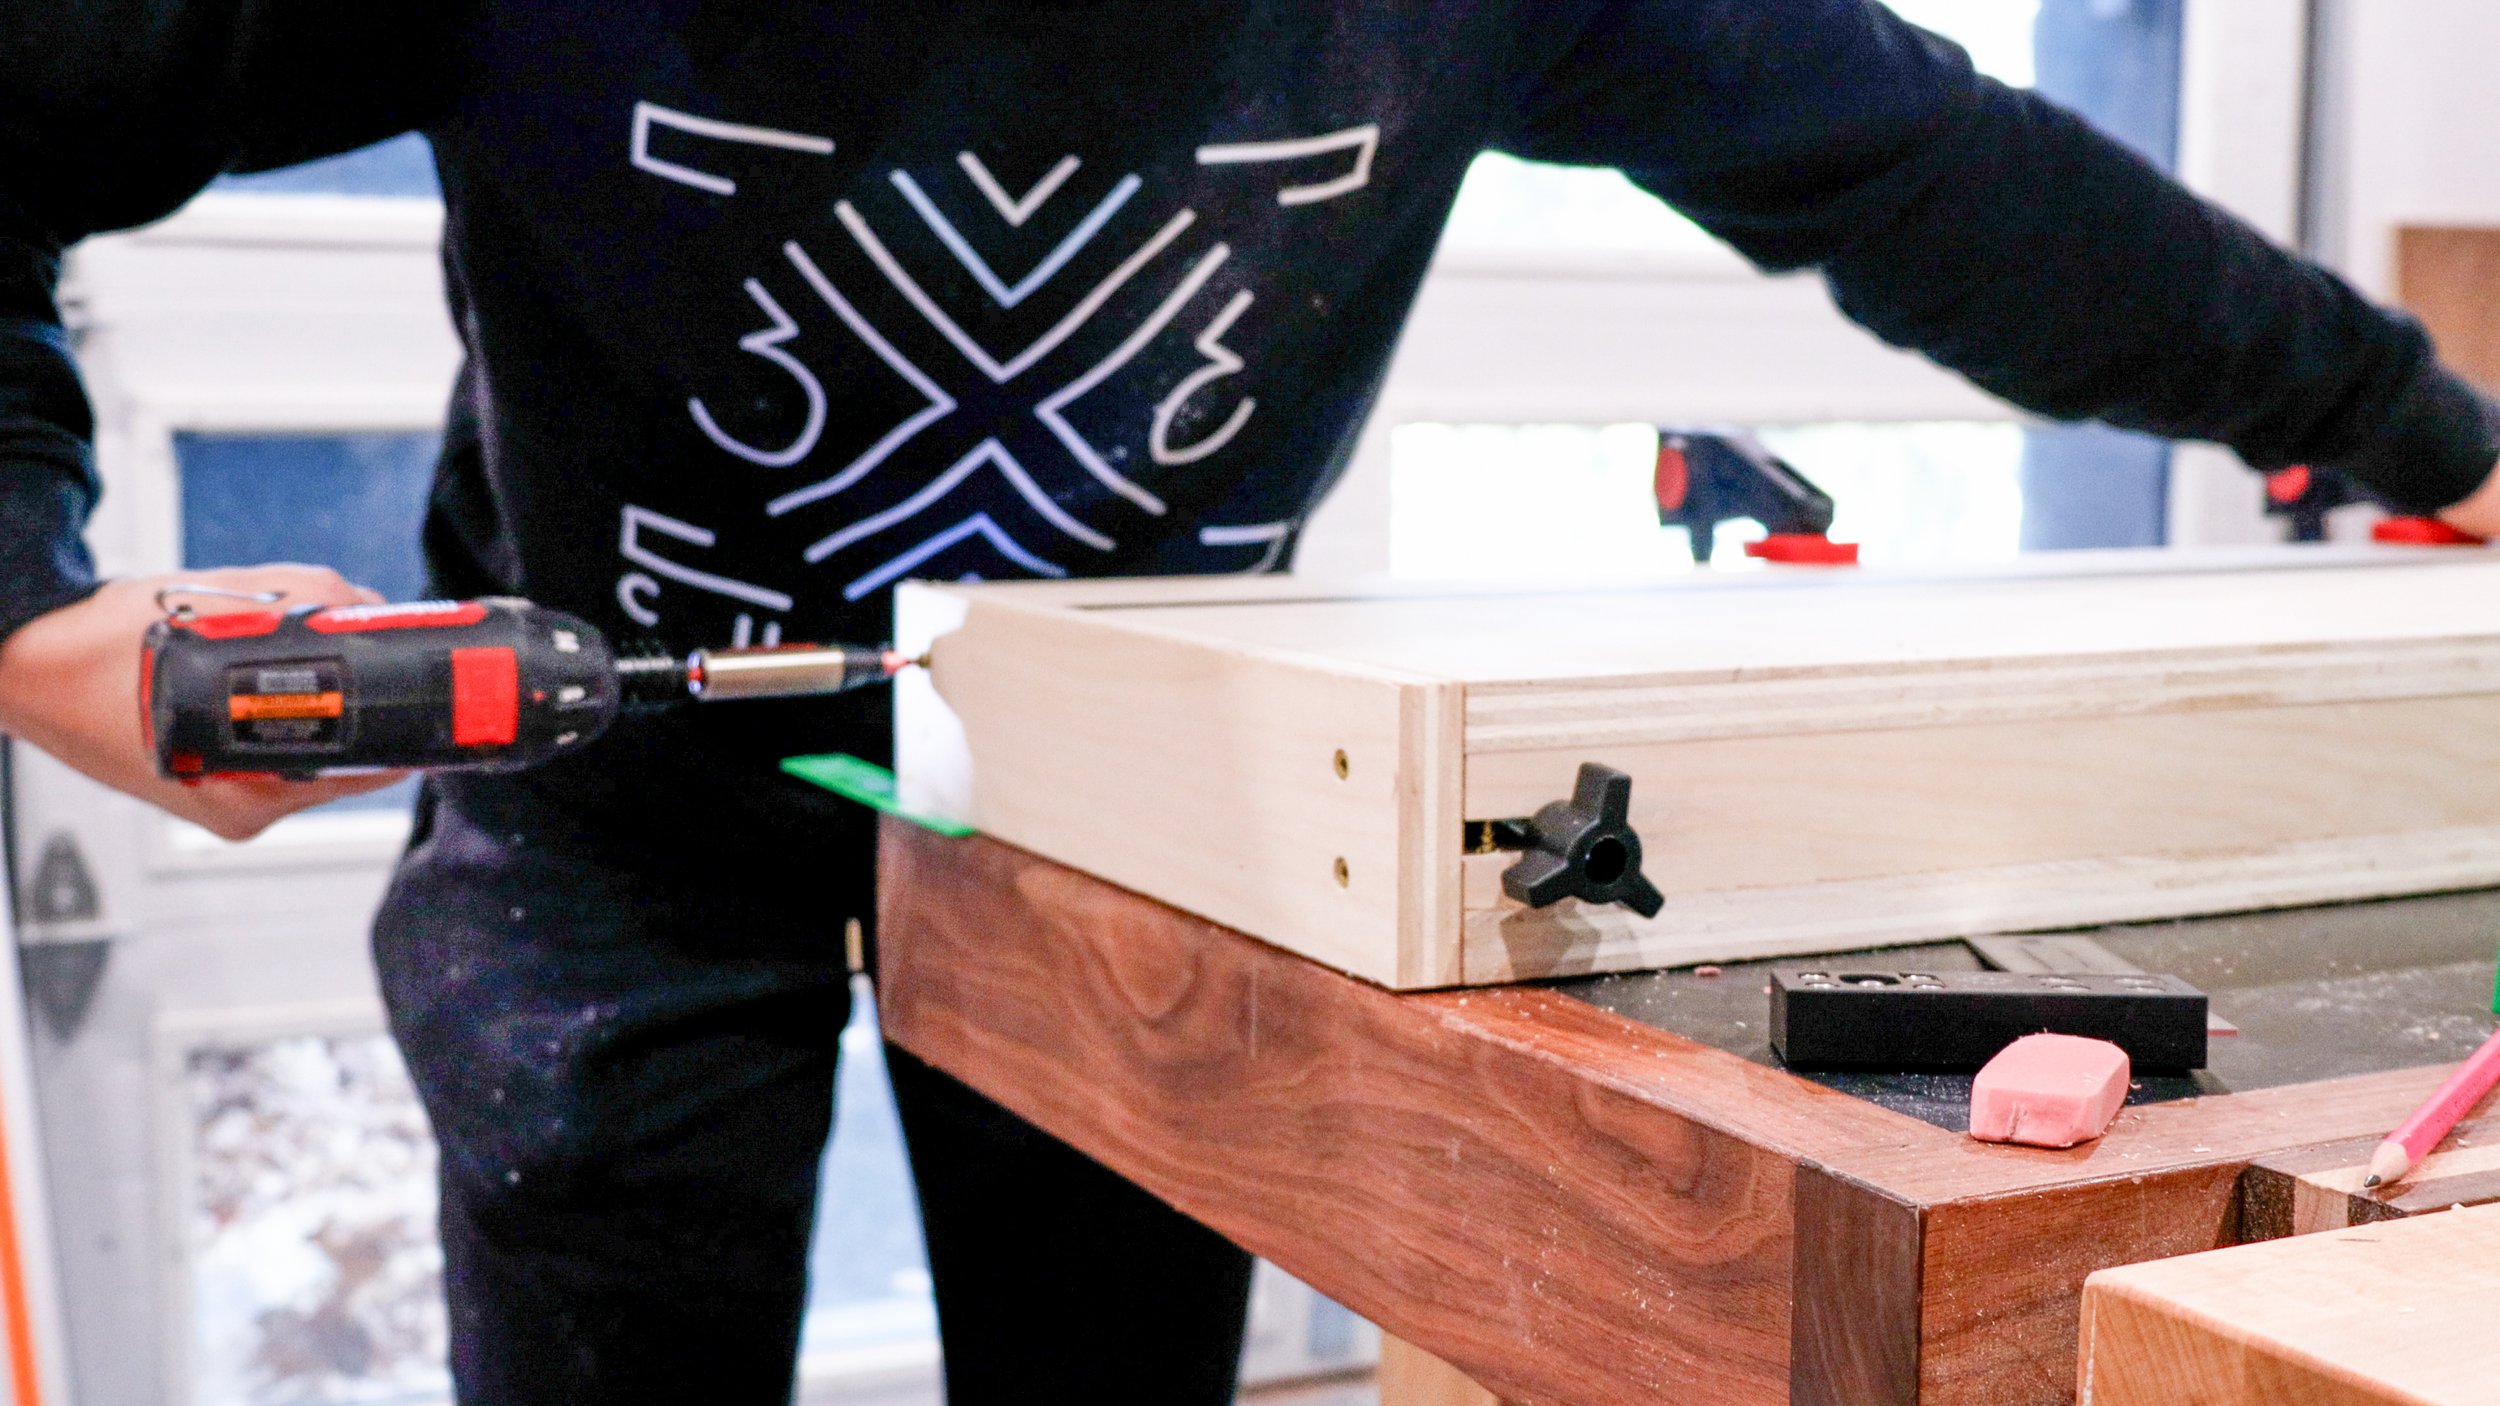
Assemble the main cabinet using pocket hole screws. The screws should be drilled through the sides of the cabinet into the top and bottom.
If you plan to make an adjustable shelf, it is easier to drill the shelf pin holes before assembly.
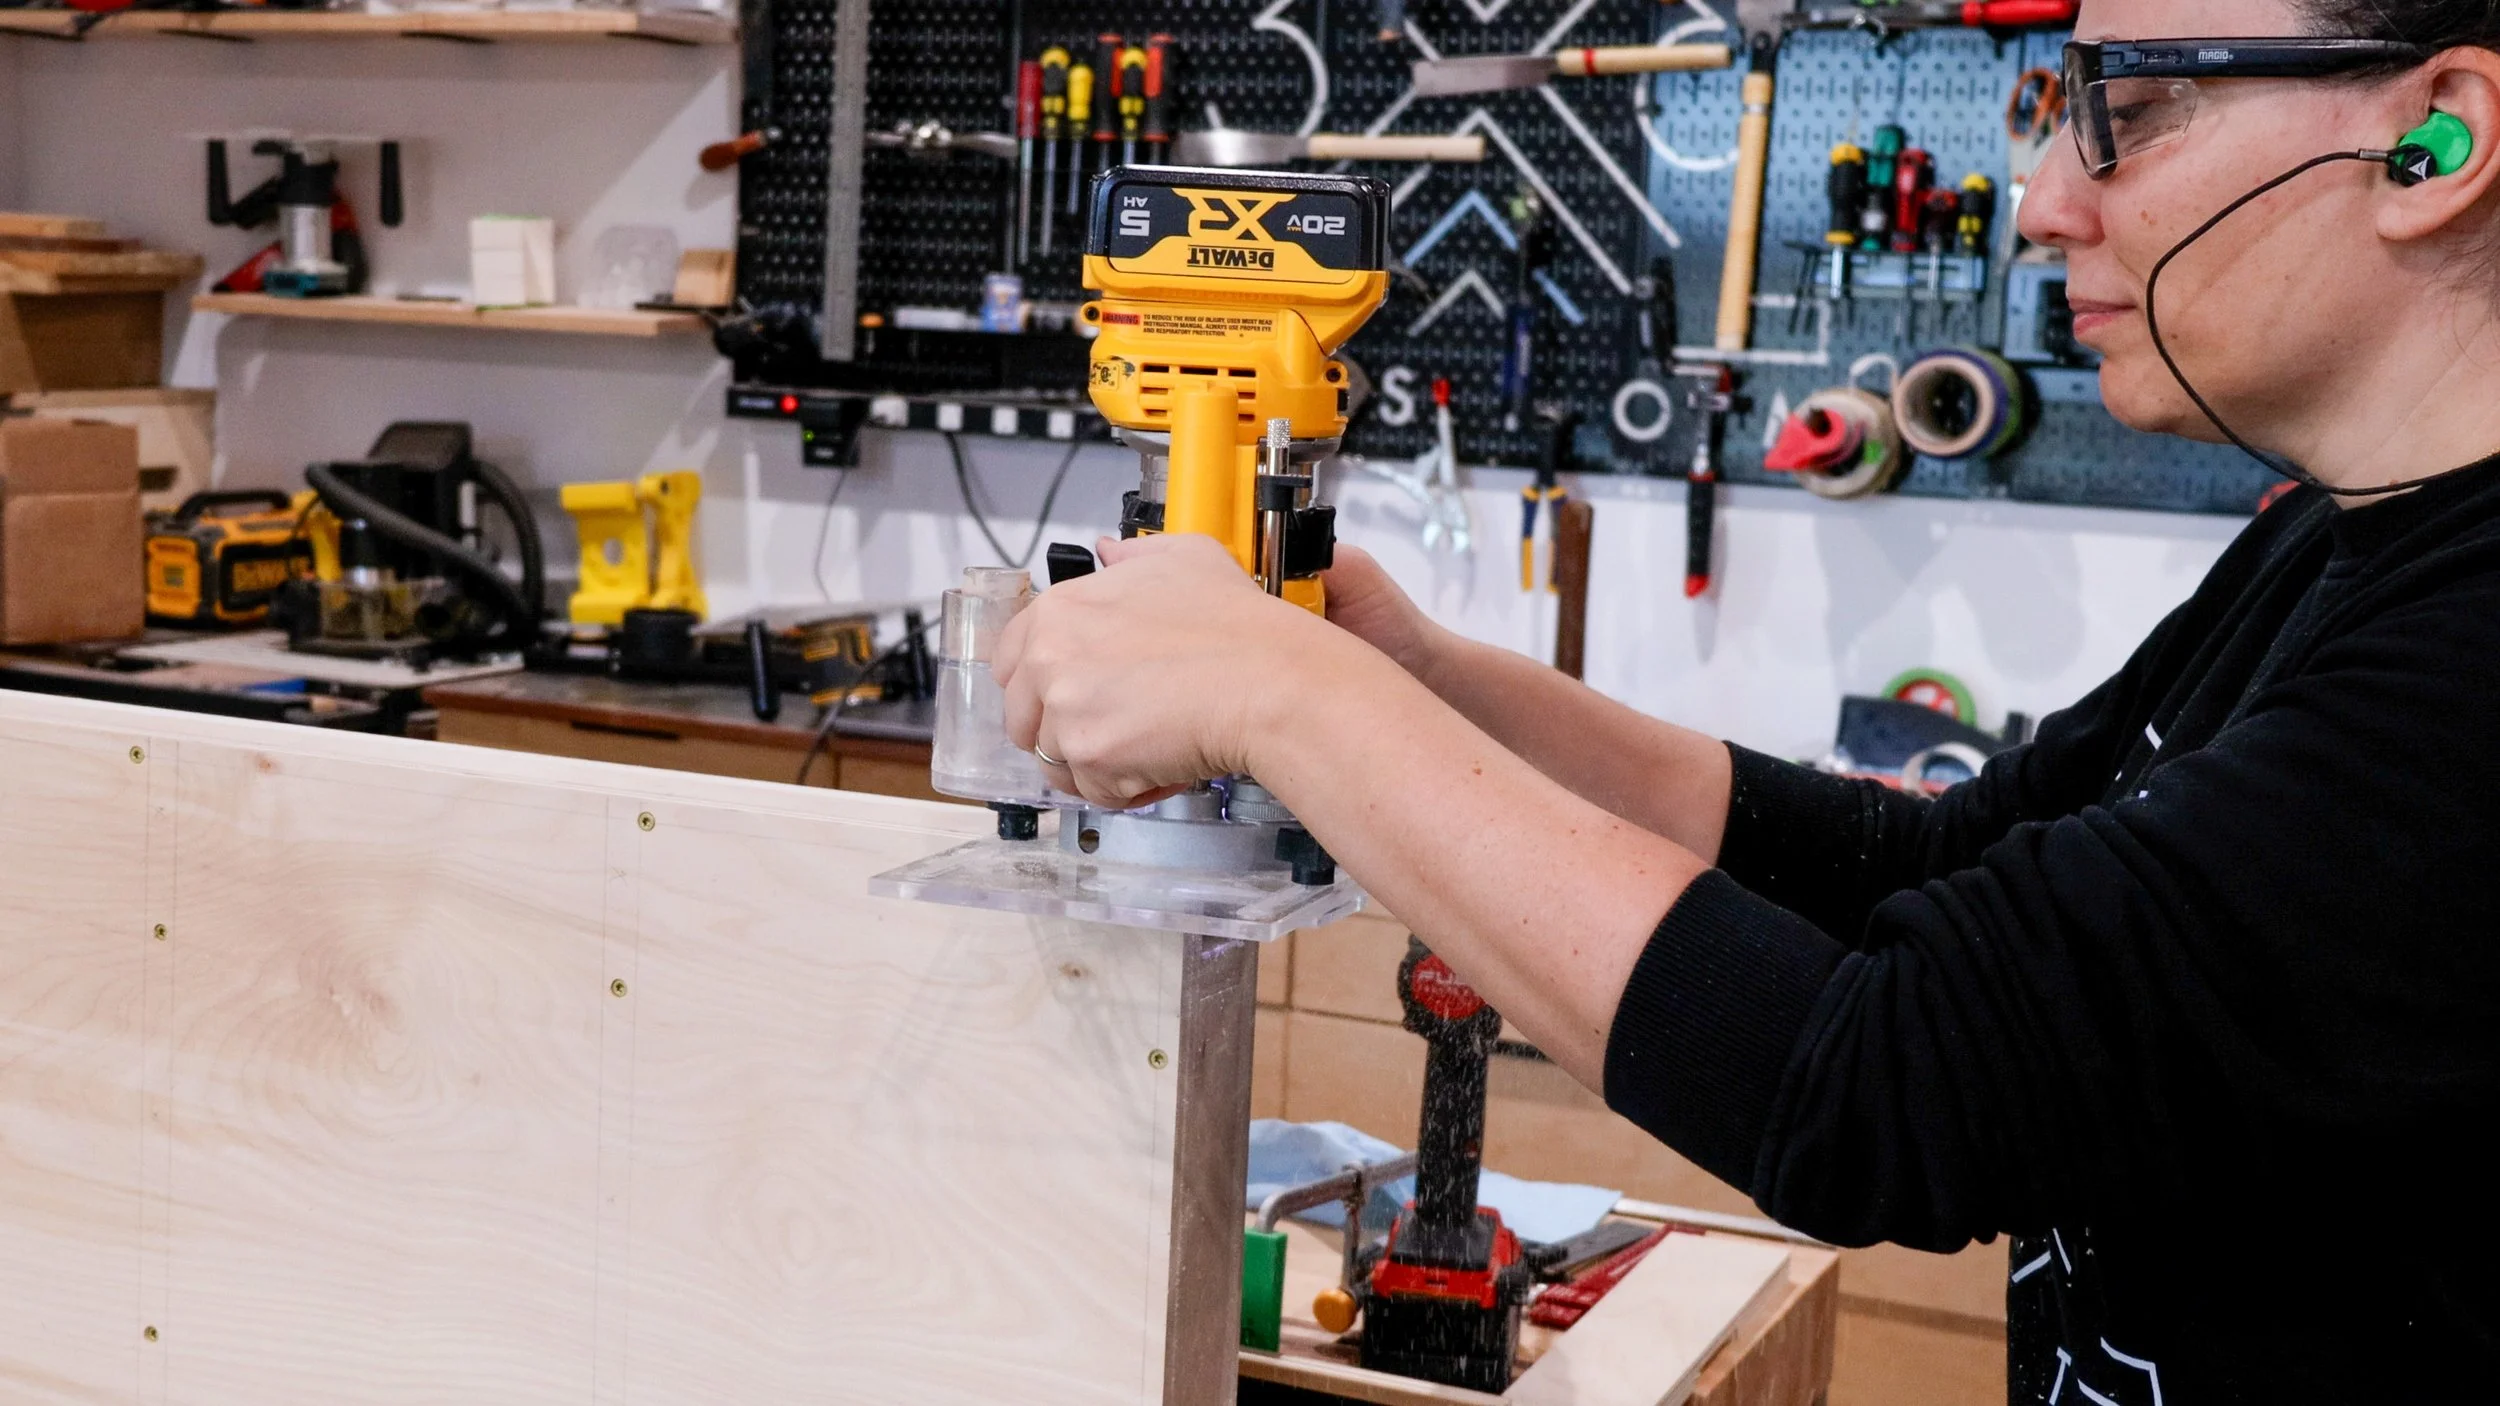
Route a 3/8” wide and 1/2” deep rabbet all along the backside of the cabinet to make room for the 1/2” back.
Install the middle shelf. Notice how the middle shelf is smaller than the cabinet sides to make room for the 1/2” rabbet that will hold the back.
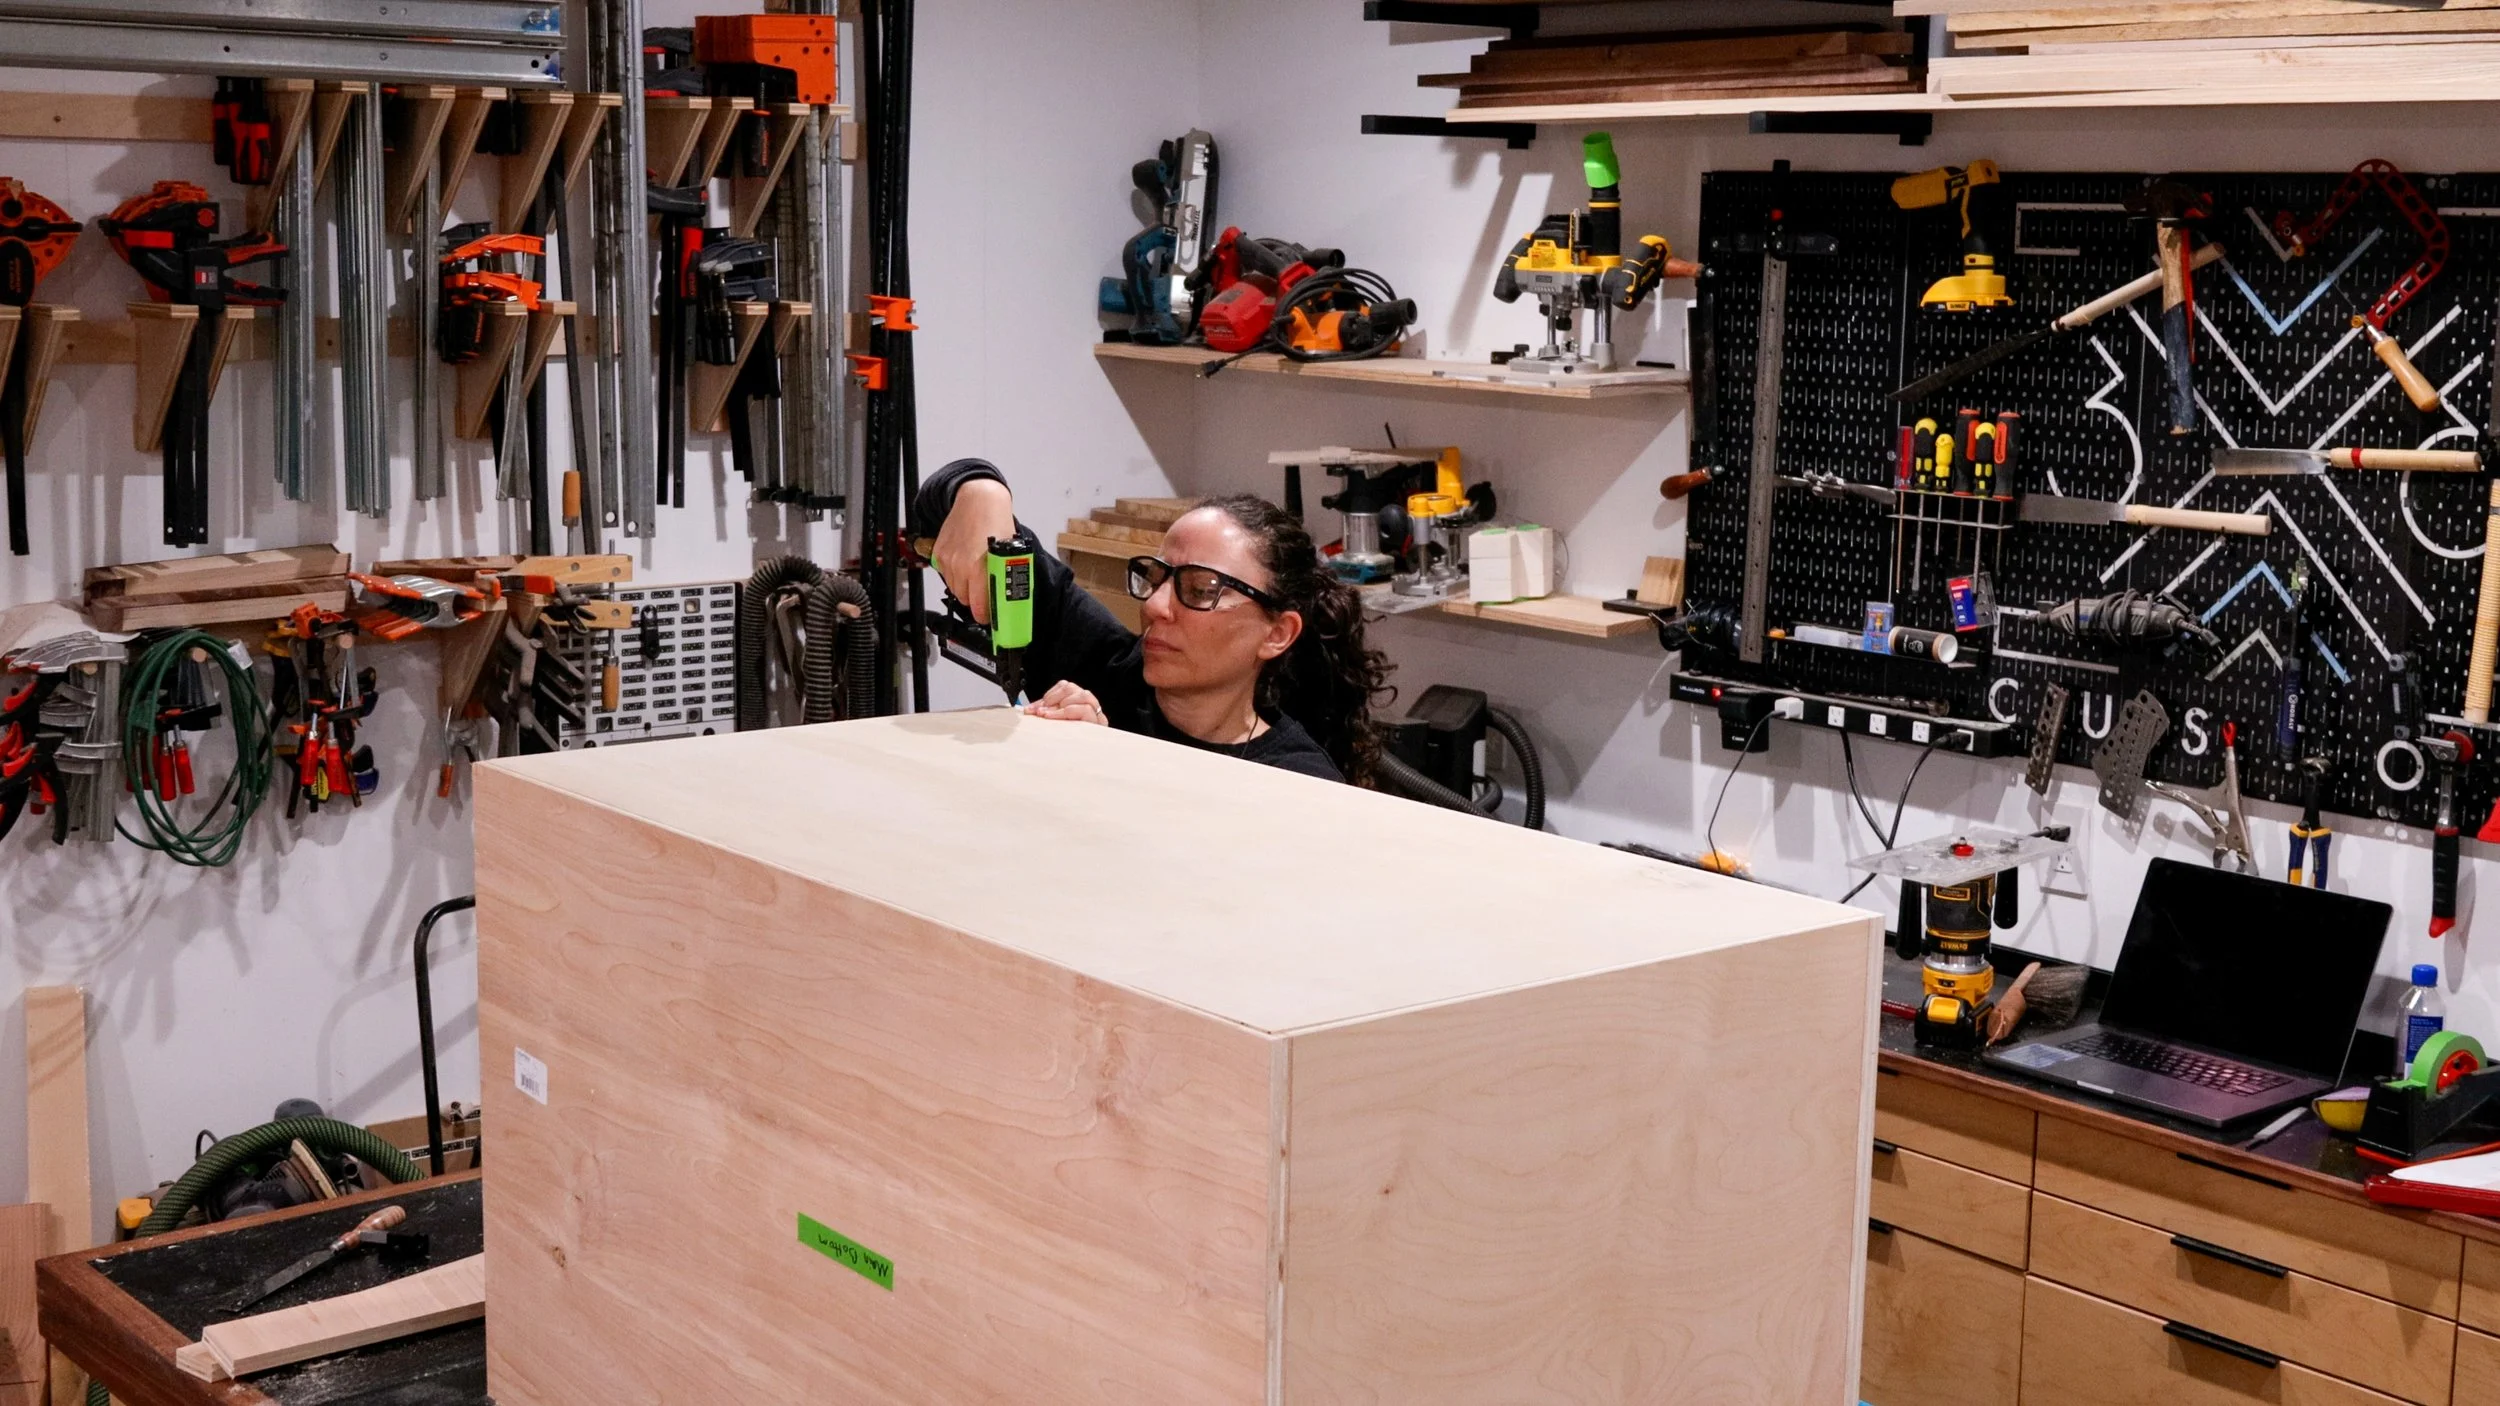
Tack the back in that rabbet. And the main cabinet is basically done!
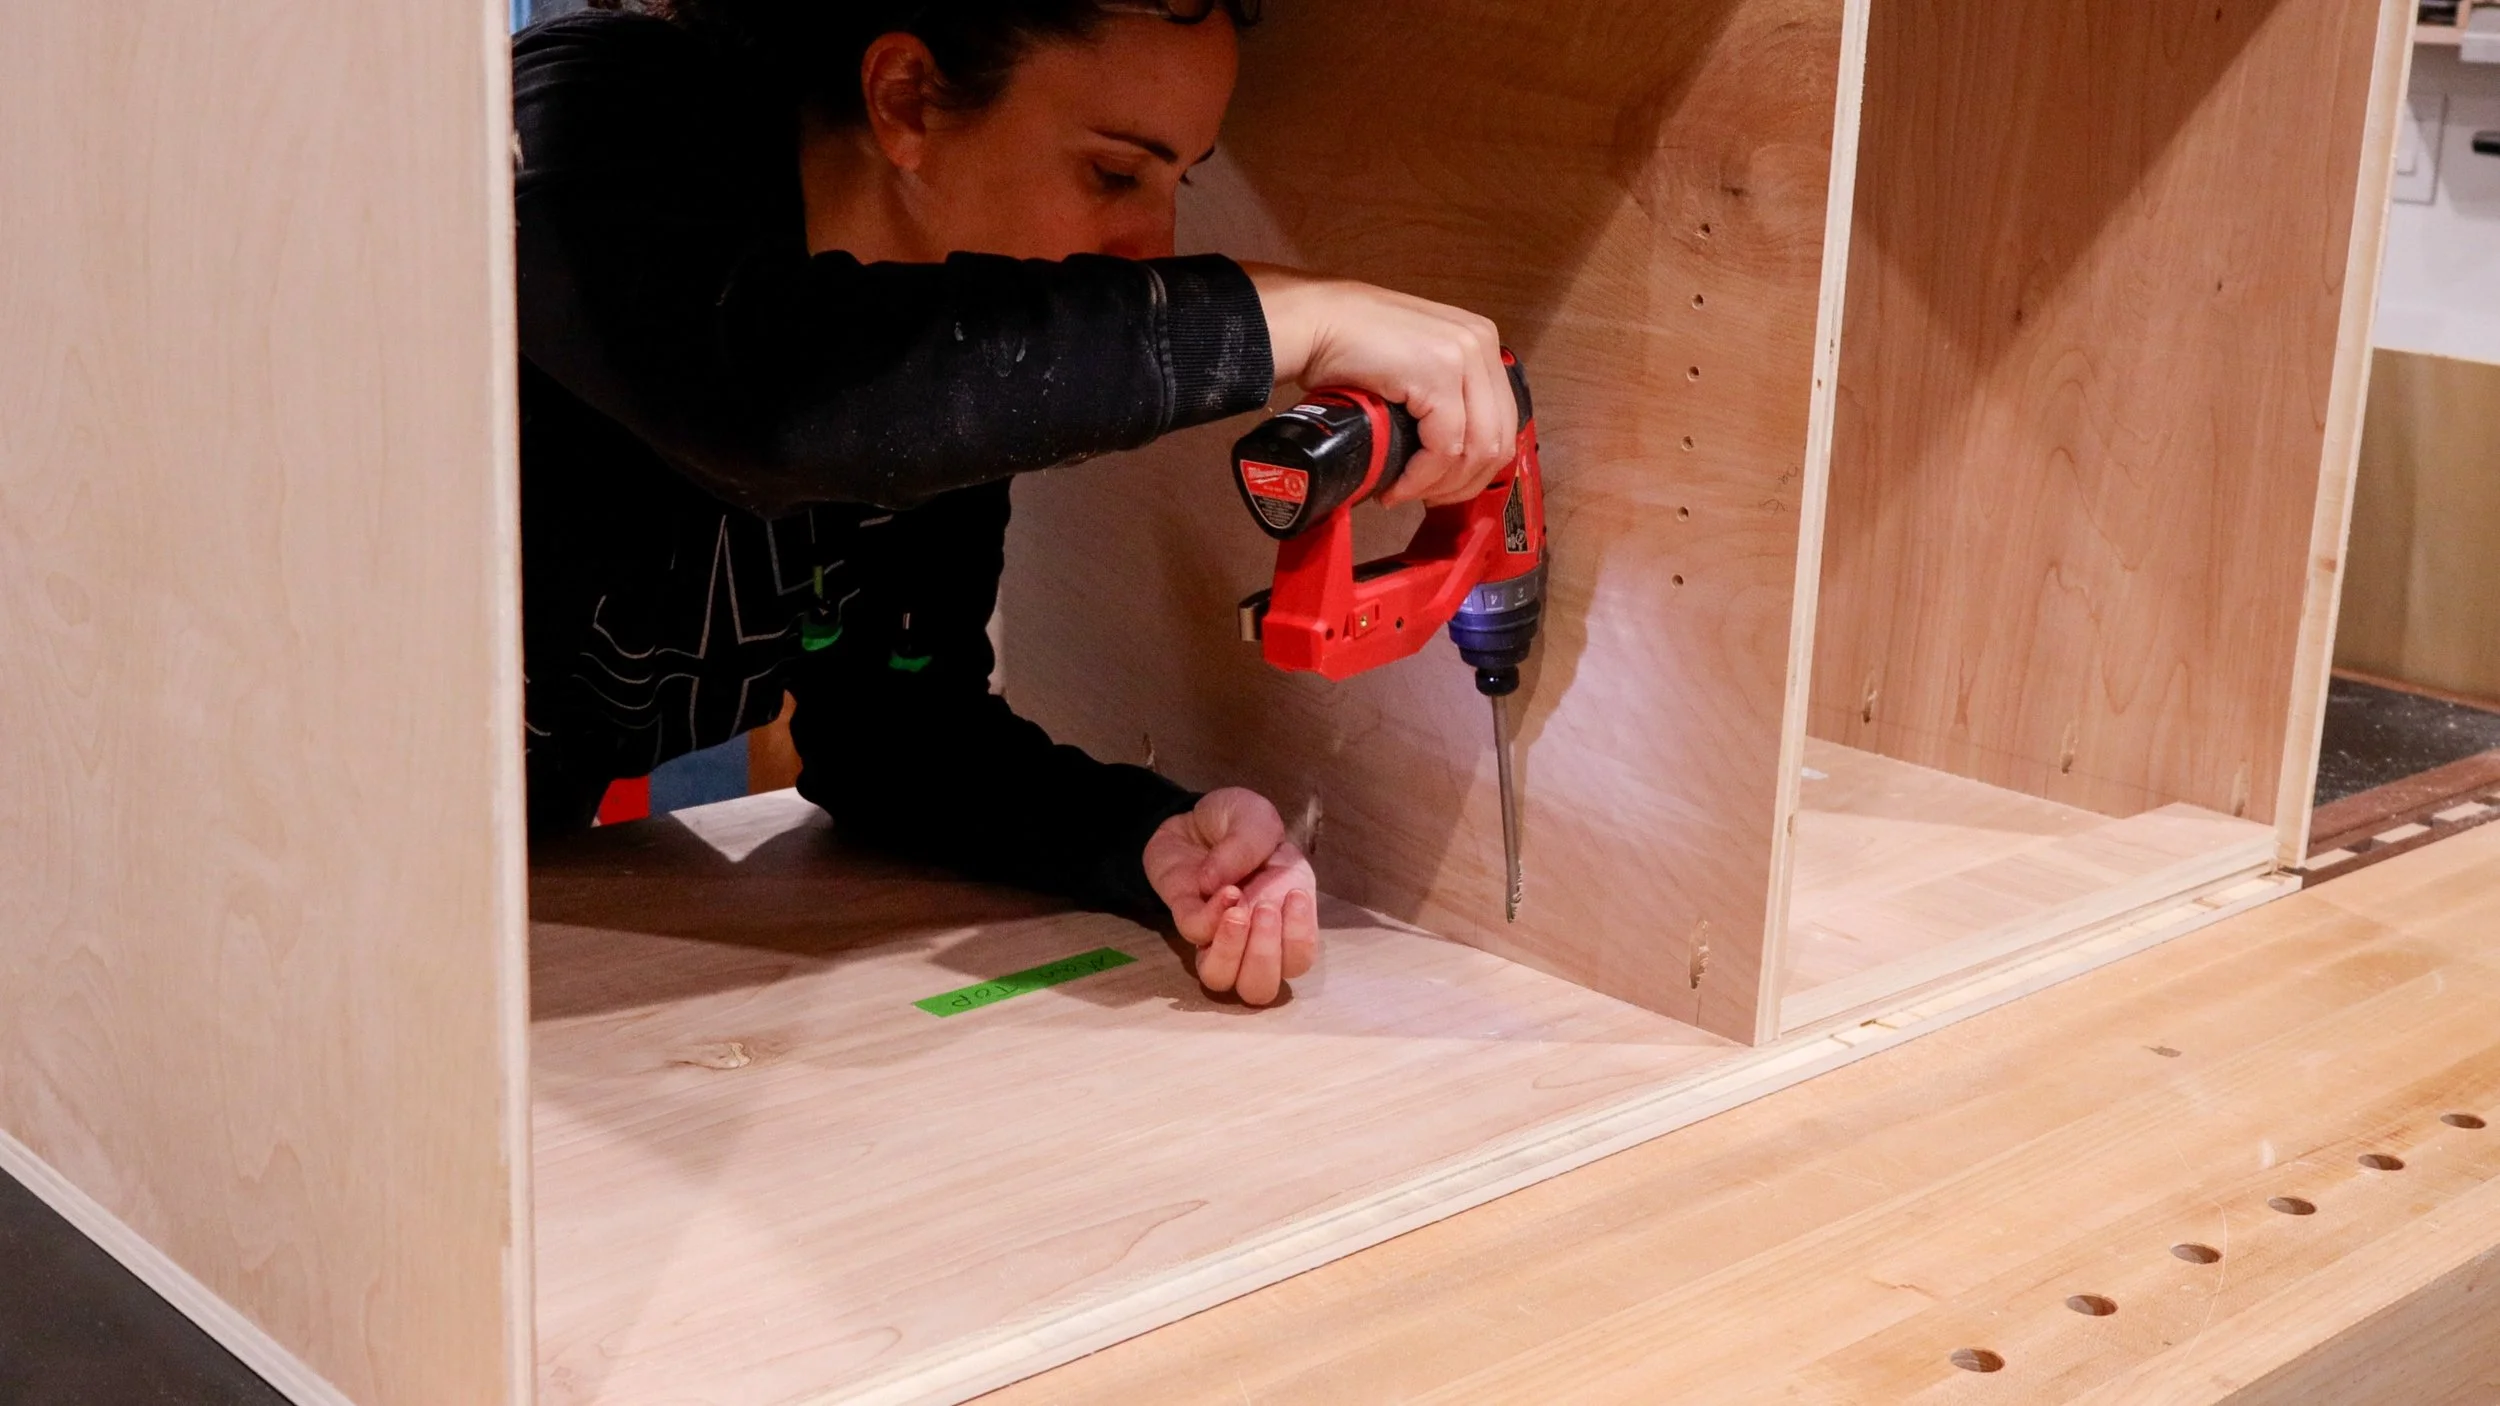
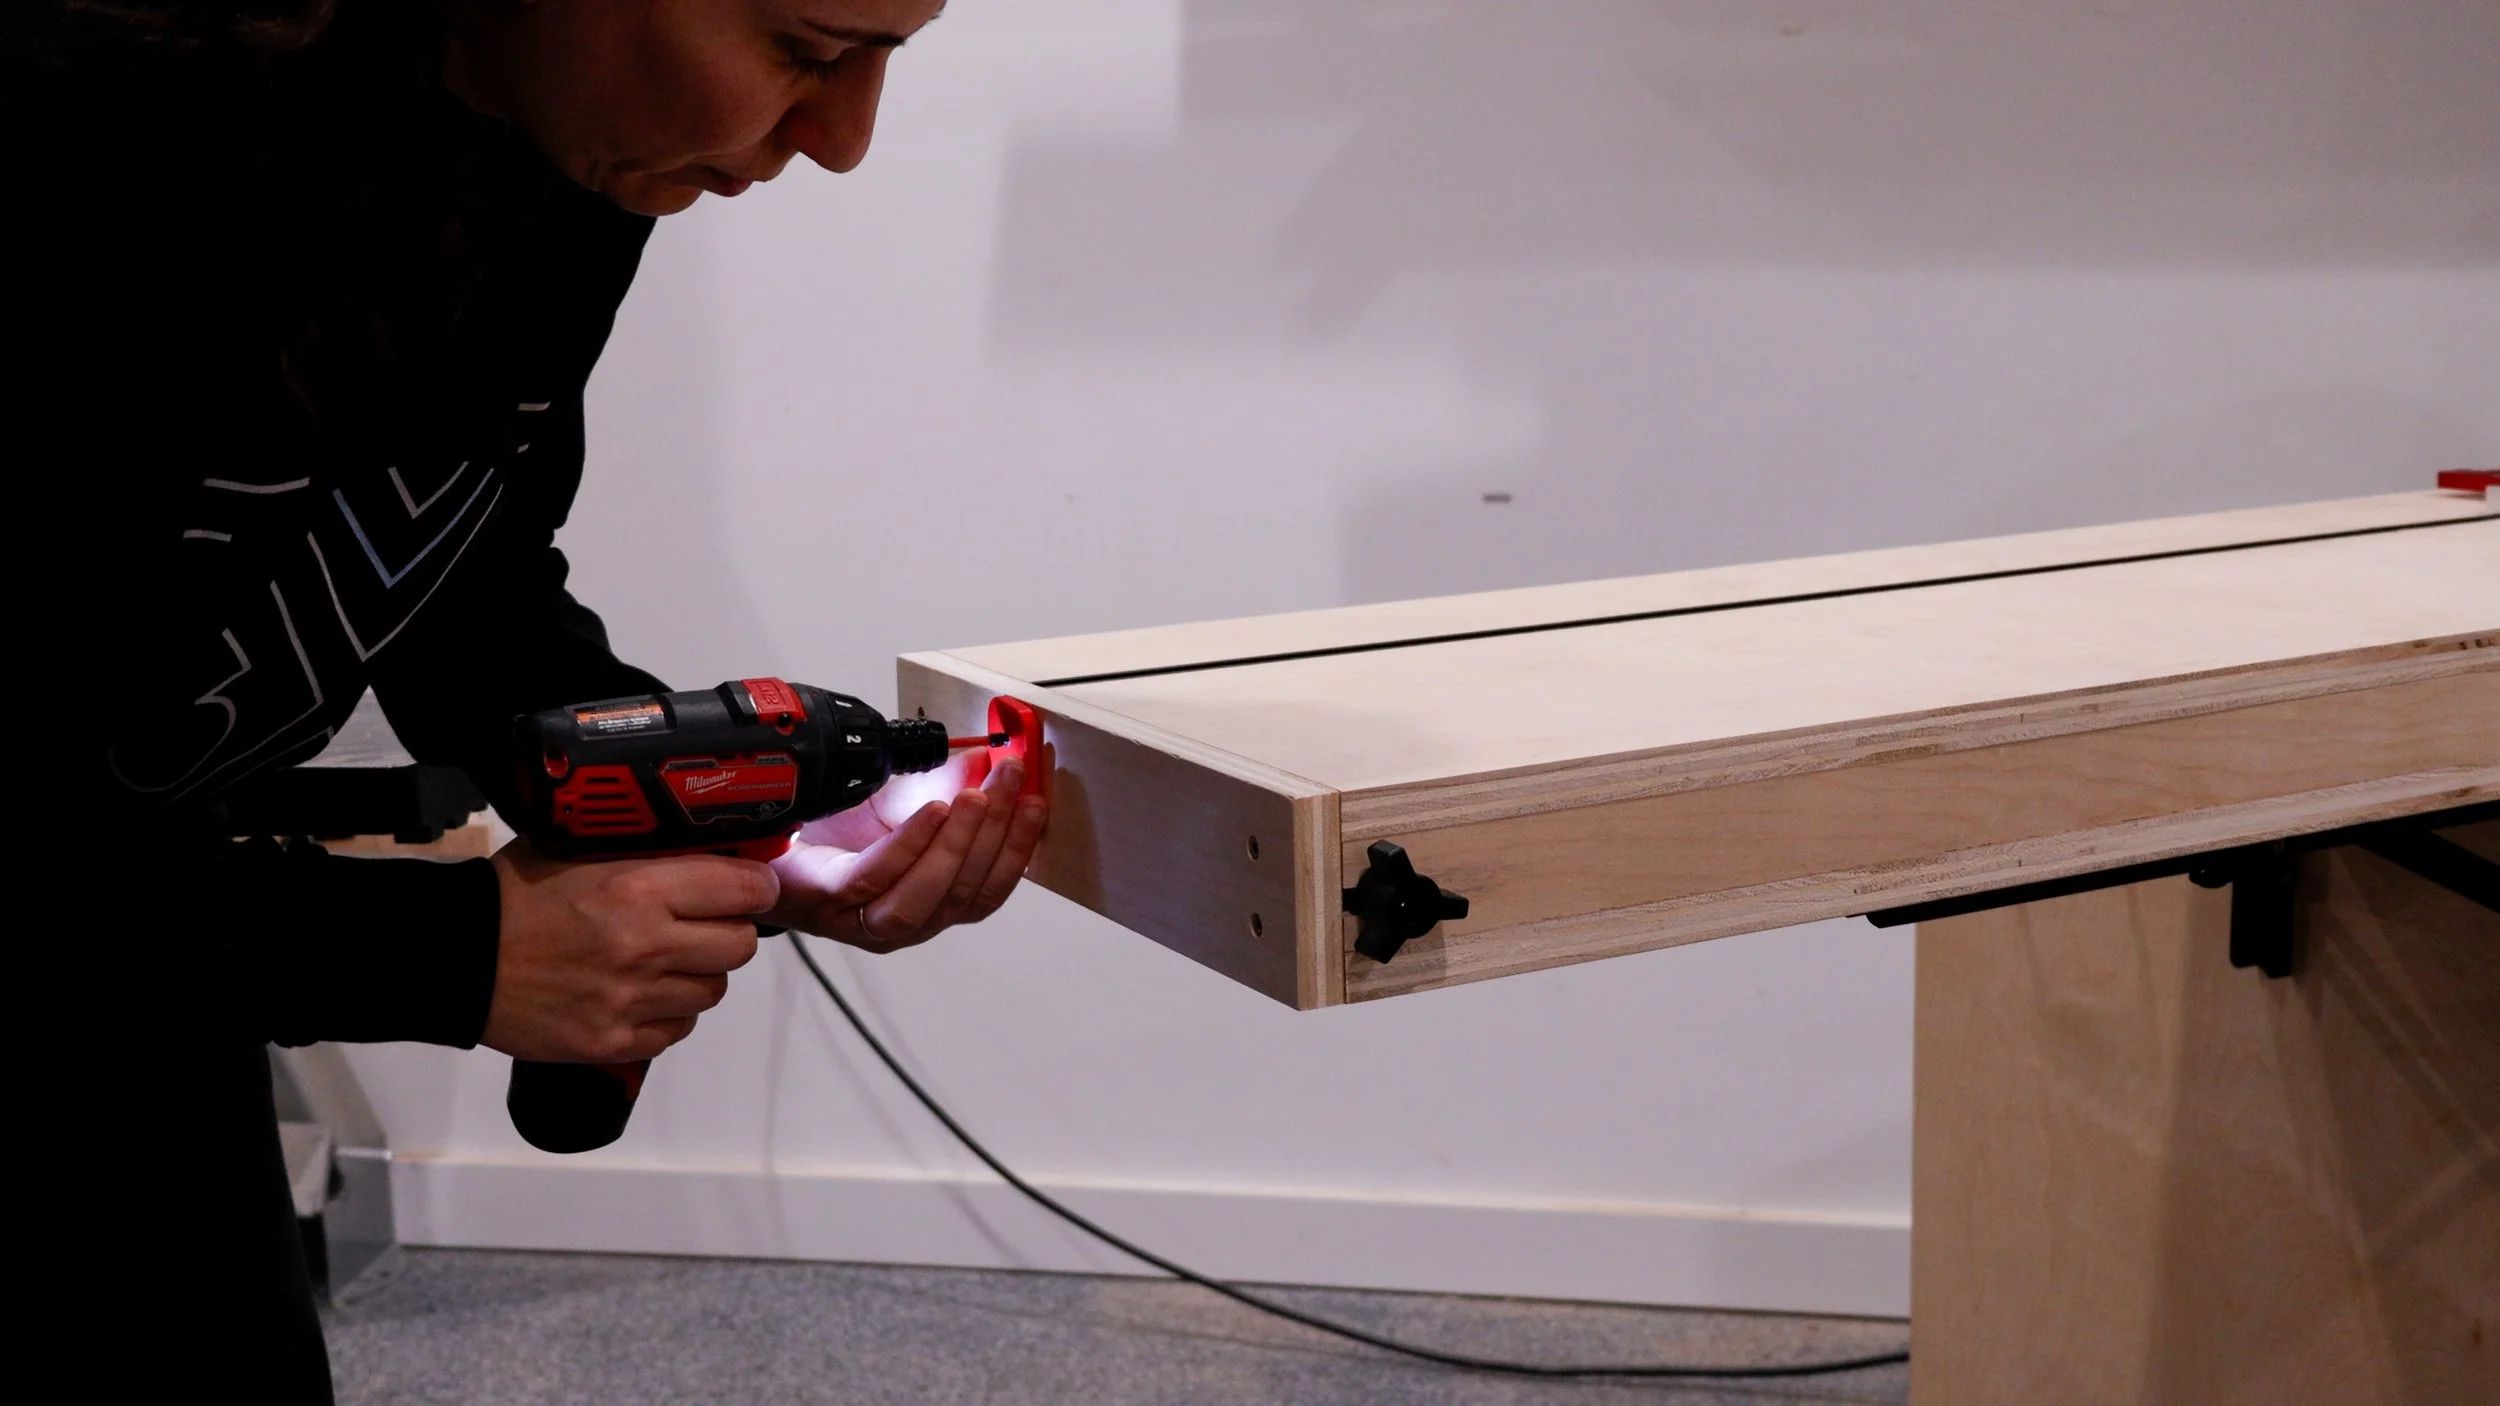
All it needs is a base. Cut the parts to size and attach them all using pocket hole screws. Ensure that you drill pocket holes on the top sides of all these pieces before assembling them.
Because you will use those pocket holes to attach it to the underside of the cabinet.
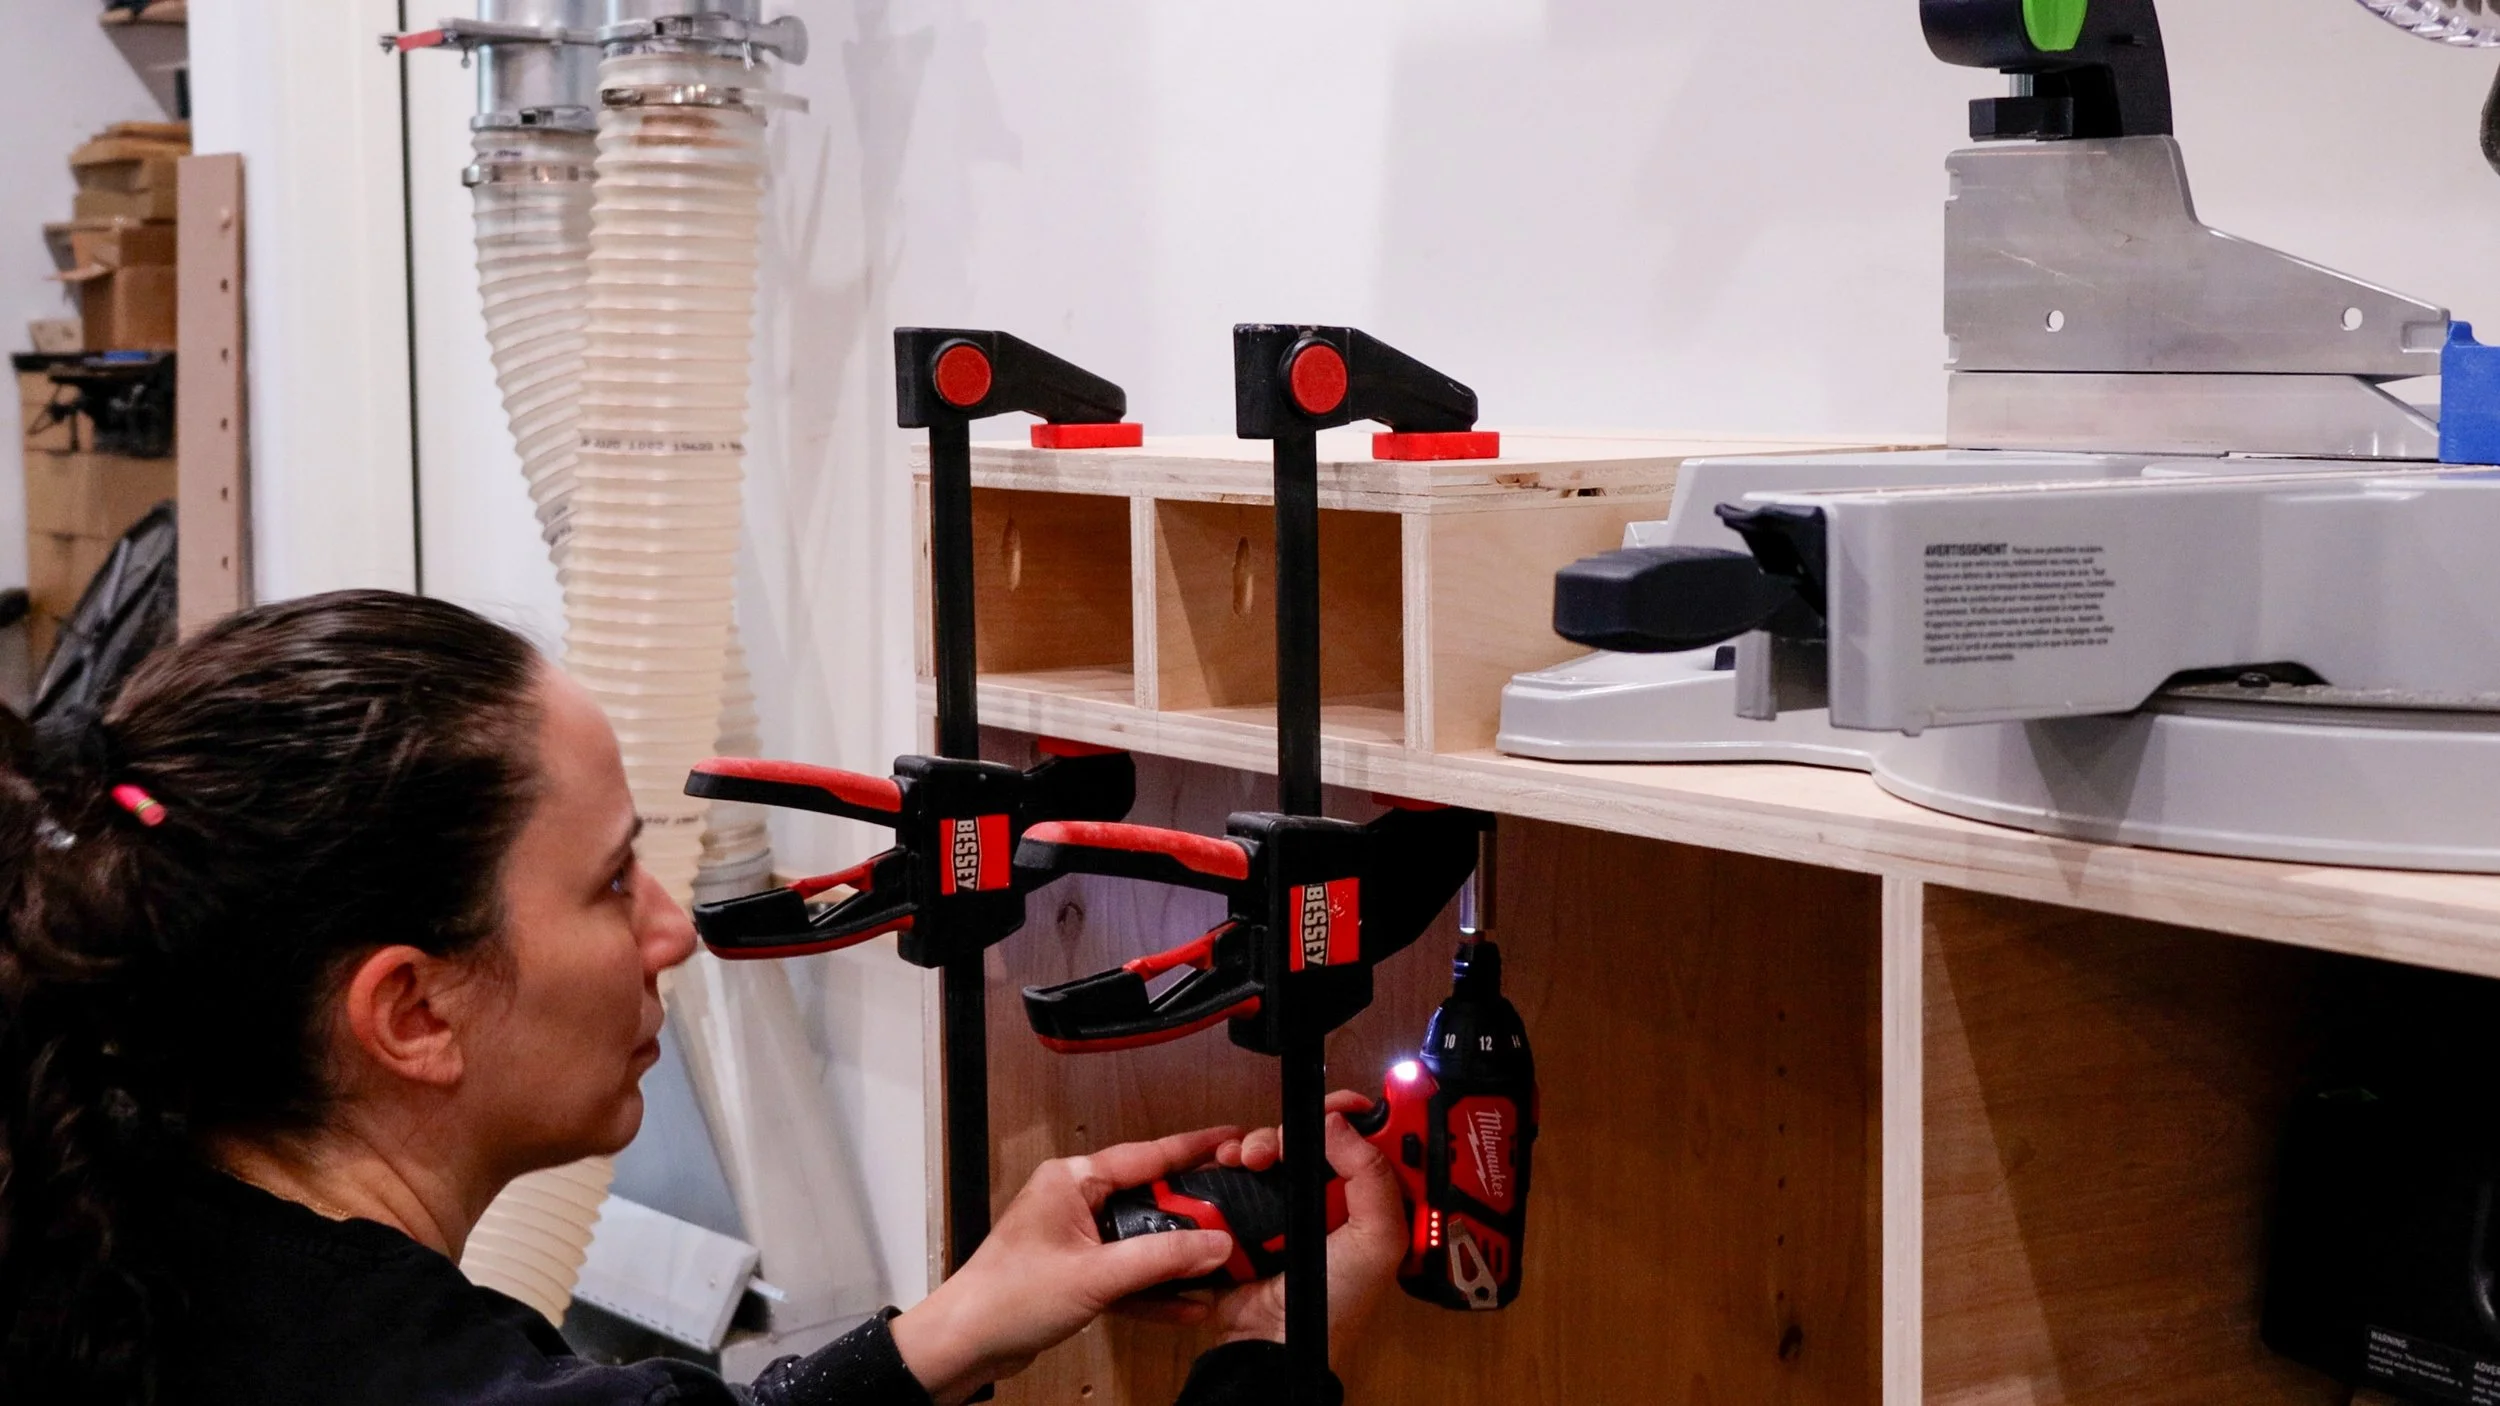
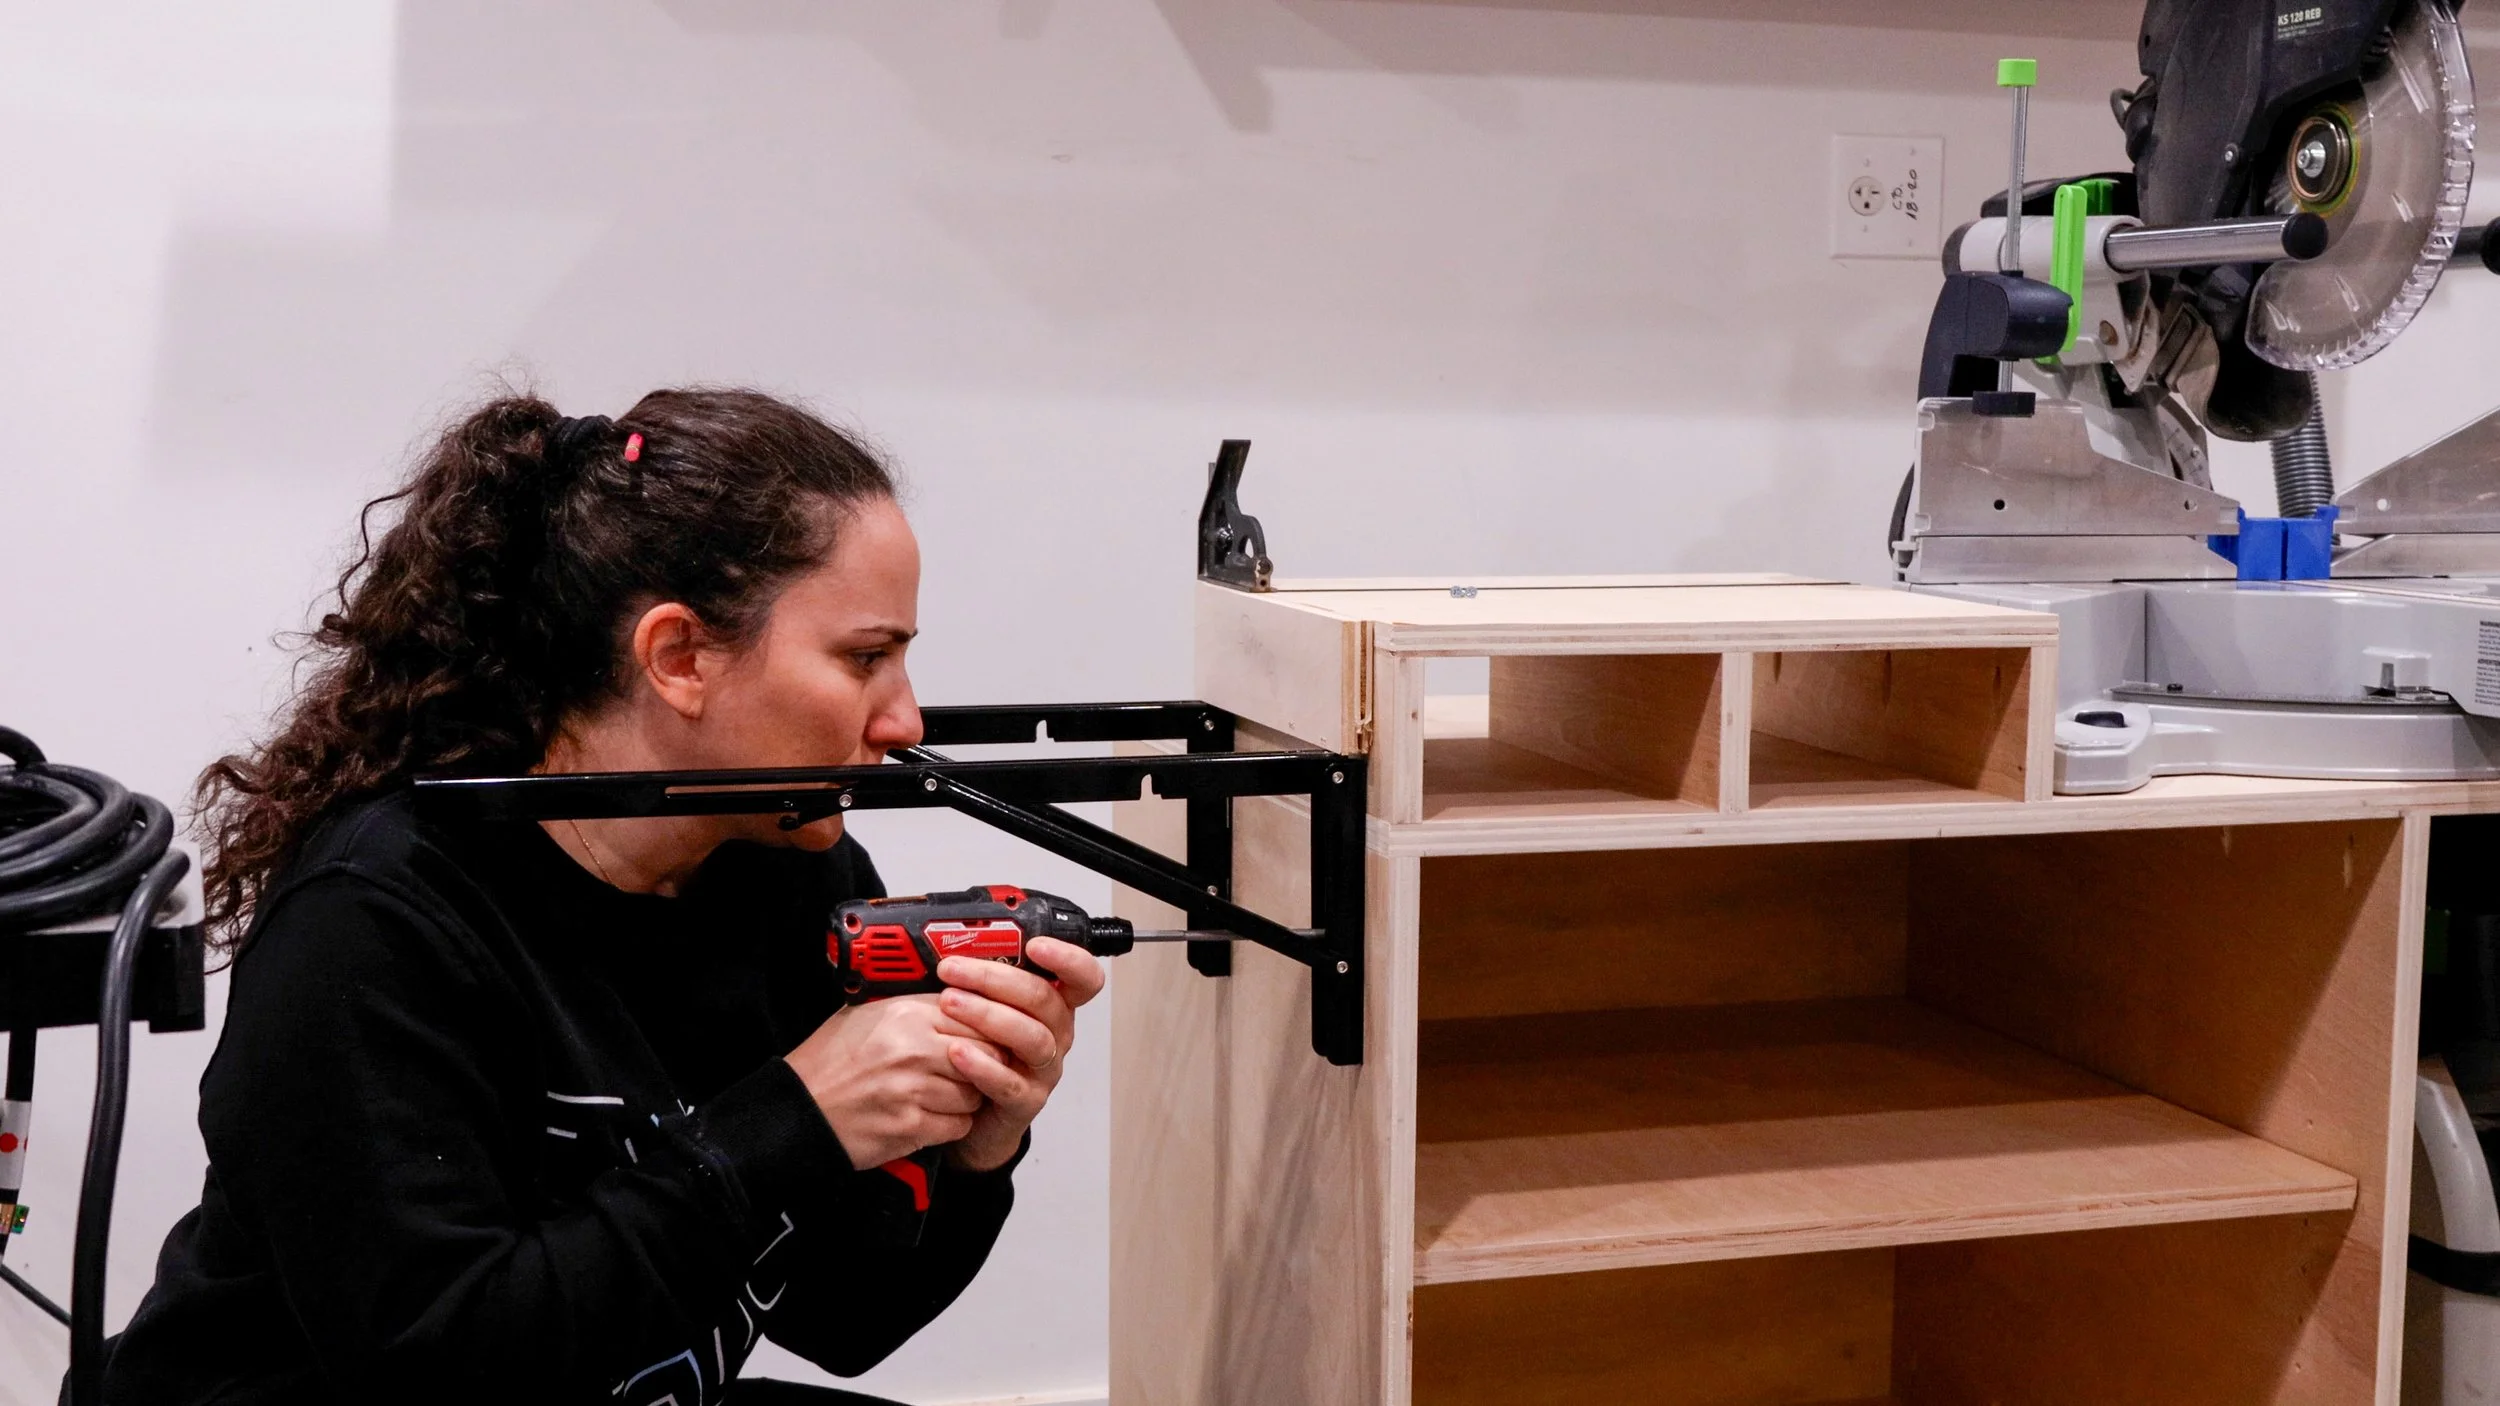
While it’s upside down, it’s easy to install casters at this point.
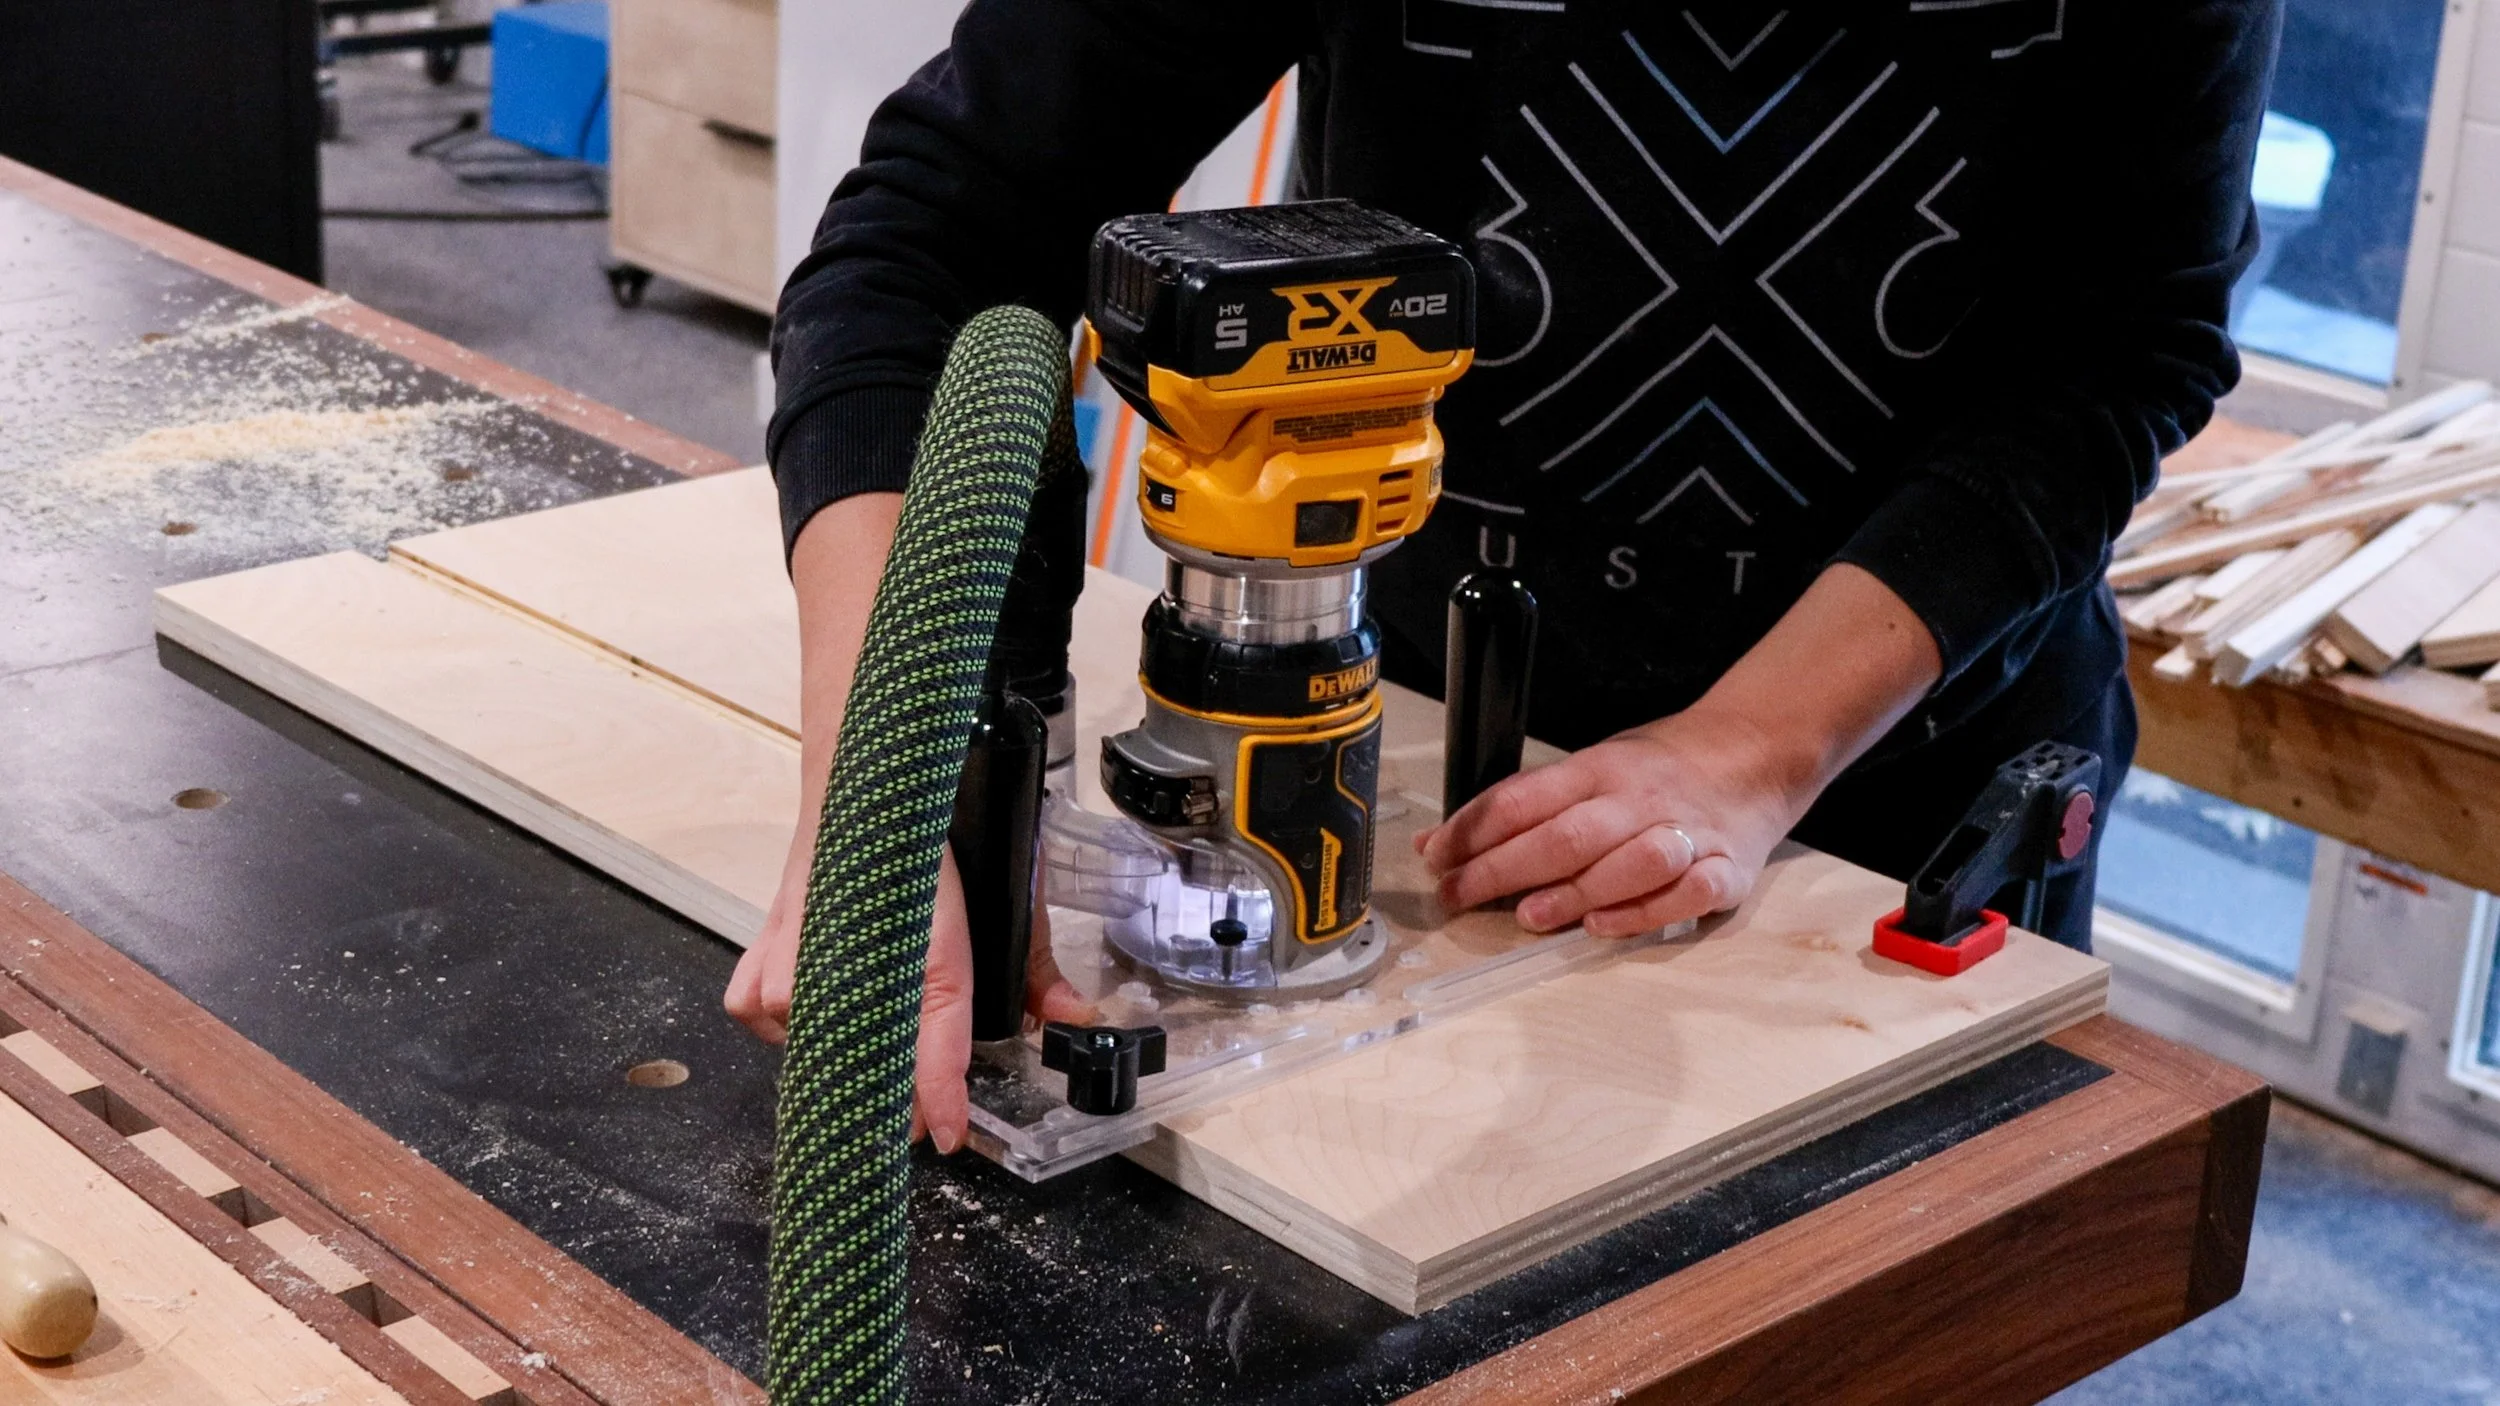
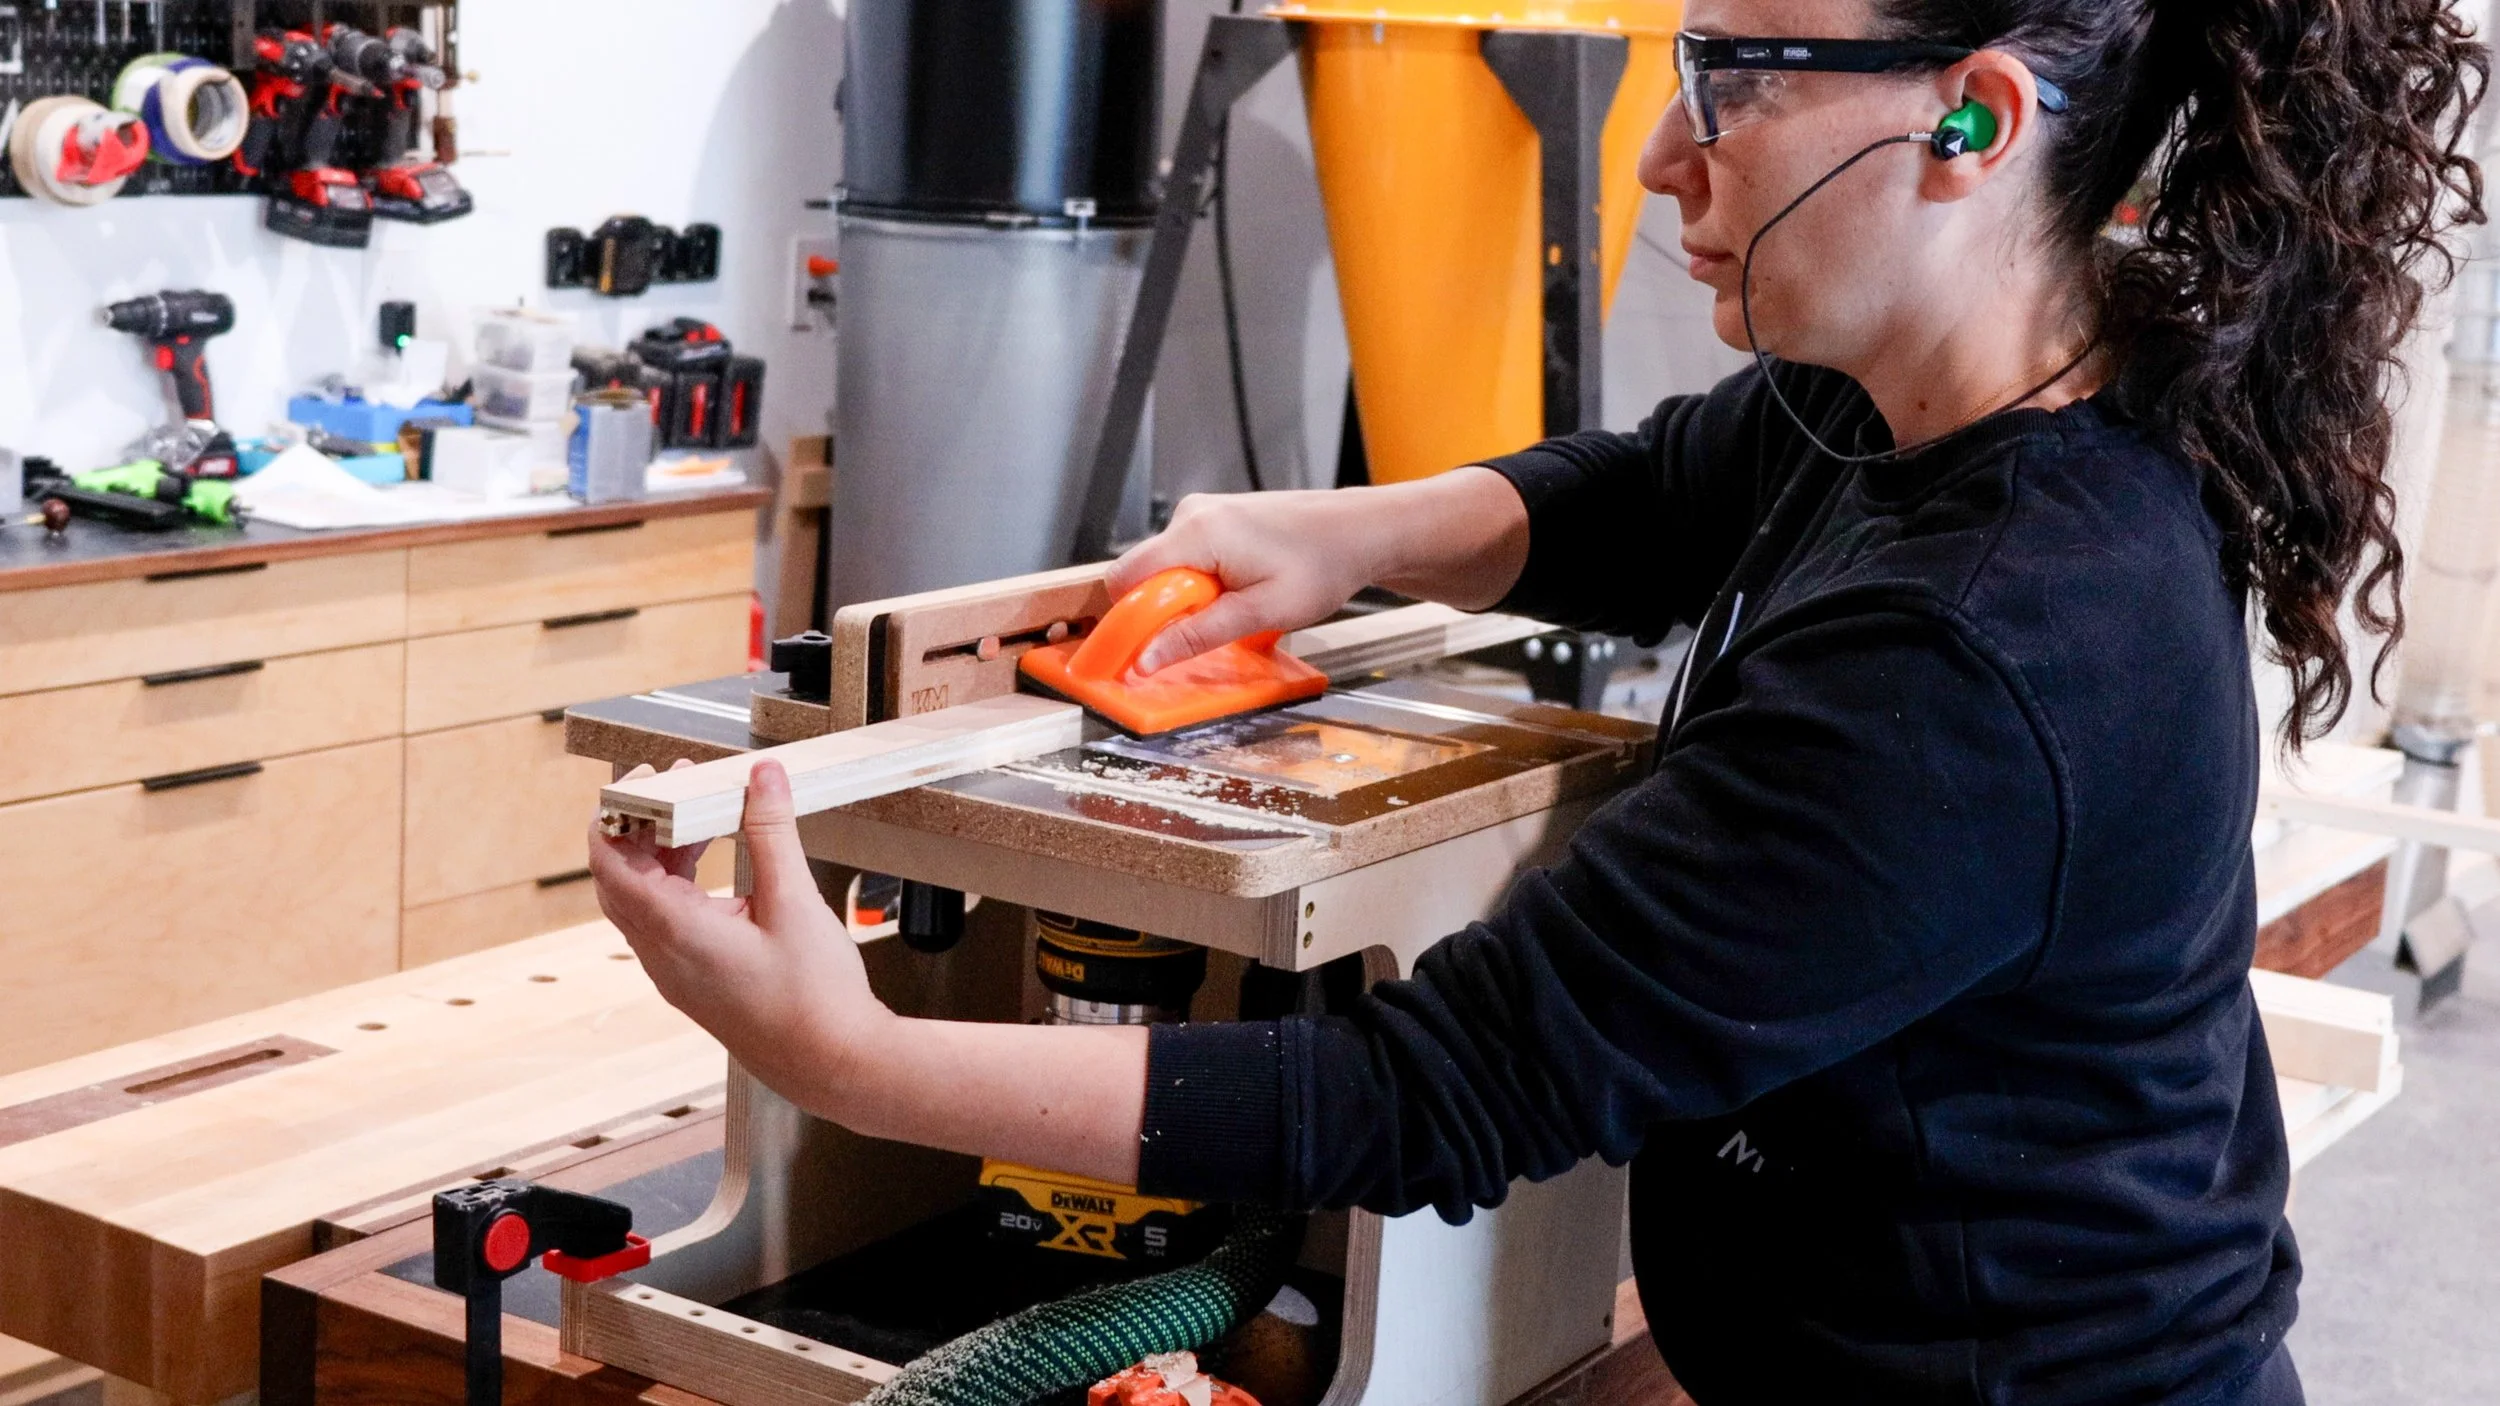
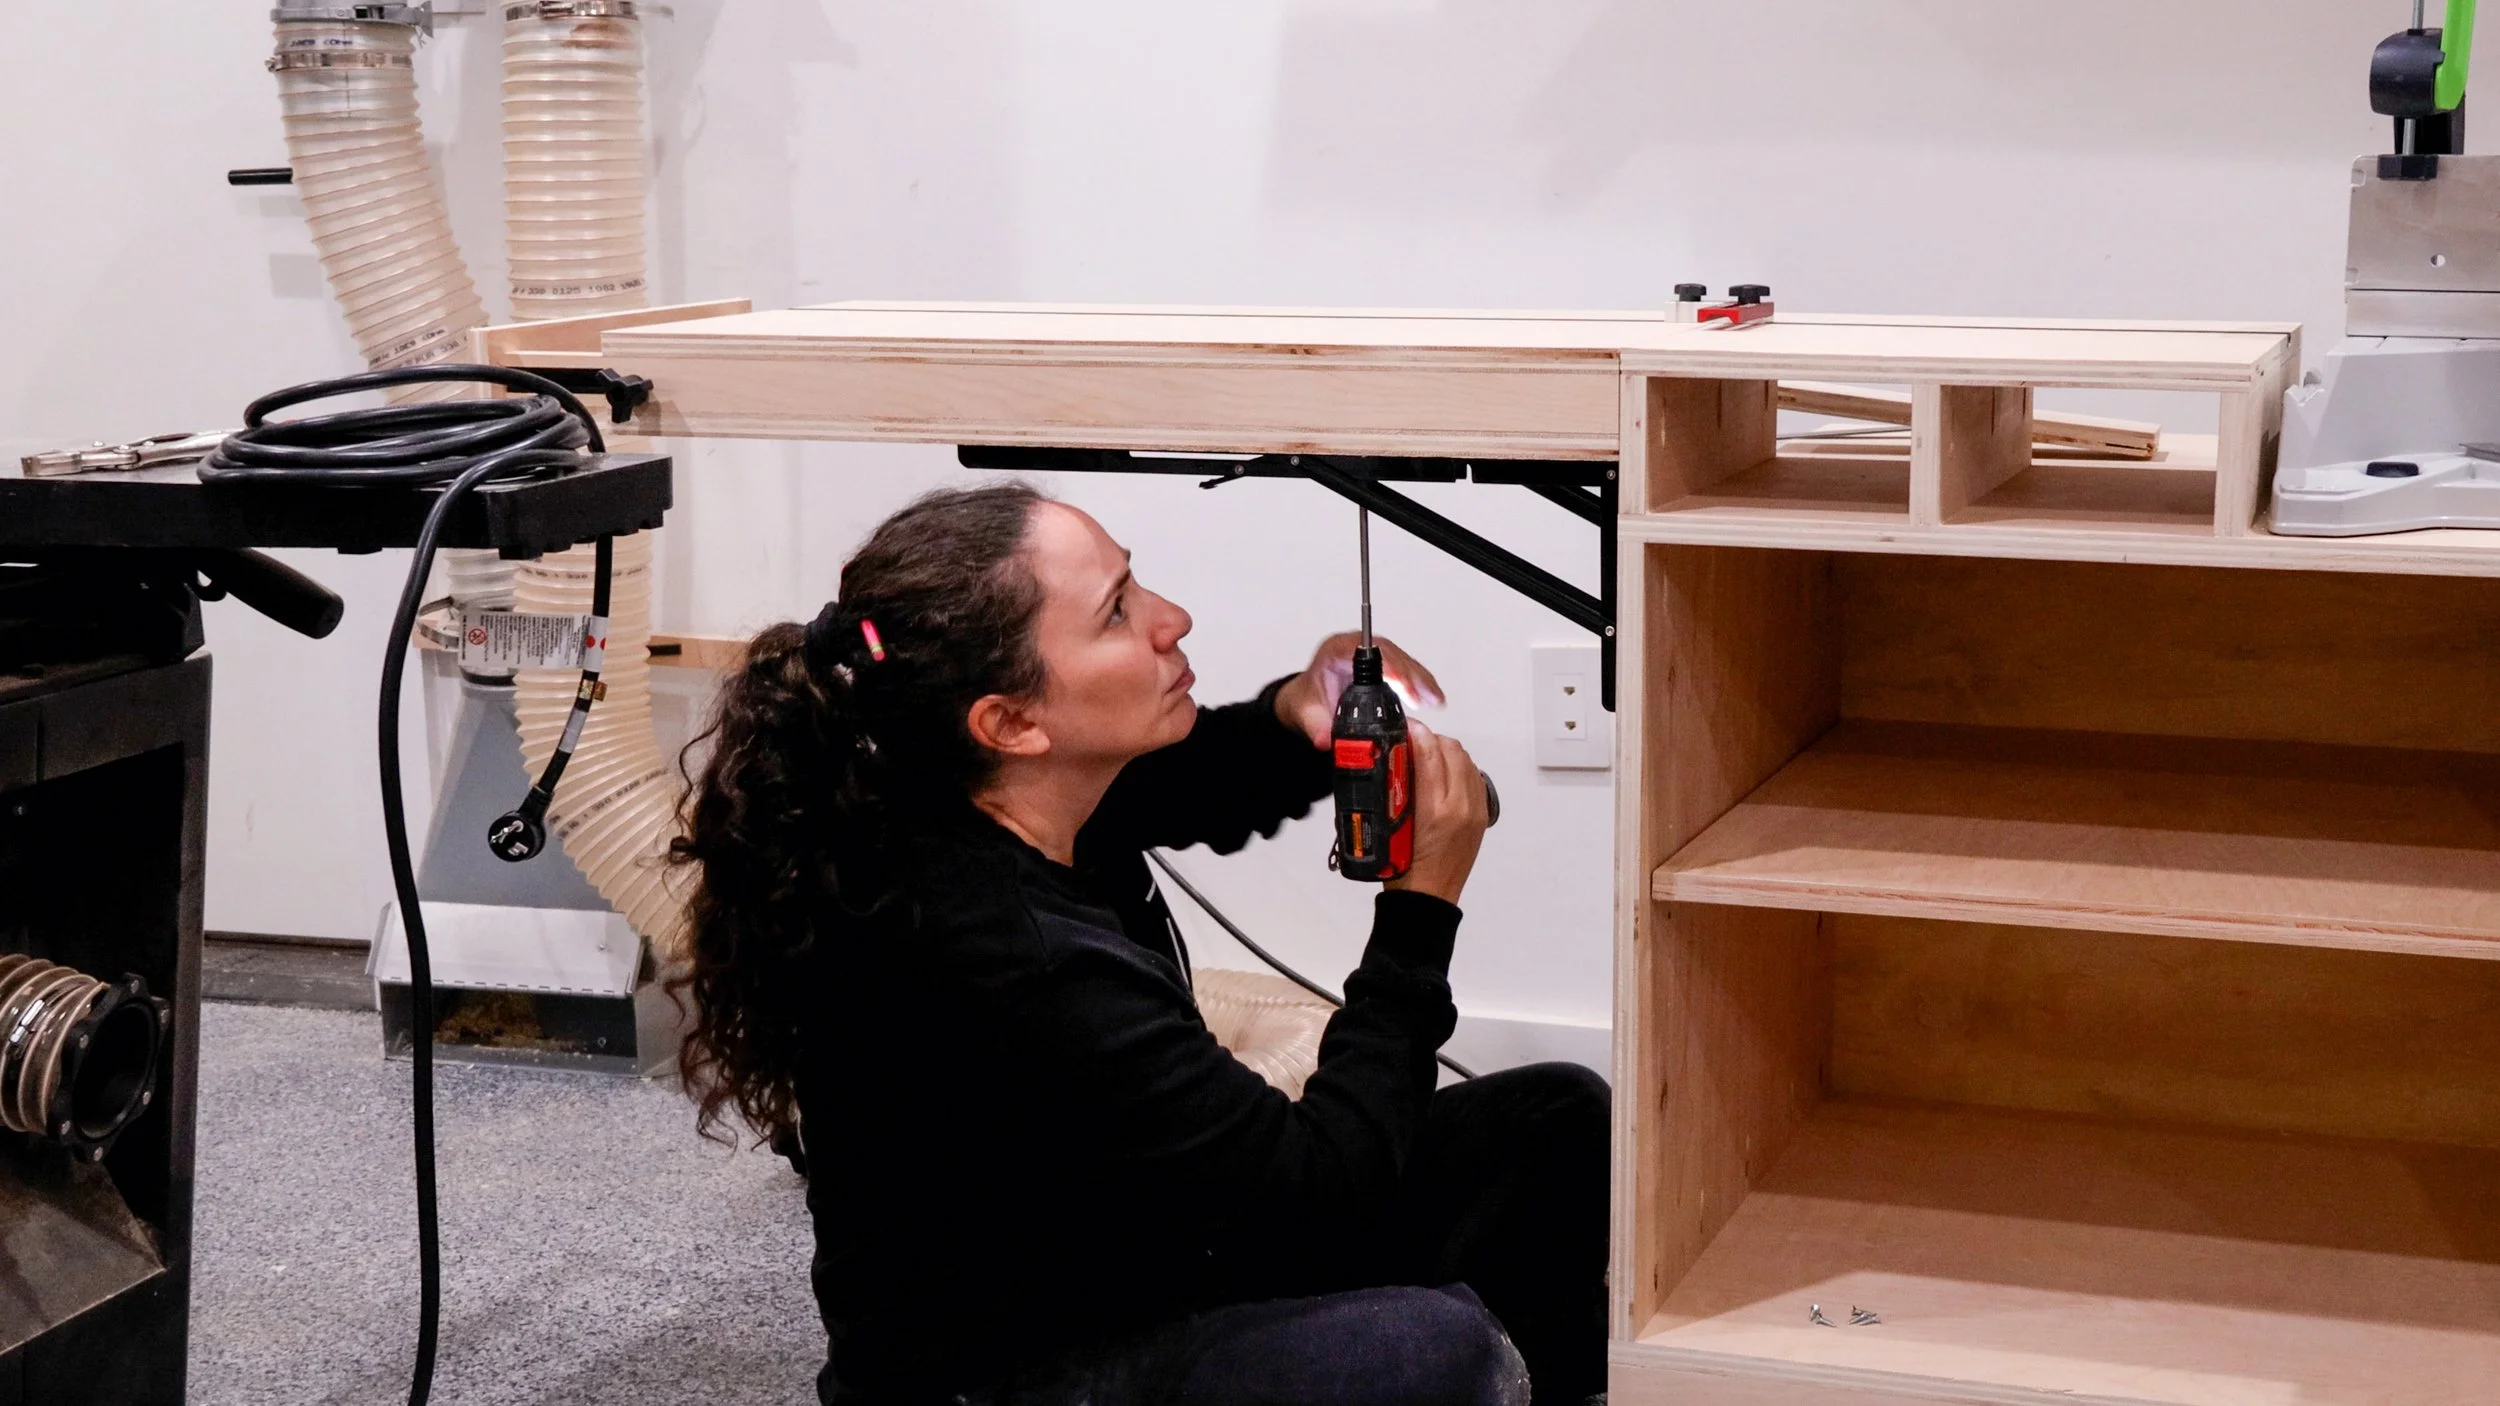
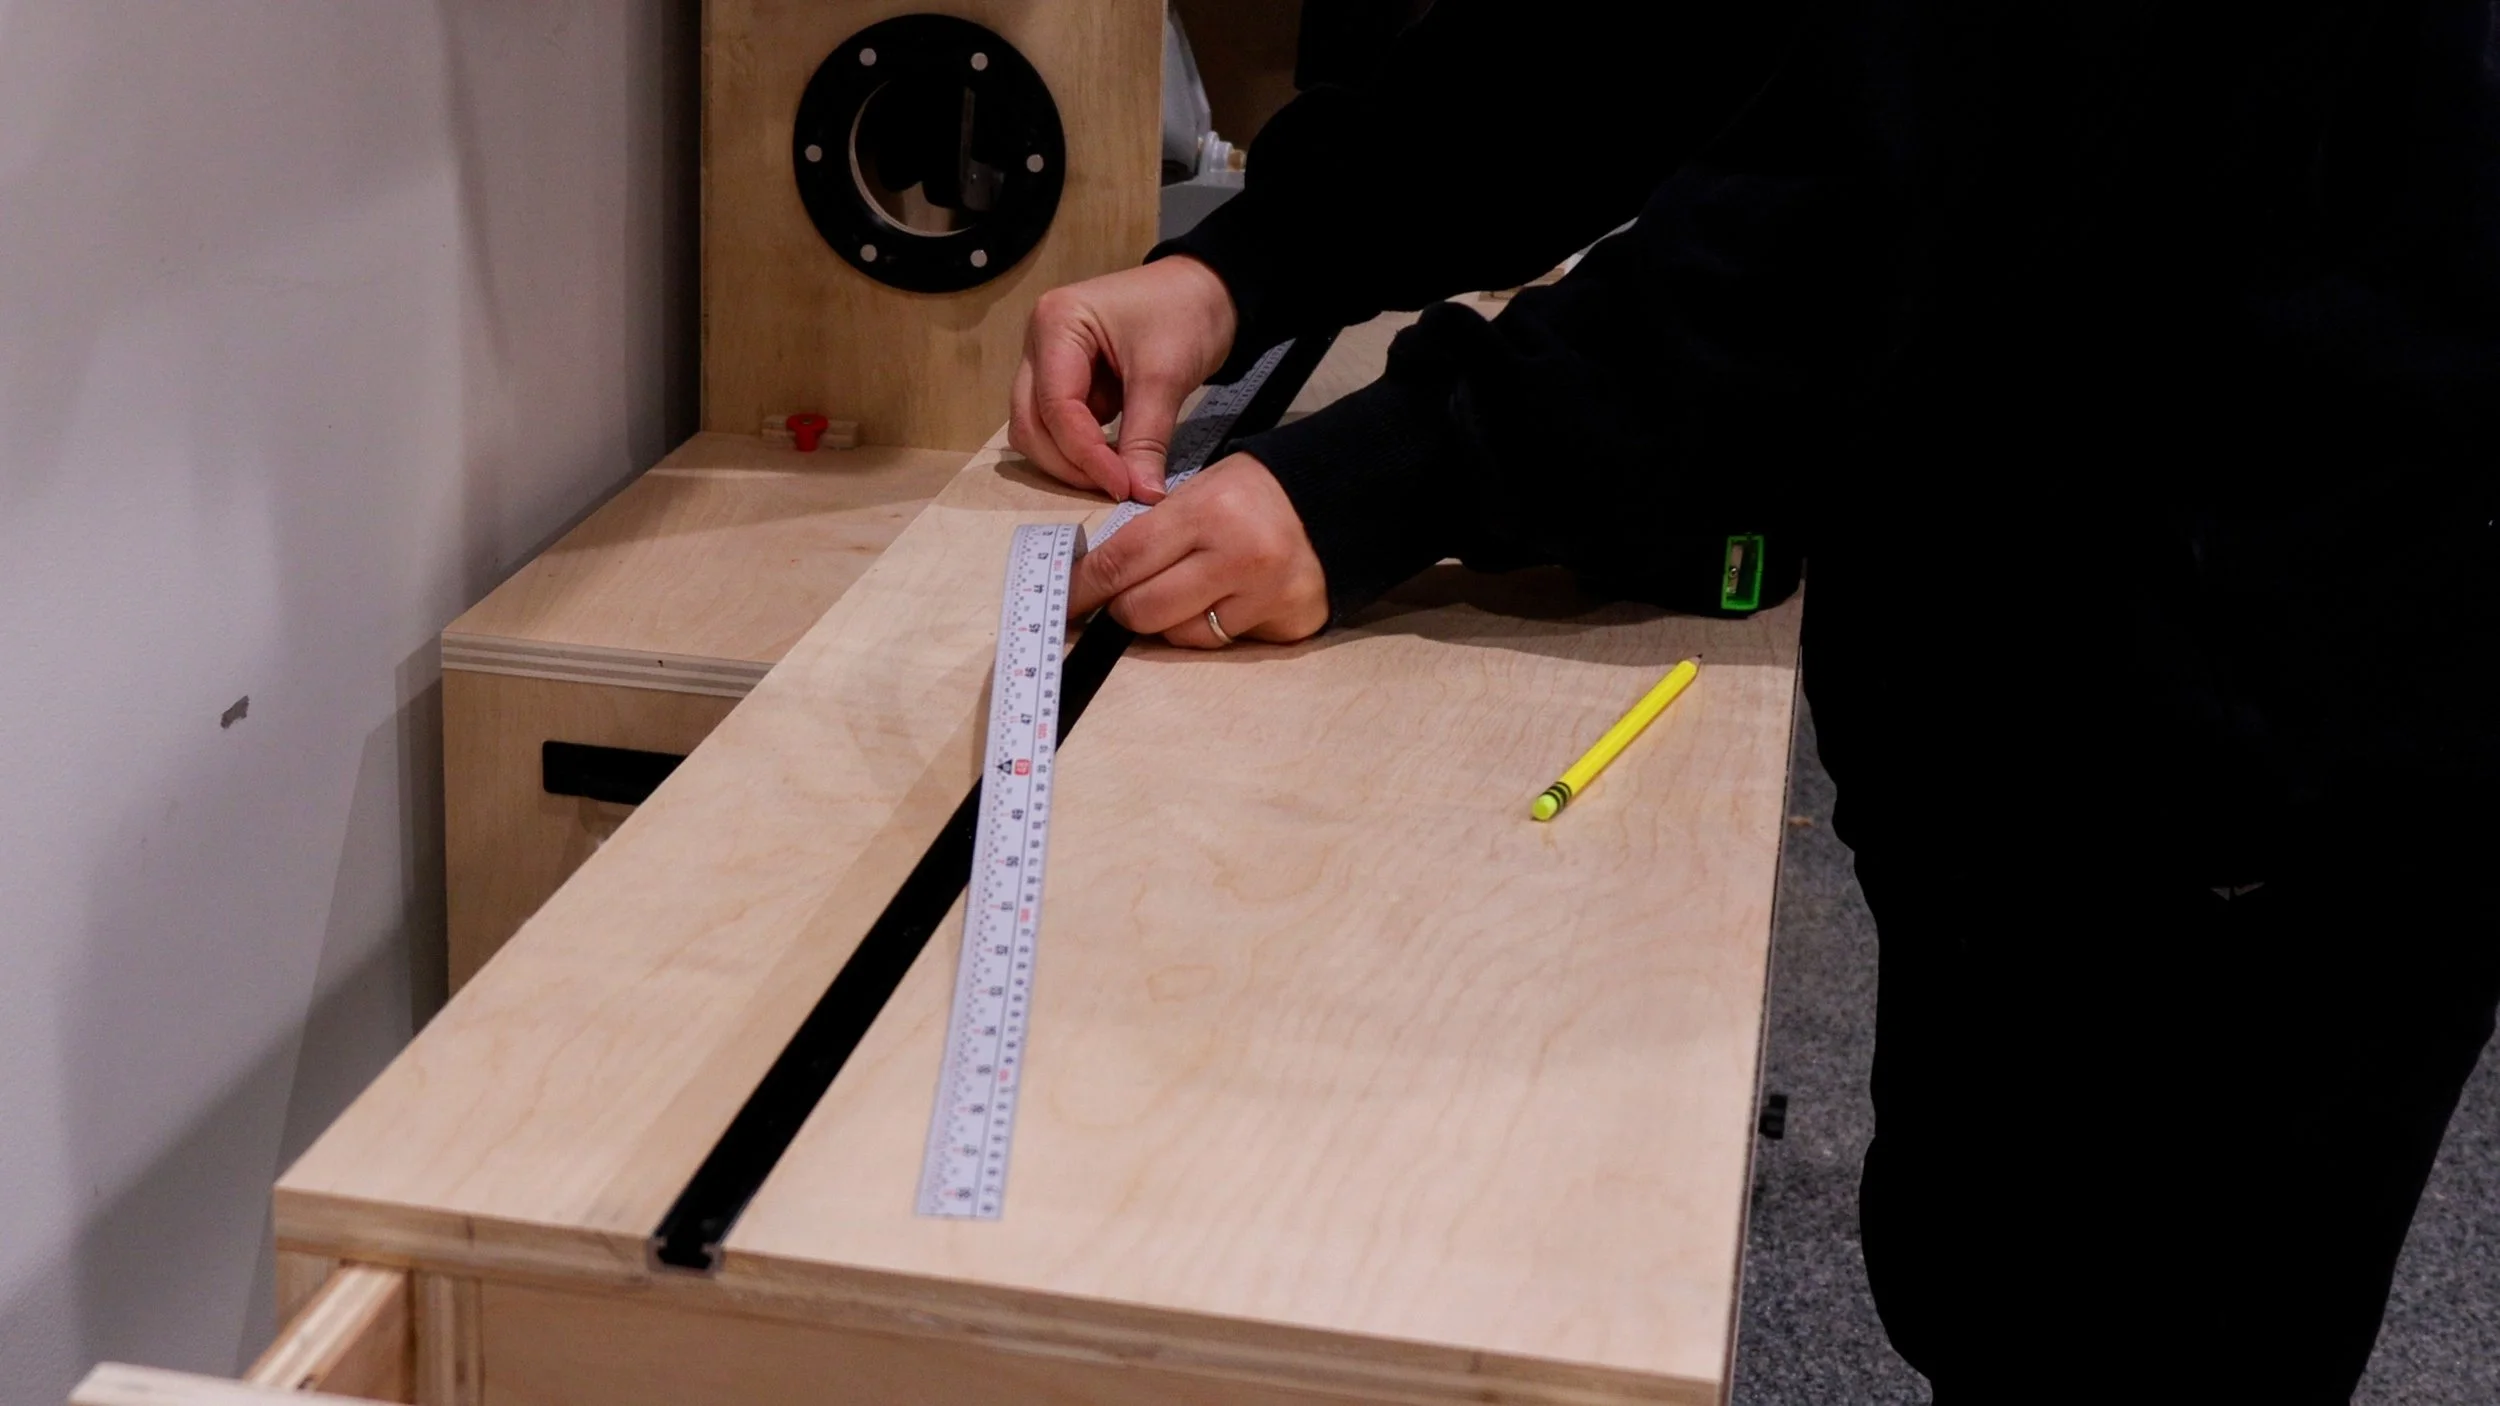
Miter Saw Stations are made even better when you can set up stop blocks for accurate repeatability. After the top shelves and wings are cut to size according to the plans, route a 3/4” groove to place a t-track. This location will be different for every saw.
Assemble the support shelves and screw them to the cabinet from the underside. The size of those risers will vary based on your own saw’s dimensions.
Now for the wings.
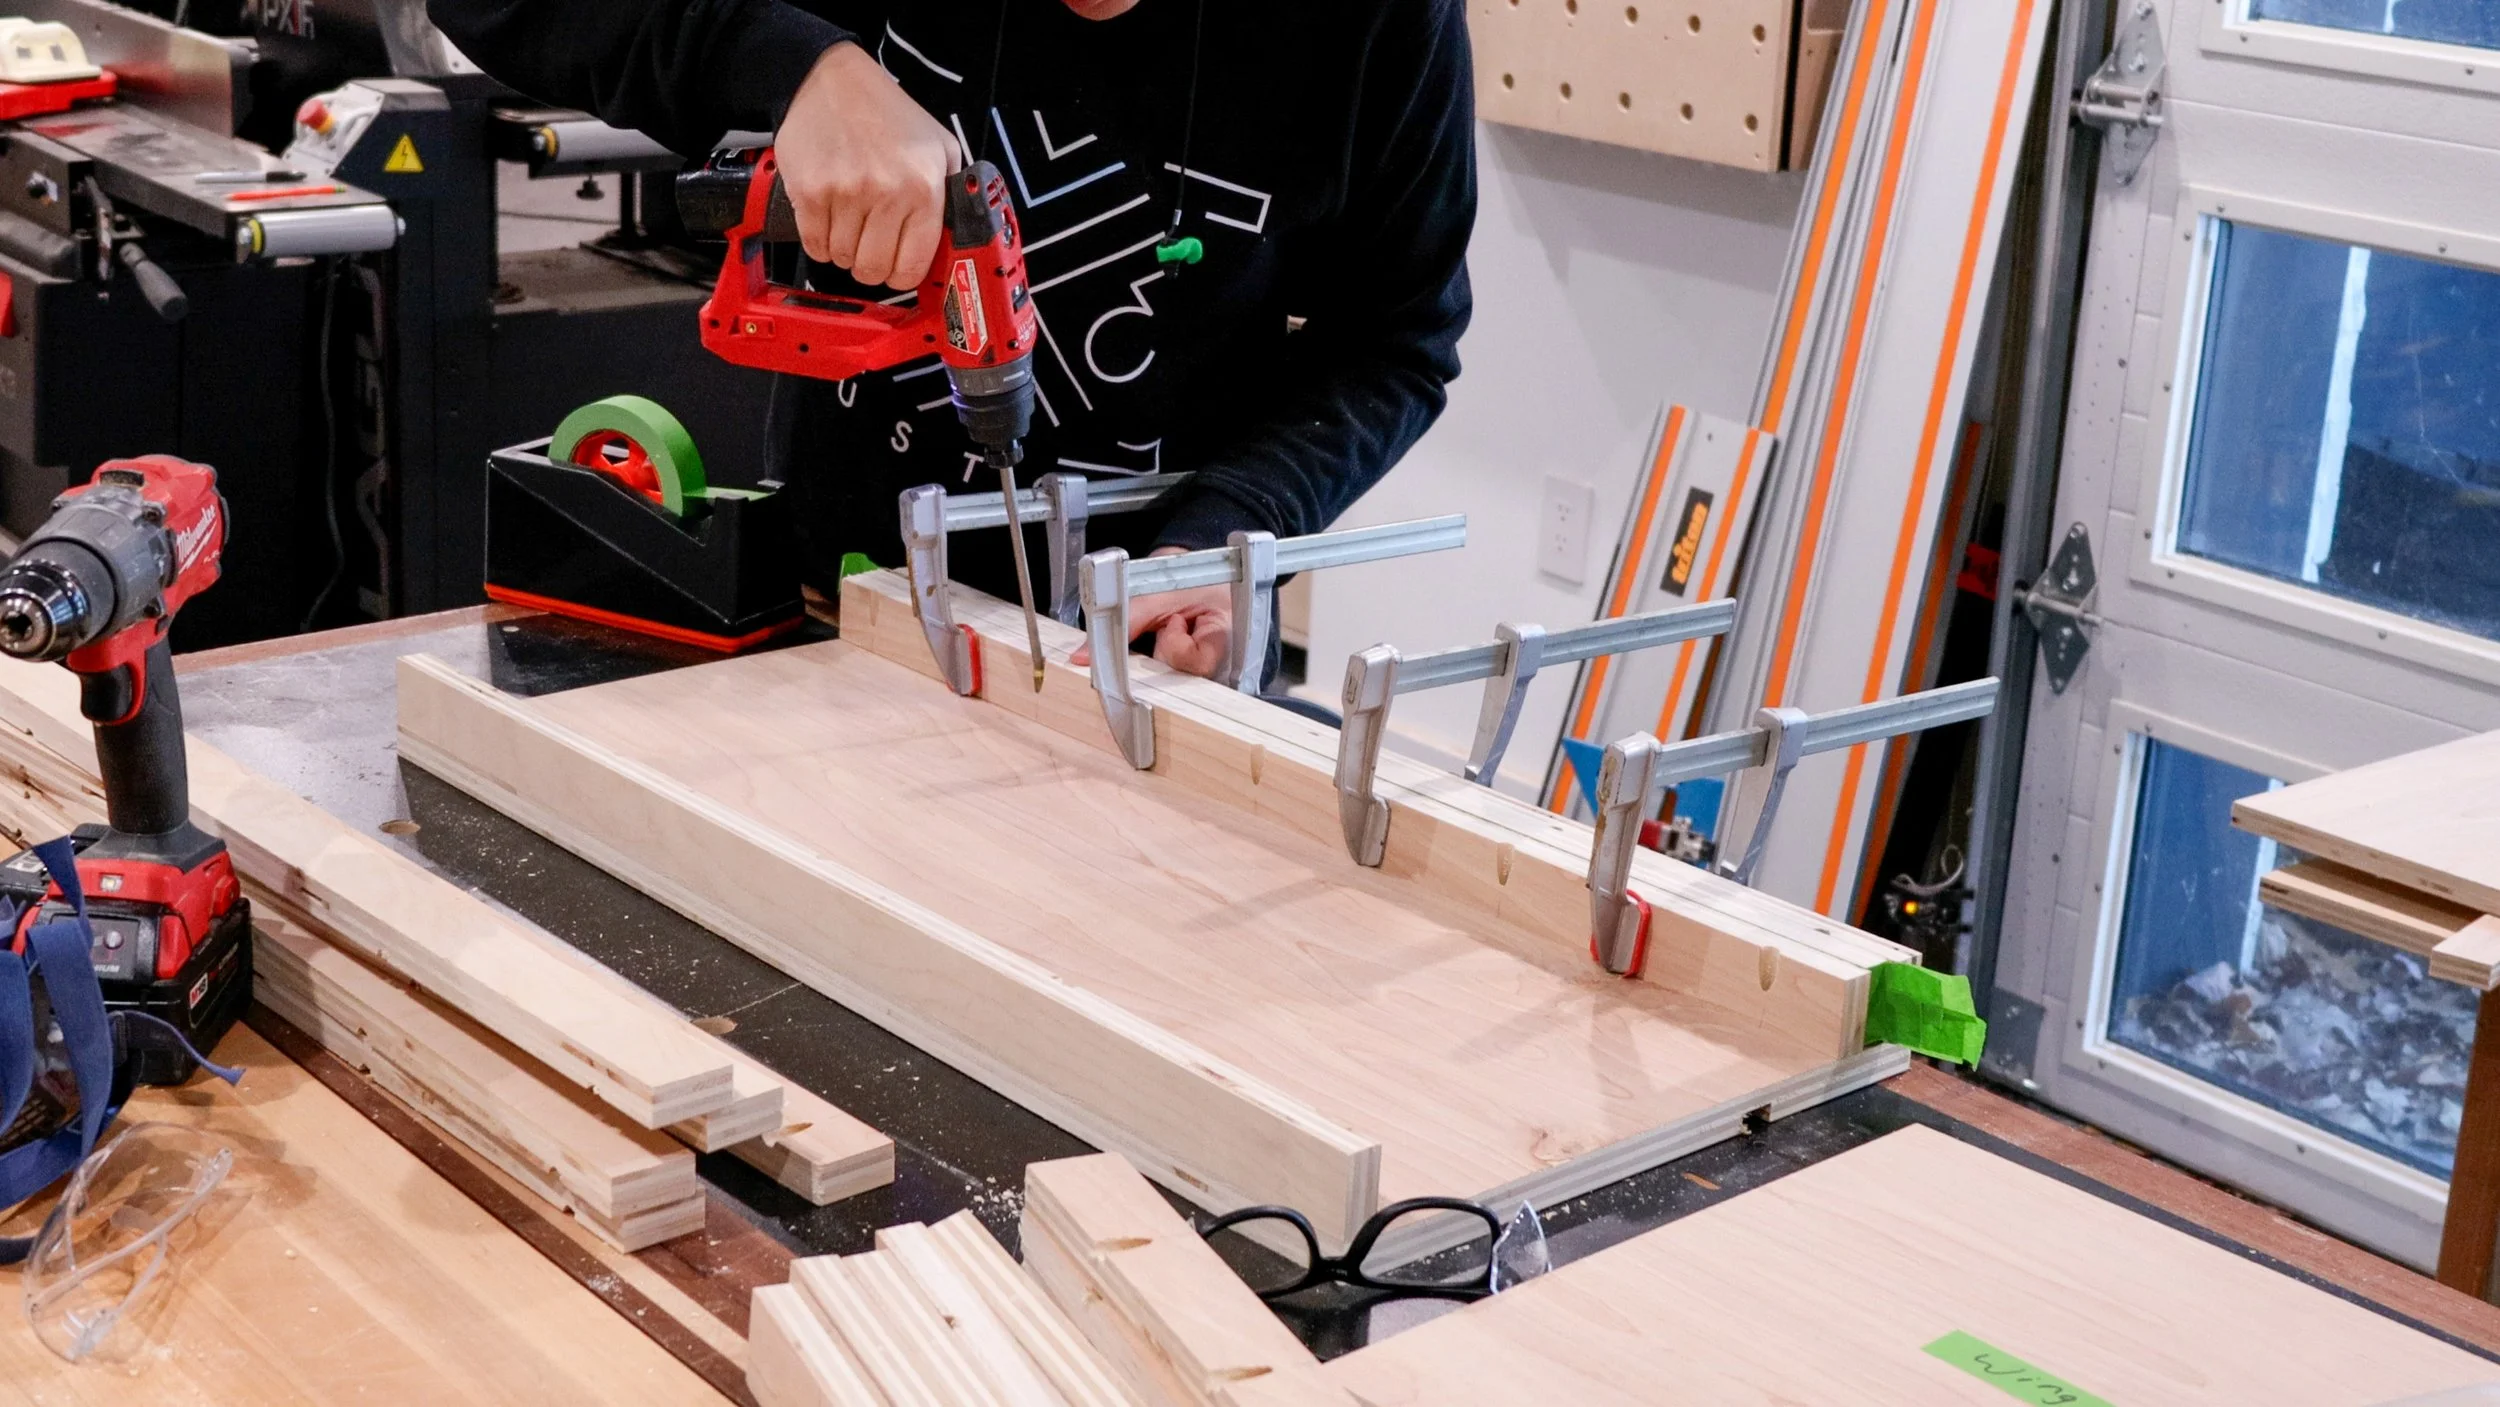
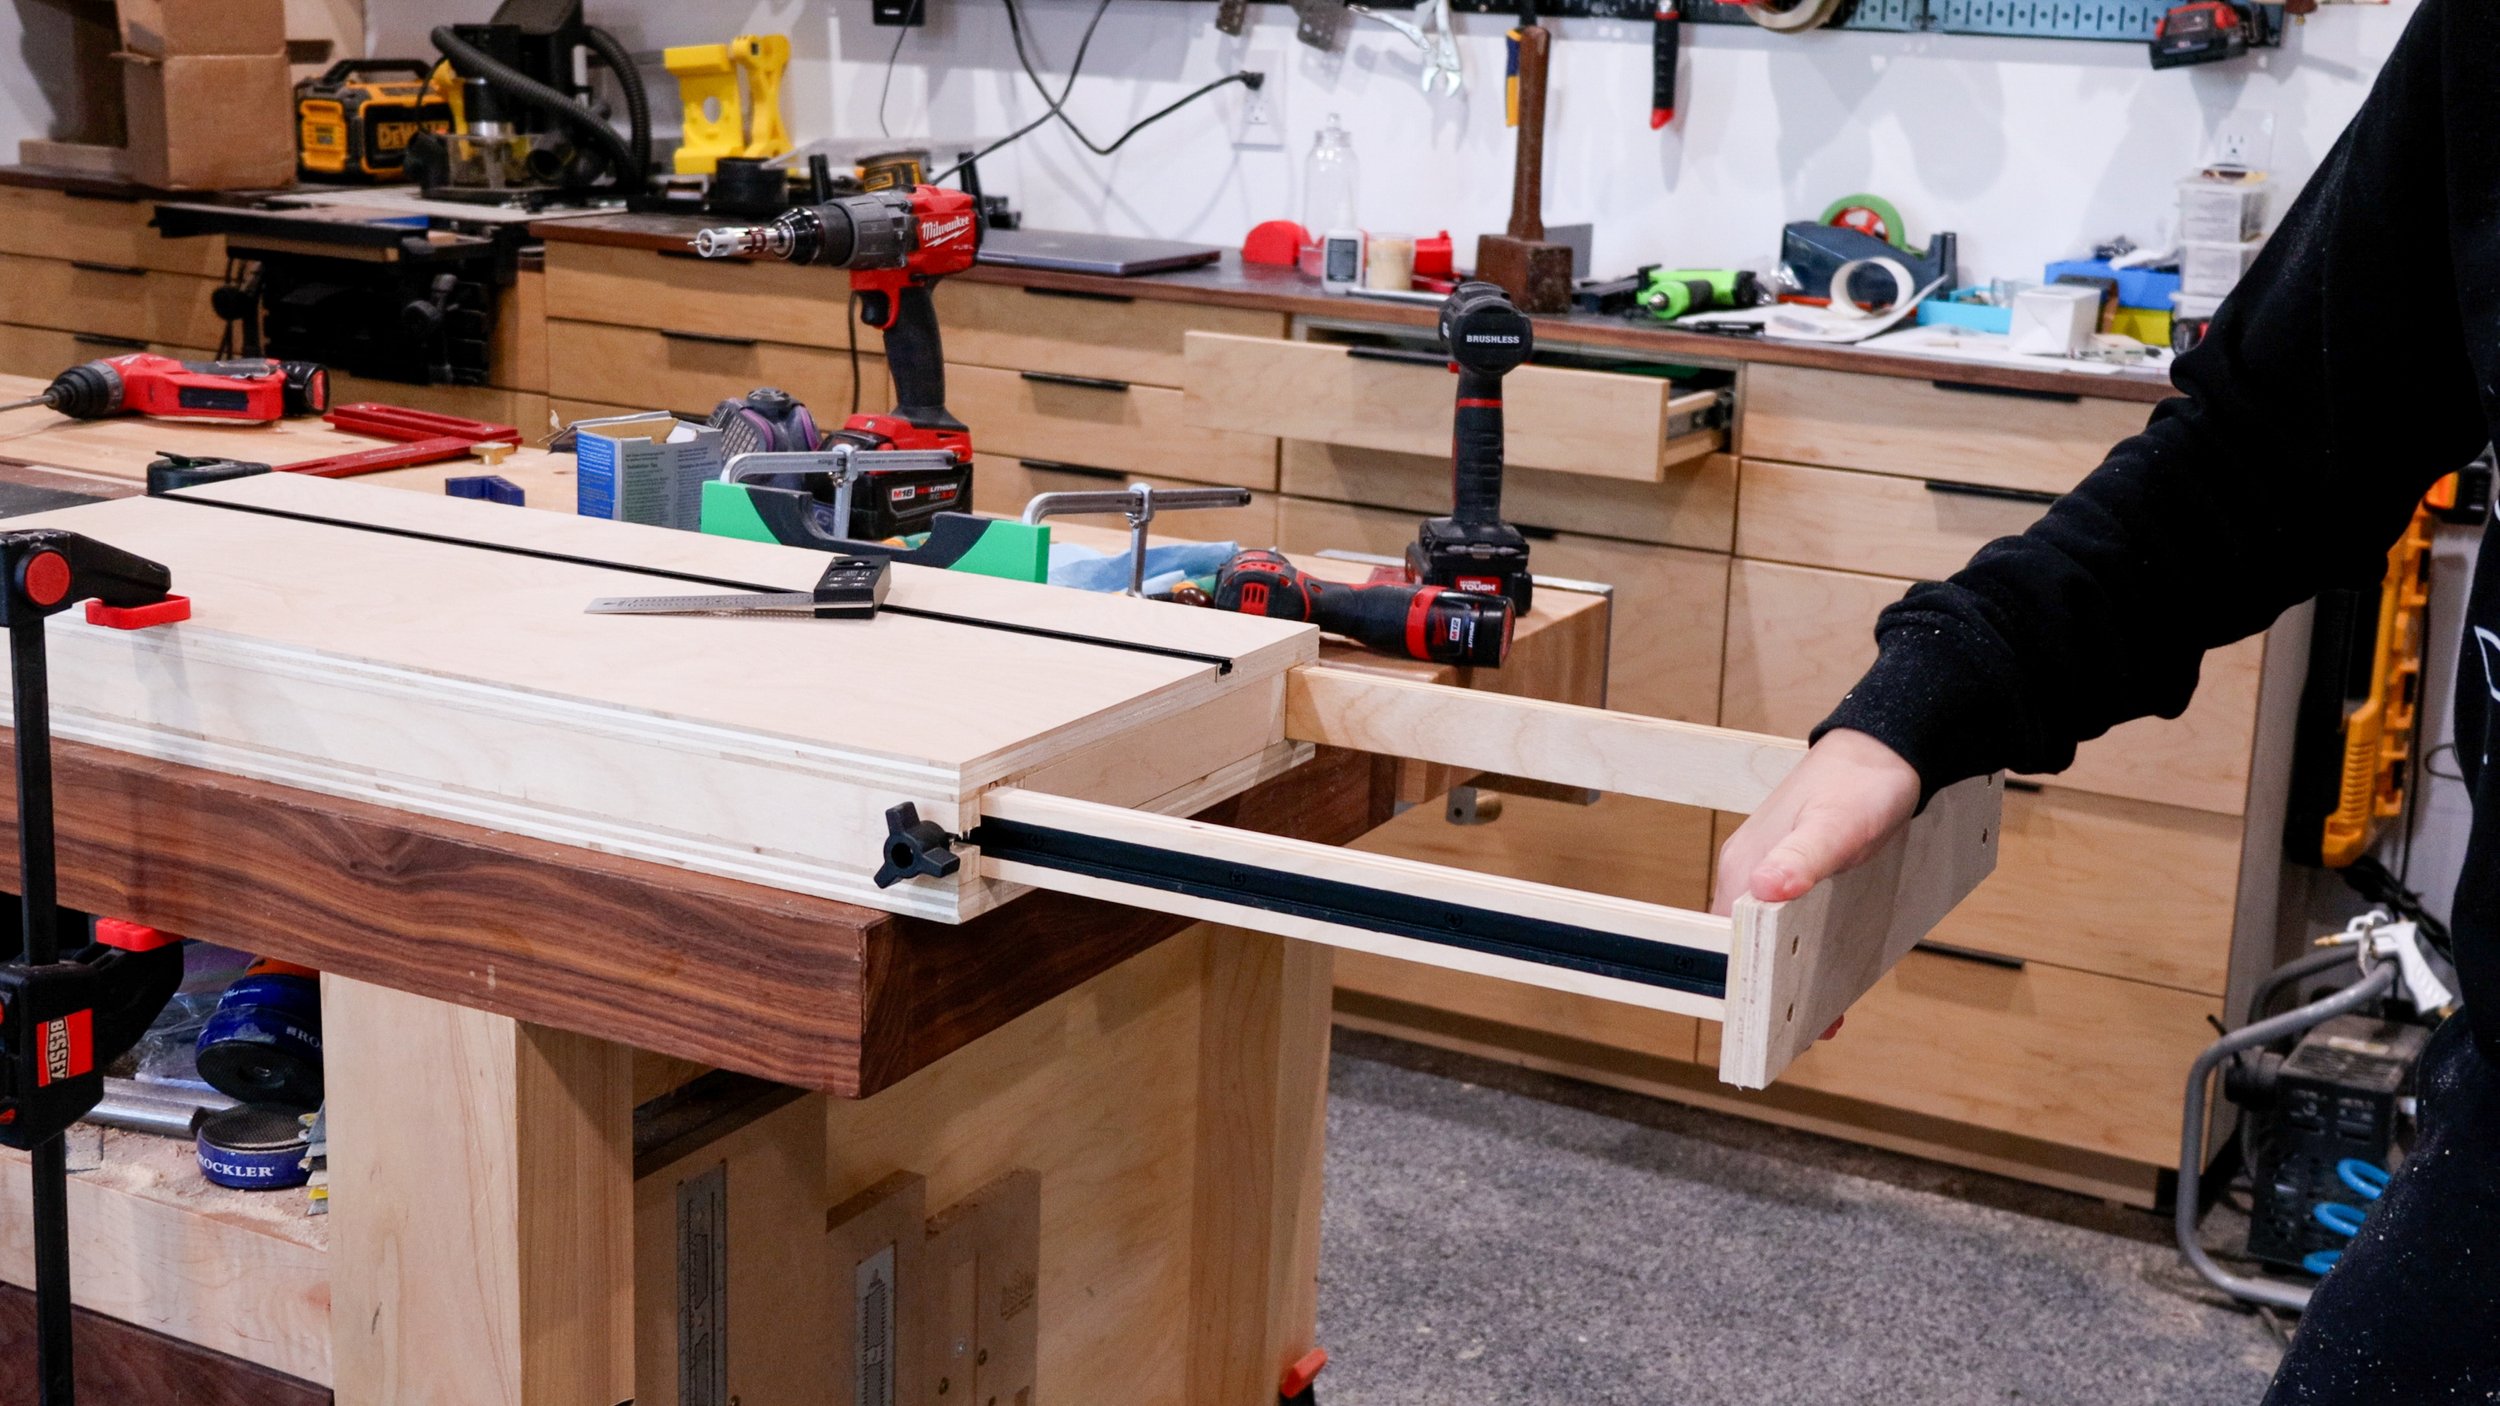
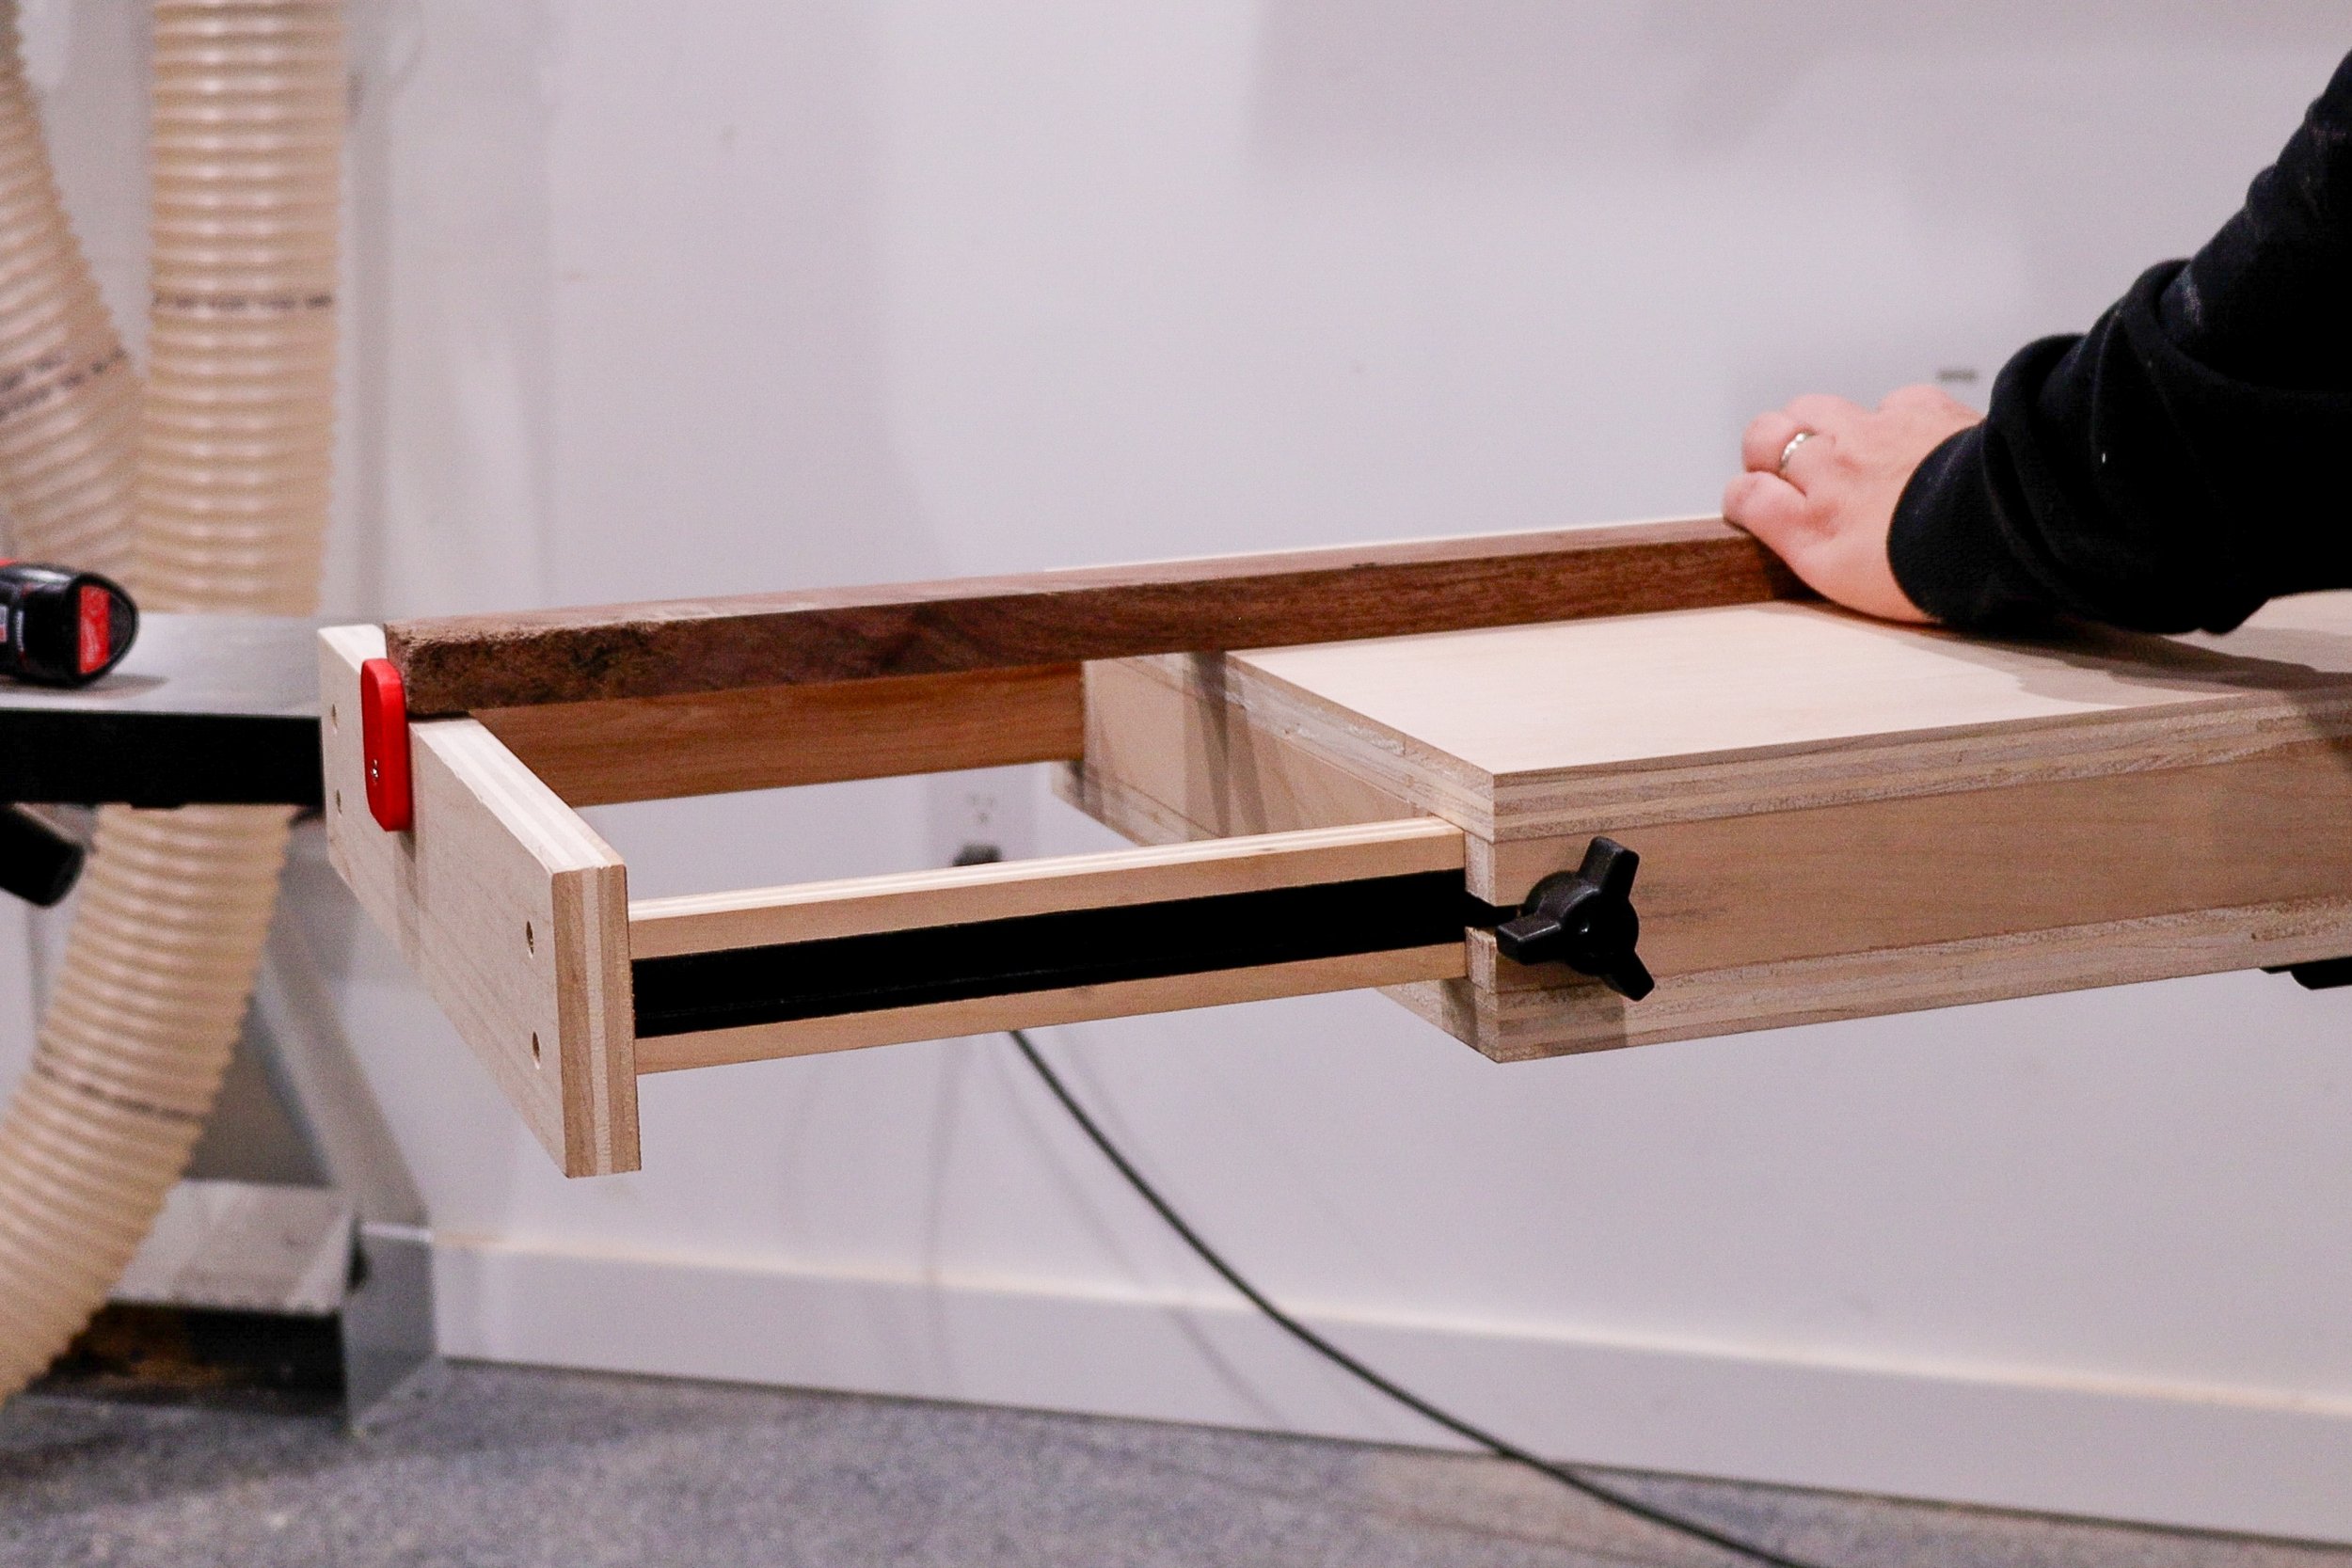
Each wing will need 6 long supports that are all cut to the same size, but 2 of them will become the extension arm, and 1 of them will get a groove routed in the front.
This groove will hold a t-track that will make it possible to lock the extension arm in place.
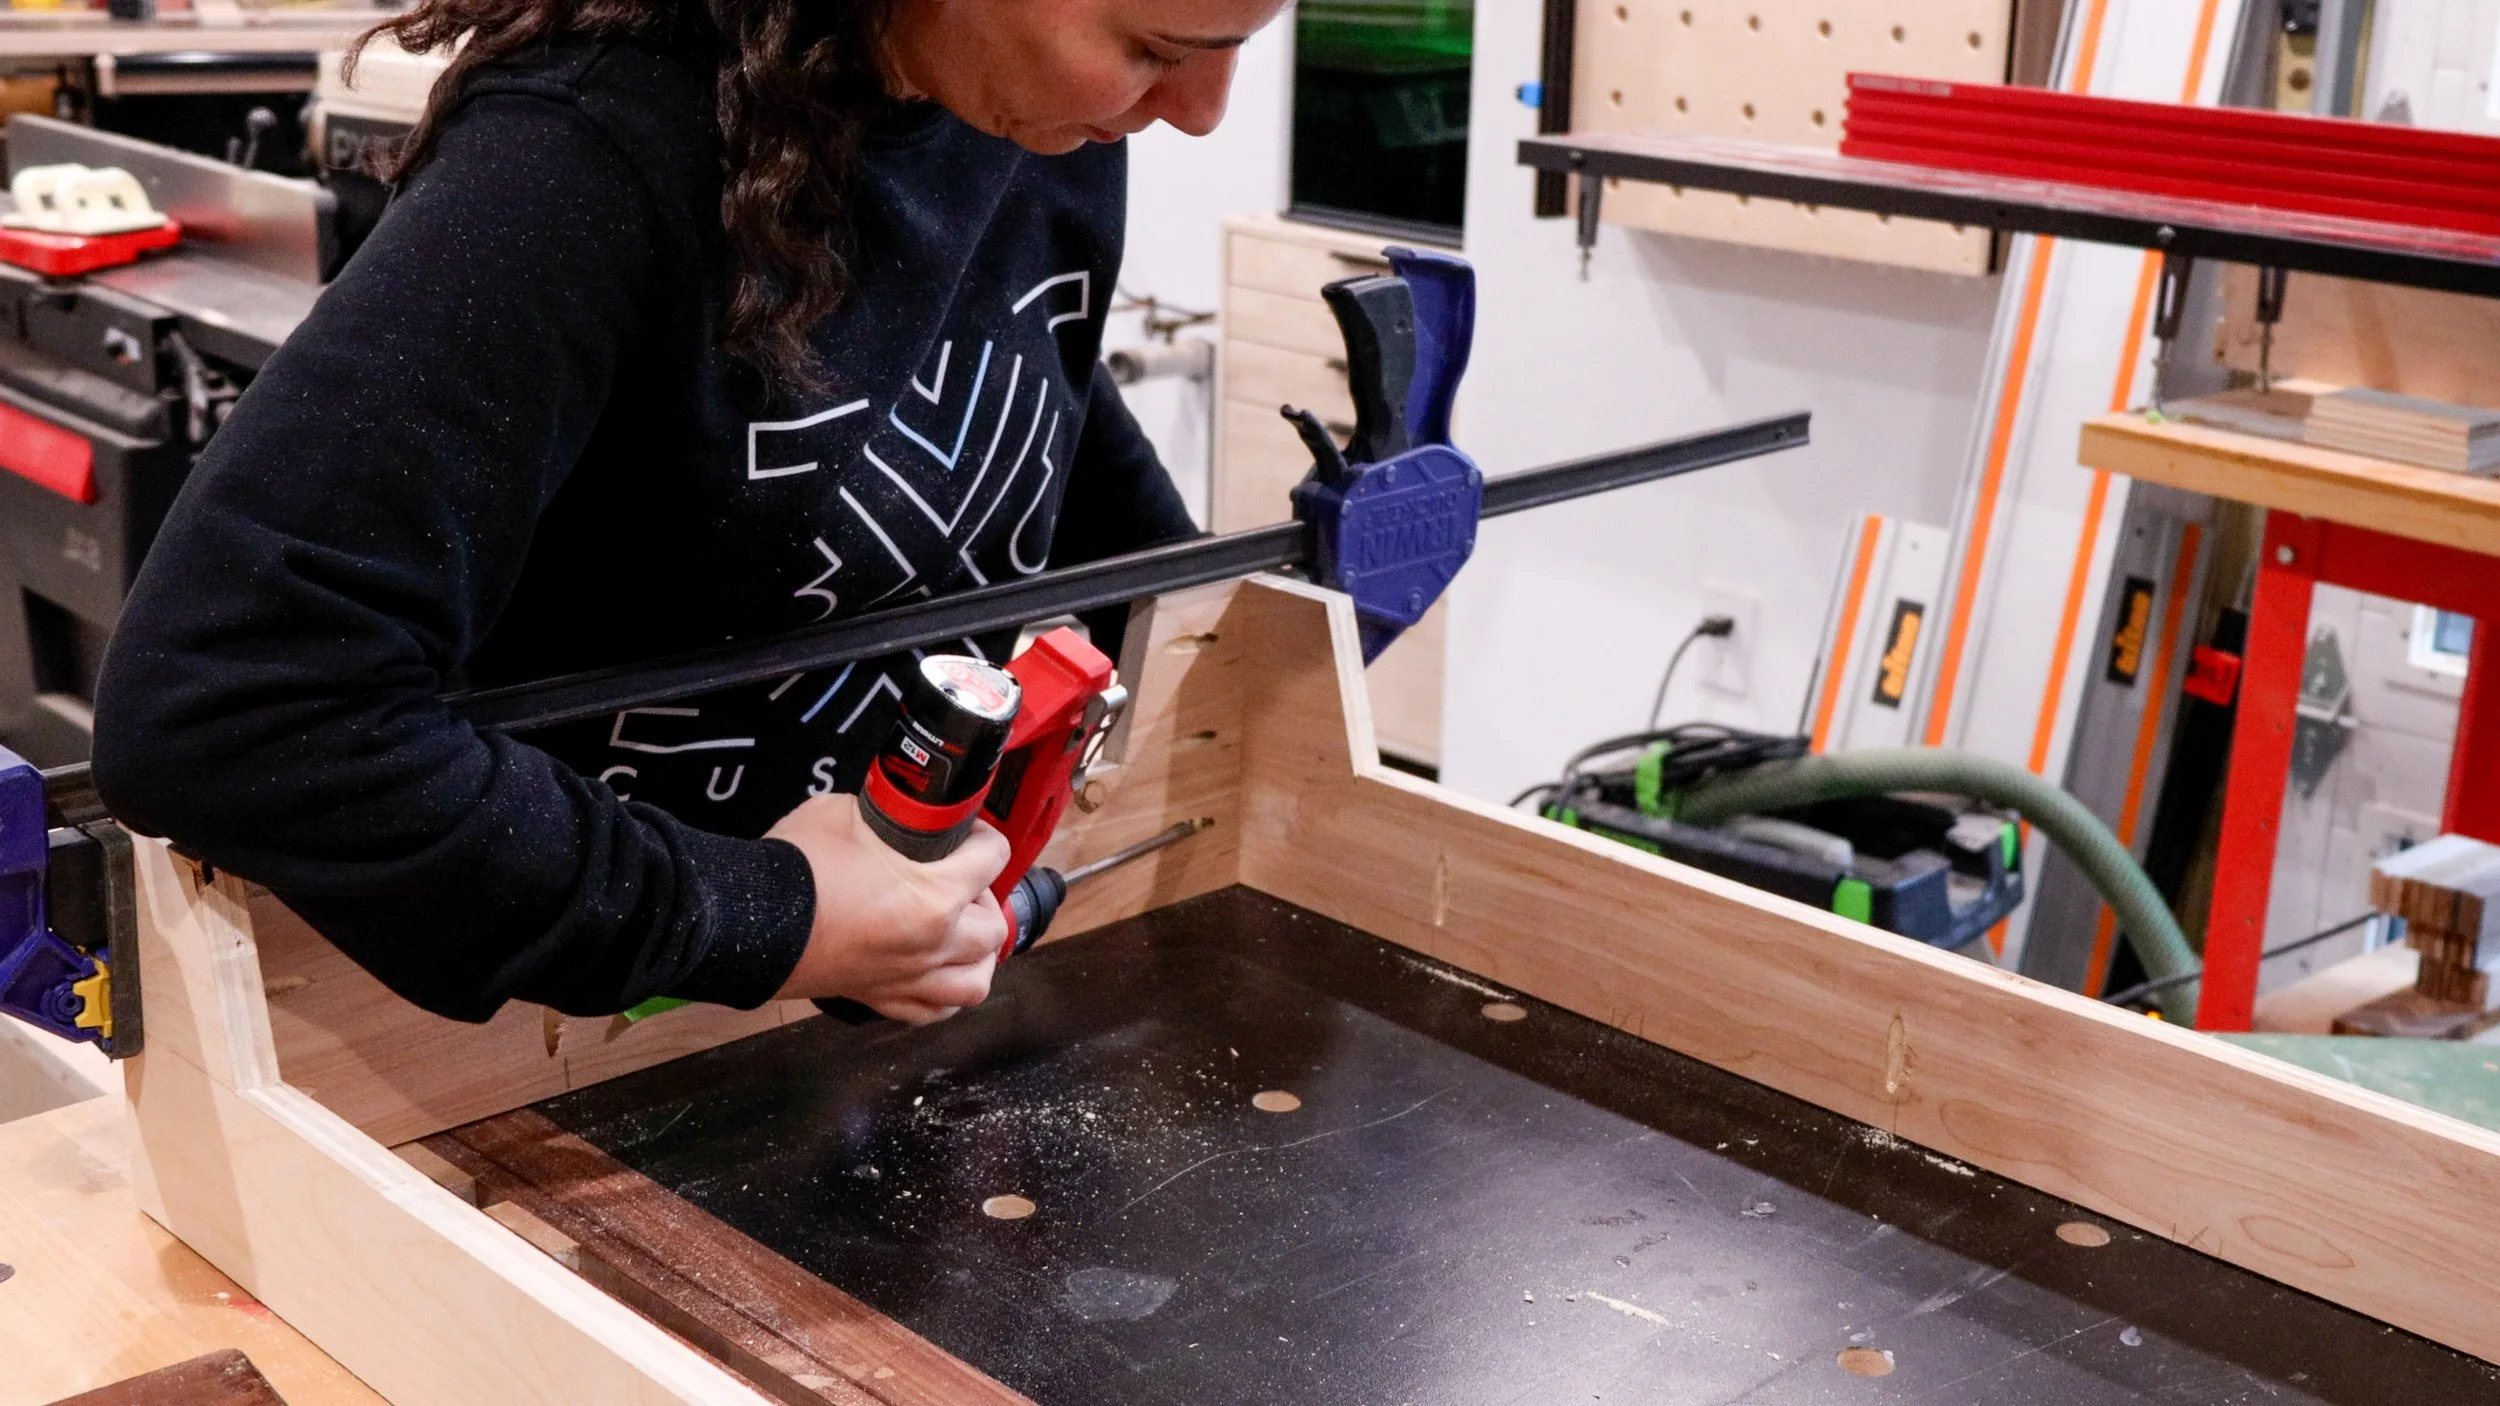
The order of operations to assemble the wing is very important.
Start with the top of the wing (the piece with the groove cut in it) facing down. And screw 2 long supports to both edges, making sure they are very straight.
Then, screw the second long support using the extension arms as spacers to get the correct location. To make sure the extension arms will slide smoothly, put painters’ tape on the extension arm spacer to pack it out a little.
Then close it up using screws through the underside of the wing.
Next, make a little notch in the front faces of the wings to accommodate a bolt that will go into the t-track. This can be done with a handsaw as well.
Just be careful if you put any screws there before you route it! A screw can be placed in the corner to lock the bolt and knob in the notch.

Place the extension arms in the slots created when making the wing and attach them to the extension face with carefully placed screws.
You should now be able to put the extension arms out of the wing from the extension face!
Wing is done! Use a spacer that is the same thickness as the wing to screw the adjustable shelf brackets to the side of the cart.
Then screw the wing to the brackets!
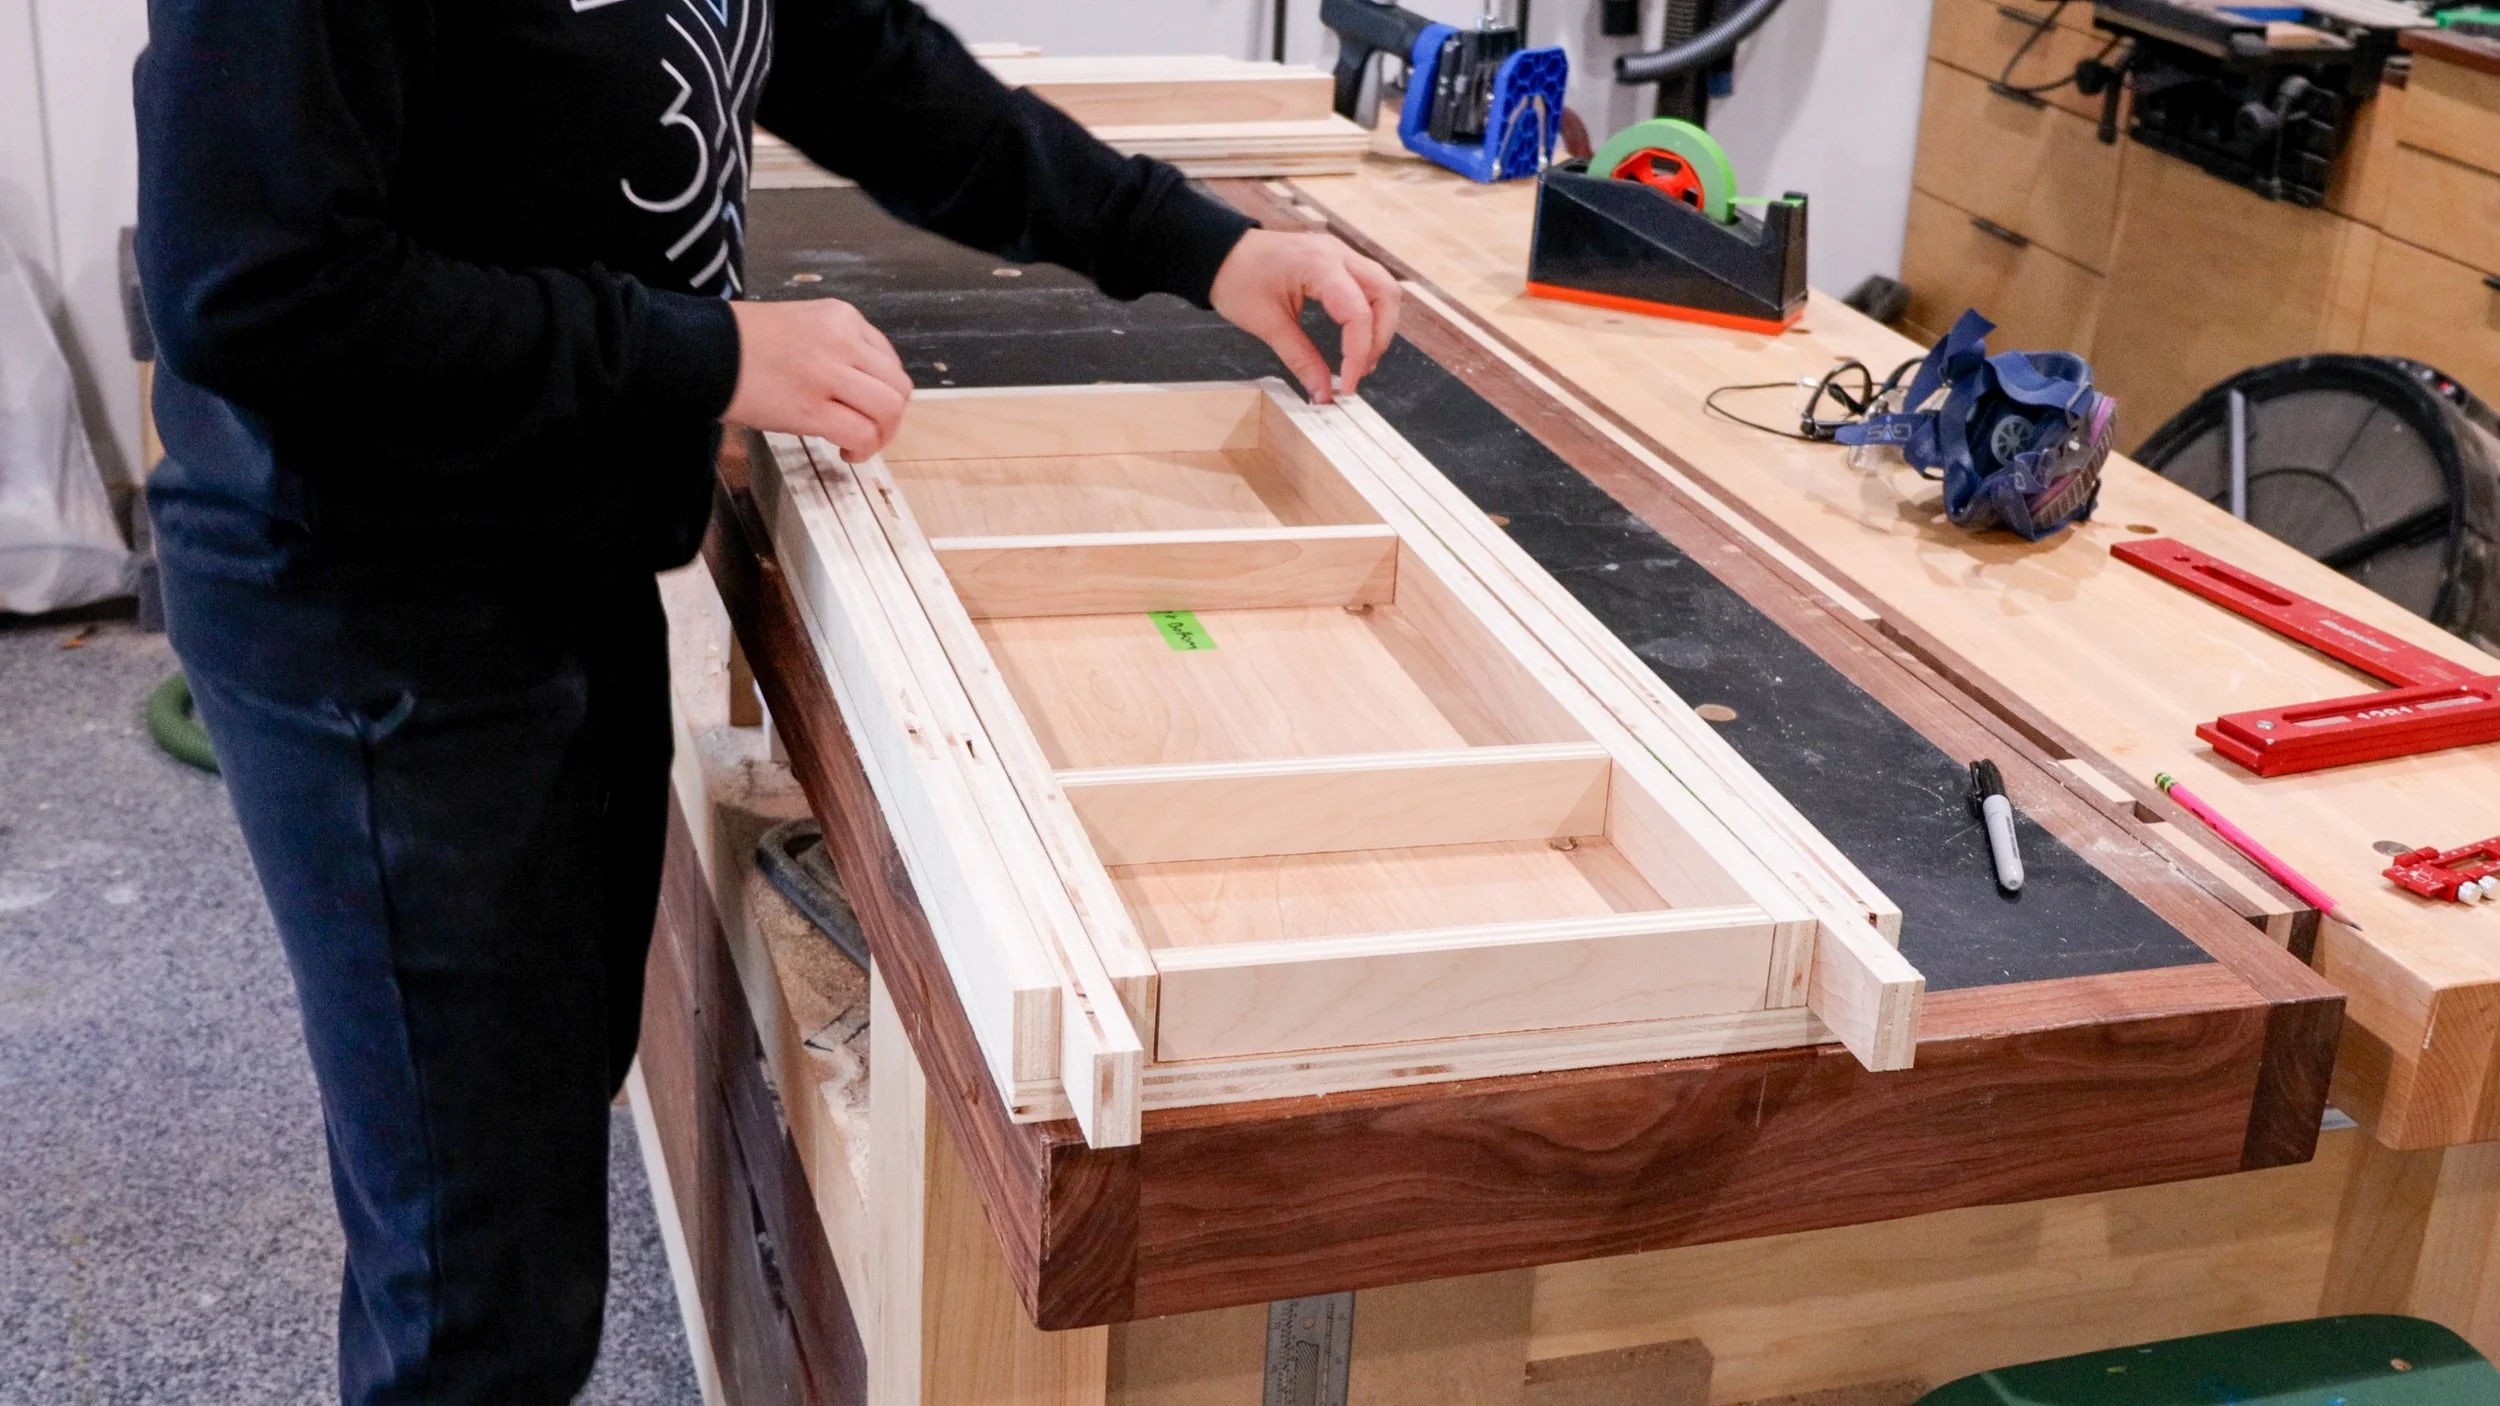
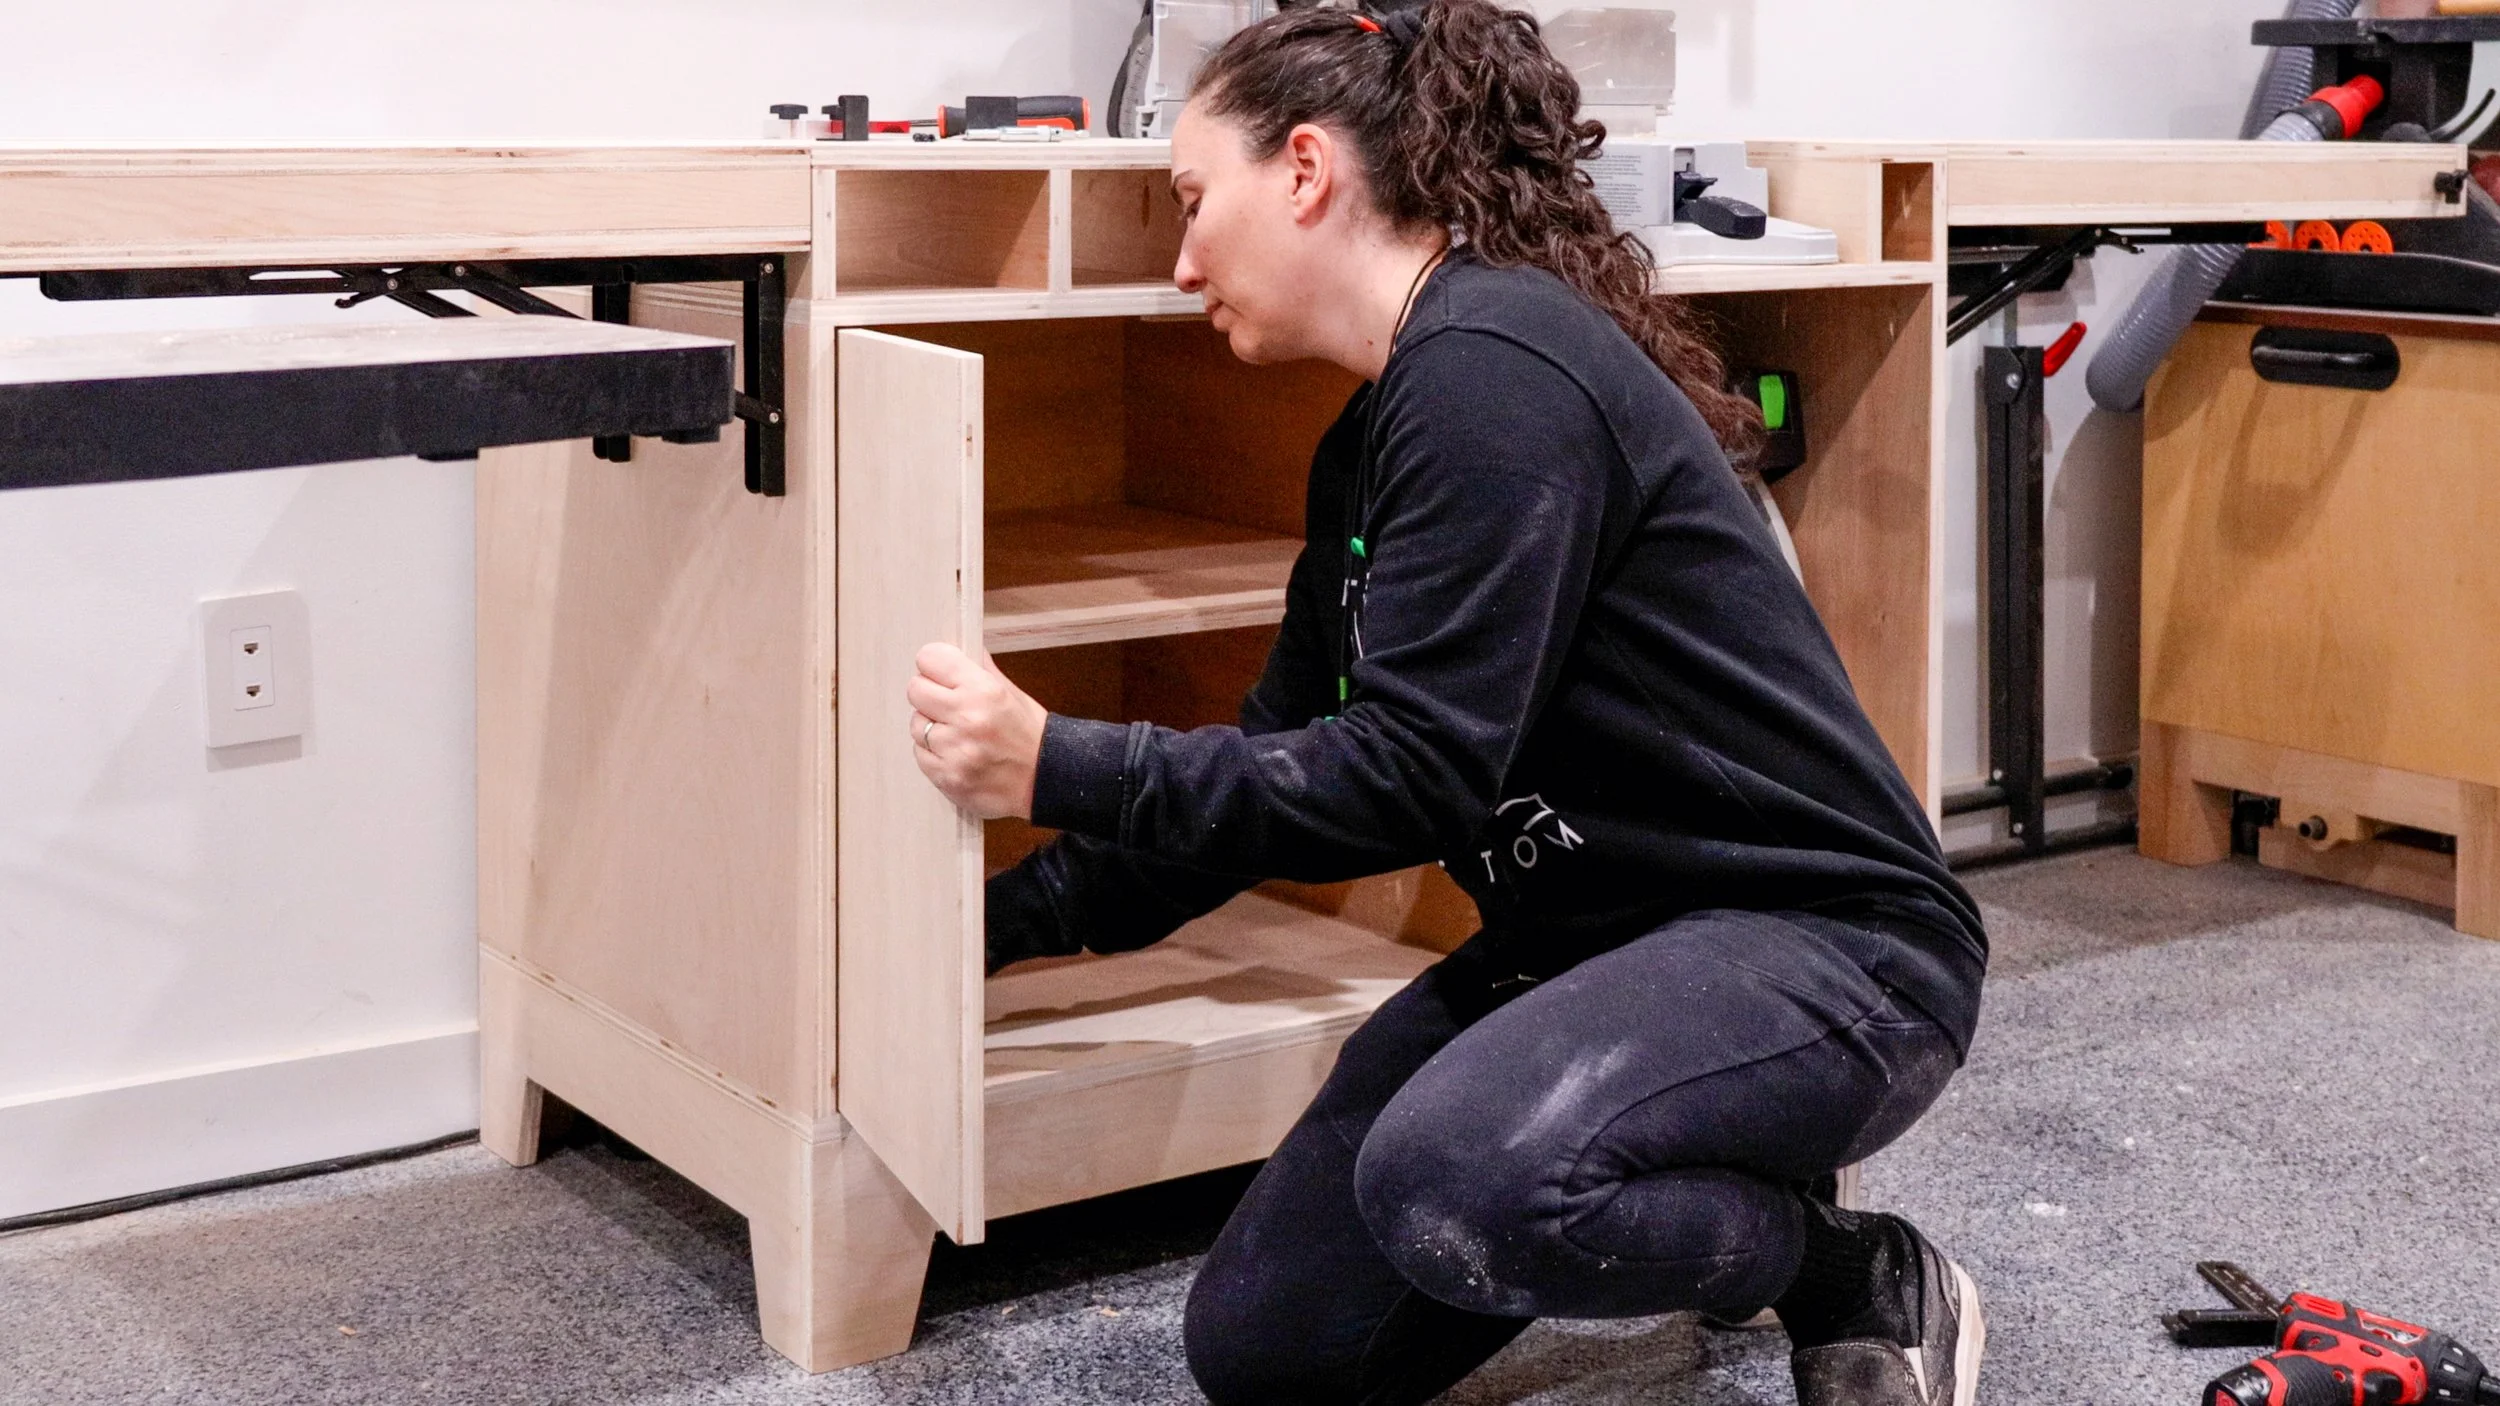
Cut the inner shelf to size and install the doors using inset hinges.
Just a few small details, like adding a flag stop to the end of the extension arms.
An optional tape measure…
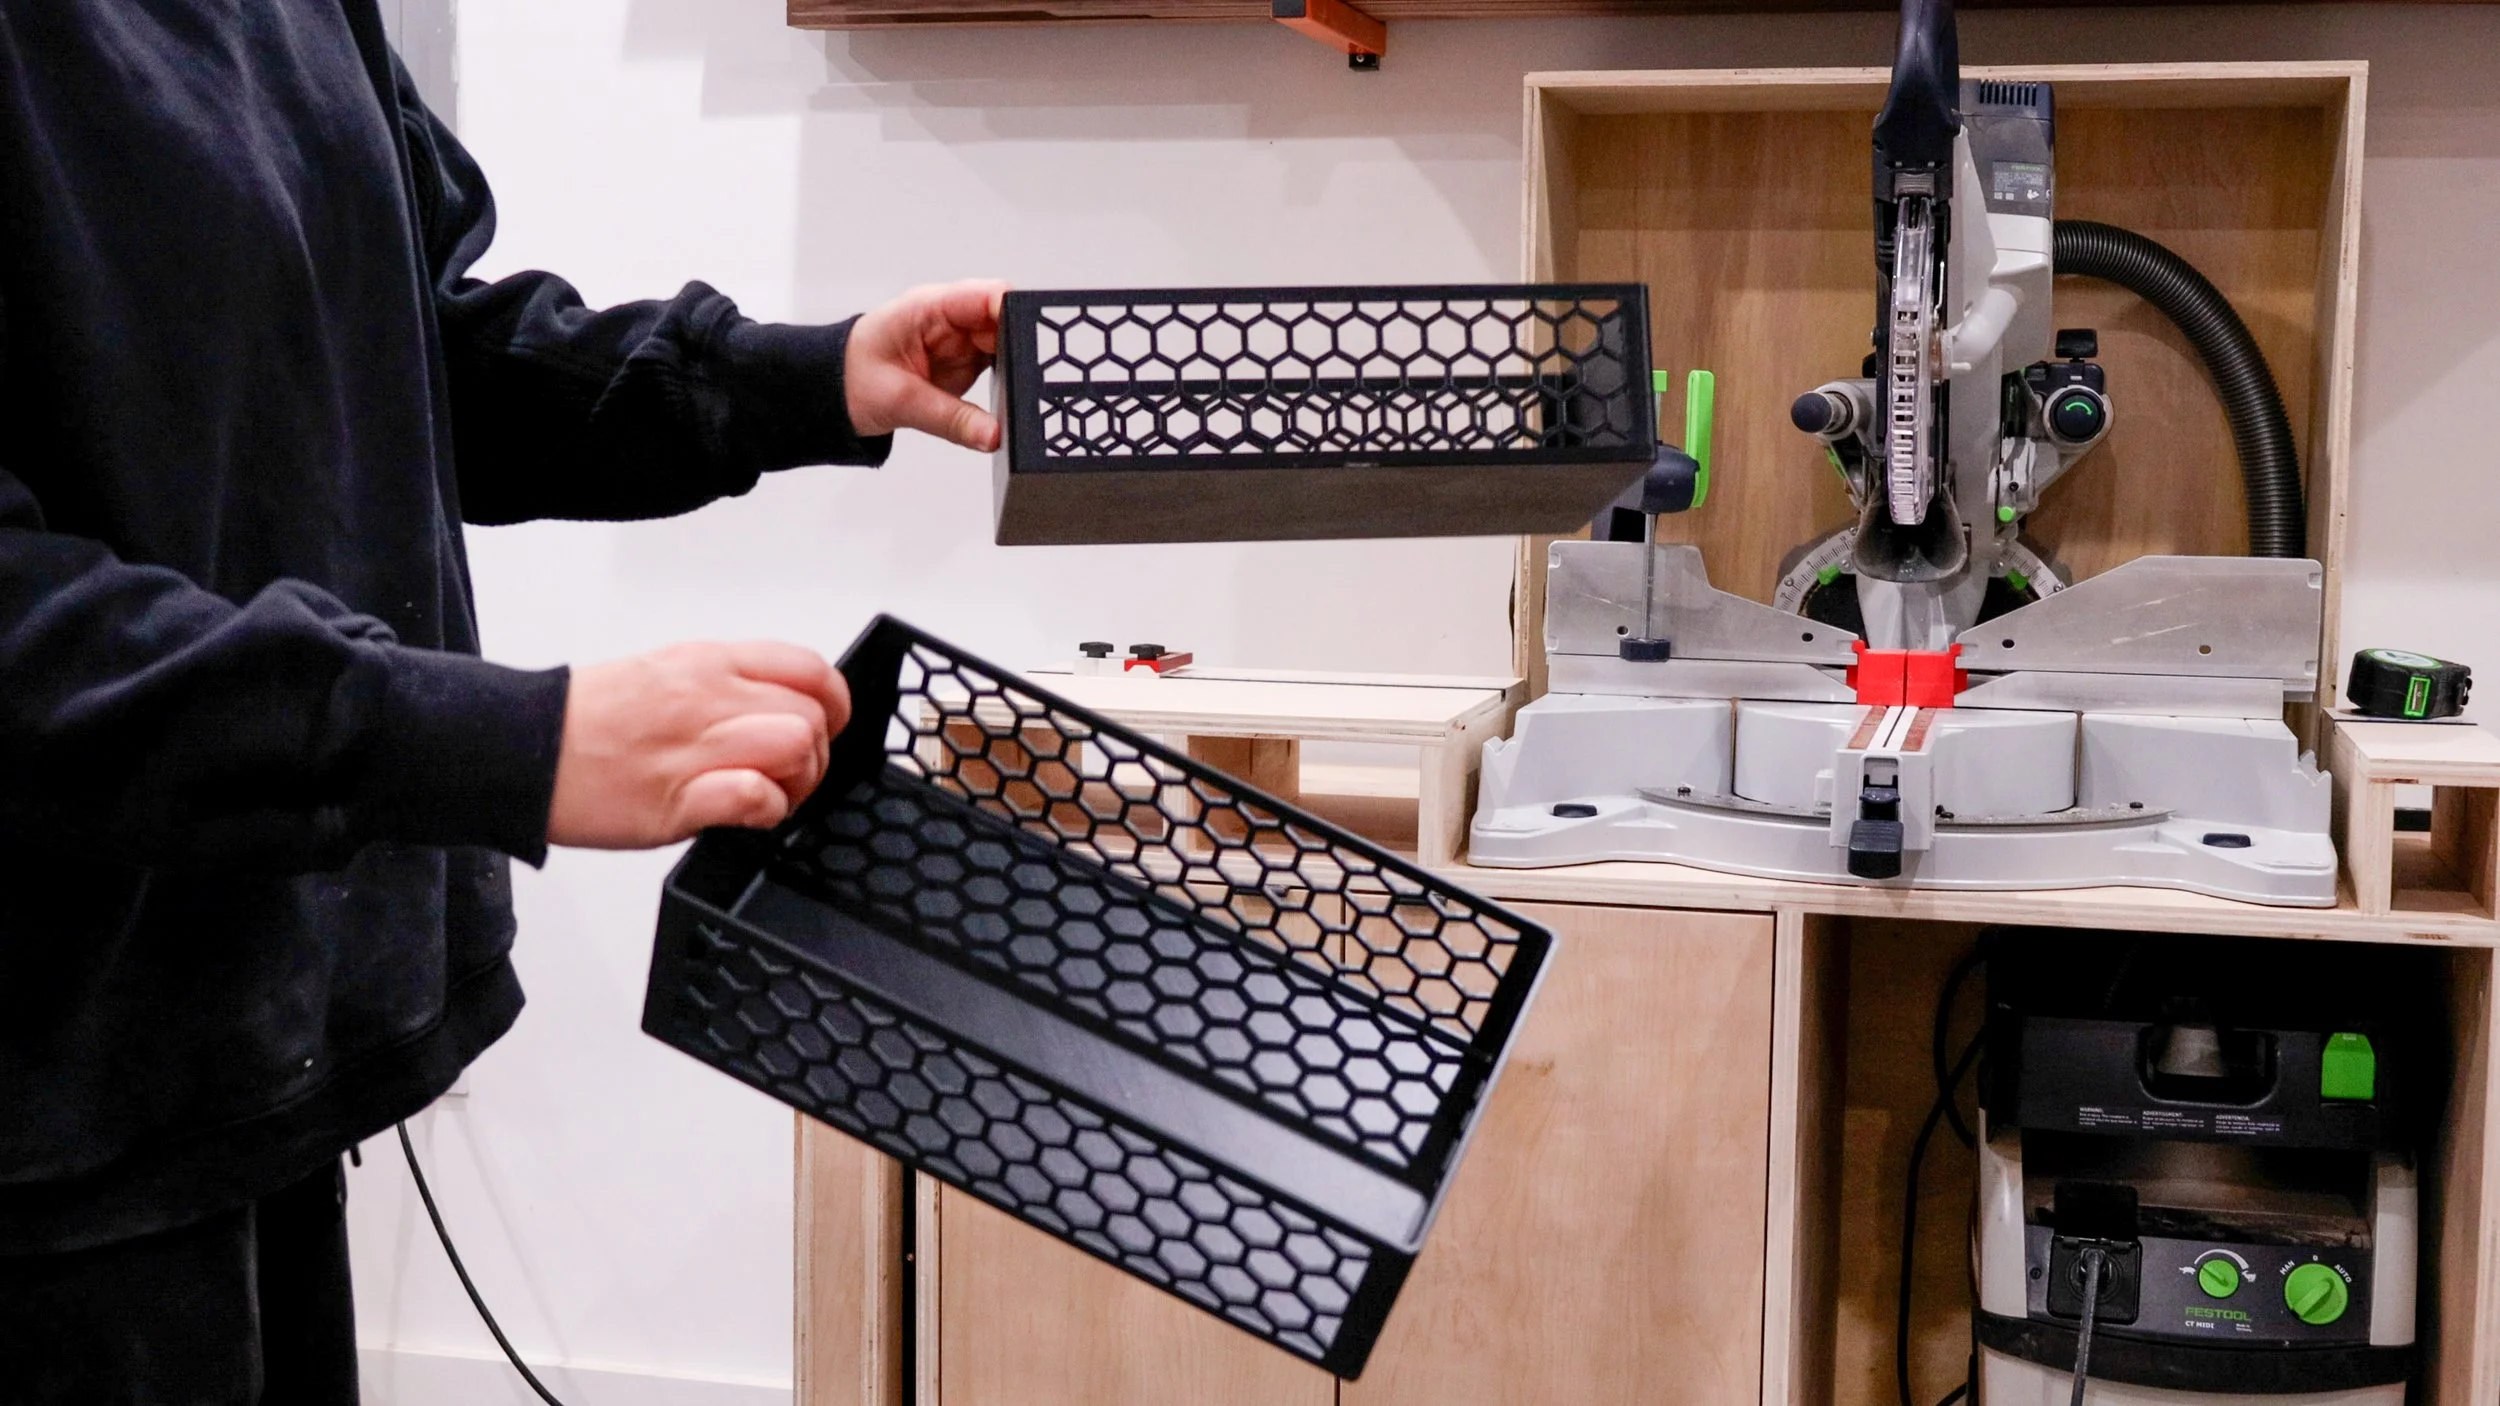
And some baskets that go into the cubbies created form the support shelf.
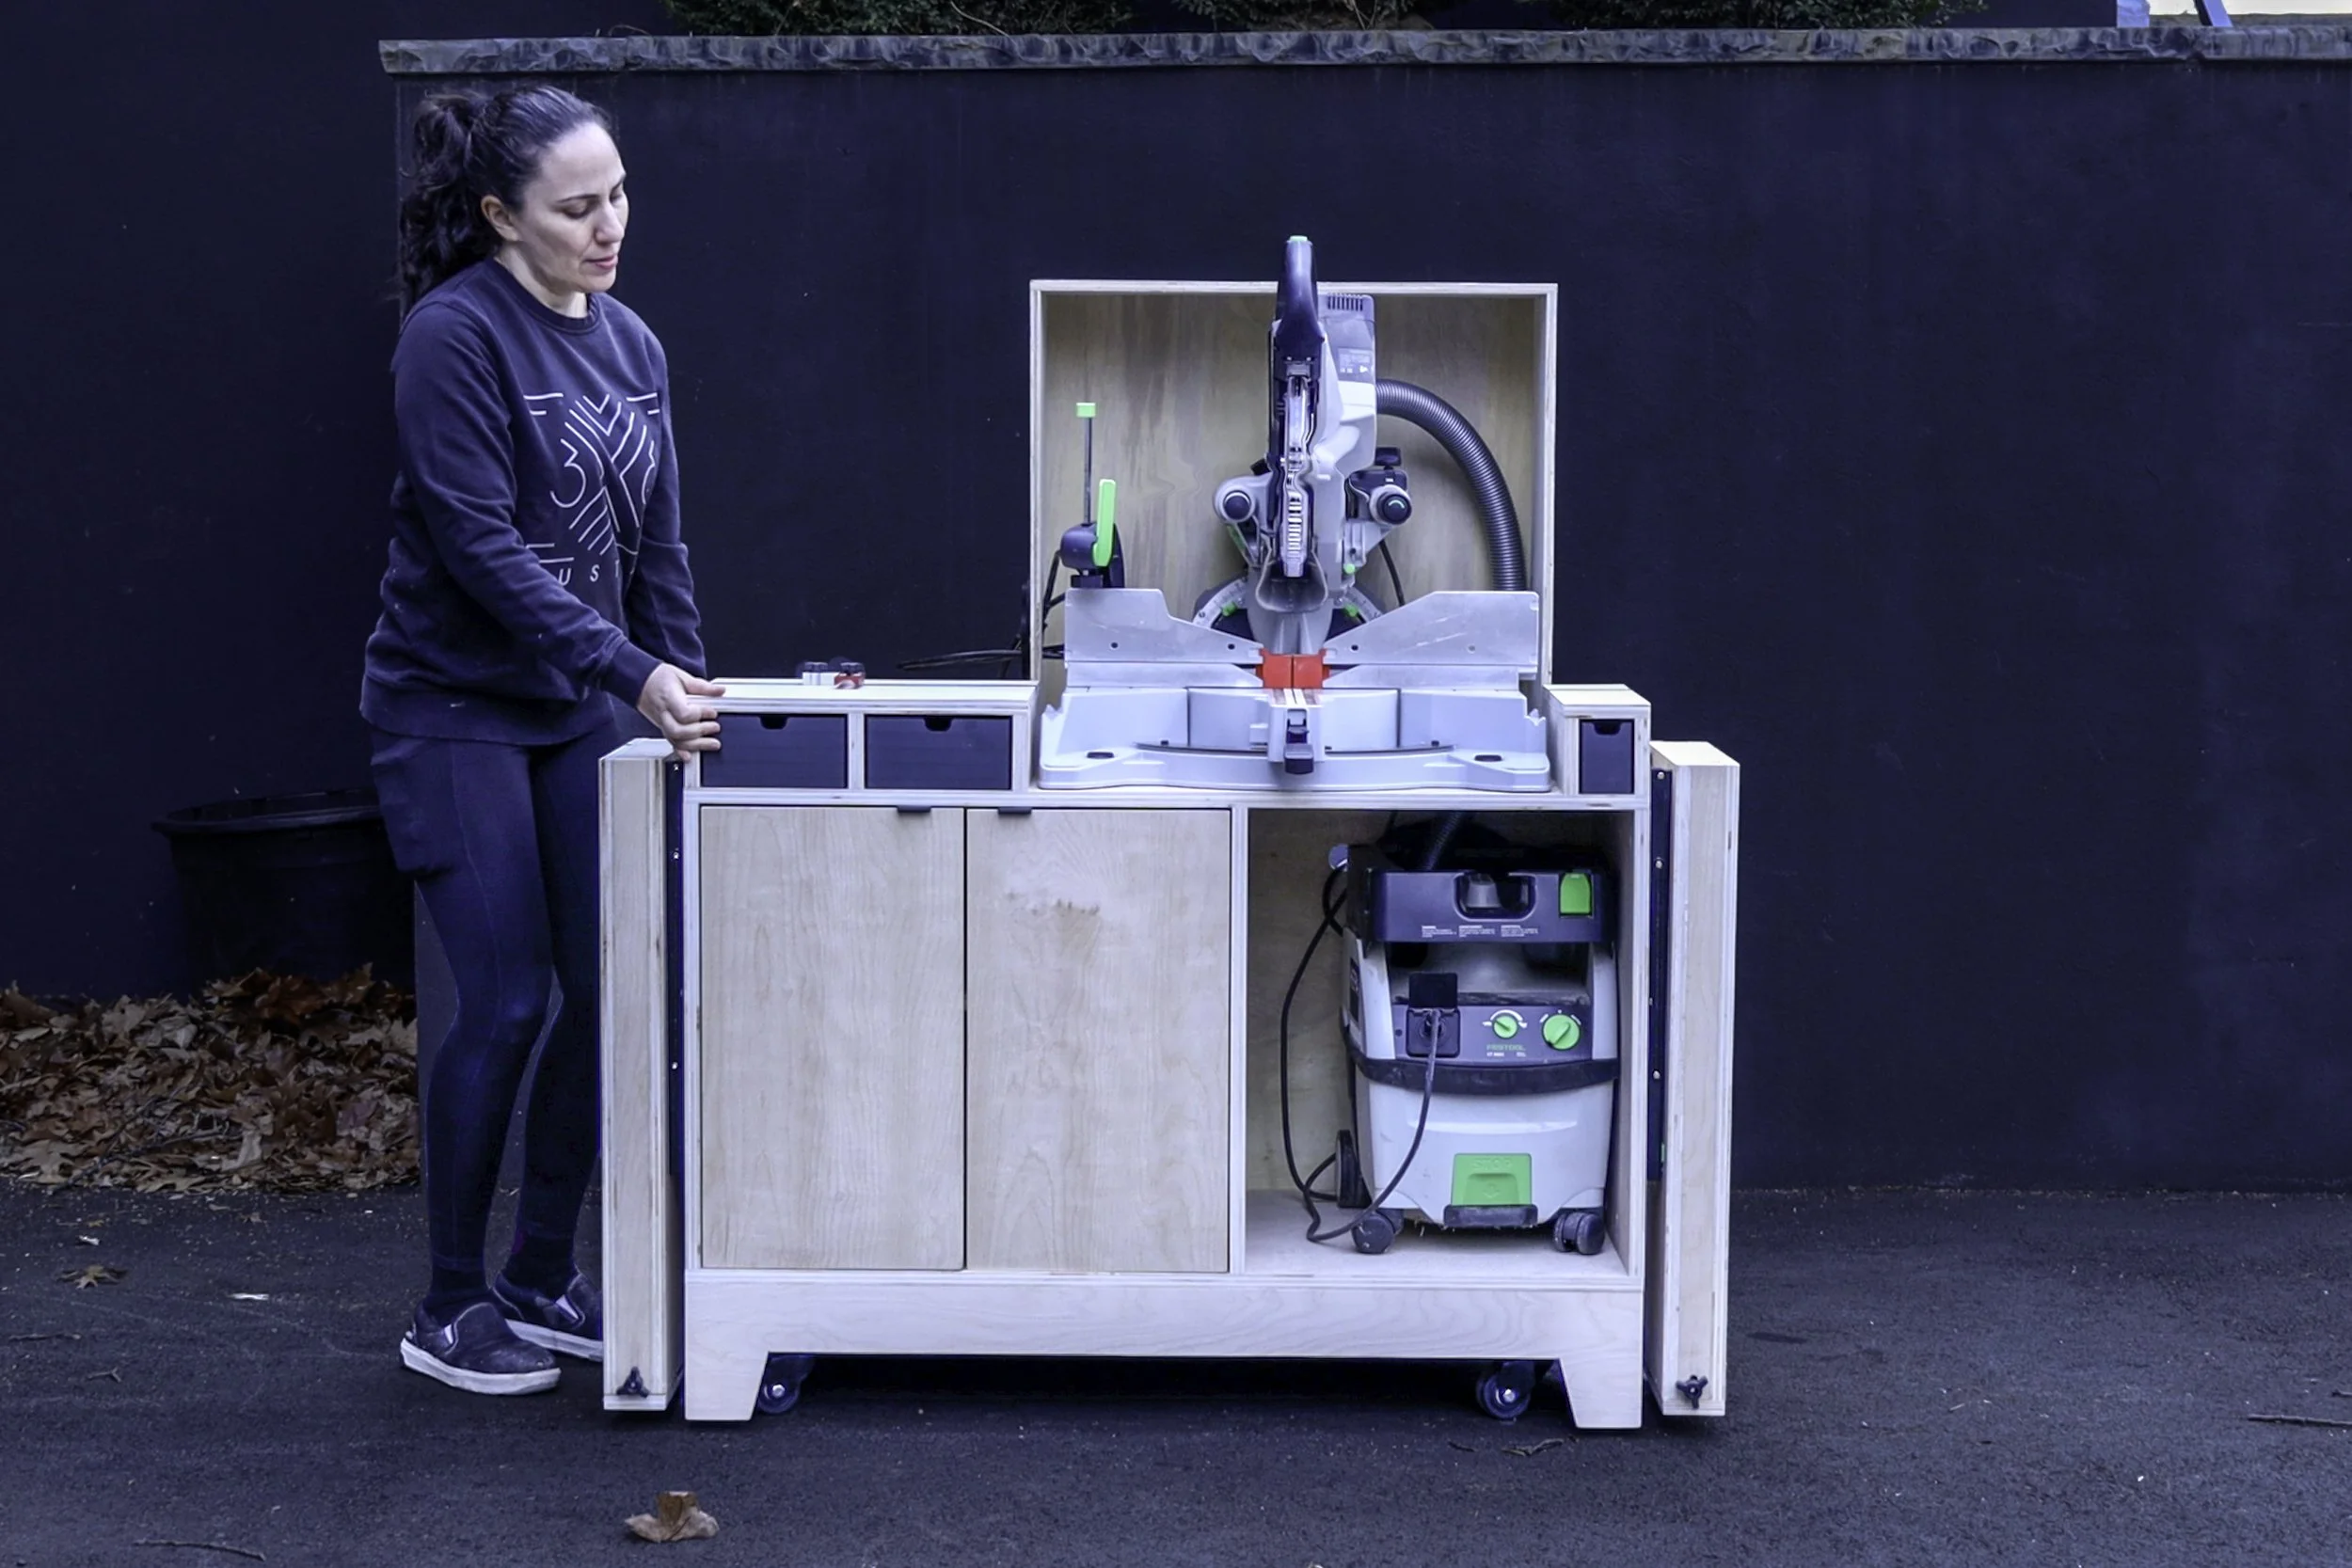
And it’s done! I put off building my miter saw cart because I couldn’t find a good home for it in my shop… I am so happy I waited because this is the perfect solution for me! It’s small and compact, so it doesn’t take up too much real estate. But the support shelf on the left-hand side of the blade is big enough for most of my needs as I am in the middle of a project.
Then it extends to probably bigger than I would ever need!
Paired with my new Slide Stop, this is going to be so amazing for all my upcoming projects!
I love the versatility of this Miter Saw Station and that it takes up such a small amount of space in my shop. I rarely need the miter saw to cut super long pieces, but with the t-track on the extension arms and flag stop, I can easily make accurate, repeatable long cuts.
I am so excited for all the things I am going to build using this Miter Saw Station! I hope you found some of these ideas useful for your shop as well.